
When Is Chicken Breast Cooked Temperature Guide
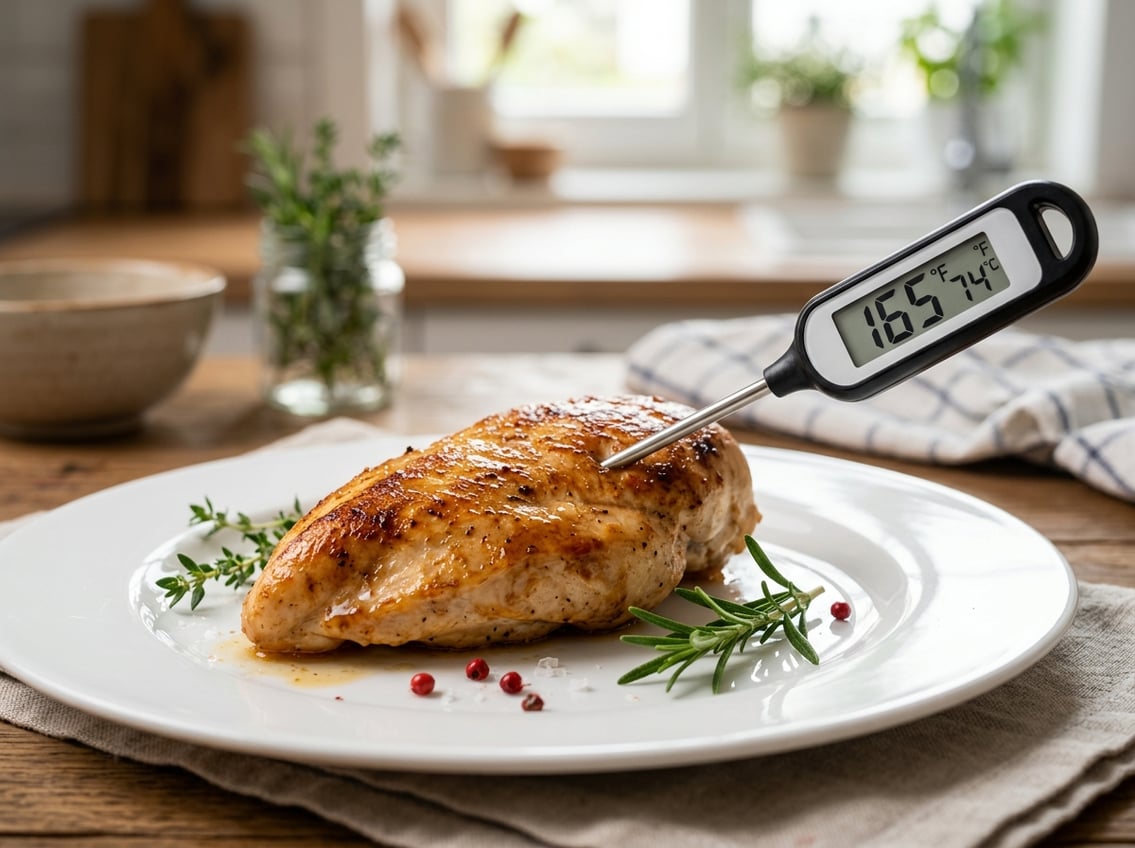
When you cook chicken breast, temperature matters most for safety and moisture. For most home cooking, the answer is simple: the thickest part of the breast should reach 165°F, which is the standard chicken cooking temperature for safety in the U.S.

If you want juicy chicken, use a thermometer and stop cooking at the right internal temperature instead of guessing by color or time.
Chicken breast is lean, so it can go from tender to dry very quickly. Once you know the right temperature and how to check it, you can avoid overcooking without risking undercooked meat.
Safe Internal Temperature for Chicken Breast
The safest chicken cooking temperature for breast meat is clear. You have a simple target for baking, roasting, grilling, or pan cooking.
If you want to avoid overcooking, you need to know the finish line and when a little carryover heat can help.
The USDA Benchmark of 165°F
For chicken breast, 165°F is the standard answer for doneness. U.S. food safety guidance sets this as the minimum internal temperature when you measure the thickest part.
You can use that same target for boneless or bone-in chicken breast. A reliable guide from Cook Answers also points to 165°F at the thickest part for safe, juicy results.
Pulling Chicken Breast Slightly Early
You can pull chicken breast a few degrees early if you plan to rest it. Many cooks remove it around 160°F to 162°F, then let carryover heat finish the job while it sits.
That approach can help avoid overcooking, especially when the breast is thin or cooks fast. The final temperature should rise to 165°F during rest.
Color and Juices Are Not Reliable Signs
Color can mislead you. Chicken may look white on the outside while the center is still below a safe temperature.
A thermometer is the only accurate way to confirm doneness. Pink color, browned skin, and clear juices are useful clues, but they do not replace a direct temperature reading.
How To Check Doneness Accurately
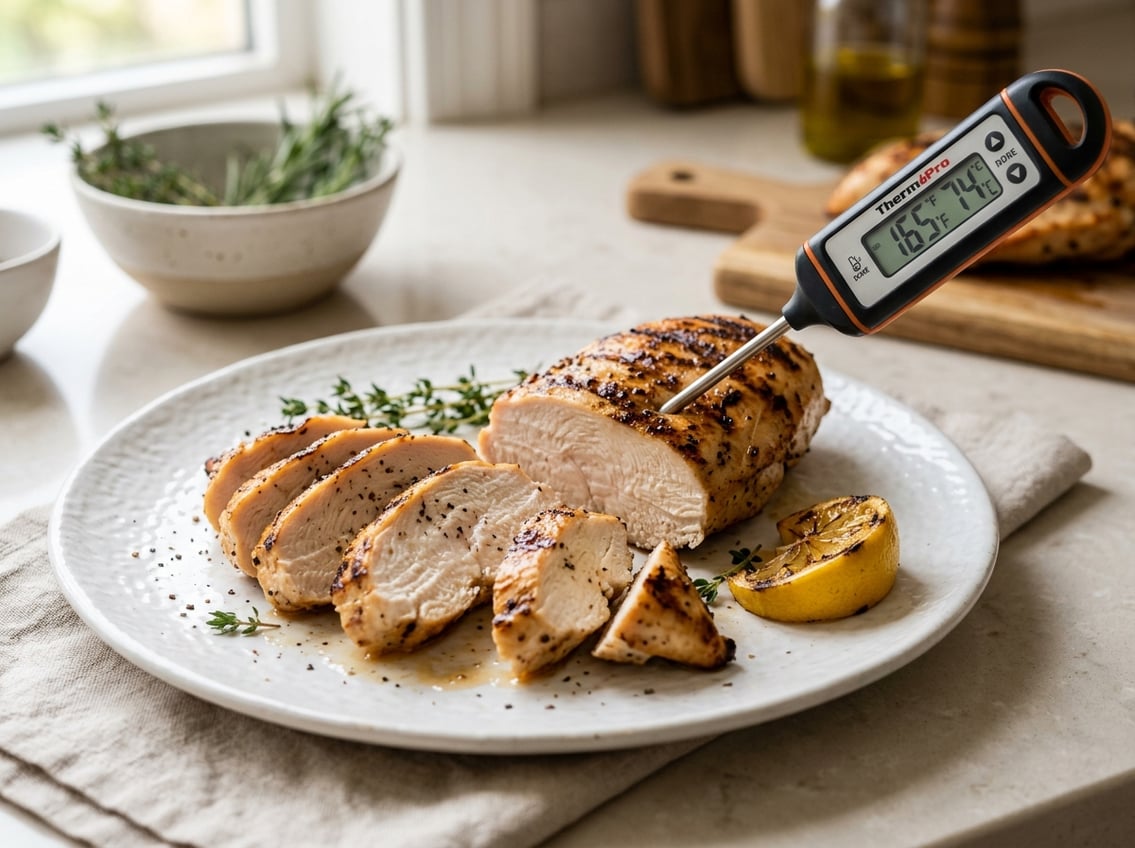
An instant-read thermometer or meat thermometer removes most of the guesswork. You get the best result when you place it in the right spot and account for resting, since the final temperature can rise after the chicken leaves the heat.
Where To Insert an Instant-Read Thermometer
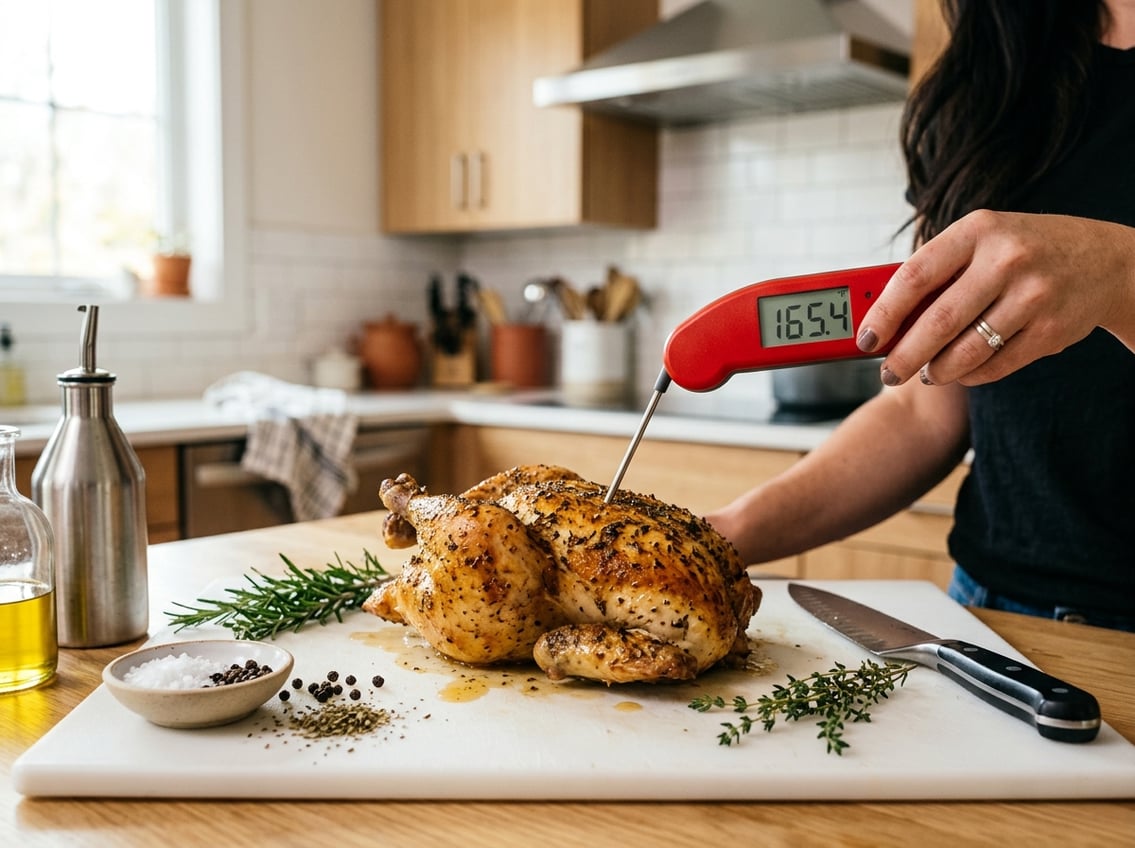
Insert the probe into the thickest part of the breast. If the piece is uneven, aim for the deepest center of the thickest section.
Do not touch bone if you are cooking bone-in chicken, since bone can give a falsely high reading. A clean, accurate instant-read thermometer is one of the easiest tools you can use to check doneness.
Using a Meat Thermometer in the Thickest Part
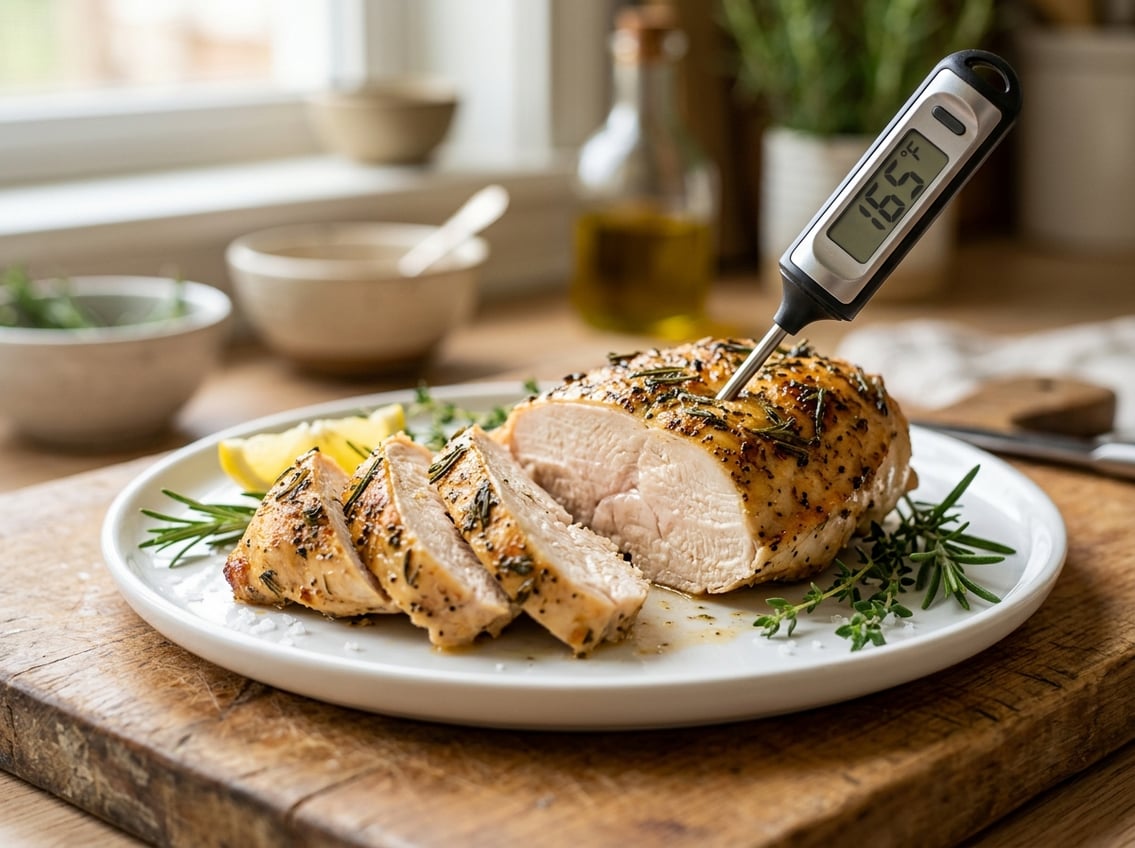
Wait until the chicken is close to done, then check the thickest spot with your thermometer. If the breast is large or shaped unevenly, take more than one reading.
The coldest part of the meat, not the surface, needs to reach the safe temperature. A thermometer reading in the thickest part tells you if the center is safe.
Resting and Carryover Heat
After you take chicken off the heat, the internal temperature can rise a few degrees. Thicker pieces experience more carryover heat.
Resting lets the juices settle back into the meat. If you slice too soon, you lose moisture, and the chicken can seem drier even if you cooked it to the right temperature.
Best Cooking Methods for Juicy Results
The best cooking method depends on your heat source. The main goal is to cook to the right internal temperature and stop there.
Oven Temperatures and Typical Bake Times
In the oven, moderate to high heat works well for chicken breast. A common range is 375°F to 450°F, with thinner pieces cooking faster than thicker ones.
Time alone is not enough, since breast size changes everything. A medium chicken breast may take around 25 minutes in the oven, but you should rely on temperature rather than the clock.
Skillet and Grill Temperature Tips
For the skillet, medium-high heat usually gives you good browning without burning the outside before the center cooks through. On the grill, steady medium-high heat helps you control flare-ups and hot spots.
In both cases, the thermometer matters more than appearance. Grill marks and browned surfaces do not prove the inside is done.
Brining, Even Thickness, and Resting
Brining helps chicken hold onto moisture, especially with lean breast meat. Even thickness helps because a thick end and thin end will not finish at the same time.
You can pound the breast lightly or butterfly it so the piece cooks more evenly. Resting after cooking helps keep more juice in the meat.
Mistakes That Lead to Dry or Undercooked Chicken
Most problems come from a few common errors, not from the chicken itself. If you use the right meat thermometer technique and avoid uneven cooking, you can get better results with less trial and error.
Checking the Wrong Spot
If you check too close to the edge, you may get a reading that is higher than the center. That can make you stop cooking too soon and leave part of the breast underdone.
Always place the instant-read thermometer in the thickest part. The center of the thickest section is the spot that matters.
Cooking Uneven Pieces Without Pounding or Butterflying
Uneven chicken breast cooks unevenly. The thin end can dry out while the thick end is still catching up.
Pounding or butterflying helps the whole piece finish at nearly the same time. That makes it easier to avoid overcooking while still reaching the right temperature.
Leaving Chicken on Heat Too Long
Chicken breast dries out fast once it passes 165°F.
Even a few extra minutes can make the texture firm and stringy.
Turn off the heat or remove the chicken from the pan as soon as your meat thermometer shows the target range.
If you let it sit on the burner or in the oven too long, you lose moisture and the breast becomes less tender.


