
Temp When Chicken Breast Is Cooked: Safe and Juicy Guide
Temp when chicken breast is cooked is easiest to judge with a thermometer, not with color or timing alone.
For chicken breast, the standard target is 165°F in the thickest part. This gives you a clear food safety goal and helps you avoid dry meat.

If you want chicken breast that is both safe and juicy, check the internal temperature and stop cooking as soon as it reaches the right point.
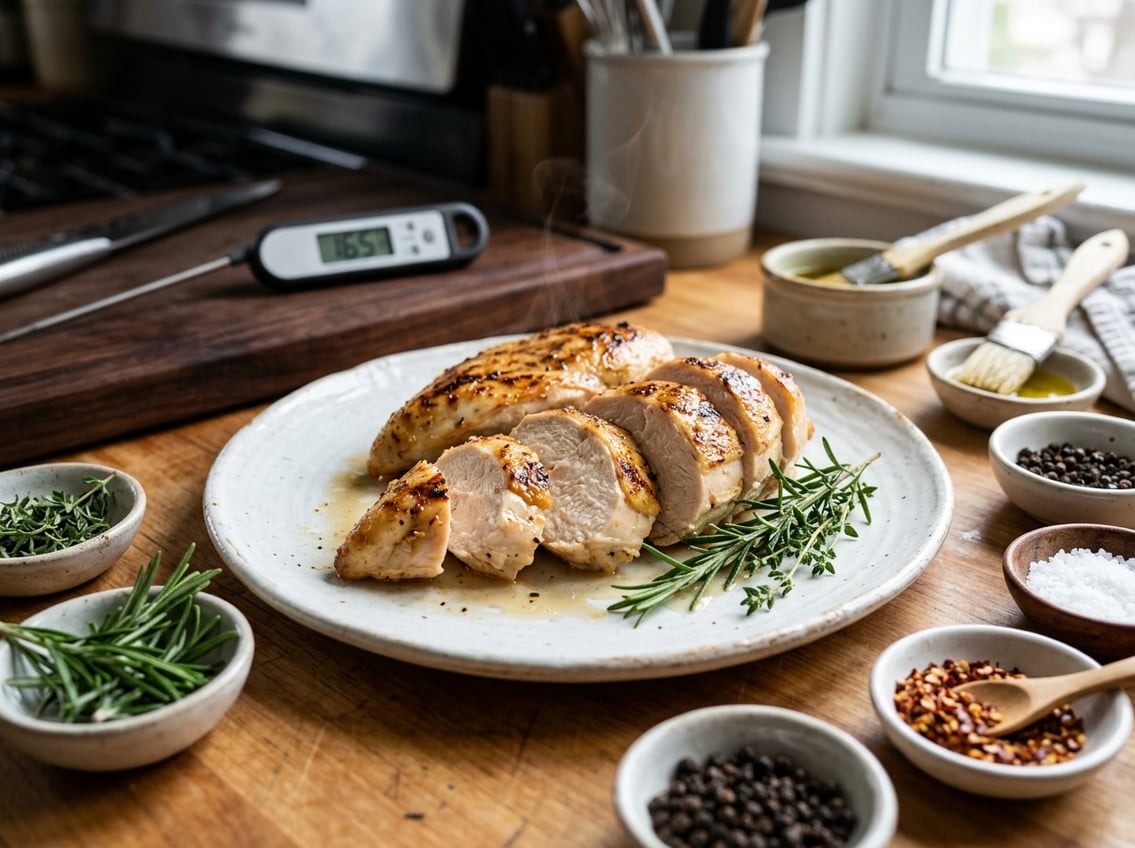
Chicken breast is lean, so even a small amount of extra heat can push it from tender to dry.
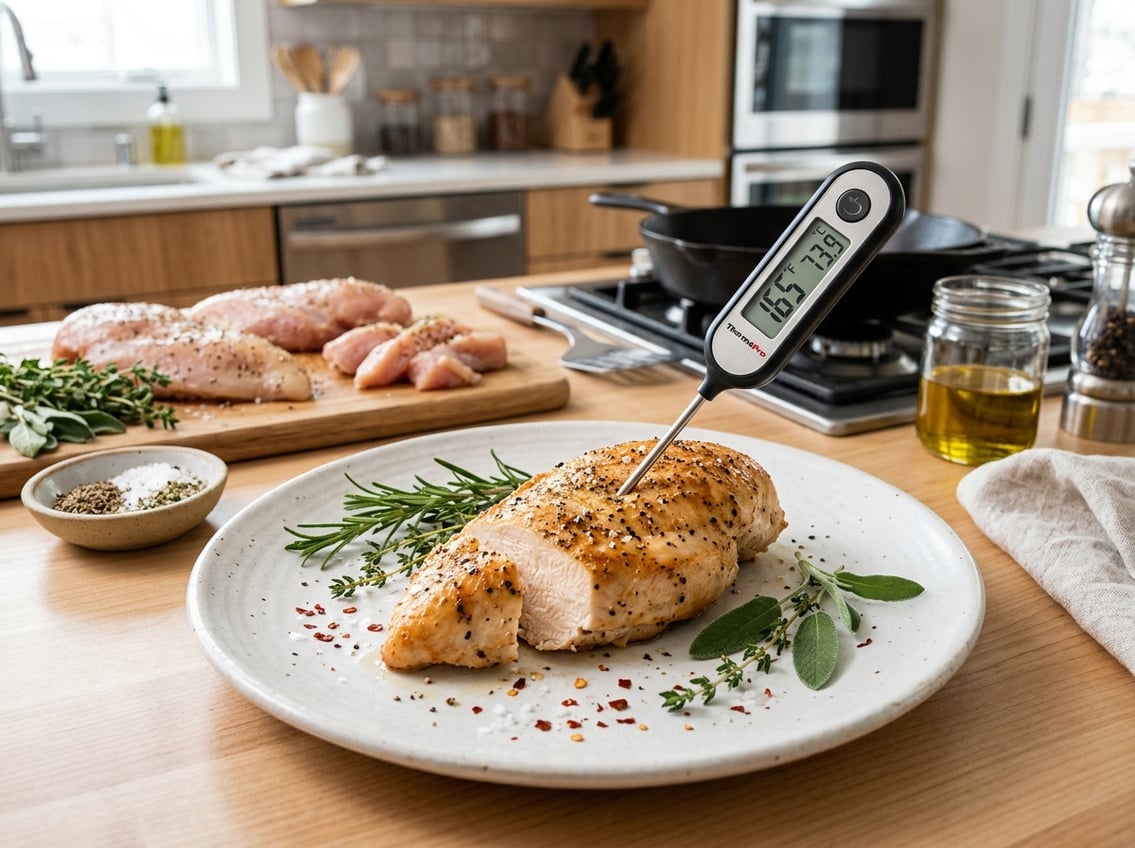
The best results come from using a reliable thermometer, checking the thickest part, and letting the meat rest before serving.
These steps give you more control than guesswork.
The Safe Temperature for Chicken Breast
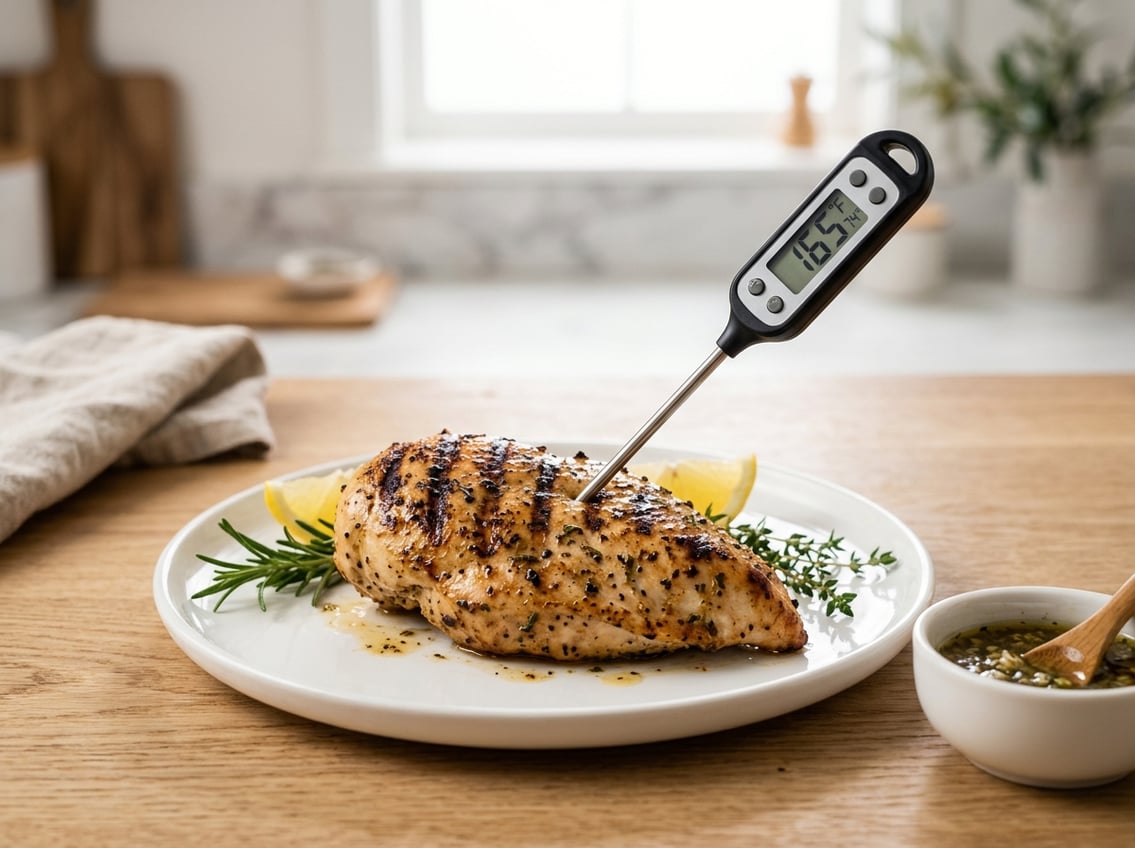
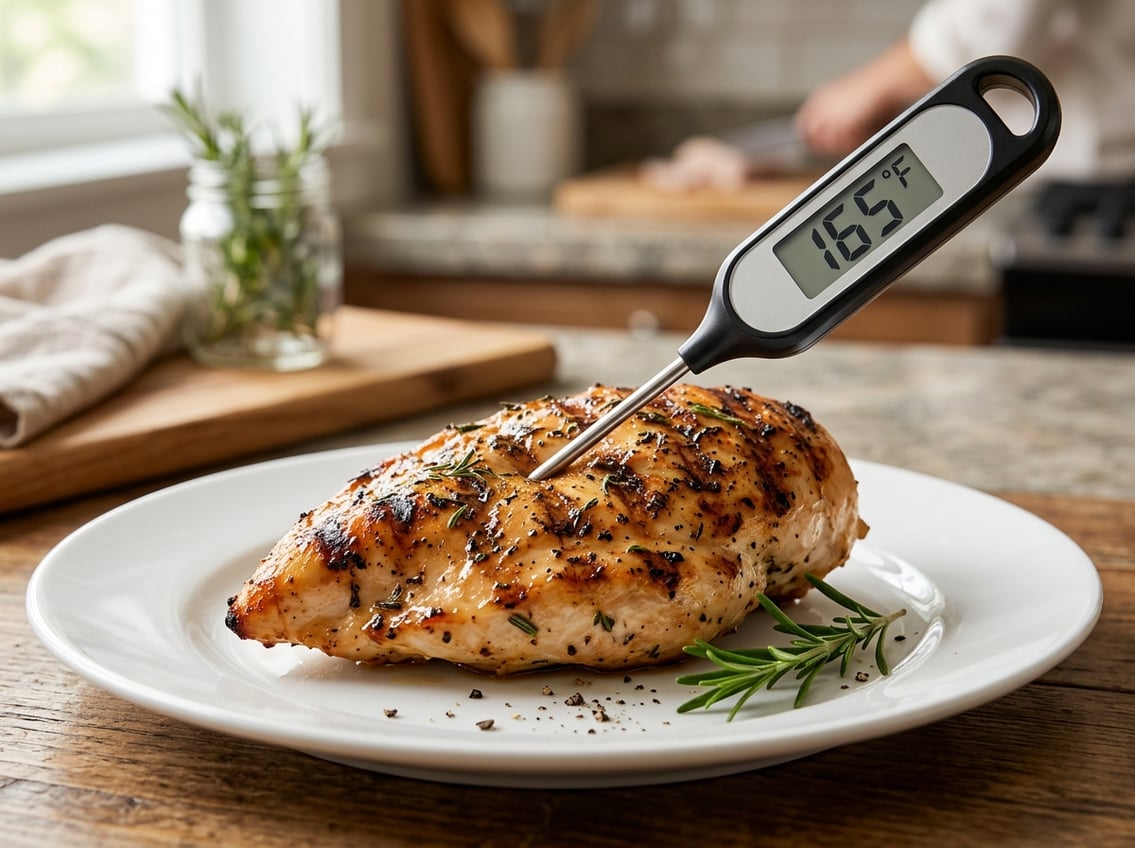
The safe internal temperature for chicken breast is 165°F at the thickest part.
That target protects food safety and gives you a clear stop point during baking, grilling, roasting, or pan cooking.
A thermometer confirms doneness more reliably than color or juices.
Color and juices may show progress, but they do not guarantee safety.
Why 165°F Is the Standard
165°F is the widely accepted standard because it is the safe minimum temperature for poultry.
According to What Chicken Breast Temperature for Juicy, Safe Results, that reading at the thickest part gives you a clear target and helps avoid dry, stringy meat.
That number works across common cooking methods.
Whether you bake, roast, grill, or sear chicken breast, the center should reach 165°F before you serve it.
When Carryover Cooking Matters
Carryover cooking happens when you let the chicken rest after removing it from heat.
The internal temperature can rise a few degrees while the meat sits, so you can pull it slightly early and still finish at 165°F.
Many cooks remove chicken breast around 160°F to 162°F and rest it.
The key is to let the meat reach the safe point during the rest.
How White Meat Differs From Dark Meat
Chicken breast is white meat, which means it has less fat and dries out more quickly.
Dark meat, like thighs and drumsticks, has more fat and connective tissue, so it stays moist at higher heat.
That difference matters when you set your target.
Chicken breast needs a tighter watch on temperature, while dark meat often needs a little more time to become tender.
How to Check Doneness Accurately
You get the most accurate result by measuring the internal temperature directly.
An instant-read thermometer or meat thermometer gives you a much better answer than color or guesswork.
The exact placement of the probe matters.
A small mistake can create a false reading and leave you with chicken that is either underdone or overcooked.
Where to Insert the Thermometer
Insert the thermometer into the thickest part of the breast.
If the breast is uneven, aim for the deepest center of the thickest section.
Avoid touching bone if you are cooking bone-in chicken breast.
Bone holds heat and can make the reading look higher than the meat really is.
Instant-Read vs. Leave-In Probes
An instant-read thermometer is best when you want a quick check near the end of cooking.
It gives you a fast reading, so you can decide whether the chicken needs more time.
Leave-in probes are useful when you want to monitor temperature while the chicken cooks.
They work well for oven roasting, since you can watch the temperature rise without opening the door often.
Mistakes That Cause False Readings
A thermometer can mislead you if the tip sits too close to the pan, bone, or a very thin edge.
You may also get a low reading if the probe does not reach the center.
Another common mistake is checking too early and stopping at surface browning.
A nicely browned outside does not mean the center has reached 165°F.
Best Temps by Cooking Method
The best chicken temperature depends on how you cook it, since heat moves through the meat at different speeds.
Your goal stays the same, the internal temperature must reach a safe point without drying out the breast.
Some methods give you more control than others.
Gentler cooking can reduce overcooking, while high heat can build better color and still keep the meat juicy if you watch closely.
Baked or Roasted Breast
Baking or roasting works well when you want steady, even heat.
A hotter oven can shorten cook time and help the outside brown before the inside dries out.
A common range for chicken breast is 375°F to 450°F in the oven, depending on thickness and your preferred result.
Check the center with a thermometer and remove it as soon as it reaches 165°F.
Pan-Seared or Skillet-Cooked Breast
Skillet cooking gives you strong browning and fast results.
Use medium-high heat so the outside does not burn before the center cooks through.
If the breast is thick, lower the heat a little after searing and keep cooking until the center hits 165°F.
A thermometer removes the need to cut into the meat and lose juices.
Grilled Breast
Grilling works best with steady medium-high heat and even heat zones.
Uneven flames or flare-ups can cook one side much faster than the other, so the thermometer matters more than the clock.
Move the breast to a cooler part of the grill if the outside browns too quickly.
Pull it once the internal temperature reaches 165°F in the thickest part.
Sous Vide Results and Safety
Sous vide chicken gives you very precise temperature control.
You cook the sealed breast in a water bath at a set temperature, then finish with a quick sear for color.
For sous vide chicken, the advantage is consistency, since the meat does not overshoot its target as easily.
You still need to follow safe time and temperature rules, then sear briefly for a better finish.
Applying the Same Principles to Other Chicken Cuts
The same basic rules apply to other cuts too.
Use a thermometer, check the thickest part, and cook to the right internal temperature.
The main difference is texture, since dark meat can handle more heat and often tastes better when cooked a bit past the bare minimum.
You also need to watch how the breast and legs finish at different times when you cook a whole bird.
A single timer is not enough for that job.
Roasting a Whole Chicken
When you roast a whole chicken, check both the breast and the innermost part of the thigh with a meat thermometer.
The breast may reach its safe point before the thigh does.
If you wait for the thigh to finish without checking, the breast may dry out.
Thighs, Drumsticks, and Wings
Thighs, drumsticks, and wings usually stay moist better than breast meat.
They contain more fat and connective tissue, so they can keep improving in texture as they cook longer.
A higher final temperature often works better for dark meat than for breast meat.
The exact target can vary by recipe and method, yet the core rule stays the same, use the internal temperature to guide doneness.
Why Texture Improves Above the Minimum
The minimum safe temperature is only the starting point.
Texture improves when you give the meat enough time at the right heat to finish evenly.
A good meat thermometer helps you reach safety first.
You can then adjust for tenderness instead of guessing and drying the meat out.


