
What Is the Best Way to Cut Chicken Thighs: Expert Methods and Tips
You want the quickest, safest way to prepare chicken thighs so they cook evenly and fit your recipe. Remove the bone for uniform pieces, trim excess fat, and then slice or butterfly the meat to the thickness and shape your recipe calls for. This ensures even cooking, easier portioning, and a cleaner presentation.

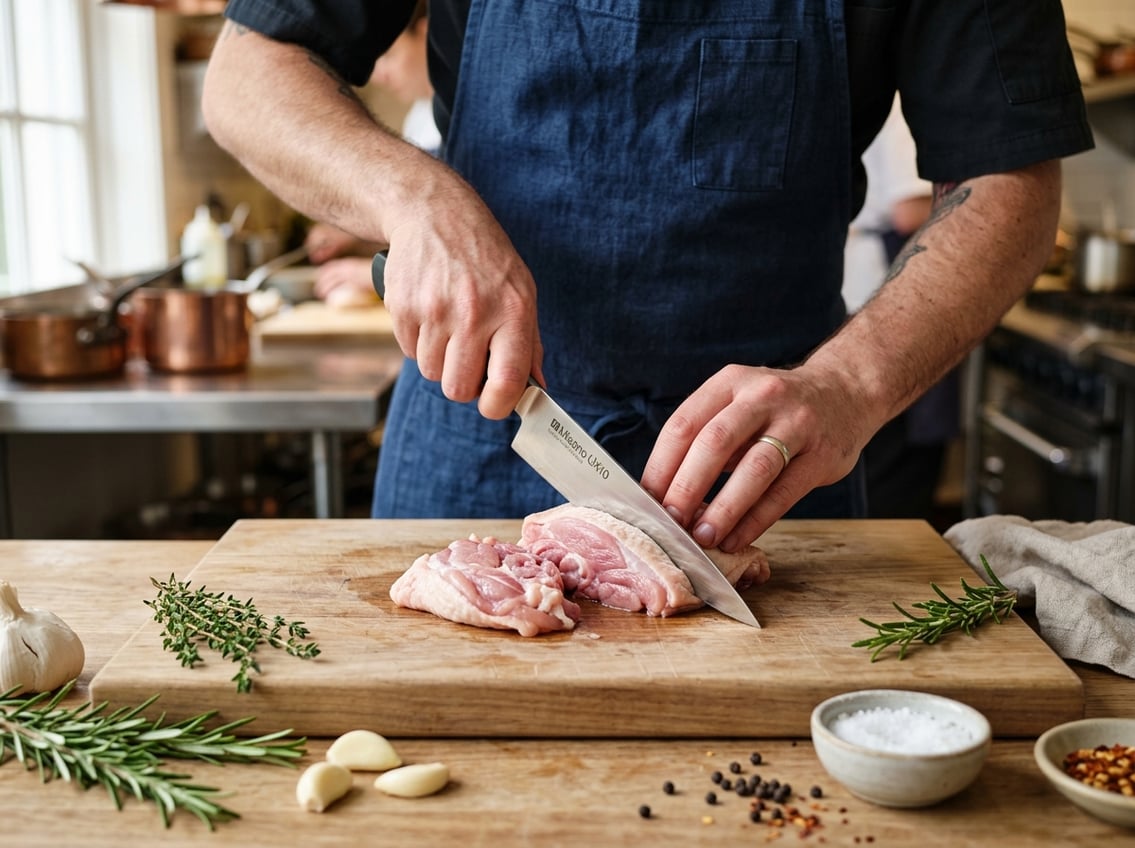
Keep your workspace dry, use a sharp knife, and orient the thigh skin-side up to locate the joint and bone before cutting. This prep step helps you debone and portion faster while reducing waste.
You will learn about thigh anatomy, the tools you’ll need, step-by-step cutting techniques for strips, cubes, tenders, or boneless fillets, plus hygiene and cooking tips for perfect results.
Understanding Chicken Thigh Anatomy
Know what you’re working with so you can cut safely and get the texture and portion size you want. The main elements are the skin, muscle, bone, and connective tissue, and each affects how you trim, debone, and portion the thigh.
Parts of a Chicken Thigh
A chicken thigh contains four main parts: skin, muscle (dark meat), the thigh bone, and connective tissue.
- Skin: thin and flexible; leaving it on helps crisp edges when roasting or grilling.
- Muscle: the dark, flavorful meat; it runs in identifiable grain lines you should cut across for tenderness.
- Bone: a single central femur in bone-in chicken thighs; it shapes the piece and anchors connective tissue. Deboning requires cutting close to this bone with a boning knife.
- Connective tissue and fat: white bands and pockets that you trim away to improve mouthfeel and eliminate chewy bits.
For skinless chicken thighs the skin is already removed, which changes how you handle the meat. It’s slipperier and trims differently.
If you plan to cut strips or cubes, identify the grain and the bone location before slicing to avoid jagged pieces.
Benefits of Cutting Chicken Thighs Properly
Cutting thighs correctly saves time, improves cooking results, and reduces waste.
Uniform pieces reach a safe internal temperature together, preventing dry edges and undercooked centers. Trimming connective tissue and cutting across the grain makes each bite tender.
Leaving skin on for some pieces adds crispness and visual appeal, while boneless pieces absorb marinades faster and look cleaner when plated. Using the right technique—stabilizing the thigh, following the bone, and using a sharp knife—reduces slips and keeps your yield high.
For bone-in chicken thighs, separate meat cleanly from bone to save bones for stock and create boneless pieces for quicker recipes. For skinless chicken thighs, focus on grip and quick, decisive cuts to avoid shredding the flesh.
Essential Tools and Preparation
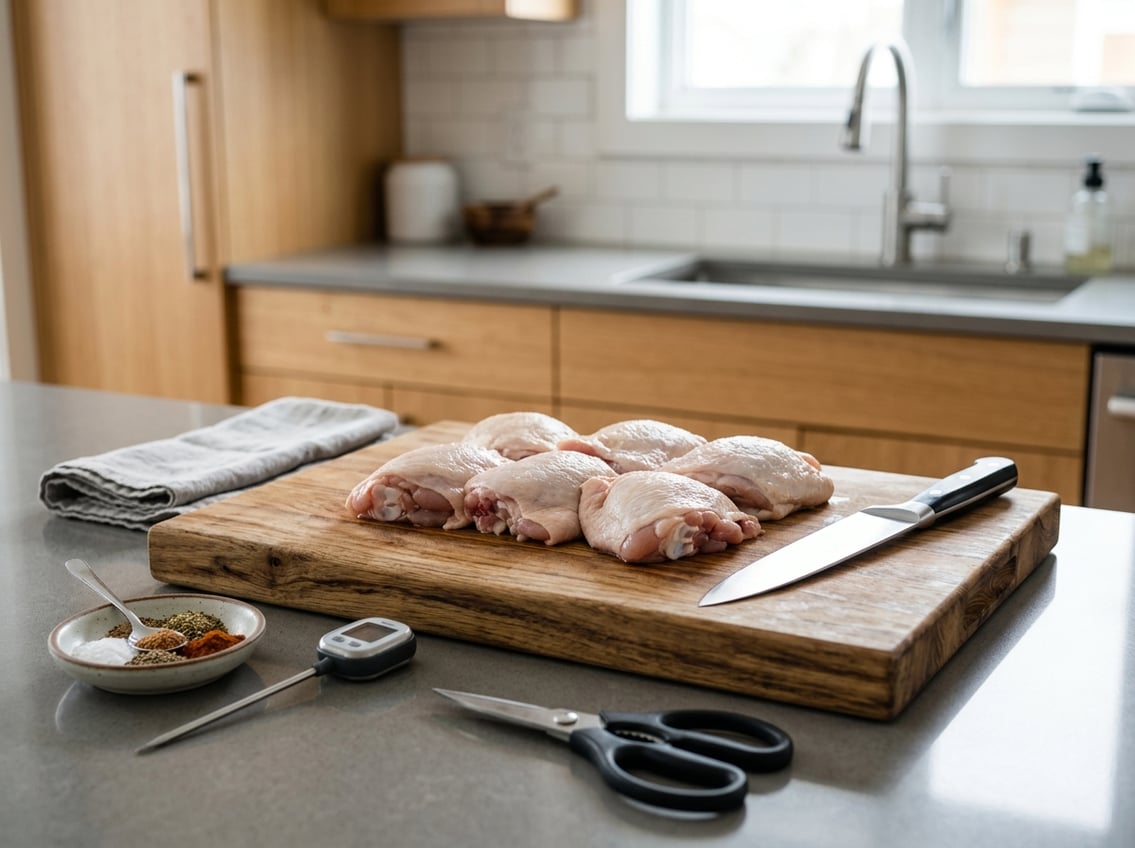
Prepare the right tools and a clean workspace to cut thighs efficiently and avoid contaminating other food. Use a stable cutting board, a sharp boning knife or poultry shears, and follow strict hygiene steps.
Selecting the Right Cutting Board
Use a nonporous cutting board at least 12×16 inches for enough room and to catch juices. Plastic or HDPE boards resist gouging and can go in the dishwasher.
Stabilize the board by placing a damp kitchen towel under it. Keep one board dedicated to raw poultry if possible.
Clean immediately after use with hot, soapy water, then sanitize with a bleach solution (1 tablespoon bleach per gallon of water) or run the board through the dishwasher. Replace plastic boards once deep grooves appear.
Choosing Between a Boning Knife and Poultry Shears
A boning knife with a 5–6 inch flexible blade gives you precision to follow the thigh bone and remove meat with minimal waste. Choose a knife with a comfortable handle to control short, controlled strokes along the bone.
Poultry shears work well for cutting through joints and trimming skin or fat. Use shears for separating drumstick joints or snipping excess skin, then switch to the boning knife to strip the bone cleanly.
Keep both tools sharp. Hone the knife before starting and check that shears open and close smoothly.
Safety Measures for Raw Chicken
Work with chilled chicken to keep meat firm and easier to cut. Always wash your hands for 20 seconds before and after handling raw poultry.
Use the poultry-specific cutting board and tools only for raw chicken. Do not place cooked chicken on surfaces that held raw meat unless you have sanitized them.
After cutting, wash knives and shears in hot, soapy water, then sanitize. Wipe countertops and any utensils that contacted raw juices with a disinfectant.
Dispose of packaging and paper towels promptly and run affected cloths through a hot wash.
Step-By-Step Techniques for Cutting Chicken Thighs
You will learn how to remove bones and skin, slice for tenderness, and trim fat and cartilage. Use precise knife placement and small, controlled motions to get consistent pieces for cooking.
Deboning and Skinning Chicken Thighs
Place a bone-in chicken thigh skin-side down on a clean cutting board. Feel for the thigh bone with your fingers to know its orientation.
Use a sharp boning or paring knife and make a shallow incision along the length of the bone. Angle the blade so it slides tightly against the bone.
Use short strokes and pull the meat away with your other hand. When the bone loosens, cut the connective tissue at the ends and lift the bone out.
To remove skin from boneless thighs, grip a corner of skin and tug while running the knife between skin and meat at a slight angle. Work slowly to avoid tearing the flesh.
Wipe the board and knife between pieces to avoid slipping. If you prefer skin-on for frying, skip skin removal and trim only loose flaps.
Slicing Against the Grain for Tender Pieces
Identify the grain by looking for muscle fibers running in one direction across the thigh. Position your knife perpendicular to those fibers.
Cut with a single, smooth motion using the full length of the blade. Slicing against the grain shortens muscle fibers and yields more tender bites.
Aim for uniform thickness—about 1/4 to 1/2 inch for quick-cook recipes, or thicker for braises. If you need strips, first flatten the thigh with the heel of your hand or a meat mallet, then slice.
Keep knife strokes consistent to ensure even cooking.
Trimming Excess Fat and Cartilage
Lay the thigh flat and inspect for visible fat deposits and white cartilage. Trim yellowish fat and rubbery cartilage with a small sharp knife, working close to the meat to avoid removing edible portions.
Remove any silver skin or tendon-like bits at the joint. For skin-on thighs, trim only the excess skin that would flare and burn; leave a thin layer for flavor and moisture.
Save trimmed fat if you render it later, or discard. Rinse and pat the pieces dry before seasoning to improve browning and prevent splatter during cooking.
Cutting Styles for Different Recipes
Different recipes call for different shapes and sizes. Choose a cut that matches the cooking method so the thigh cooks evenly, stays juicy, and achieves the texture you want.
Cutting Into Strips for Stir-Fries
Cut thighs into 1/4–1/2 inch strips for quick, even cooking in a wok or skillet. Trim excess fat and remove skin if the recipe recommends it.
Lay the thigh skin-side down, find the muscle grain, and cut against the grain to shorten fibers. This keeps the strips tender.
Use a sharp chef’s or santoku knife and make confident single strokes. Pat strips dry and toss with a little cornstarch and salt if you want a slightly crisper exterior.
Stir constantly over high heat so pieces brown quickly without stewing.
Cubing Chicken Thighs for Stews and Curries
Cut thighs into roughly 1–1.5 inch cubes for stews, curries, or braises so they hold their shape during long simmering. Trim excess fat but leave some connective tissue; it melts into the sauce and boosts juiciness and mouthfeel.
Slice across the grain and then into cubes with steady, even cuts. Aim for uniform size to ensure consistent cooking time.
Brown cubes in batches before adding them to the sauce to develop flavor and texture.
Butterflying for Even Cooking
Butterflying produces a flatter, more uniform piece that cooks evenly and faster. Place the thigh skin-side down, press flat, and slice through the thickest part parallel to the cutting board without cutting all the way through.
Open the thigh like a book. For complete separation, cut through the bone if you’ve removed it.
Season the butterflied thigh and cook over moderate heat so the center reaches a safe temperature while the exterior crisps. When making crispy fried chicken, bread the butterflied piece to increase surface area for crunch while keeping the interior juicy.
Tips for Safe Handling and Hygiene
Keep raw chicken juices contained, wash your hands and tools often, and separate raw poultry from ready-to-eat foods. Focus on preventing cross-contamination and on cleaning and storing the cutting board and utensils you used.
Avoiding Cross-Contamination
Always work with a dedicated cutting board for raw chicken—preferably nonporous plastic or a clearly marked board. Place the board on a damp towel to prevent slipping.
Wash your hands for at least 20 seconds with soap and warm water before and after handling raw thighs. Use separate utensils for raw and cooked chicken or wash them thoroughly between uses.
Keep raw chicken and its juices away from other ingredients on the counter and in the fridge. Store raw thighs on the lowest fridge shelf in a sealed container or tray.
Cleaning and Storing Utensils and Surfaces
Immediately rinse large visible debris from knives and boards, then wash with hot, soapy water. Scrub both sides of the cutting board and the knife handle.
After washing, sanitize nonporous boards and surfaces with a bleach solution (1 tablespoon unscented bleach per gallon of water) or an EPA-registered sanitizer. Let items air dry.
For porous wood boards, avoid harsh soaking; instead clean with hot, soapy water, then sanitize if recommended and dry upright. Store knives dry in a block or magnetic strip and keep cutting boards flat or on edge so they dry completely.
Cooking and Serving Suggestions
You’ll get the best results when you control thickness, temperature, and timing. Trim or debone thighs to match the cooking method so you avoid undercooked centers or overcooked edges.
Cooking Chicken Thoroughly and Evenly
If you leave bones in, sear skin-side down first to render fat and help cook the interior evenly. Use a meat thermometer and pull thighs at 165°F (74°C) for safe, moist results.
For boneless thighs, pound to uniform thickness or slice into even pieces so thin sections don’t dry before thicker parts reach temperature. Adjust oven or pan temperature to the cut.
Roast at 400°F (205°C) to crisp skin and finish bone-in thighs, while 350–375°F (175–190°C) works for thicker pieces. When frying, keep oil at 350–365°F (175–185°C) so breading crisps quickly and the interior reaches 165°F.
Rest cooked thighs 5–10 minutes to let juices redistribute before slicing.
Popular Chicken Thigh Dishes
Use bone-in, skin-on thighs and a double-dip breading (flour, egg wash, seasoned flour) for crispy fried chicken. Fry them in batches at steady temperature for golden, crunchy skin and juicy meat.
Boneless, skinless thighs work better for quick stir-fries and tacos. Slice them thin across the grain for tender bites.
Marinate or dry-brine chicken thighs for at least 30 minutes when preparing for BBQ or grilling. Grill over medium heat and finish over indirect heat.
This method keeps the meat juicy with caramelized sauce. Cut thighs into uniform chunks for braises or stews so they simmer evenly and absorb sauce flavors.
Serve sliced or whole depending on presentation. Use whole bone-in pieces for rustic plates, and sliced boneless pieces for salads, bowls, or sandwiches.


