
When Are Chicken Breasts Done? Safe Temp and Signs
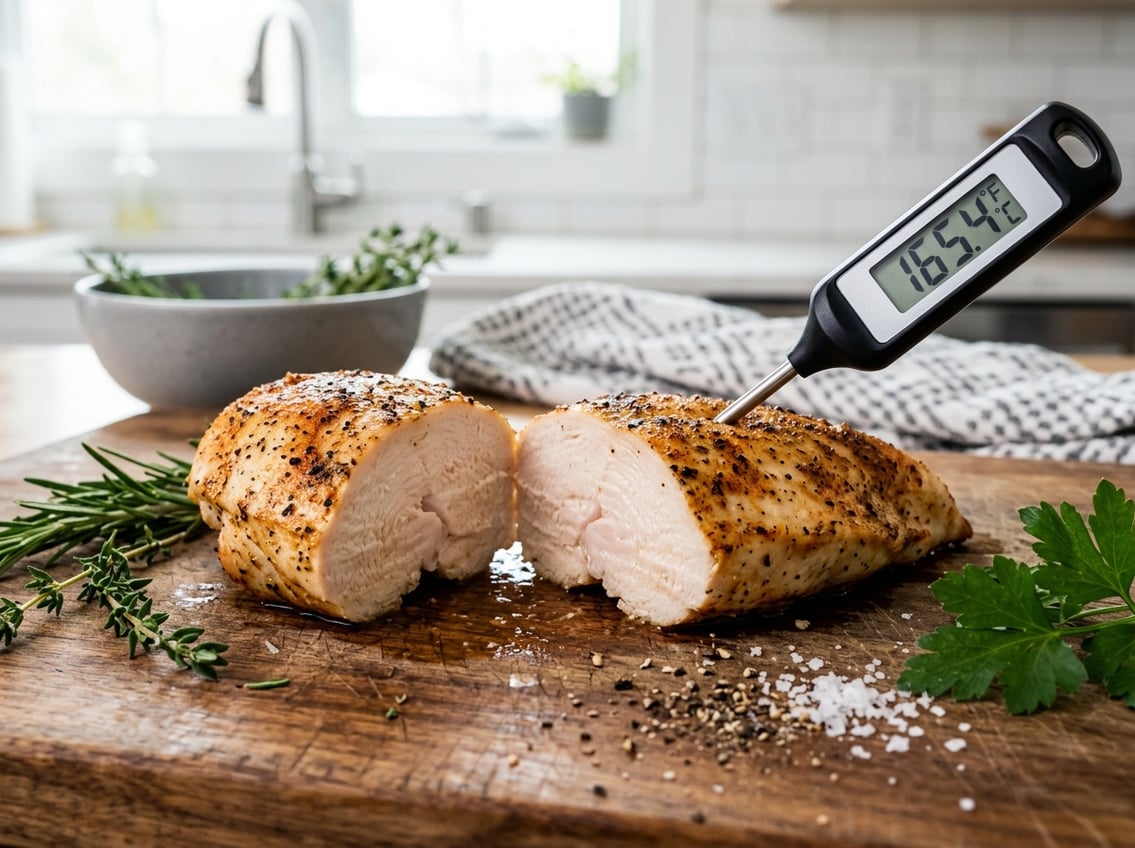
Chicken breasts are done when the thickest part reaches 165°F (74°C). That temperature is the safe internal point for poultry, and it is the most reliable way to know when chicken is done.

You can also look for clear visual signs, but those signs work best when they support a thermometer reading. Cooking chicken breasts to the right temperature helps you avoid foodborne illness and keeps the meat from turning dry.
The Exact Temperature to Look For
Remember 165°F (74°C) as the standard safe internal temperature for chicken breasts in the U.S. That is the clearest answer to how to know when chicken is done.
Why 165°F (74°C) Is the Safe Internal Temperature
Chicken needs enough heat to kill harmful bacteria such as Salmonella and Campylobacter. According to How Do I Know When Chicken Breast is Cooked? A Comprehensive Guide, chicken breast should reach at least 165°F (74°C) for food safety.
That number applies to the meat inside, not the surface. A browned outside can still hide undercooked meat near the center.
When to Pull Chicken Off the Heat
You can pull chicken breast off the heat a little before it reaches 165°F if you plan to rest it. Carryover cooking can bring the temperature up a few degrees after removal, which is especially useful for thicker pieces.
If you are not sure, keep cooking until the center reads 165°F. That gives you the safest result with the least guesswork.
Why Thickness Changes Timing but Not Doneness
Thick chicken breasts take longer to cook than thin ones. Thickness changes cooking time, not the safe endpoint.
A thinner breast may reach 165°F quickly, while a thick one may need more time or a lower heat setting. The only real test for doneness is the internal temperature.
Check Doneness With a Thermometer
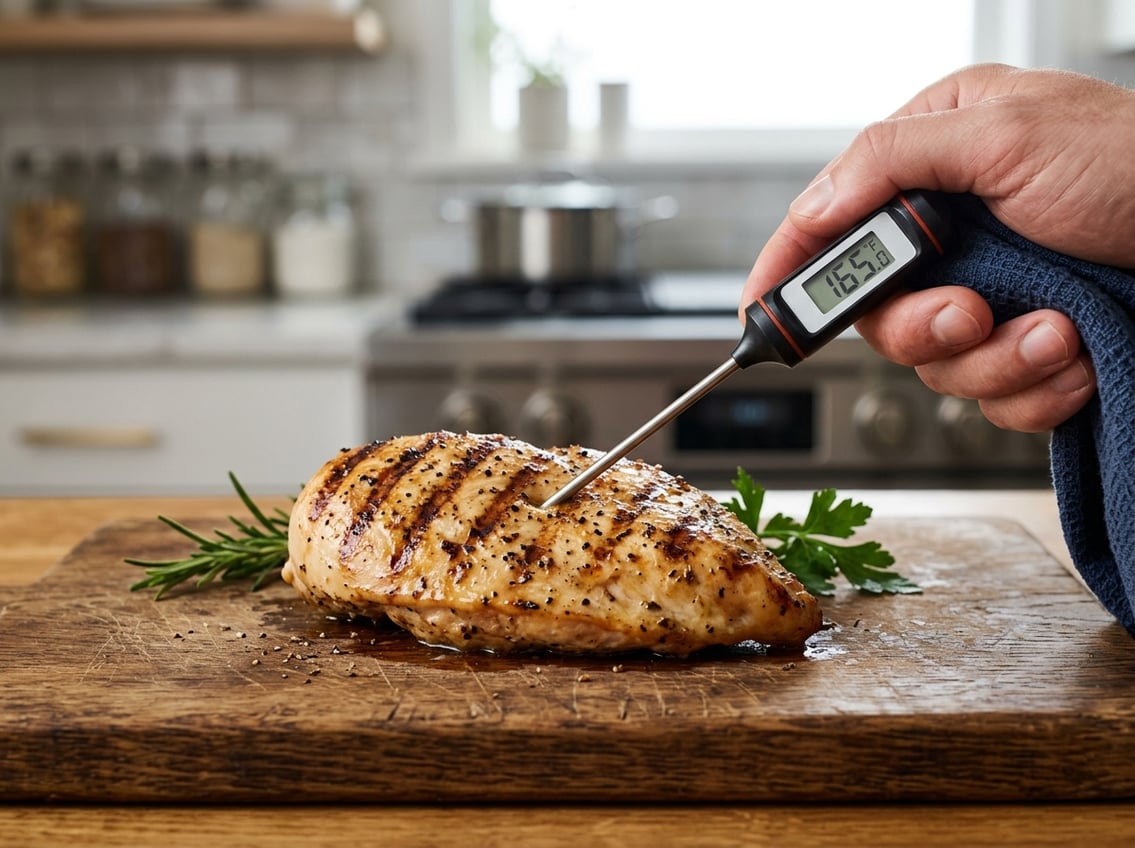
A meat thermometer removes the guesswork. Use a meat thermometer every time you cook chicken breasts for the most reliable results.
Use a Meat Thermometer in the Thickest Part
Place the probe in the thickest part of the breast. Avoid bone, since bone can give a false reading.
If the breast is uneven, check the thickest center and, if needed, a second spot. That helps you spot cold areas before you serve the chicken.
How to Use a Meat Thermometer Correctly
Insert the thermometer toward the center of the meat, not through the pan or baking dish. Wait until the reading stops changing, then check the number.
A digital food thermometer is the easiest tool for home cooking. It gives a fast, clear result and works well for oven, skillet, and grill cooking.
Why an Instant-Read Thermometer Is Best
An instant-read thermometer is the best choice for chicken breasts because it gives a fast reading with little heat loss. That matters when you are checking a thin piece or cooking several pieces at once.
Fast readings help you avoid overcooking while you verify safety.
Signs Your Chicken Is Ready to Serve
Visual signs can help, especially when you do not have a thermometer in hand. The best results come when you pair those signs with the safe target of 165°F (74°C).
What the Inside Should Look Like
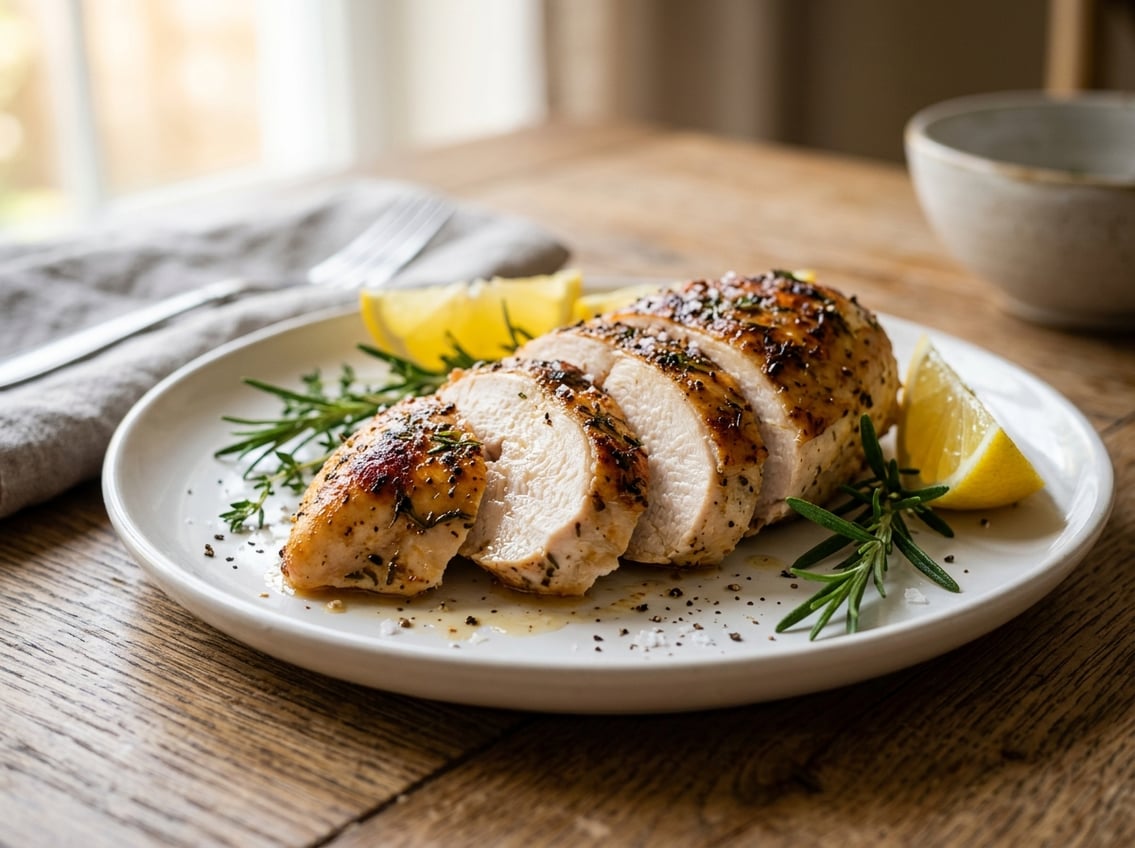
The meat should look opaque and white through the center, with no raw pink areas. It should feel firm, not soft or rubbery.
According to How Do I Know When Chicken Breast is Cooked? A Comprehensive Guide, cooked chicken breast is usually white and firm to the touch. Color alone is not enough for safety.
Why Clear Juices Are Not Always Enough
Clear juices can be a helpful sign, yet they do not guarantee that the chicken has reached a safe temperature. Chicken can look done before the inside is fully cooked.
That is why the thermometer matters more than the juice test. Use the visual signs as support, not as the only check.
How Resting Affects Final Doneness
Resting lets the temperature settle and juices move back through the meat. If you pull the chicken at the right point, resting can improve texture and help it stay moist.
Do not rest undercooked chicken and hope it finishes on the counter. Rest is a finishing step, not a replacement for proper cooking.
Avoid Dry or Undercooked Results
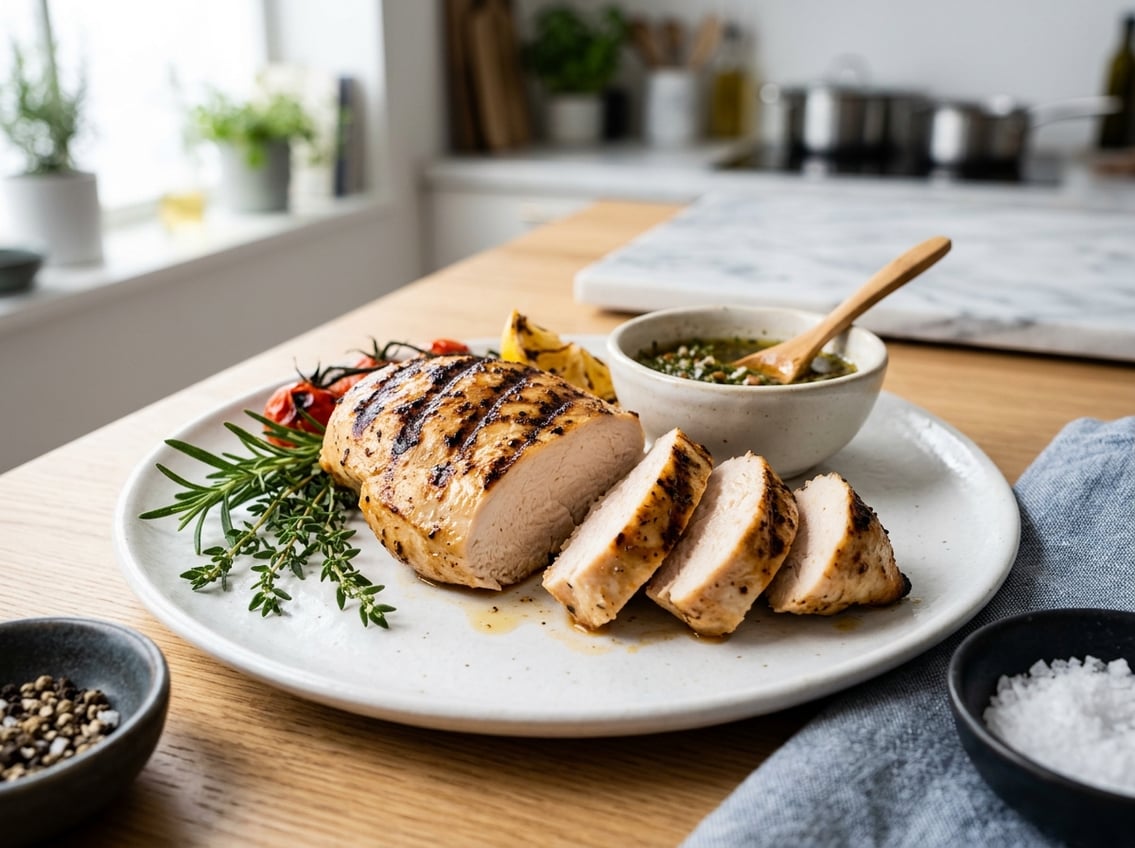
You can keep chicken breasts juicy by controlling heat, watching thickness, and checking temperature often. A meat thermometer or instant-read thermometer helps you avoid both dry meat and unsafe centers.
Best Practices for Oven, Skillet, and Grill Cooking
In the oven, cook chicken breasts on a sheet pan or in a baking dish and check the center near the end of cooking. In a skillet, use medium heat so the outside does not brown too fast.
On the grill, keep heat steady and move thicker pieces to a cooler part of the grate if the outside is cooking faster than the inside. In every method, use a meat thermometer to confirm the final temperature.
Common Mistakes That Lead to Overcooking
One common mistake is cooking by time alone. Turning the heat too high can dry the outside before the center is done.
Cutting into the chicken too early also causes moisture loss. Once you slice it, juices escape faster and the meat can seem drier than it needs to be.
How to Handle Large or Uneven Chicken Breasts
Large breasts often cook unevenly, especially if one end is much thicker.
Pound them lightly to an even thickness or split them into smaller pieces.
If the shape stays uneven, check the thickest point with an instant-read thermometer.
Give the thinner end less time over direct heat to keep the whole breast closer to the same final doneness.


