
What Should Chicken Breast Temp At? Safe, Juicy Guide
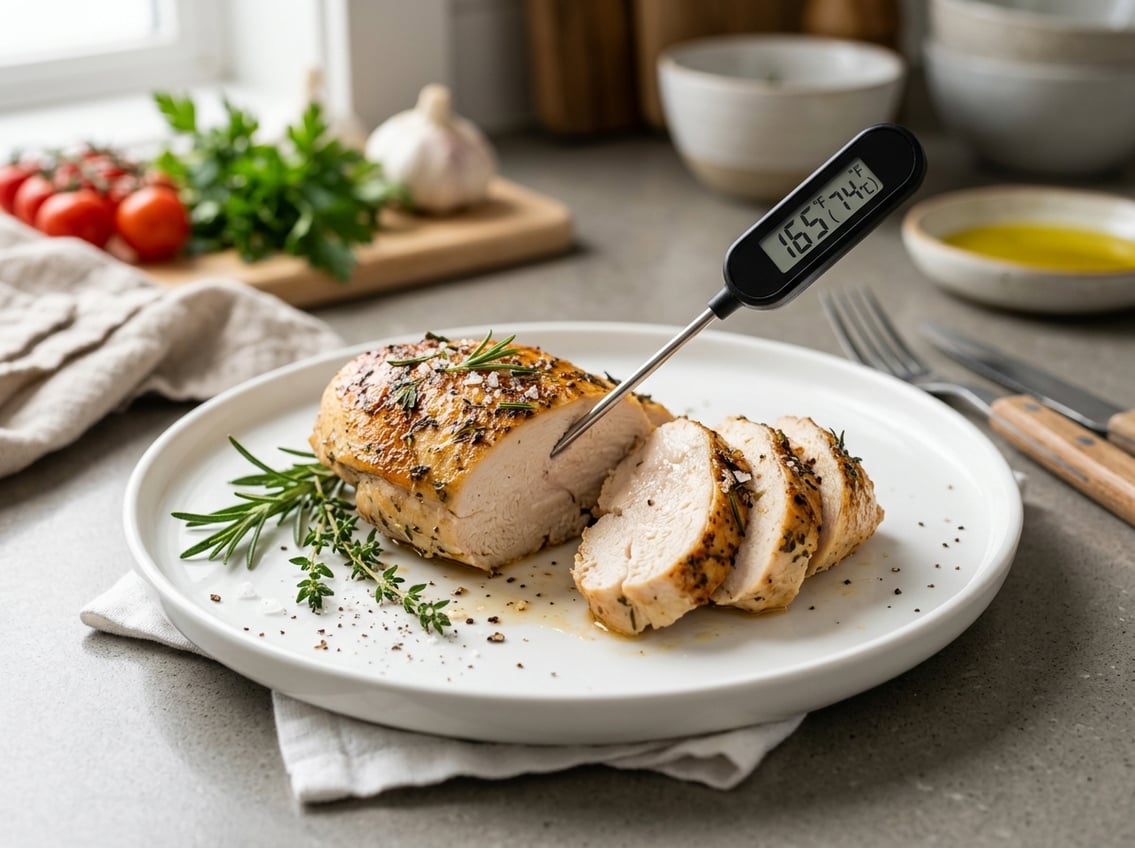
Aim for a chicken breast temperature of 165°F, measured in the thickest part of the breast. This number gives you a safe result and a reliable starting point for keeping the meat tender.

Chicken breast is lean, so it dries out fast if you guess wrong. If you know the right cooking temperature and check the internal temperature with a thermometer, you can avoid undercooking and tough meat.
The safest answer is simple: you want the chicken internal temperature to reach 165°F before you eat it.
The Safe Number to Know
Food safety matters most when you cook chicken breast. The safe internal temperature protects you from harmful bacteria while still giving you a meal that works for salads, sandwiches, bowls, and weeknight dinners.
USDA Safe Minimum Internal Temperature
The USDA safe minimum internal temperature for chicken is 165°F, which is 74°C. That is the standard for chicken breast in the U.S., and it is the number you should trust when deciding what temperature to cook chicken to.
Some guides mention 75°C, which is close to 165°F after rounding. In practical kitchen use, 165°F and 74°C are the numbers you will see most often for chicken cooking temperature.
165°F and 74°C Explained
At 165°F, the chicken reaches a level that keeps it safe for eating. Cooking references and guides point to the same rule: check the thickest part and cook until it reaches 165°F or 74°C.
That target is the safe minimum internal temperature. Time in the pan or oven can vary, so the thermometer reading matters more than the clock.
Why Food Safety Matters More Than Color
Color can mislead you. Chicken can look done before it is safe, and it can still look a little pink even when it has reached the correct internal temperature.
Bacteria such as salmonella and campylobacter can cause foodborne illness. Rely on a thermometer instead of juice color, firmness, or guesswork, because it gives you the most dependable answer.
How to Keep It Juicy Without Undercooking
Juicy chicken comes from cooking to the right temperature, then stopping at the right moment. You get better texture when you use resting time, salt, and simple prep methods that help the meat hold moisture.
When to Pull It Off the Heat
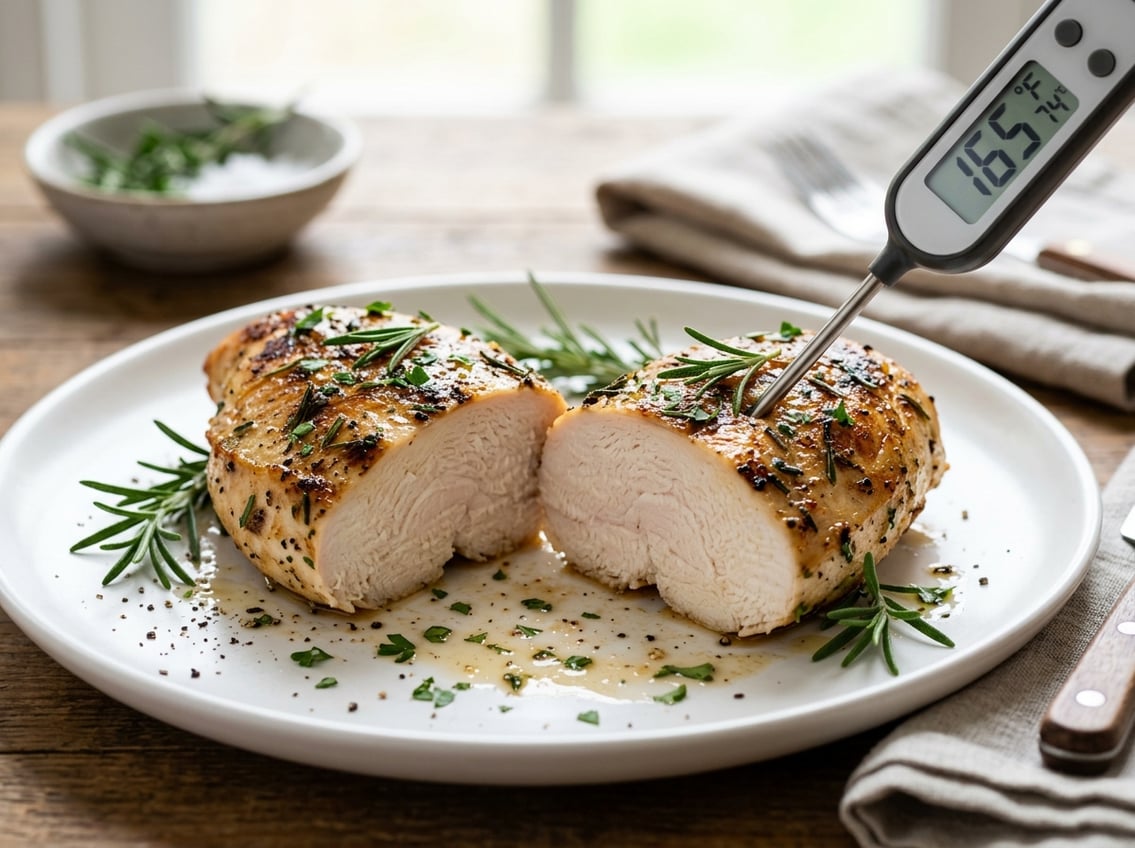
For chicken breast, remove it from heat when it reaches 165°F in the thickest part. If you cook with gentle heat and let it rest, you can avoid a dry texture.
With very hot cooking methods, some cooks pull chicken a little earlier and let carryover cooking finish the job. That works best when you already know your stove, oven, or grill runs hot.
Carryover Cooking and Resting Time
Carryover cooking means the chicken keeps rising in temperature after you take it off the heat. A short rest gives the juices time to settle, so they stay in the meat instead of running out onto the cutting board.
Cover the breast loosely and rest it for a few minutes. That small pause helps you keep the meat juicy without missing the safe internal temperature.
Brining and Marinades for Better Texture
Brining and marinades both help with juicy chicken. Salt helps the meat hold moisture, and acidic ingredients like lemon juice or vinegar can improve texture, as noted in Allrecipes’ chicken breast temperature guide.
Keep your marinade simple and do not soak the chicken too long in strong acid. A short brine or a balanced marinade can make a noticeable difference without changing the safe cooking temperature you need to reach.
How to Check Doneness Accurately
A meat thermometer is the most reliable tool for checking chicken breast. The reading should come from the thickest part of the breast, and the method you use affects how accurate that number is.
Thermometer Placement in the Thickest Part
Insert the thermometer into the thickest part of the breast, not into a thin edge. Avoid touching the pan, baking sheet, or bone, since that can give a false reading.
For more detail on safe placement and doneness, see this chicken internal temperature guide, which also emphasizes the 165°F target. The same basic rule applies whether you roast, pan-sear, or grill.
Instant-Read vs Probe Models
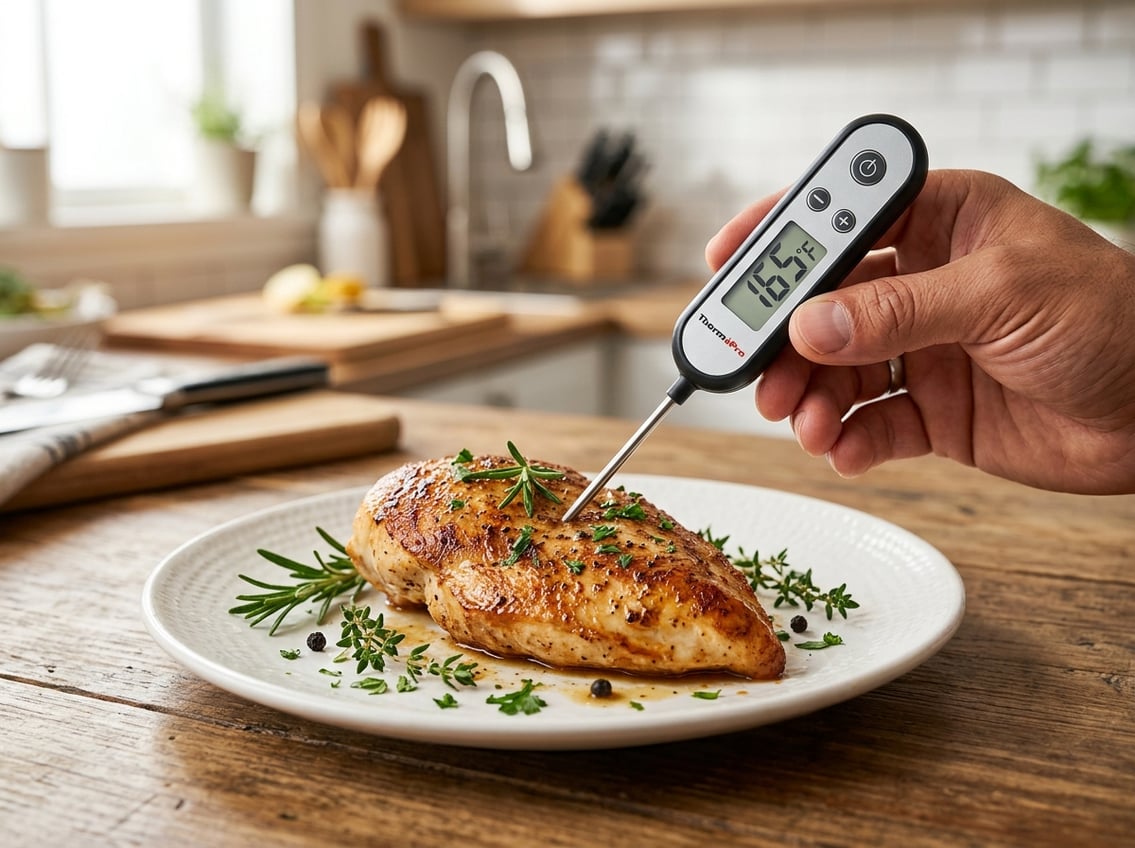
An instant-read thermometer gives you a quick check when the chicken is almost done. A probe thermometer stays in the meat during cooking, so it helps when you want steady monitoring in the oven or on the grill.
A digital meat thermometer is usually the easiest choice for home cooking. It is fast, readable, and far more reliable than cutting into the breast to check the center.
How to Use a Meat Thermometer Correctly
Start checking a few minutes before the expected finish time. Move the probe to the thickest part, wait for the number to settle, and confirm that it reaches 165°F.
A simple chicken temperature chart can help you compare cuts, but chicken breast is the easiest to remember: 165°F in the center. If you cook chicken often, practicing the same thermometer placement each time will improve your results.
Best Cooking Methods for Breast Meat
The best cooking method depends on the texture you want and the time you have. Baking chicken breast gives you even heat, skillet cooking gives you speed and browning, and sous-vide gives you the tightest control over temperature.
Baking Chicken Breast in the Oven
Baking works well when you want hands-off cooking. Many home cooks use medium heat in the oven, while some recipes recommend higher heat for a shorter time, such as the Allrecipes method for baking chicken breasts, which suggests 450°F or 375°F depending on the result you want.
Use a thermometer near the end so you can stop at 165°F. Oven size, breast thickness, and starting temperature all change the cook time.
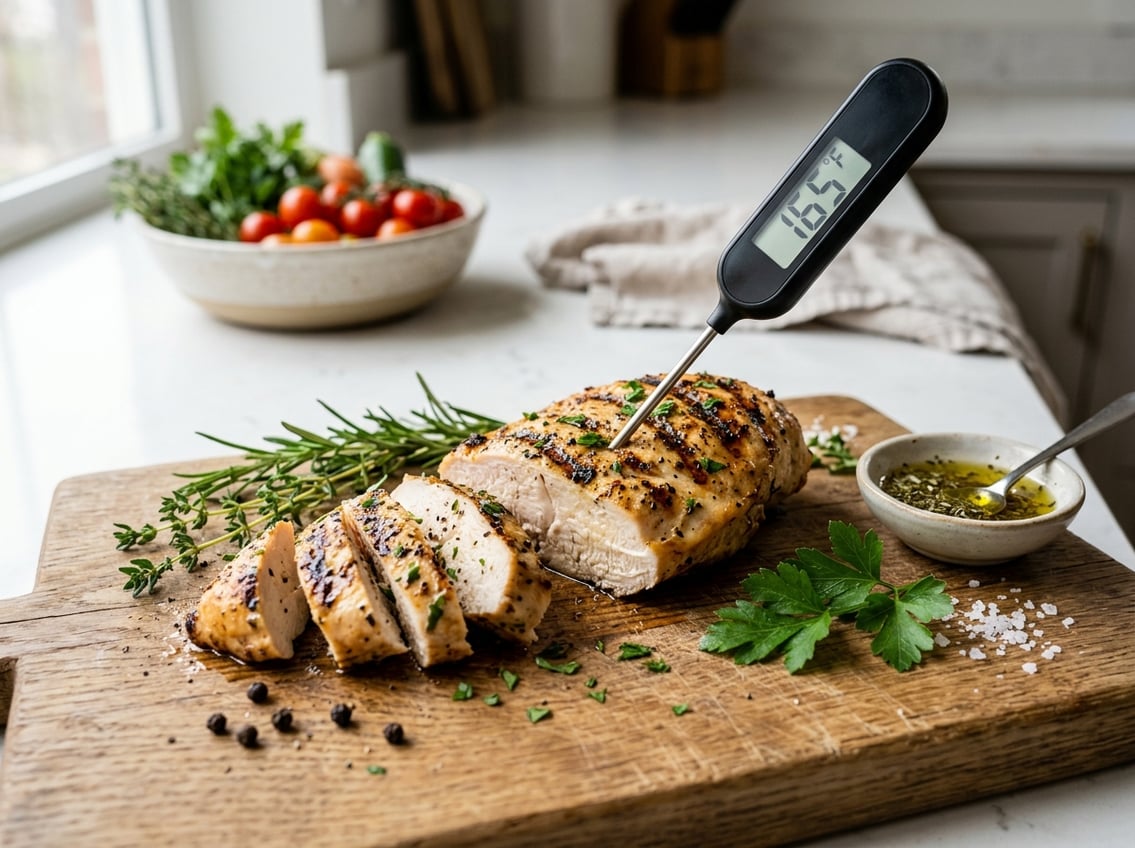
Skillet Cooking Over Medium-High Heat
A skillet works well for quick weeknight chicken breast. Medium-high heat gives you good browning on the outside without forcing the inside to overcook too fast.
Sear the first side, flip, then finish cooking until the thickest part reaches 165°F. If the breast is thick, you can lower the heat a little after browning so the center cooks more evenly.
Sous-Vide for Precise Results
Sous-vide gives you exact temperature control. This method works well for lean chicken breast.
The water bath holds a stable cooking temperature. You can keep the meat tender and then finish it with a quick sear.
Food safety still matters even with sous-vide. Follow a trusted time and temperature method, then sear briefly for color and texture.


