
What Should Chicken Breast Be Cooked to Temperature? Safe Guide
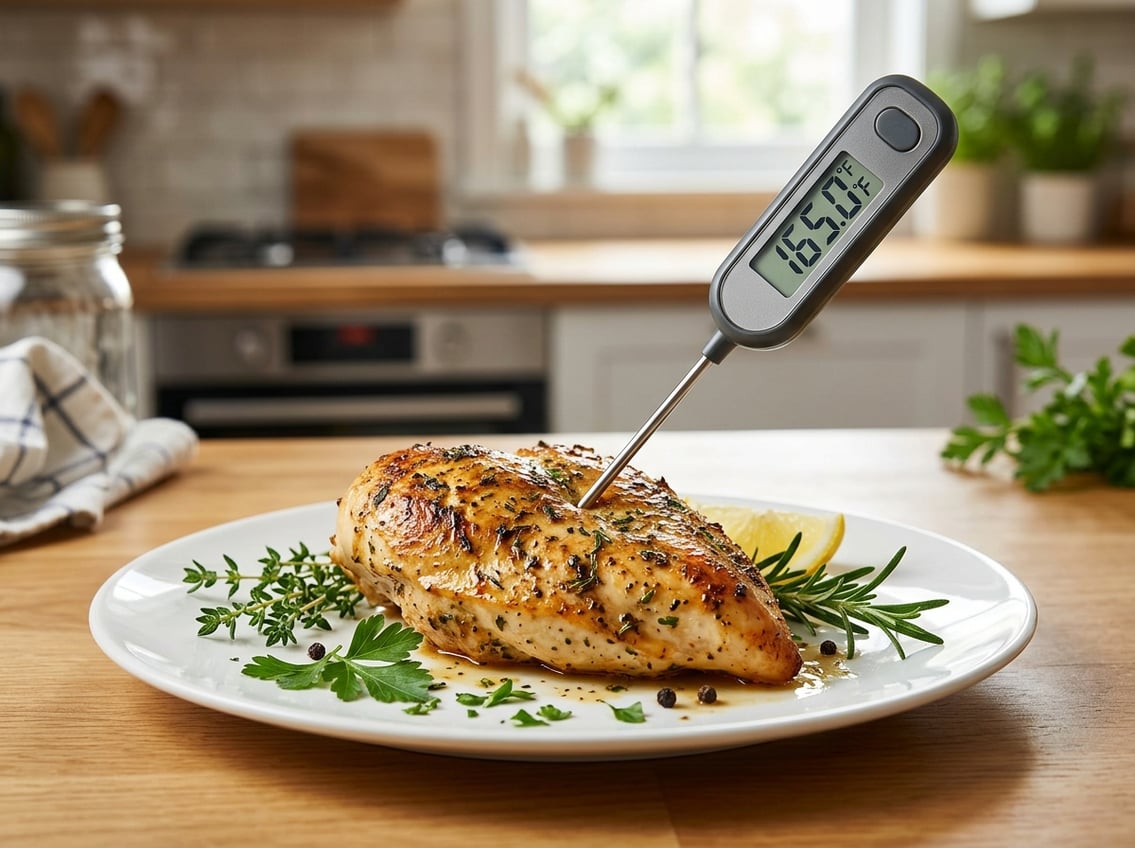
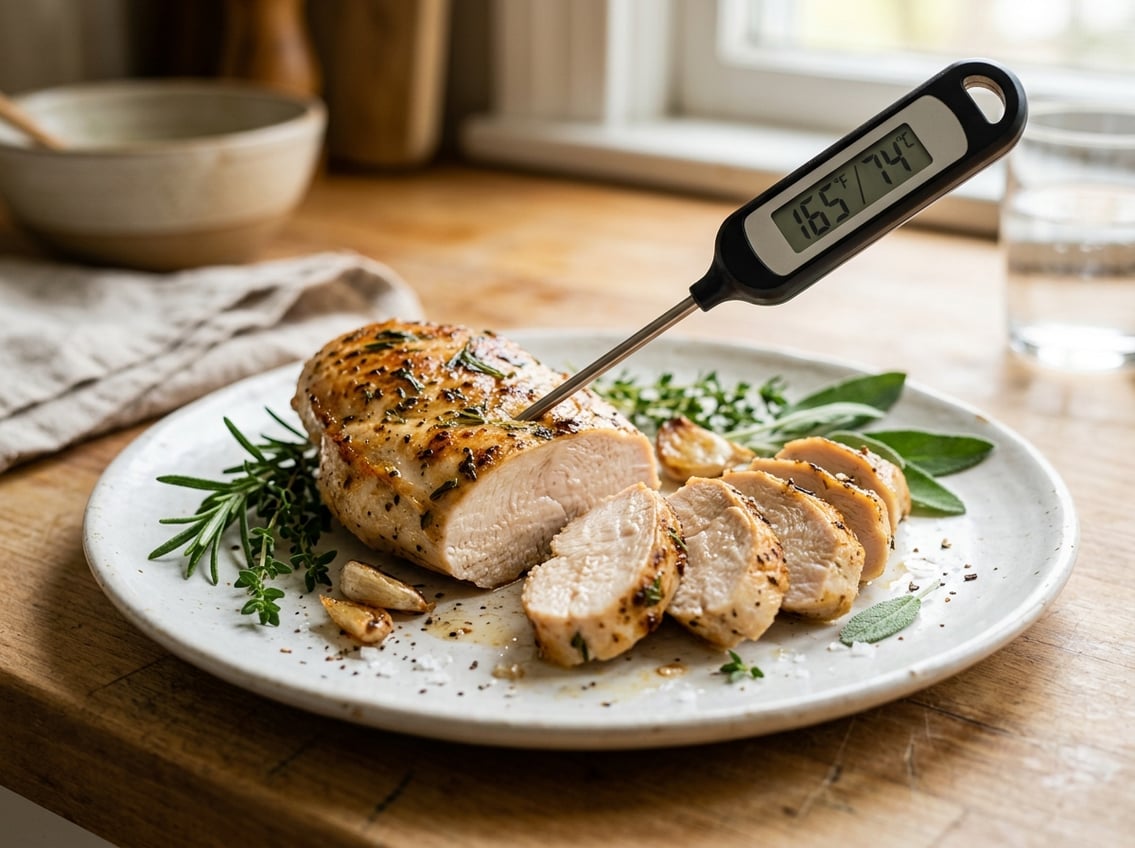
Cook chicken breast to 165°F (75°C) in the thickest part of the meat for safe results. That temperature helps kill harmful bacteria and gives a clear answer to what temperature chicken breast should reach.
A thermometer gives you a much better result than guessing by color, time, or feel. The goal is a perfectly cooked chicken breast that stays juicy enough to eat on its own or use in salads, sandwiches, and pastas.

The Exact Safe Temperature to Aim For
Aim for 165°F (75°C) in the thickest part of the chicken breast for food safety. Use this temperature whether you bake, sear, or finish it in the oven.
This target gives a safe internal temperature without guessing based on the outside color. It also helps you stop before the meat turns dry.
Why 165°F (75°C) Is the Safety Standard
The USDA standard for chicken is 165°F because that temperature destroys harmful bacteria quickly. This makes it a reliable benchmark for home cooking.
Some guides mention pulling chicken a little earlier and letting it rest, which can work if you monitor temperature carefully.
When to Pull Chicken Breast Off the Heat
You can remove chicken breast from the heat a few degrees early if you expect carryover cooking to finish the job. Many cooks pull it around 160°F, then let it rest so the temperature rises to 165°F.
If you prefer a simpler method, cook until the thermometer reads 165°F and then rest it briefly.
Why Color and Juices Are Not Reliable Signs
White meat can look done before it is safe, and a pink tint does not always mean it is undercooked. Juices can run clear even when the thickest part is still below temperature.
Color and juices are poor tests for doneness. A thermometer gives you the real answer.
How to Check Doneness Accurately
A good thermometer removes the guesswork and helps you hit 165°F (75°C) with confidence. The key is checking the right spot and reading the temperature correctly.
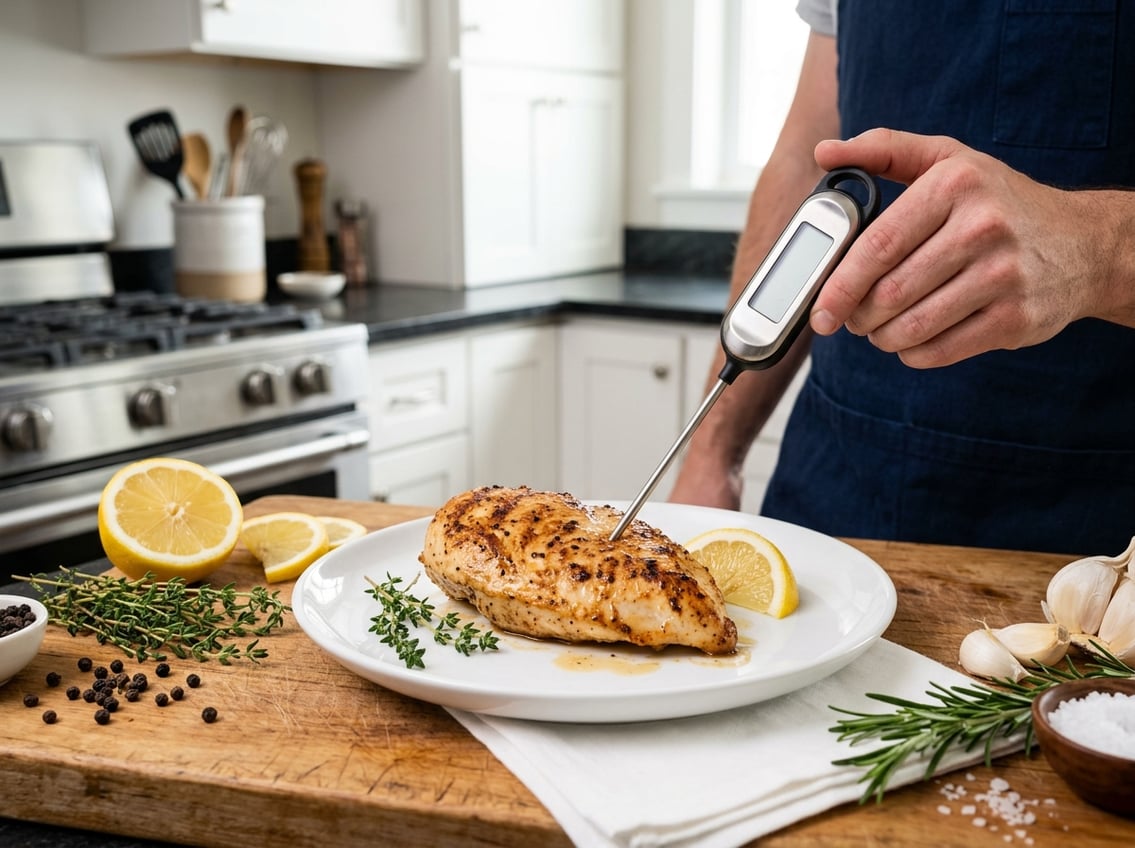
Where to Insert a Meat Thermometer
Insert the probe into the thickest part of the chicken breast. Avoid touching bone, the pan, or the baking dish, since that can give a false reading.
If the breast is uneven in shape, check more than one point.
Why an Instant-Read Thermometer Works Best
An instant-read thermometer is fast, easy to use, and accurate enough for chicken. You can open the oven or pan, check the temperature in seconds, and get back to cooking.
This matters because chicken breast can go from moist to dry quickly. A quick reading helps you stop at the right moment.
Common Temperature-Reading Mistakes to Avoid
Do not measure near the edge, since the outside cooks faster than the center. Do not leave the thermometer touching fat or bone.
Make sure your thermometer is clean and calibrated.
How to Keep Chicken Breast Juicy
Chicken breast is lean, so it dries out faster than darker cuts. You can still get juicy chicken if you control heat, thickness, and resting time.
Carryover Cooking and Resting Time
After you remove chicken from the heat, the internal temperature keeps rising for a few minutes. This is carryover cooking, and it helps finish the center without overcooking the outside.
Rest the chicken for 5 to 10 minutes before slicing. This gives the juices time to settle back into the meat.
How Thickness Affects Results
Thicker breasts need more time than thin ones, and uneven pieces cook at different speeds. Chicken breast can be dry on one end and underdone on the other if you cook it without checking.
For more even results, pound the breast to a similar thickness or slice large breasts in half horizontally. This helps you make perfectly cooked chicken with less risk of overcooking.
Brining, Seasoning, and Other Moisture-Saving Tips
A simple salt brine or marinade can help chicken stay moist. As noted by Allrecipes, brining or marinating helps tenderize the meat and improve moisture retention.
Light seasoning with oil, butter, salt, pepper, and acid like lemon juice also helps with flavor and texture.
Best Oven and Stovetop Cooking Methods
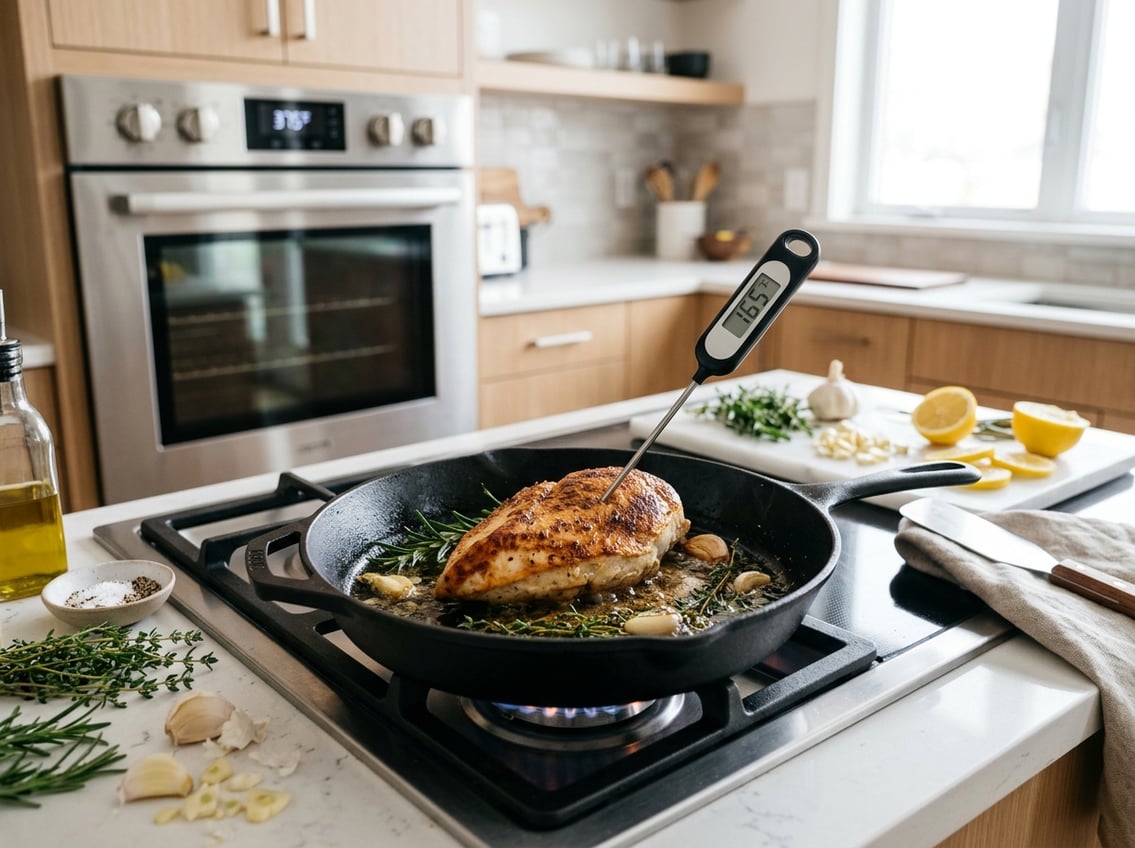
The best method depends on the texture you want and how much time you have. Oven heat gives even cooking, while the stovetop gives faster browning and a little more control.
Baking Chicken Breast at 375°F vs 450°F
At 375°F, chicken breast cooks more slowly and can stay moist if you give it enough time. At 450°F, it cooks faster and develops more color on the outside, which is why Allrecipes recommends 450°F for a shorter roast and 375°F for a lower, slower bake.
If you want a cleaner, simpler method, 375°F gives you more margin for error. If you want faster cooking and more browning, 450°F works well as long as you watch the temperature closely.
Pan-Searing Timing for Boneless Breasts
A medium-high pan works well for boneless chicken breast. According to Allrecipes, a common stovetop pattern is about 4 minutes on the first side and 3 to 4 minutes after flipping, then checking for 165°F.
If the breast is thick, use a lower heat finish or a short oven step. The center should always reach the safe temperature before you serve it.
How Long Different Sizes Usually Take
Thin cutlets cook much faster than large, thick breasts.
A small boneless breast may finish in under 15 minutes. A large one can take longer in the oven or skillet.
Use time only as a rough guide.
Always check doneness with a thermometer, since size and shape change the cooking time more than the clock.


