
What Is the Chicken Breast Temperature? Safe Doneness Guide
The chicken breast temperature question has a simple answer, and it matters for both safety and texture.
You want the chicken breast to reach a safe internal temperature without going far past it. Extra heat makes lean breast meat dry and tough.
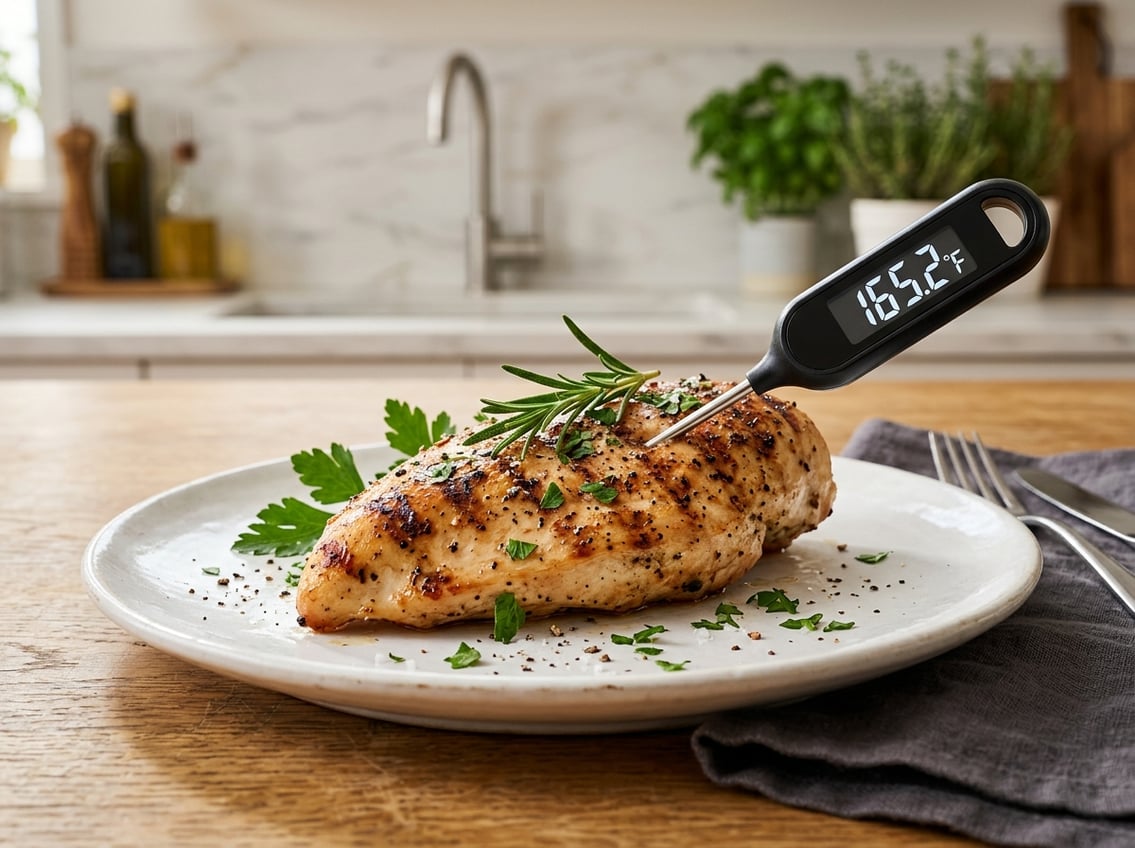
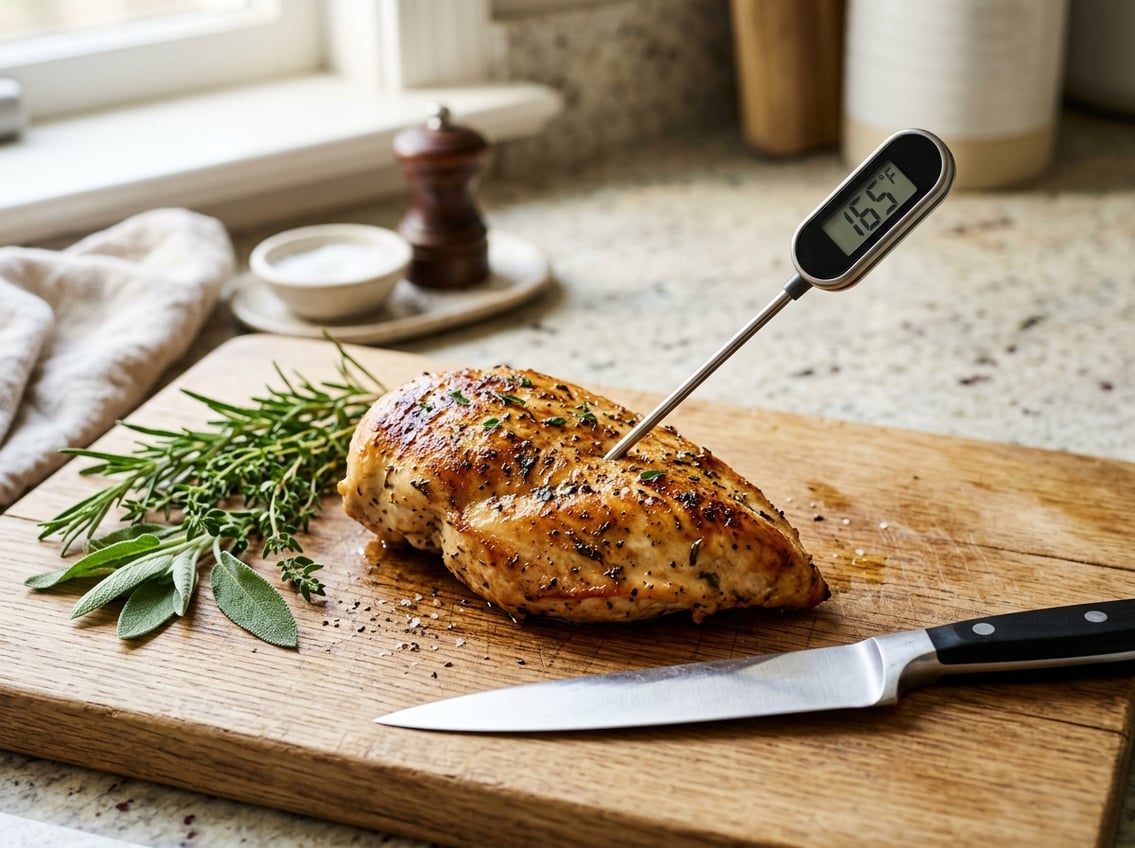
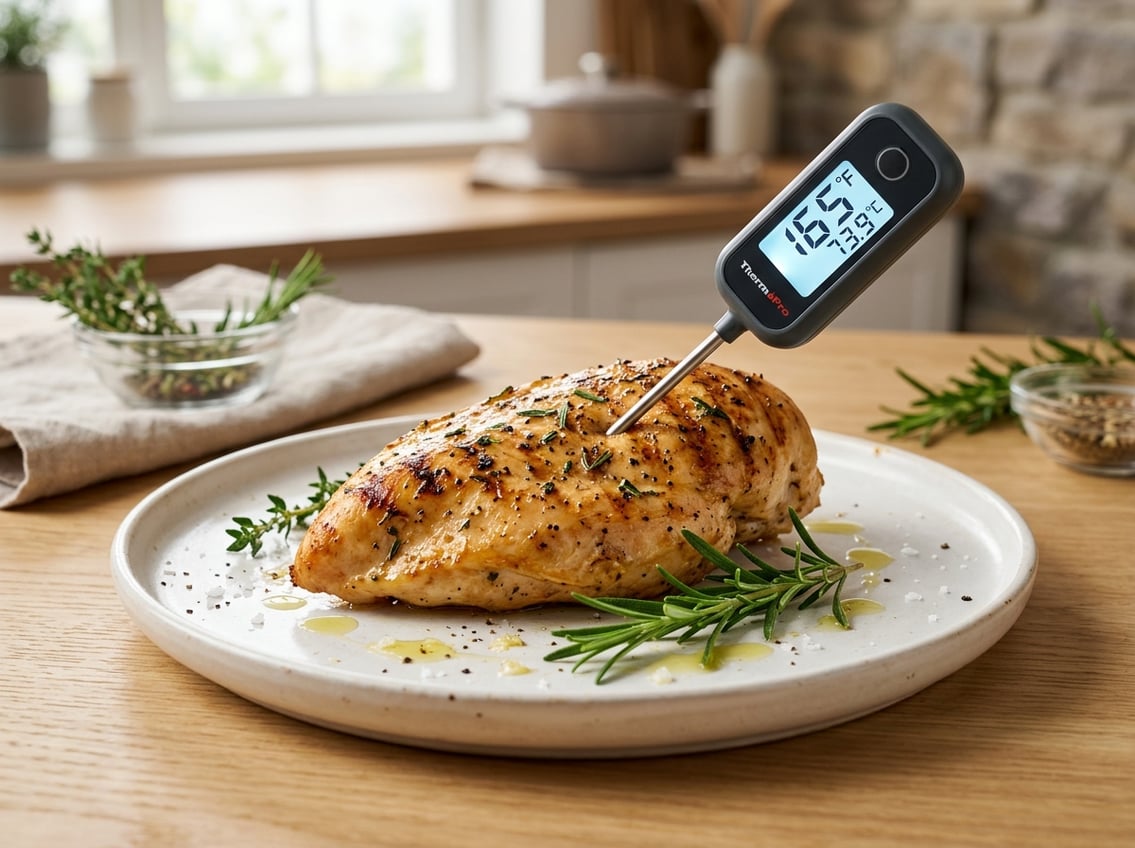
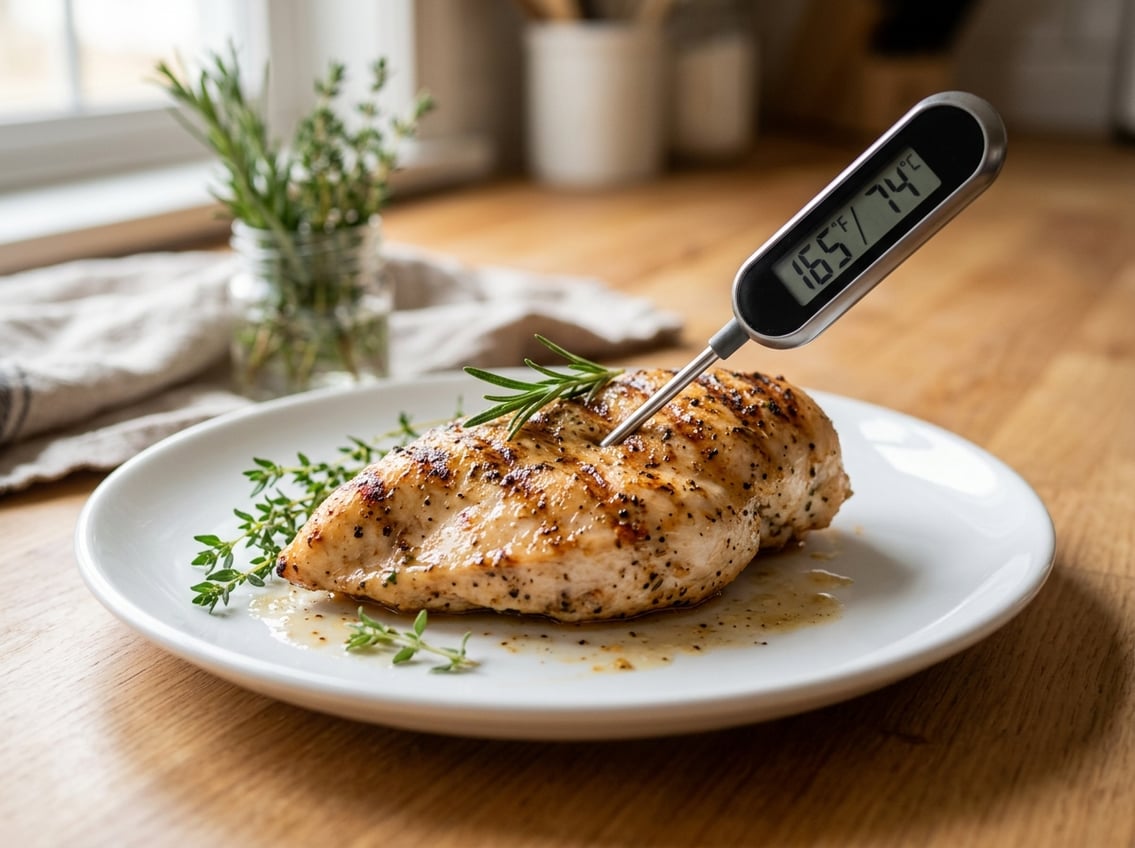
For most chicken breast, the safe minimum internal temperature is 165°F. Measure this at the thickest part with a meat thermometer.
If you pull it a little earlier, you can still get safe, juicier results if the meat finishes cooking during rest and reaches that final temperature.

The Exact Temperature to Aim For
The right chicken internal temperature is the difference between juicy meat and a dry, stringy breast.
The safe chicken cooking temperature is tied to food safety, while your pull point affects texture and moisture.
Safe Minimum for Chicken Breast
The standard safe minimum for chicken breast is 165°F.
You should reach this temperature in the thickest part of the meat before serving, as reflected in guidance from Allrecipes and general chicken internal temperature charts like Springer Mountain Farms.
If your thermometer reads below that, keep cooking.
Chicken breast is too lean to guess your way through doneness.
Best Pull Temperature for Juicier Results
If you want to avoid overcooking chicken, pull the breast at about 155°F to 160°F and let it rest.
The temperature rises a few degrees during carryover cooking, which helps you land at a safe finish without pushing the meat too far.
This works best when you take the chicken off the heat as soon as the center is close to done.
A good thermometer is the only reliable way to do that.
Why 165°F Matters for Food Safety
The 165°F mark matters because it is the widely accepted safe endpoint for chicken breast.
At that point, the heat reduces harmful bacteria to a safe level when you measure the temperature correctly.
Do not rely on color alone.
Chicken can look done before it reaches a safe chicken internal temperature, and it can still be safe even if the juices are not perfectly clear.
How to Check Doneness Correctly
A meat thermometer removes the guesswork from chicken cooking temperature.
An instant-read thermometer gives you the fastest answer, which helps you avoid cutting into the meat and losing juices.
How to Use a Meat Thermometer
Turn on the thermometer and wait for it to calibrate if needed.
Check the temperature near the end of cooking, not at the beginning.
Insert the probe into the thickest part of the breast and wait for the reading to stabilize.
If you are cooking more than one piece, test each one.
Where to Insert an Instant-Read Thermometer
Place the tip in the center of the thickest area, since that is the last part to cook.
Keep the probe away from the pan, grill grate, or baking dish, because hot surfaces can give a false reading.
For bone-in breast, avoid touching the bone.
Bone conducts heat differently and can make the reading look higher than the actual chicken internal temperature.
Common Temperature Reading Mistakes
One common mistake is checking only one spot on a thick breast.
Another is removing the chicken too early because the outside looks browned.
Avoid leaving the thermometer in the pan or oven while it heats unless the tool is designed for that use.
A standard instant-read thermometer is meant for quick checks, not continuous cooking.
Cooking Methods and Timing Expectations
Your chicken cooking temperature changes with the method, but the final internal target stays the same.
Timing is only a guide, since thickness, starting temperature, and heat level all affect how fast chicken cooks.
Baked Breast in the Oven
According to Allrecipes, boneless chicken breasts often bake well at 450°F for 15 to 18 minutes, or at 375°F for 30 to 35 minutes for a slower pace.
Your exact timing depends on the size of the breast.
Use a meat thermometer instead of relying on minutes alone.
Smaller breasts can finish fast, and thicker ones may need more time to avoid undercooking.
Pan-Seared Breast on the Stovetop
On the stovetop, medium-high heat works well for chicken breast.
Sear for several minutes per side until the center reaches 165°F.
A hot pan gives good browning, but it can also push the outside ahead of the inside.
Check the chicken internal temperature near the end and lower the heat if the outside is coloring too fast.
Grilled Breast and Carryover Cooking
Grill chicken breast quickly over medium-high heat.
The outside can get done before the center, so temperature checks matter even more on the grill.
Carryover cooking is important here.
Take the breast off the grill a little before the final target if you plan to rest it, then confirm it reaches safe doneness after a few minutes off heat.
How to Keep Chicken Breast Juicy
Juicy chicken starts with control.
The best way to avoid overcooking chicken is to manage heat, watch the internal temperature, and give the meat time to relax before slicing.
Why Chicken Breast Dries Out So Easily
Chicken breast has little fat, so it loses moisture fast when it goes too far past done.
It also cooks unevenly because one end is often thicker than the other.
A breast can go from tender to dry very quickly.
A thermometer helps you stop at the right moment instead of cooking by sight alone.
Resting Before Slicing
Rest the chicken for a few minutes after cooking.
This lets the juices settle back into the meat instead of spilling out onto the cutting board.
Cover it loosely with foil if you want to hold warmth.
Do not rest it so long that it cools too much, since the goal is to keep the texture pleasant as well as safe.
Brining, Marinating, and Even Thickness
Brining or marinating adds extra moisture and flavor to chicken, which helps prevent overcooking. Salt, acids, and oil improve juiciness, according to Allrecipes.
Pound the breast to an even thickness to help it cook more evenly. When both the thick and thin ends finish at the same time, you are less likely to dry out the thinner side.


