
How Should Chicken Breast Be Cooked? Best Methods
Control the heat, season well, and aim for a clear internal temperature when you cook chicken breast. The best method depends on the cut, thickness, and whether you want a quick dinner or a moist result for meal prep.
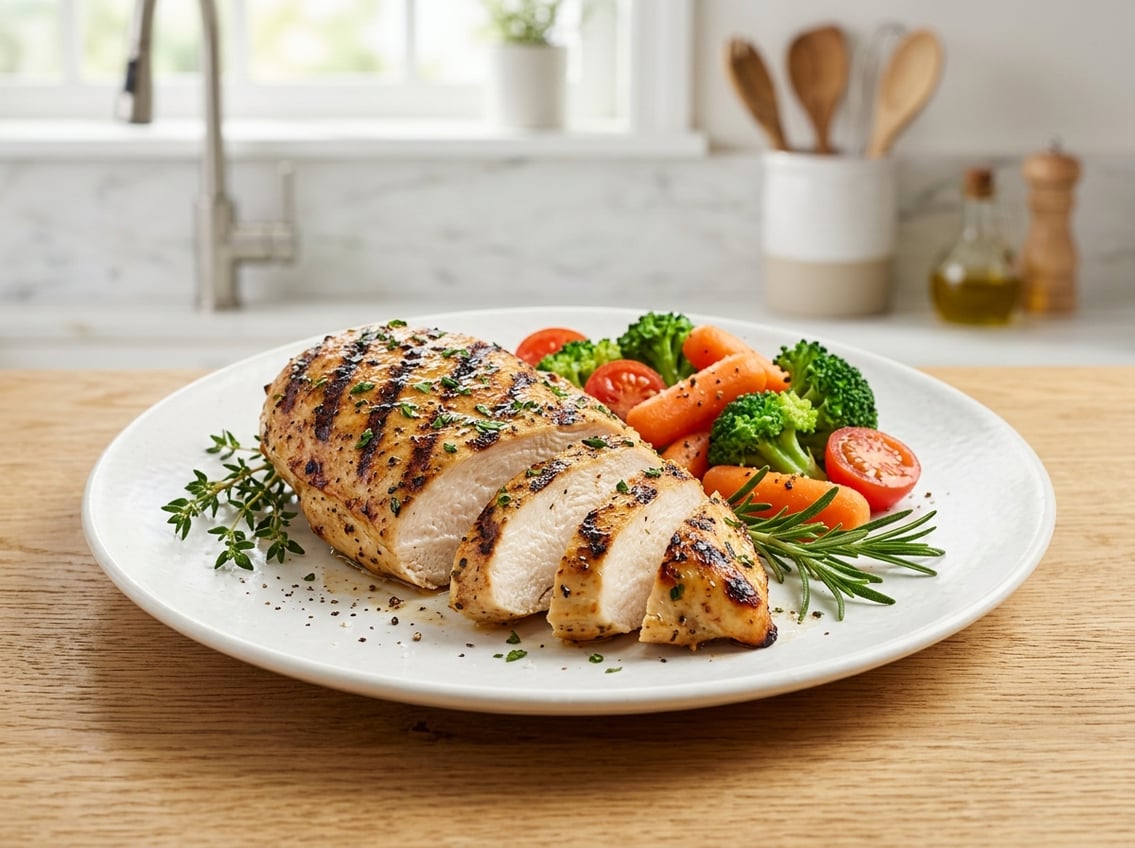
If you want juicy chicken breast, match the cooking method to the cut, cook it to 165°F at the thickest point, and let it rest before slicing.

Chicken breast is lean, so it dries out faster than darker cuts. The way you cook chicken breast matters as much as how you season it.
With the right approach, you can make juicy chicken breast for dinner or sliced chicken for salads and sandwiches.
The Best Cooking Approach for Juicy Results
Choose the best way to cook chicken breast based on the cut and your desired result. Pan-searing gives even browning and fast cooking.
Baking gives you a reliable, hands-off method.
When Baking Is the Best Choice
Baking works well when you want even cooking with less active attention. Use it when you cook several pieces at once or make food ahead for the week.
When Pan-Seared Is the Better Option
Pan-seared chicken breast gives you better browning and a firmer crust. This method works well when you want dinner fast and can stay near the stove.
Why Bone-In and Skin-On Breasts Stay Moister
A bone-in chicken breast usually stays moister than a boneless piece because the bone slows heat transfer. Skin-on chicken breast keeps more moisture because the skin adds a protective layer.
Boneless chicken breast cooks faster and dries out more easily if you overcook it.
The Internal Temperature That Prevents Dryness
Cook chicken breast until the thickest part reaches 165°F. That temperature is the standard food-safety target for poultry and helps you prevent dryness.
Use a thermometer and pull the chicken from the heat as soon as it reaches temperature. Let carryover heat finish the job during resting.
How to Prepare Chicken Breast Before Cooking
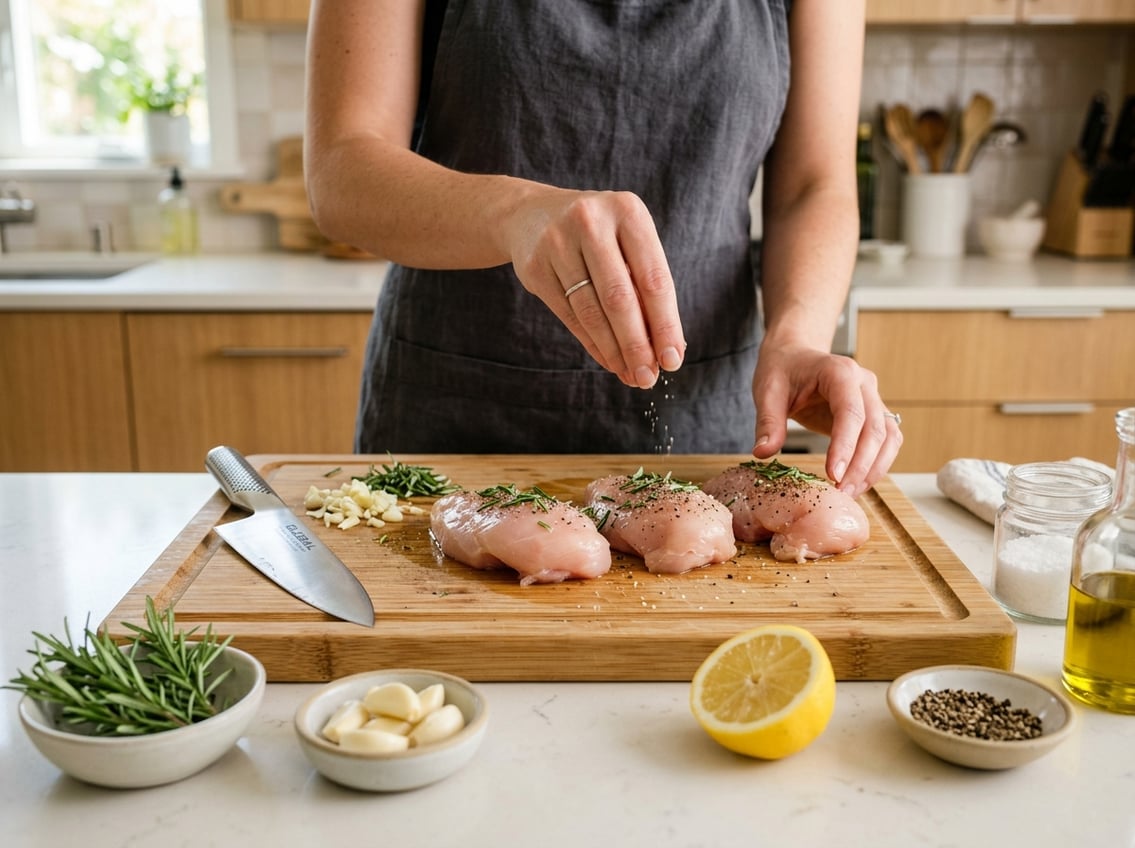
Good preparation makes cooking chicken breast much easier. Thickness, moisture, and seasoning affect how evenly the meat cooks and how much flavor it holds.
How Thickness Affects Even Cooking
A thick chicken breast takes longer to cook than a thin one, so uneven pieces finish at different times. If one end is much thicker, gently pound it to an even shape so the whole piece finishes at the same time.
This step helps the chicken stay tender and makes oven and skillet cooking more predictable.
When to Use a Quick Brine
A quick brine helps add moisture when you do not have hours to wait. It works well for plain chicken breast before baking or searing.
Even 15 to 30 minutes in brine can help, depending on thickness and salt level.
Wet Brine vs. Dry Seasoning
A wet brine adds salt and water, helping the meat hold onto moisture. Dry seasoning is simpler and gives a stronger surface crust.
If you plan to roast or pan-sear, dry seasoning is often enough. Use a brine if the chicken is very lean or you want extra insurance against dryness.
Simple Seasoning for Versatile Chicken
Use salt, black pepper, garlic powder, and paprika for a flexible seasoning. This keeps the flavor balanced and works well for salads, wraps, or rice bowls.
Season evenly and let the chicken sit for a few minutes before cooking so the salt can adhere and improve browning.
Step-by-Step Methods for Oven and Stovetop
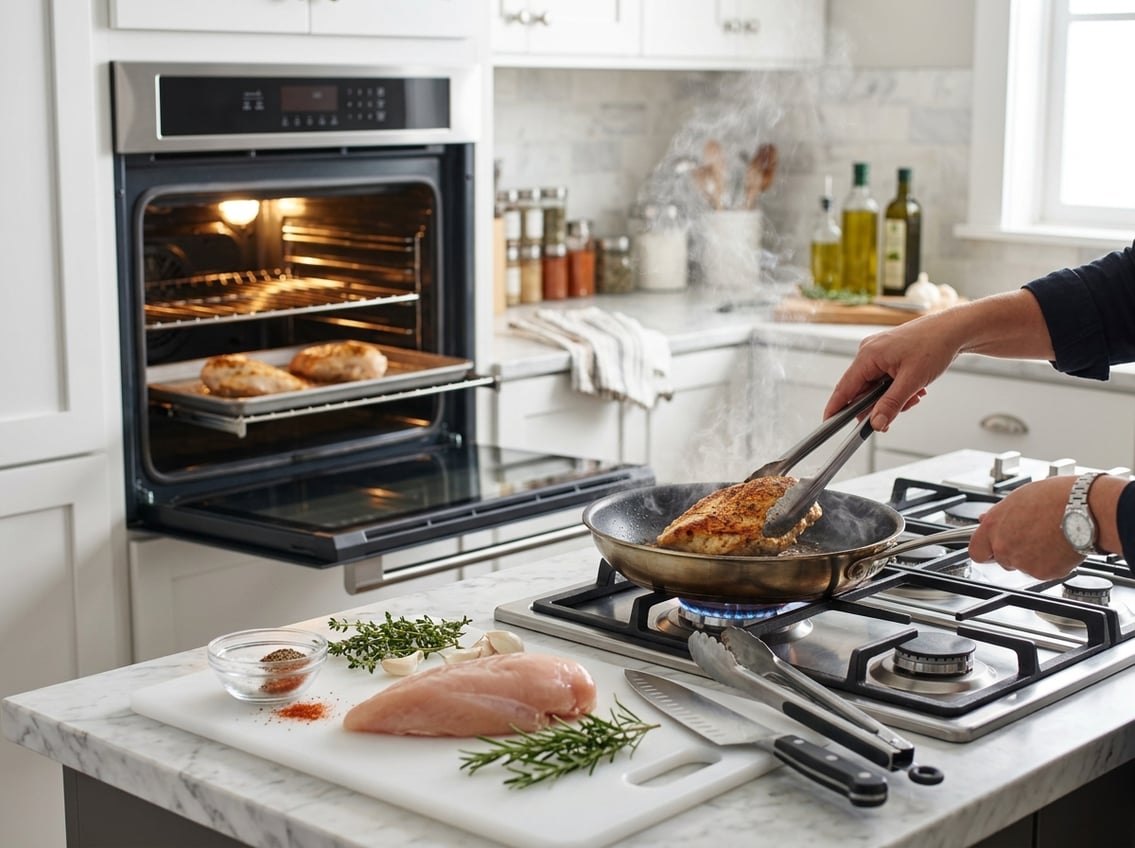
You can cook chicken breast in the oven or on the stovetop with good results. Choose the method based on the cut, thickness, and your available time.
How to Bake Chicken Breasts Evenly
Preheat the oven and place the chicken on a lined sheet pan or in a baking dish. Lightly coat the surface with oil and season well.
Try to keep the pieces similar in size. Even spacing and even thickness help the chicken cook at the same rate.
Oven Time and Temperature by Cut Type
Bake chicken breast at 425°F for about 20 to 30 minutes, depending on size. Thicker pieces need more time, while smaller ones finish sooner.
Check early and use a thermometer. Remove the chicken when the center reaches 165°F and let it rest before slicing.
How to Cook Chicken Breasts in a Skillet
Heat oil in a skillet over medium to medium-high heat. Add the chicken and let it cook without moving so a crust can form.
Flip only after the first side is deeply browned. This gives you a better sear and helps keep the meat juicy.
Finish pan-seared chicken breast with butter in the pan for richer flavor. Serve it right away for the best result.
Resting, Slicing, and Serving
Let the chicken rest for 5 to 10 minutes after cooking so the juices settle. This step matters whether you bake the chicken breast or use a skillet.
If you slice too soon, the moisture will run out. Slice across the grain for a softer bite.
Serve the chicken on its own, with vegetables, or chilled for chicken salad. Sliced chicken breast also works well in a chicken salad.


