
How Long Does It Take to Cook Chicken Breast in a Pan?
In most cases, you can cook boneless chicken breasts in about 6 to 8 minutes per side, depending on thickness and heat.
Thin cutlets finish faster, while thick breasts need more time or a lower heat setting to cook through without burning the outside.

If you use even thickness, medium-high heat, and reach an internal temperature of 165°F, you can make a juicy chicken breast in a pan with reliable results.
Pan cooking makes dinner fast and simple. Once you learn to cook chicken breast in a pan, you can season it, sear it, and use it in salads, rice bowls, pasta, or sandwiches.
Cook Time at a Glance
How long you cook chicken breast depends mostly on thickness.
If you use the right heat, you usually get a browned outside and a juicy inside.
Thin pieces finish in just a few minutes, while thicker breasts need longer and may need the heat lowered near the end, as explained by Chef’s Know How’s pan-frying timing guide.
Thin Cut Breasts and Cutlets
Thin cut breasts and cutlets, about 1/2 inch thick or less, usually take 3 to 4 minutes per side.
These are the fastest option when you want dinner on the table quickly.
Keep the heat at medium to medium-high and check early. Thin pieces can dry out if you leave them in the pan too long.
Standard Boneless Breasts
Standard boneless chicken breasts, around 1 inch thick, usually take 6 to 7 minutes per side.
A reliable skillet method often lands in the 6 to 12 minute range, depending on the exact size and heat of the pan, as noted by Chef’s Resource.
Thick Breasts and When to Lower the Heat
Thick chicken breasts, more than 1 inch thick, usually take 8 to 9 minutes per side.
If the outside browns too fast, lower the heat to medium after the first sear. This helps the center cook through without a hard crust.
If the breast is very thick, finishing it over slightly lower heat gives you more control.
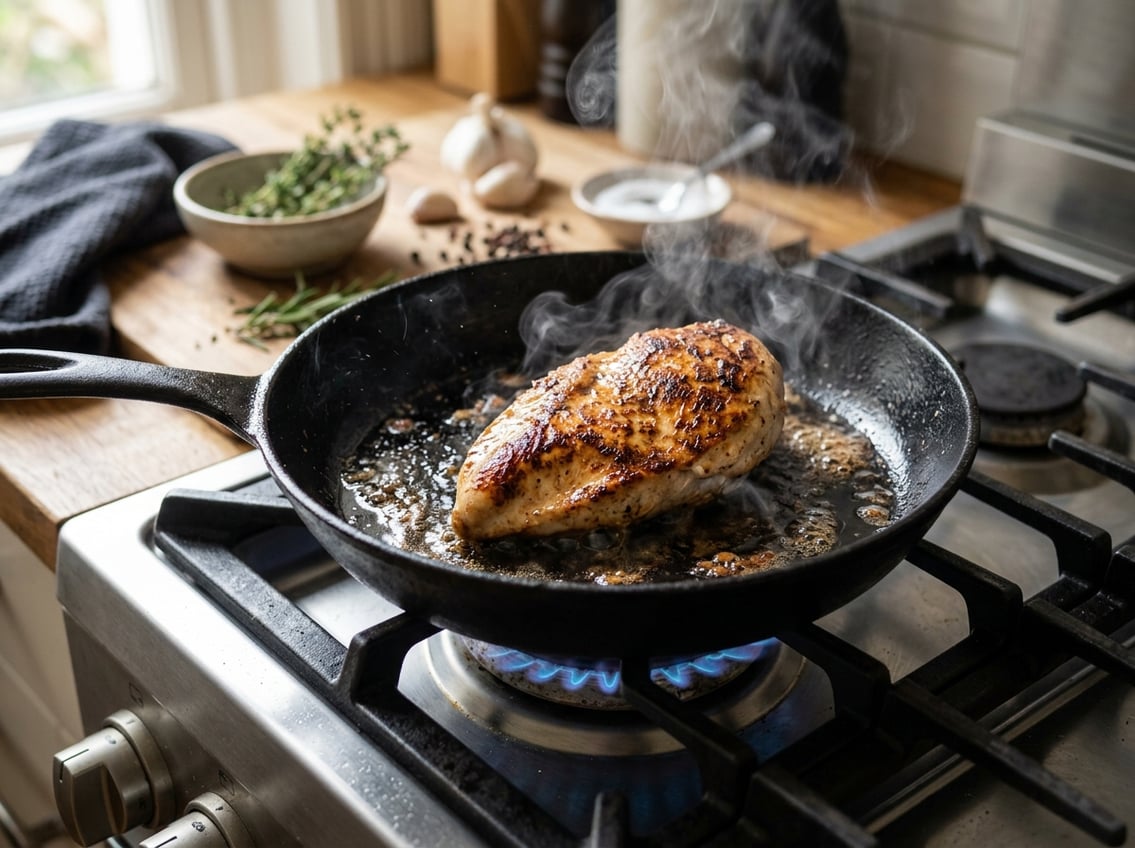
The Best Pan Method for Juicy Results
Start with even thickness, a hot pan, and let the chicken rest after cooking.
A good sear gives you color on the outside without overcooking the meat.
Prep for Even Cooking
Pat the chicken dry first, then season both sides.
If one end is much thicker, pound it lightly or butterfly it so it cooks evenly.
Use a heavy skillet if you can, since it holds heat better. Add a thin layer of oil and let it heat until it shimmers before adding the chicken.
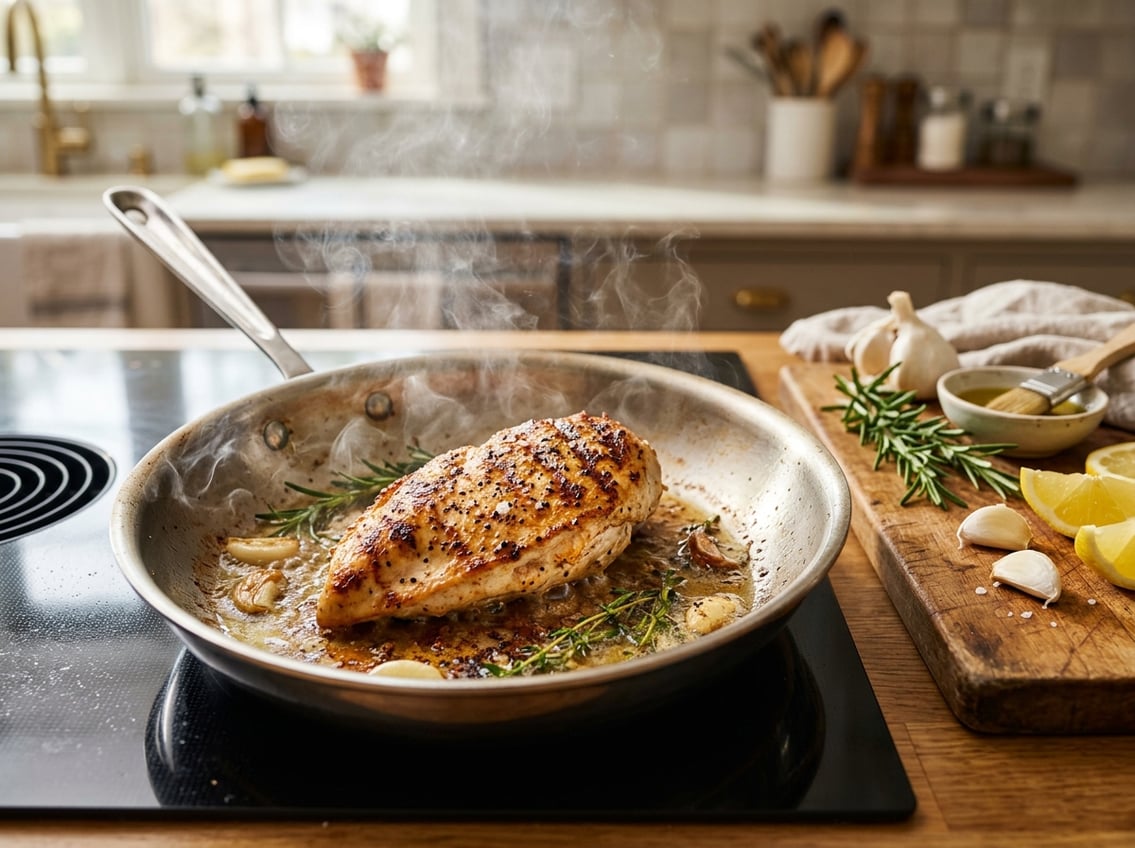
Pan-Seared Timing by Side
Place the chicken smooth side down first and let it cook without moving it.
For most boneless breasts, cook the first side for about 5 to 7 minutes, then flip and cook the other side for another 5 to 7 minutes.
If the pan is too hot, reduce the heat after flipping. As Feel Good Foodie’s pan-seared chicken breast recipe suggests, a simple seasoning mix and a short cook time can still produce juicy chicken.
When Chicken Breast Is Fully Cooked
Check the thickest part with a thermometer. You want 165°F.
The outside should look golden brown, and the juices should run clear.
If the center still looks pink and the temperature is below 165°F, keep cooking for a little longer.
What Changes the Timing
Small changes can shift the timing.
The biggest factors are thickness, pan heat, and what fat you use in the skillet.
A few simple changes can make the difference between juicy meat and dry meat.
Thickness, Pounding, and Butterflying
Thickness is the main reason one chicken breast cooks faster than another.
A breast that is unevenly shaped may cook too fast on one end and too slowly in the middle.
Pounding or butterflying makes the thickness more even.
This is especially useful for boneless chicken breasts that are very large.
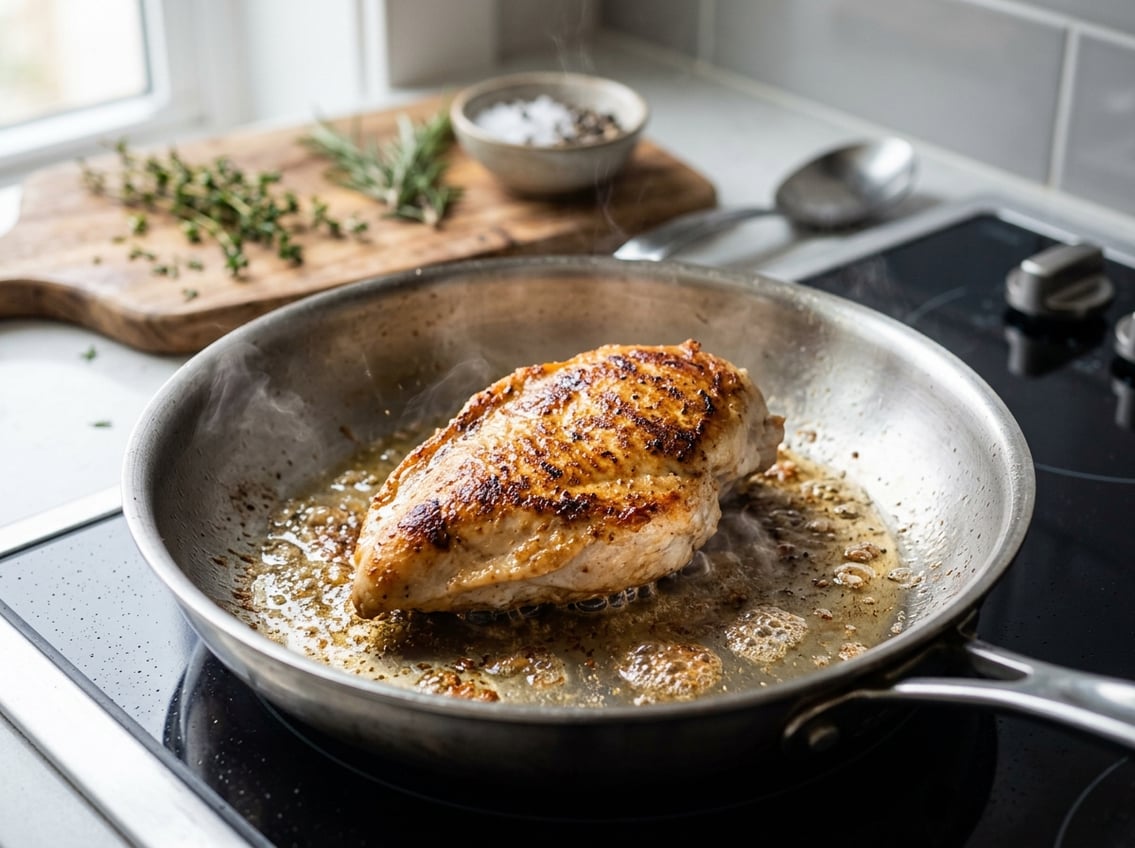
Heat Level and Skillet Type
Medium-high heat works well for most pan-seared chicken breast recipes.
If the heat is too low, the chicken can turn pale and dry from spending too long in the pan.
A stainless steel or heavy-bottomed skillet usually gives better browning than a thin pan.
A cast iron skillet also holds heat well, which helps if you want a steady sear.
Oil, Butter, and Resting Time
Use a neutral oil with a high smoke point for the main cook.
Butter adds flavor, but it can burn if you add too much too soon.
Let the chicken rest for 5 to 7 minutes after cooking.
During that time, the juices settle back into the meat, which helps keep your chicken breast tender.
Serving, Storing, and Meal Prep Ideas
Pan-cooked chicken works in many meals, from salads to sandwiches to grain bowls.
A simple seasoning mix is enough when you plan to use it in several different ways.
It also stores well, which makes it useful for meal prep.
With the right storage and reheating, you can keep cooked chicken from drying out.
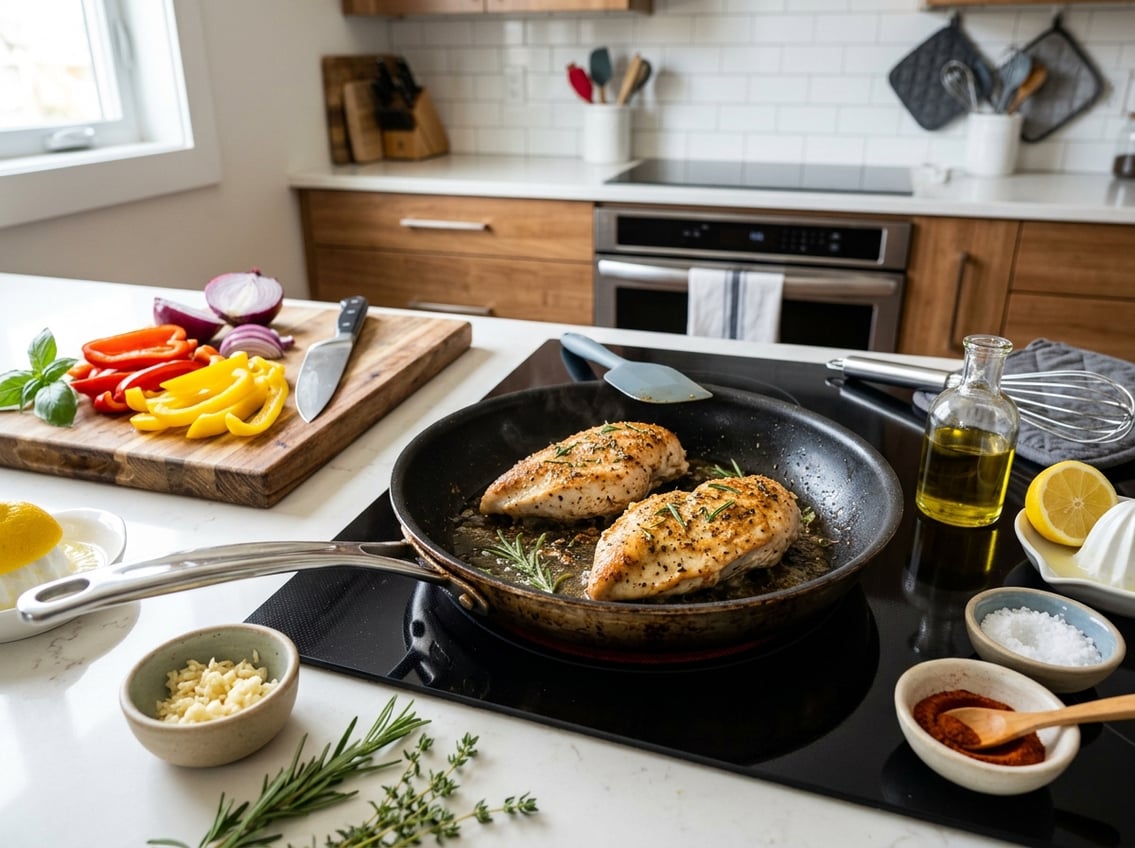
Simple Seasoning and Dinner Uses
For a basic chicken breast, season with salt, pepper, garlic powder, and paprika.
Add thyme or rosemary if you want more flavor.
Use the cooked chicken in pasta, tacos, Caesar salads, wraps, rice bowls, or roasted vegetables.
These chicken breast recipes are easy to adapt to what you already have at home.
How to Reheat Without Drying It Out
Reheat chicken slowly over low heat, either in a covered skillet with a splash of water or in the microwave at a lower power setting.
High heat dries it out fast.
Warm it just until heated through.
If you slice the chicken first, it reheats more evenly and stays more tender.
How to Freeze and Thaw Cooked Chicken
Let cooked chicken breast cool first. Wrap it tightly or place it in an airtight container.
Label the container with the date. This helps you track how long it has been stored.
Thaw the chicken in the fridge overnight for the best texture. If you need it sooner, reheat it gently from thawed or use it in soups, casseroles, or shredded chicken dishes.


