
How Can Chicken Breast Be Canned Safely at Home
To can chicken breast safely at home, use a pressure canner, follow tested processing times, and work with clean jars, proper headspace, and approved packing methods. Chicken breast is a low-acid food, so water-bath canning is not safe.
When you follow tested pressure canning steps, you create shelf-stable jars of chicken breast ready for soups, casseroles, sandwiches, and quick meals. Use a trusted method from the National Center for Home Food Preservation and do not improvise with timing or pressure.

Focus on safety first and convenience second when canning chicken breast at home. Use a pressure canner with pint or quart jars, and choose either a raw pack or hot pack method depending on your preferred texture and prep style.
Safe Method for Chicken Breast

Pressure can chicken breast because it is a low-acid food, which can support dangerous bacteria if not processed with enough heat. Safe canning rules for meat always require a pressure canner, not a boiling-water bath.
The National Center for Home Food Preservation provides tested directions for canning chicken breast and other poultry.
Why Chicken Breast Must Be Pressure Canned
A pressure canner reaches the high temperature needed to make canned chicken safe. Boiling water only reaches 212°F at sea level, which is not enough for low-acid meat.
Always start with pressure, not simmering jars in water, to ensure safety.
Raw Pack Chicken vs. Hot Pack Chicken
For raw pack, place raw chicken breast pieces into jars, add salt if you want, and cover with hot water or broth. For hot pack, cook the meat first, then pack it into jars with hot liquid.
Raw pack often gives a fuller jar and a simpler workflow. Hot pack can give a slightly different texture and reduces some shrinkage before canning.
Headspace, Salt, and Liquid Basics
Leave the headspace called for in tested directions, usually 1 inch for meat. This space helps jars seal and allows for expansion during processing.
Salt is optional for flavor, not safety. Use plain water or unsalted broth if you want to control seasoning, since you can add flavor later when cooking.
Approved Canning Times for Pints and Quarts
Use tested canning times from a trusted preservation guide. Pressure processing times vary by jar size and canner type.
Check the current chart from the National Center for Home Food Preservation and match it to your pressure canner and altitude.
Equipment and Jar Prep
Clean jars and the right tools make the process smoother and safer. Match your setup to the batch size, canner style, and tested canning tutorial.
Choosing Mason Jars, Lids, and Sizes
Use mason jars made for home canning, not random glass jars from store-bought food. Pint jars are common for chicken breast, while quart jars are better for larger portions.
Use new canning lids each time. Reuse bands if they are not bent or rusted, but always use fresh lids for a reliable seal.
Must-Have Canning Tools for Easier Filling
A few simple canning tools make the job easier:
- Jar lifter
- Canning funnel
- Bubble remover or nonmetal spatula
- Clean cloth or paper towels
These tools help you move safely, avoid spills, and keep jar rims clean before sealing.
Dial Gauge vs. Weighted Gauge Models
A dial gauge pressure canner uses a numbered dial that you must check for accuracy. A weighted gauge pressure canner uses a jiggle or rock weight and does not need a dial reading, but it must be the right weight for your altitude.
Both types are safe when used correctly. Choose the model that matches your comfort level and always follow the manual.
What to Know About All-American Pressure Canner Options
An All-American pressure canner is a heavy-duty option often chosen for long-term use. It uses a metal-to-metal seal instead of a gasket, so its care routine differs from other canners.
If you want a durable canner for repeated canning meat projects, it is a solid option. Always use your canner in good condition and follow directions.
Processing Steps and Common Variations
The packing and processing steps are straightforward once your equipment is ready. Careful trimming, correct filling, and steady pressure matter most.
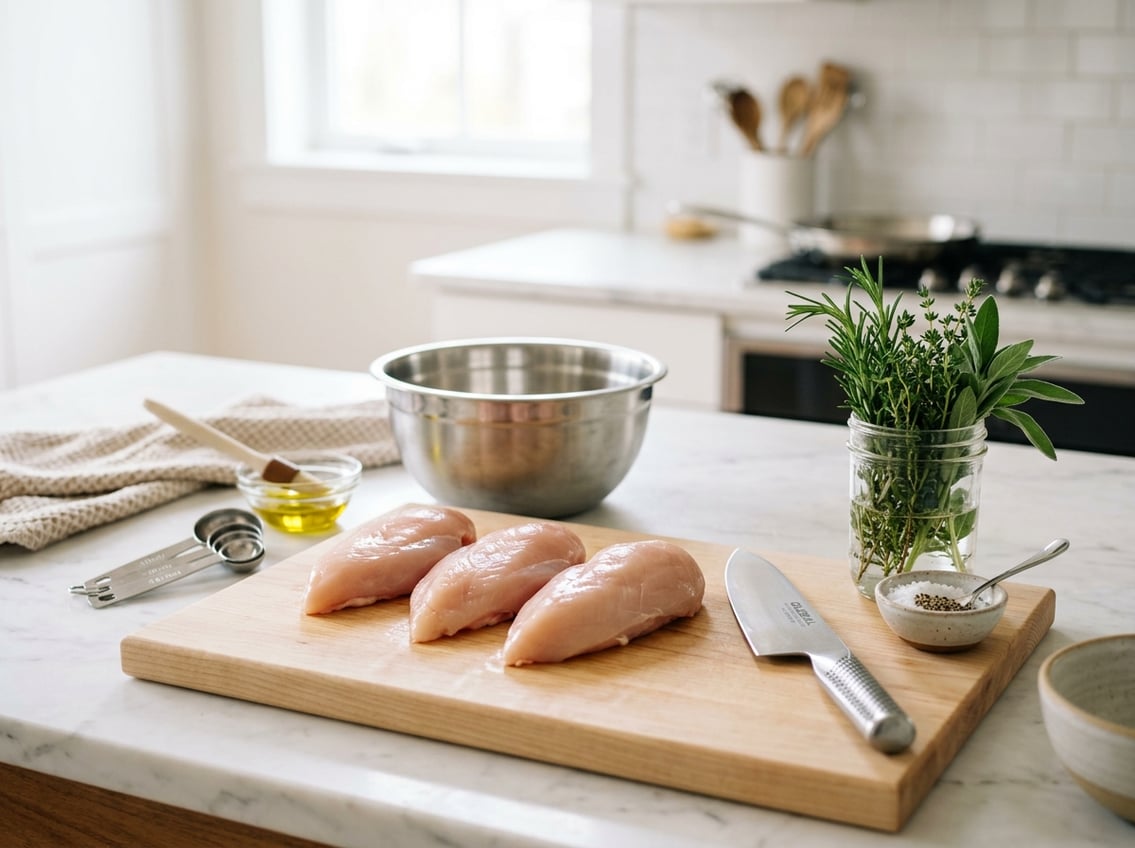
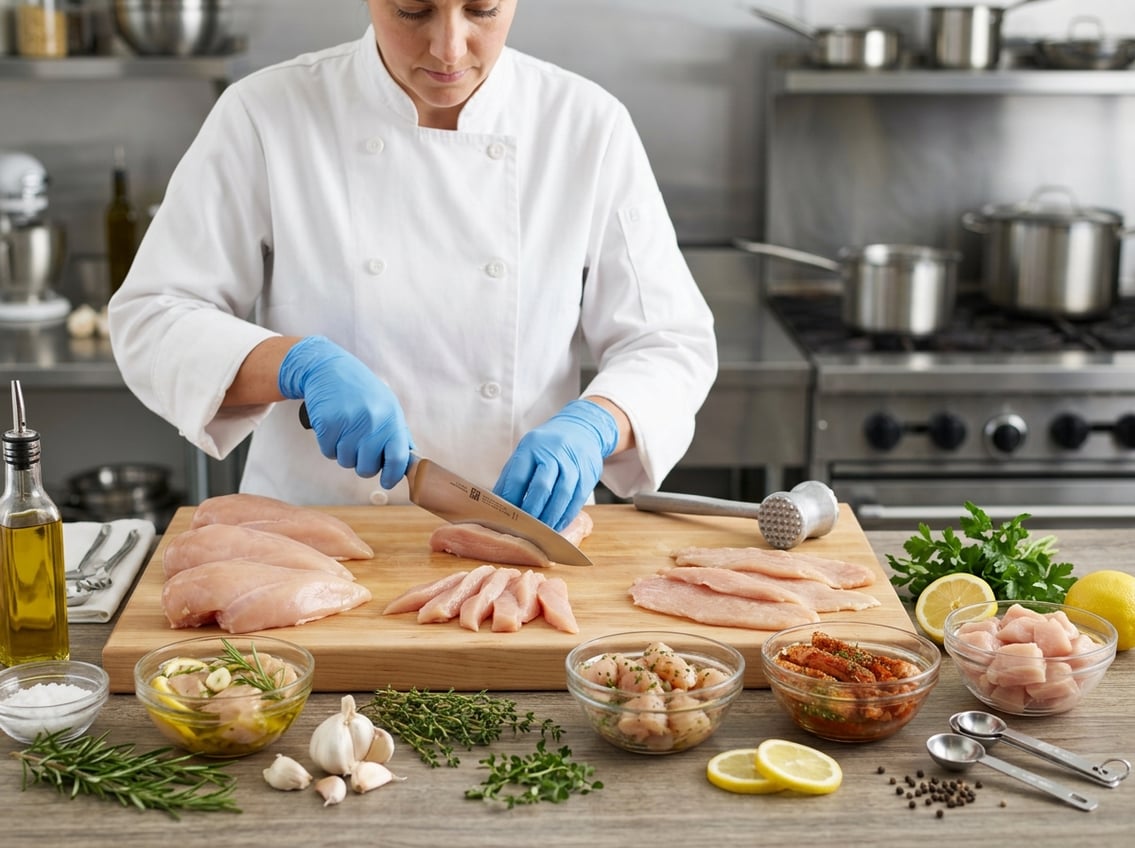
Preparing Boneless Breast Meat for the Jars
Trim visible fat and remove anything you do not want in the final jar. Cut the breast meat into strips or cubes, or leave it in pieces that fit cleanly into the jar.
Pack the chicken breast into clean jars without crushing it. Add salt if you want, cover with hot water or broth, and remove air bubbles before sealing.
How Processing Differs for Bone-In Pieces
Canning bone-in chicken works, but the method is a little different from canning boneless breast. Bone-in pieces take more room, and the texture can differ after processing.
If you want neat jars for soups or shredded chicken, boneless breast is often easier to use. Bone-in chicken is still a valid pressure canning option when you follow tested directions.
What to Do if Pressure Drops Mid-Batch
If pressure drops during processing, do not count the batch as finished. Bring the canner back to the required pressure and restart the timing according to your tested guide.
Stable pressure is part of safe home-canned chicken.
Cooling, Seal Checks, and First-Day Handling
Let the canner cool naturally after processing. Do not force-cool it, move the weight early, or open the lid too soon.
Once jars are out, let them sit undisturbed. Check seals after 12 to 24 hours, remove bands, wipe jars clean, label them, and store in a cool, dark place.
Shelf Life, Storage, and Best Uses
Home-canned chicken is useful because it becomes a fast protein with little effort. Good storage keeps quality up, and simple recipes help you use each jar while it still tastes best.
How Long Does Canned Chicken Last
How long canned chicken lasts depends on storage conditions and jar quality. Properly sealed home-canned chicken can stay safe for a long time, but quality is best within about 1 year.
If a jar is unsealed, leaking, bulging, or smells off when opened, discard it.
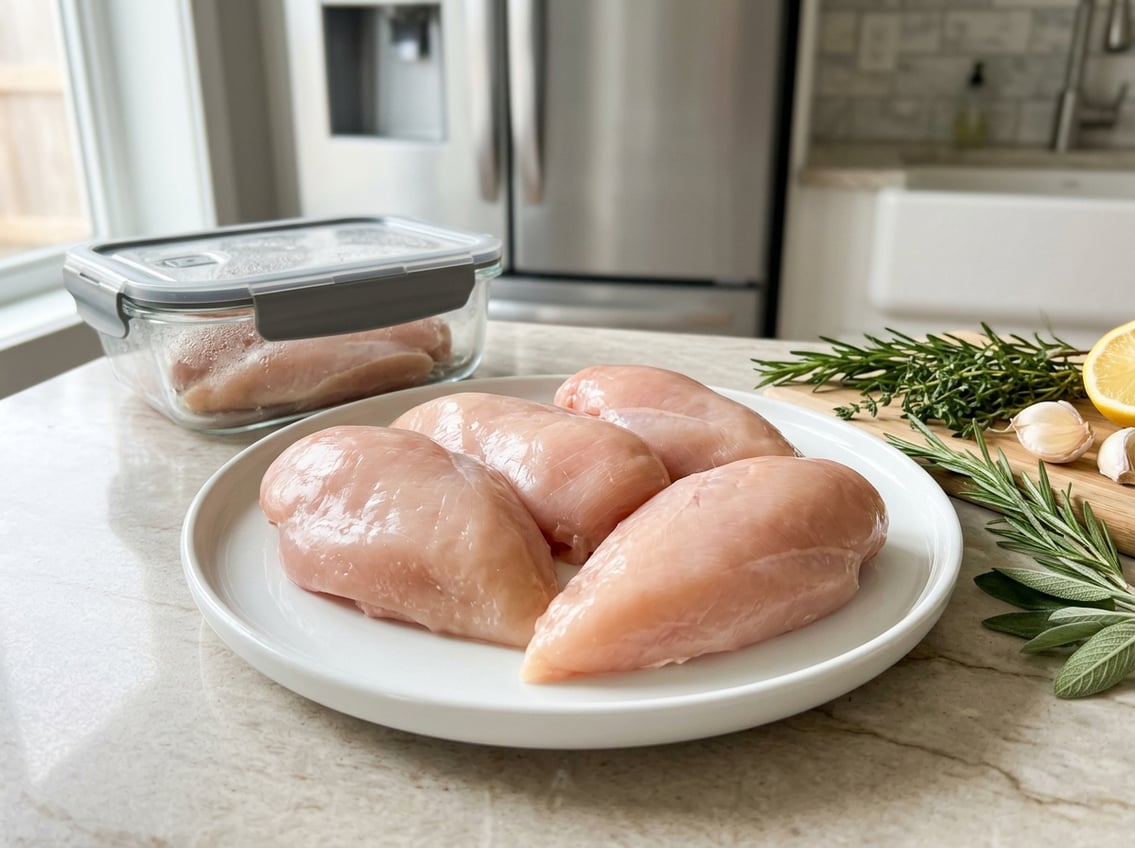
Best Storage Conditions for Quality and Safety
Store home-canned chicken in a cool, dark, dry place. Avoid heat, sunlight, and damp areas, since those can hurt quality and seals over time.
Keep jars off the floor and away from appliances that give off heat.
Easy Meal Ideas for Home-Canned Meat
Home-canned chicken breast works well in:
- Chicken noodle soup
- Chicken salad
- Enchiladas
- Pasta casseroles
- Rice bowls
- Tacos
The meat is already cooked, so it saves time on busy days. It is a practical pantry staple for home food preservation.
Recipes That Put a Jar to Work Fast
You can quickly turn a jar of canned chicken into a meal like white bean chicken chili. The meat blends well with beans, broth, and mild seasoning.
Stir canned chicken into soups. Mix it with mayo and celery for sandwiches.
Add it to a skillet dish. For a simple weeknight meal, open a jar, drain if needed, and use it the same way you use cooked shredded chicken.


