
Whole Chicken Breast Side Up: Roasting Position Explained
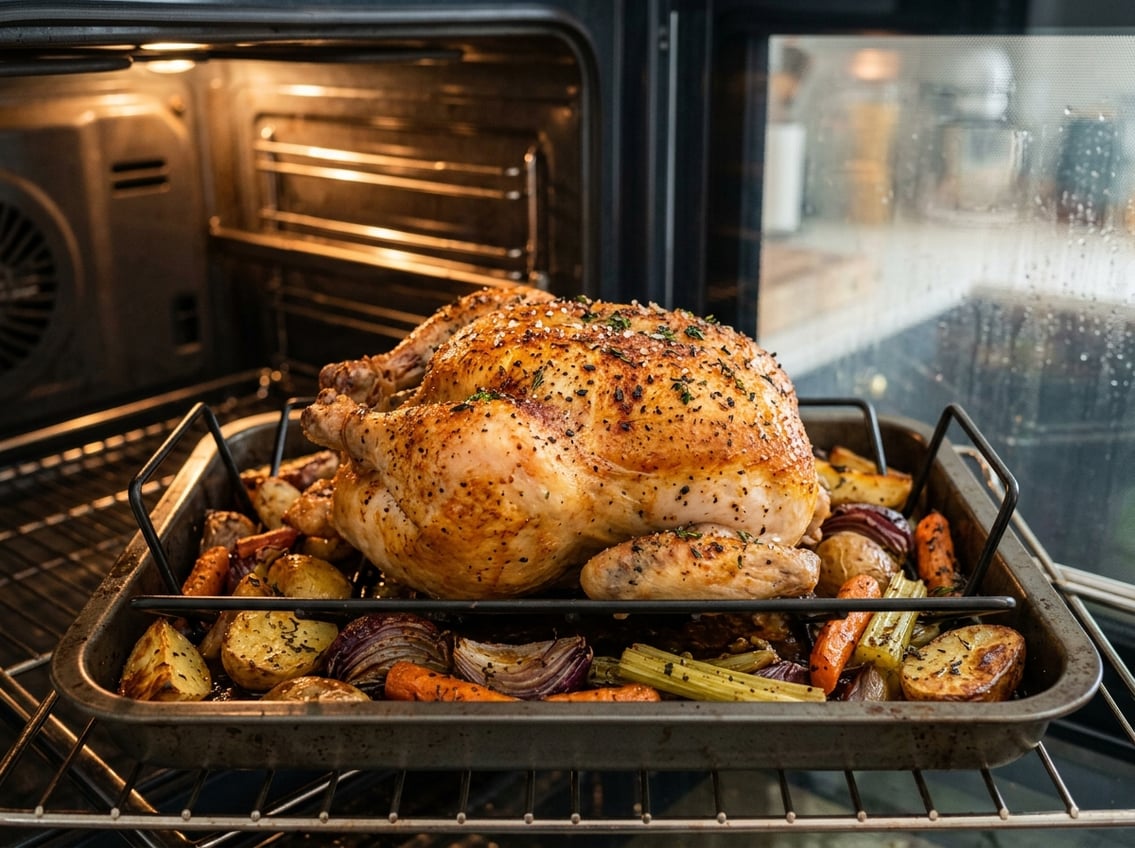
Whole chicken breast side up is the standard roasting position for a reason. You place the breast facing upward so the most visible part of the bird browns well and stays easy to carve.
This position also presents cleanly at the table.

If you want a classic roast chicken, you usually start with the breast side up. You then manage heat and timing to keep the white meat from drying out while the skin turns crisp.
That balance makes the position so common in home kitchens and restaurants.
The term can sound confusing at first because the whole chicken sits on the tray, and both sides matter during cooking. Still, the breast is the clear reference point.
You usually want the breast facing up when you present or roast a whole chicken for a traditional finish.
Which Side Faces Up
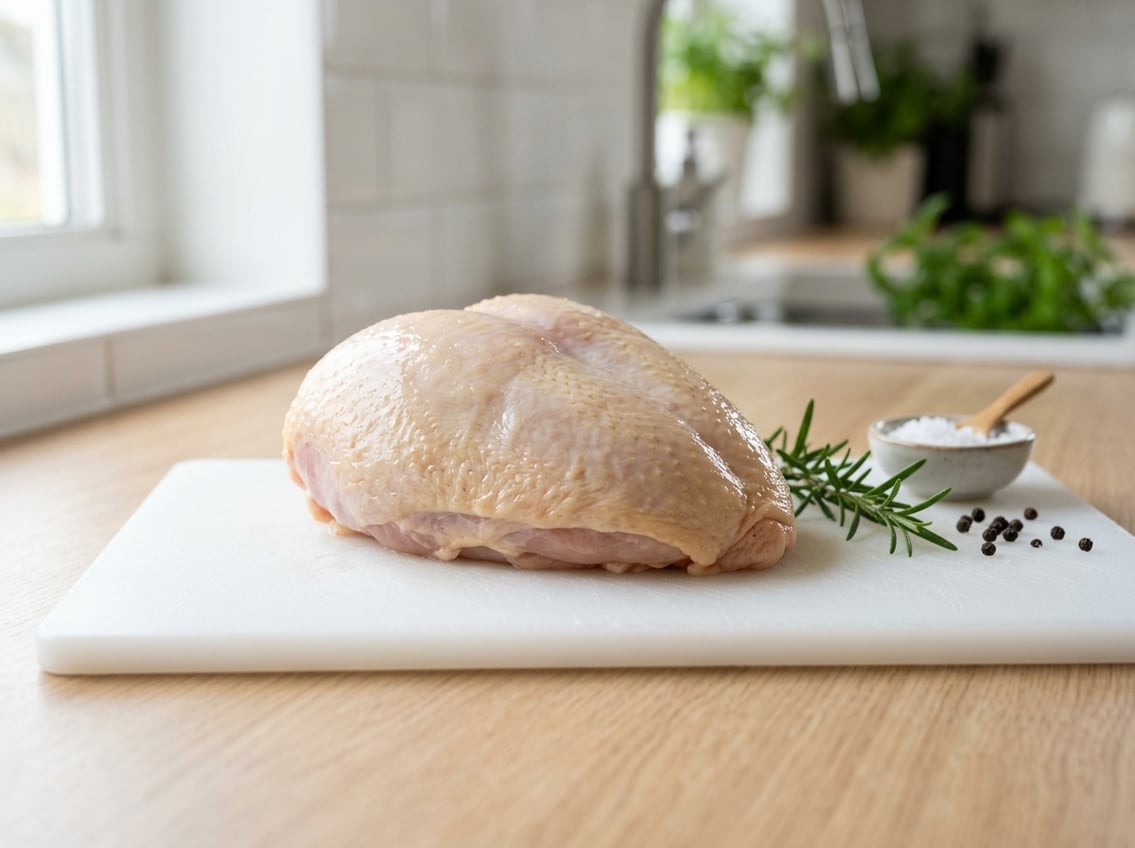
The breast side is the broad, rounded side of the chicken with the white meat and skin you usually see on top. When you place a whole chicken in the pan, breast side up means the breast faces the ceiling and the backbone sits underneath.
That position is the most common way of presenting a whole chicken. It shows the part people expect to see first.
It also gives you a clear starting point for carving and serving.
How To Identify the Breast Side at a Glance
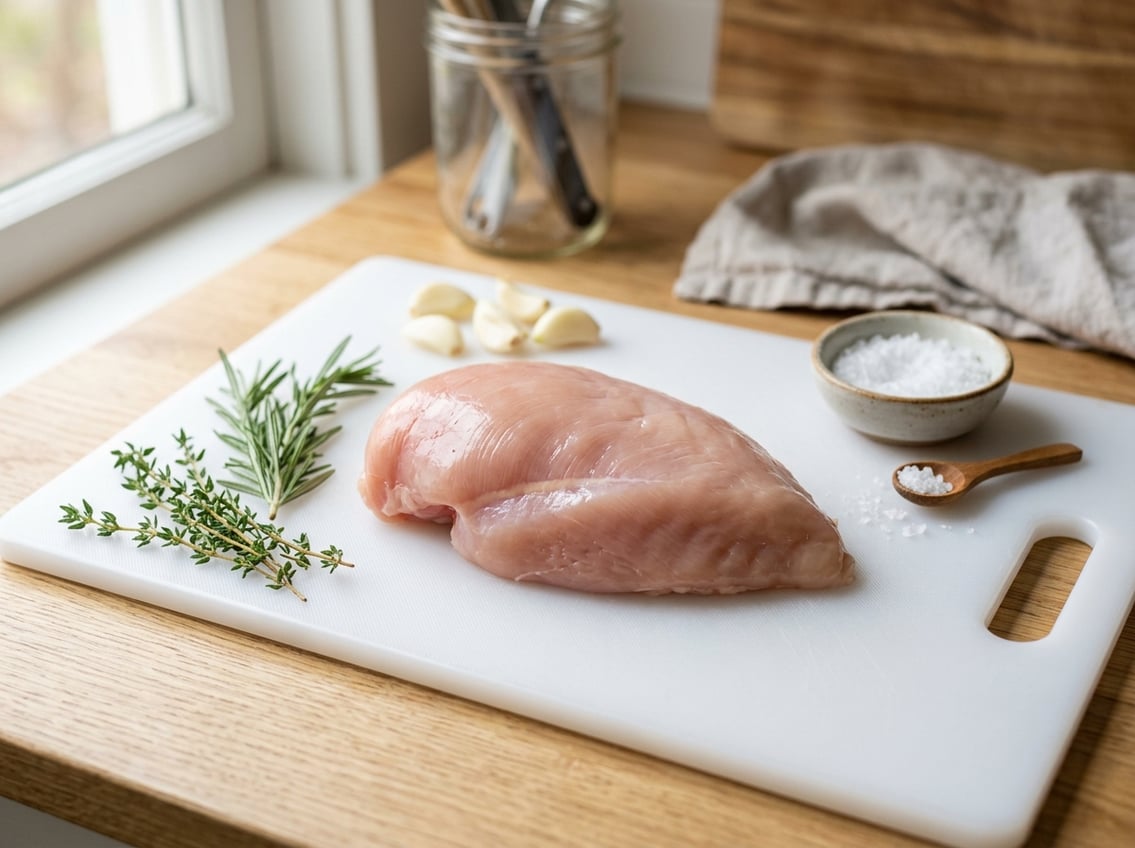
The breast side is the plumpest side of the bird. You can spot it by the smooth, curved skin and the central breastbone line running down the middle.
If the chicken is whole, the breast side usually looks fuller than the back. It is also the side that has the two breast portions under the skin.
Visual Cues From Wings, Legs, and Cavity
The wings attach near the upper part of the breast. The legs extend from the lower sides of the body.
If you see the cavity opening, that usually faces down in a roasting setup.
The back is flatter and often has more exposed bone shape. The breast side is rounder and more prominent, which is why most cooks want it facing up.
Why Breast-Side Up Is the Standard Position
Breast-side up gives the bird a familiar presentation and keeps the most recognizable part visible. This matches the way many cooks think about serving poultry, with the breast as the main feature.
As Chef’s Resource describes, the breast is the defining feature for both cooking and presentation. That makes breast-side up the default in many recipes.
How Positioning Changes Roasting Results
Position affects heat flow, skin color, and how moisture moves through the bird. Breast-side up supports a classic finish, while breast-side down can change how the juices collect and how the skin browns.
You usually choose between appearance, moisture control, and speed. The right option depends on what you want the finished chicken to look and taste like.
What You Get With Breast-Side Up
With breast-side up, the skin on top gets direct oven heat and can brown evenly. That is useful when you want even browning and crisping on the part of the bird people see first.
This setup also gives you a traditional roast-chicken look. The breast stays easy to monitor, and you can transfer and carve the bird more simply.
When Breast-Side Down Makes Sense
You can use breast-side down if you want to protect the breast from drying out early in the cook. Some cooks start roasting or smoking this way when the breast is more exposed to direct heat.
This method focuses on moisture control instead of presentation. It helps if your oven runs hot or if the breast cooks faster than the legs.
Balancing Juicy Meat With Crispy Skin
The main challenge is keeping the chicken breast moist while still getting crisp skin. The breast cooks faster than the dark meat, so you need to watch temperature, not just color.
You can roast breast-side up and rely on a thermometer and resting time to keep the meat juicy. Some cooks use a rack, light basting, or a brief flip during cooking for extra help.
Best Methods for a Better Bird
You can roast a chicken in more than one position, and each method changes the final result. Traditional roasting gives you the classic look, spatchcocking speeds up cooking, and flipping mid-roast can improve both color and moisture.
Choose the method that matches your timeline and the finish you want.
Traditional Roasting for Classic Presentation
Traditional roasting keeps the whole chicken intact and breast side up for most or all of the cook. This is the best choice when presentation matters and you want the bird to look clean and familiar.
It also makes sense for holiday meals or family dinners when you plan to bring the whole chicken to the table. The shape stays intact, and carving feels more direct.
Spatchcocking for Faster, More Even Cooking
Spatchcocking means removing the backbone and flattening the chicken. That puts more of the bird in even contact with heat, which helps it cook faster and more evenly, as described in The MeatStick’s spatchcocking guide.
This method gives you more even browning and crisping without needing to flip the bird often. It also reduces the chance of an underdone breast and overdone thighs.
Flipping Mid-Roast for Color and Moisture
Flipping the chicken during the roast can help balance skin color and moisture. You might start breast-side down for part of the cooking time, then turn it breast-side up near the end for browning.
This method takes more attention, so it works best when you are watching the pan closely. It gives you moisture protection early and a clean finish at the end.
Serving and Doneness Tips
The best roast chicken comes from correct temperature, enough rest time, and the right serving position. You do not need to guess if the bird is done or cut too soon.
A simple routine helps you keep the breast juicy and the final presentation neat.
How To Check Temperature Without Guessing
Use an instant-read thermometer and check the thickest part of the breast and the thigh without touching bone. The breast should reach a safe temperature, and the thigh should also be fully cooked.
This is more reliable than checking color or clear juices alone. A thermometer gives you a much better chance of avoiding dry chicken breast or undercooked meat.
Resting Before Carving
Let the chicken rest after roasting so the juices settle back into the meat. If you carve too soon, more juice runs out onto the cutting board.
A short rest also makes the breast easier to slice cleanly. You get neater pieces and a better texture on the plate.
Choosing the Best Position for Presentation
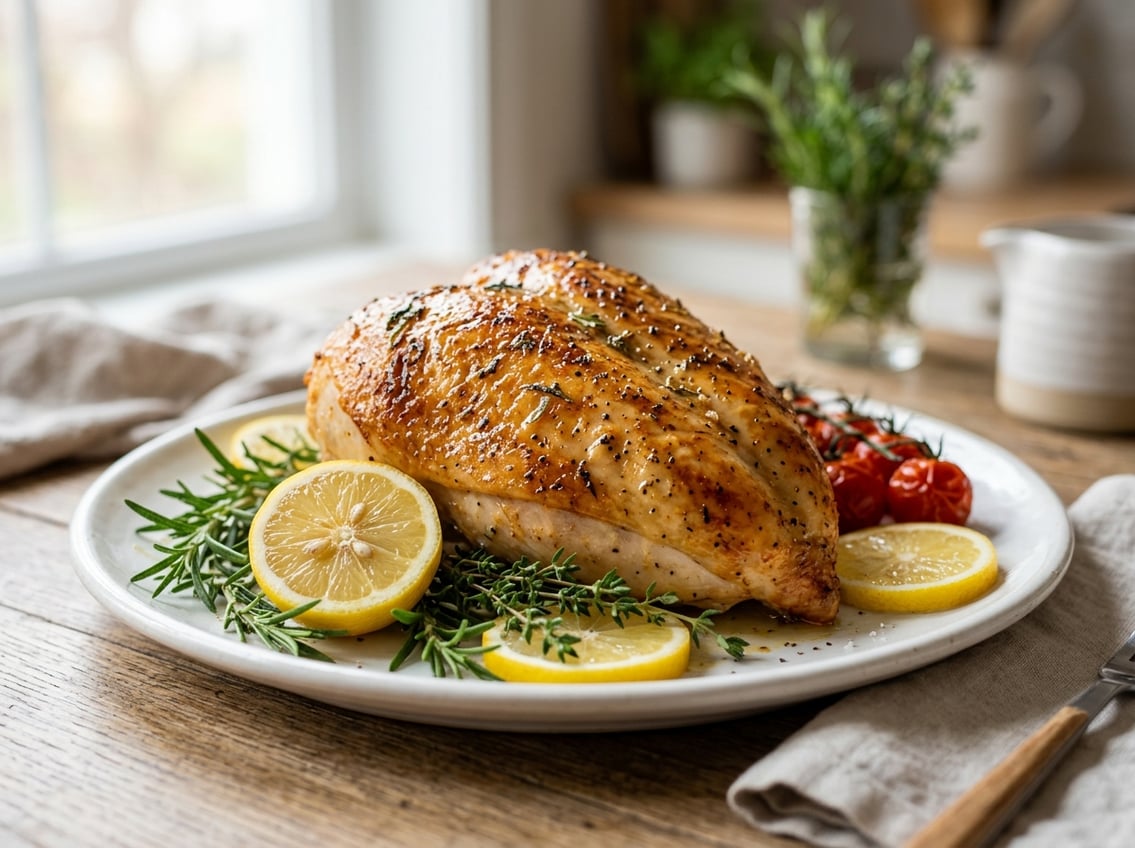
Serve a whole bird breast side up for the best presentation. This position shows the chicken at its fullest shape and makes the breast the clear focal point.
Chef’s Resource describes serving with the breast as the main visual feature. If you carve before serving, this position helps you work from the center out and keep the pieces tidy.


