
When Is Chicken Breast Cooked? Clear Doneness Guide
When is chicken breast cooked? Chicken breast is cooked when the thickest part reaches 165°F and the meat turns opaque, firm, and no longer looks raw in the center.
A meat thermometer gives you the clearest answer. It helps you cook chicken breast safely without drying it out.

You can still use color, juices, and texture as backup checks. These are helpful when you want a juicy chicken breast instead of one that turns tough.
The right doneness is a mix of safety and texture. Both matter for a perfect chicken breast for dinner or meal prep.
The Clearest Signs It Is Ready
Temperature gives you the most reliable sign, not guesswork.
A meat thermometer helps you cook chicken breast safely and avoid the common mistake of pulling it too early or leaving it in too long.
Once you know the temperature target, the other signs make more sense. You can use them as a quick check, especially when you want a juicy chicken breast with good texture.
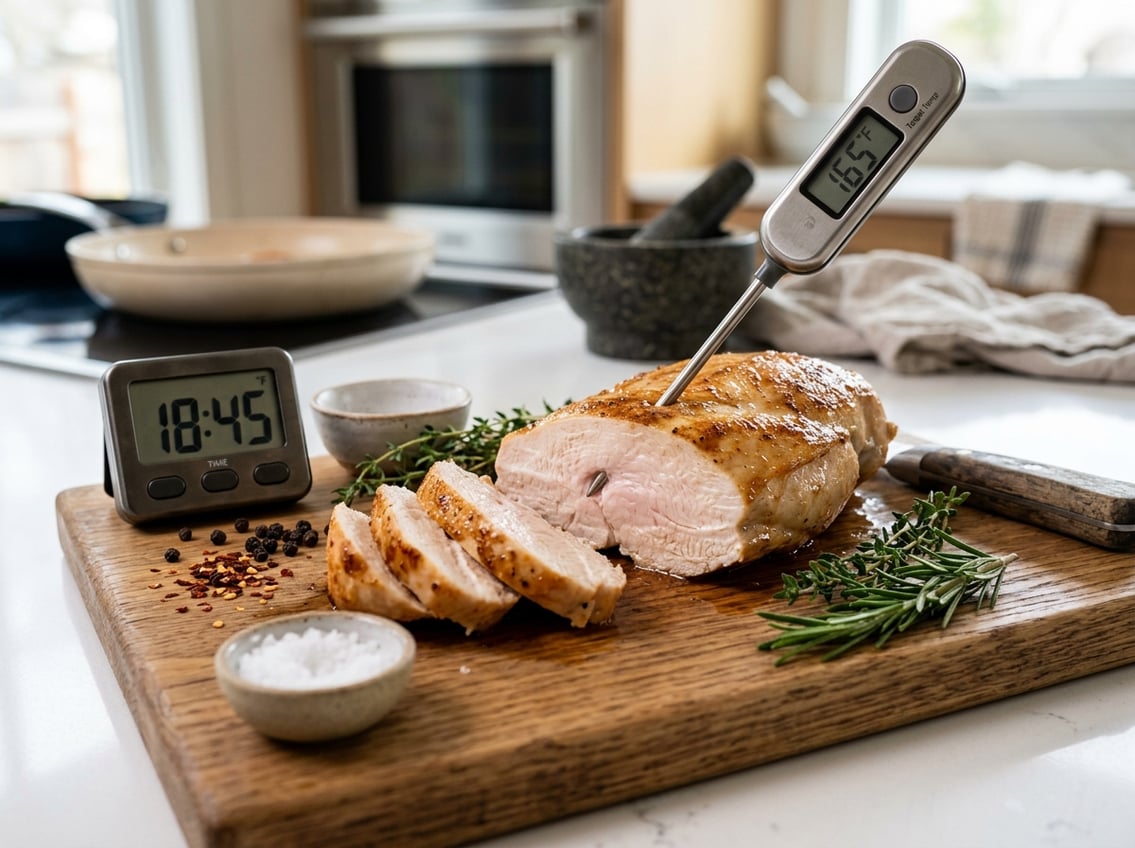
Check For 165°F in the Thickest Part
Chicken breast is done when the thickest part reaches 165°F. Insert the probe into the center of the thickest area, since thin edges heat faster than the middle.
This matters for safety and for quality. The USDA and many food safety guides use 165°F as the standard for poultry.
A comprehensive chicken breast guide also notes that this is the safest minimum internal temperature.
How to Use a Meat Thermometer Correctly
Slide the tip of the meat thermometer into the thickest part of the chicken breast. Avoid bones, fat, and the pan, since they can give a false reading.
Check the temperature near the end of cooking. Let the chicken rest for a few minutes and check again if needed.
The rest time matters because the temperature can rise slightly after you remove it from the heat.
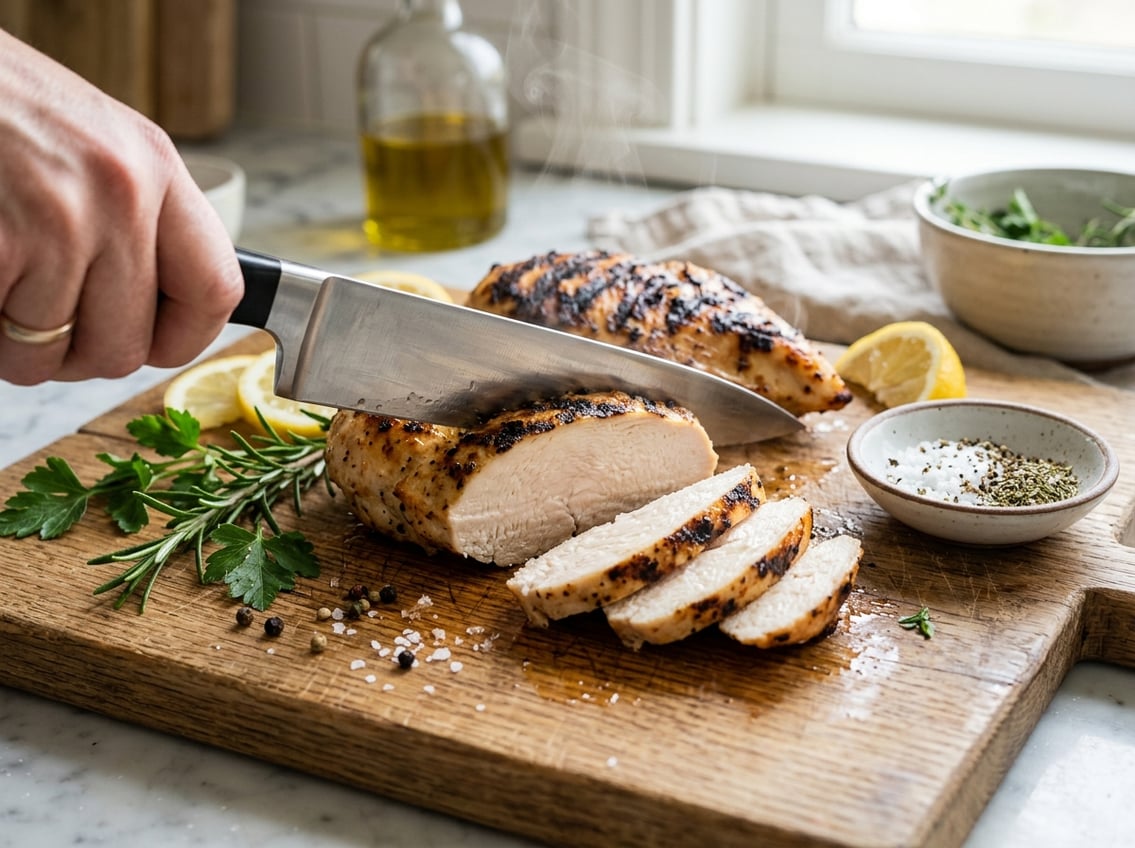
What Color, Juices, and Texture Can Tell You
Cooked chicken breast should look white or very light beige inside, with no translucent raw areas. The juices should run clear or nearly clear when you cut into the center.
A cooked breast should feel firm with a little spring, not soft or squishy. Color and juices are useful clues, yet they are not as dependable as a thermometer.
Chicken can still look a little pink and be fully safe.
Timing by Cooking Method
Different cooking methods for chicken breast change the time a lot. Thickness, starting temperature, and heat level matter too, so timing should guide you rather than replace a temperature check.
Boneless skinless chicken breasts usually cook faster than bone-in pieces. If you are learning how to bake chicken breasts or cook chicken breasts on the stove, temperature is still the best final test.
Baking and Roasting Time Ranges
For baking chicken breast, many boneless skinless chicken breasts finish in about 20 to 30 minutes at 375°F to 425°F, depending on size. Thicker pieces take longer, and smaller ones may finish sooner.
If you are learning how to bake chicken breasts, keep the heat moderate and check early. A timing guide for chicken breast notes that a boneless chicken breast often cooks in 15 to 25 minutes.
Skillet and Pan-Seared Cooking Times
On the stove, boneless skinless chicken breast often takes about 5 to 7 minutes per side over medium heat, with thicker pieces needing more time. A hot skillet can brown the outside fast, so you need to watch the inside closely.
If the pan is crowded, the chicken steams instead of sears. Give each piece space so it cooks evenly and you can judge doneness more accurately.
Grilling, Poaching, and Air Frying Basics
Grilling usually takes about 5 to 7 minutes per side for average boneless skinless chicken breasts. Poaching often takes 10 to 15 minutes, since it cooks more gently in liquid.
Air frying is often fast, especially for thin breasts, and many cook in about 15 to 20 minutes. No matter which of these cooking methods you use, check the center temperature before serving.
How to Keep It Juicy Instead of Dry
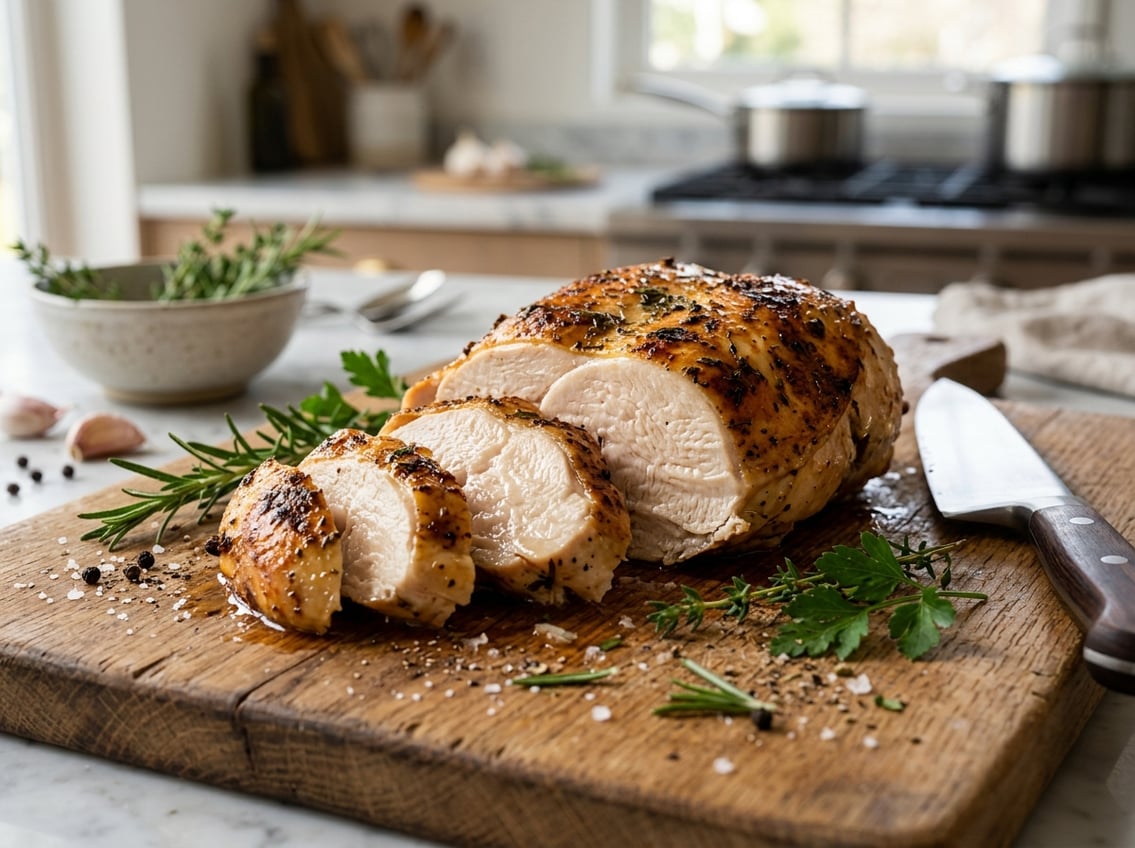
A juicy chicken breast starts with even cooking and steady heat. A short rest after it comes off the heat keeps it moist.
Simple seasoning also helps the meat taste better, even if the recipe is plain. The goal is flavorful chicken that still stays tender enough to slice cleanly.
Even Thickness, Heat Control, and Resting
If one end is much thicker, pound the breast to an even thickness before cooking. That helps the thinner part avoid overcooking while the thick part finishes.
Use medium heat for skillet cooking and avoid very high oven heat unless the recipe is built for it. After cooking, rest the chicken for 5 to 10 minutes so the juices settle back into the meat instead of spilling out when you cut it.
Simple Seasoning for Better Flavor
A basic mix of salt and pepper gives a clean, savory taste. Garlic powder also works well and gives boneless skinless chicken breasts a stronger flavor without much effort.
Season before cooking so the surface tastes balanced all the way through. If you want more flavor, use a dry rub or a short marinade, but keep the cooking method gentle enough to protect moisture.
Common Mistakes That Lead to Overcooking
Cooking by time alone causes the biggest mistake. Even a few extra minutes can turn a juicy chicken breast dry, especially if the pieces are small.
Other common problems include high heat, skipping the rest time, and cutting into the meat too soon. Check the temperature early and pull it from the heat as soon as it reaches 165°F.
Storage, Leftovers, and Reheating
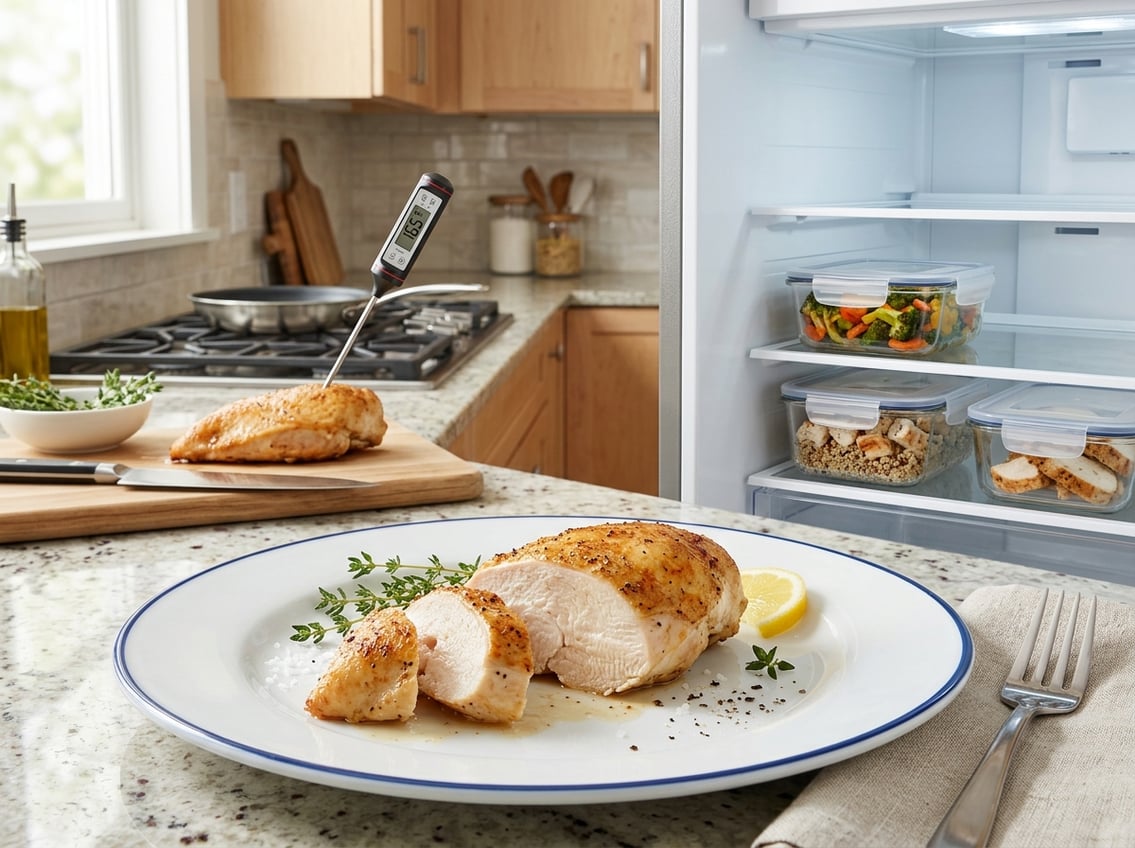
Chill cooked chicken quickly and store it well to keep it useful for several days. Good storage keeps the texture better and helps reduce waste when you cook chicken breasts for meal prep.
Leftovers stay safest when you put them in the fridge soon after cooking. If you do not plan to eat them soon, freeze cooked chicken breast in portions so you can use only what you need.
How Long Cooked Chicken Breast Lasts
Cooked chicken breast usually keeps for 3 to 4 days in the fridge at 40°F or below. That window starts when you finish cooking, not when you remember to eat it, as noted in a storage guide for cooked chicken breast.
If the chicken smells off, feels slimy, or looks unusual, throw it out. Safe storage matters as much as safe cooking.
How to Reheat Without Drying It Out
Reheat cooked chicken breast gently, with a little moisture if possible. A covered skillet with a splash of broth, a low oven, or a microwave at medium power can help prevent dryness.
Warm it until the center reaches 165°F again. A guide on reheating frozen cooked chicken notes that a thermometer is the easiest way to confirm the chicken is heated through.
When to Refrigerate or Freeze Portions
Refrigerate leftovers within 2 hours of cooking, or within 1 hour if your kitchen is very warm.
Divide large pieces into smaller portions first. Smaller containers cool faster.
If you do not plan to use the chicken within a few days, place cooked chicken breast in airtight bags or containers and freeze it.
Portioning now makes it easier to thaw only what you need later. This helps keep the texture better.


