
When Is Chicken Breast Cooked in the Oven? Timing Guide
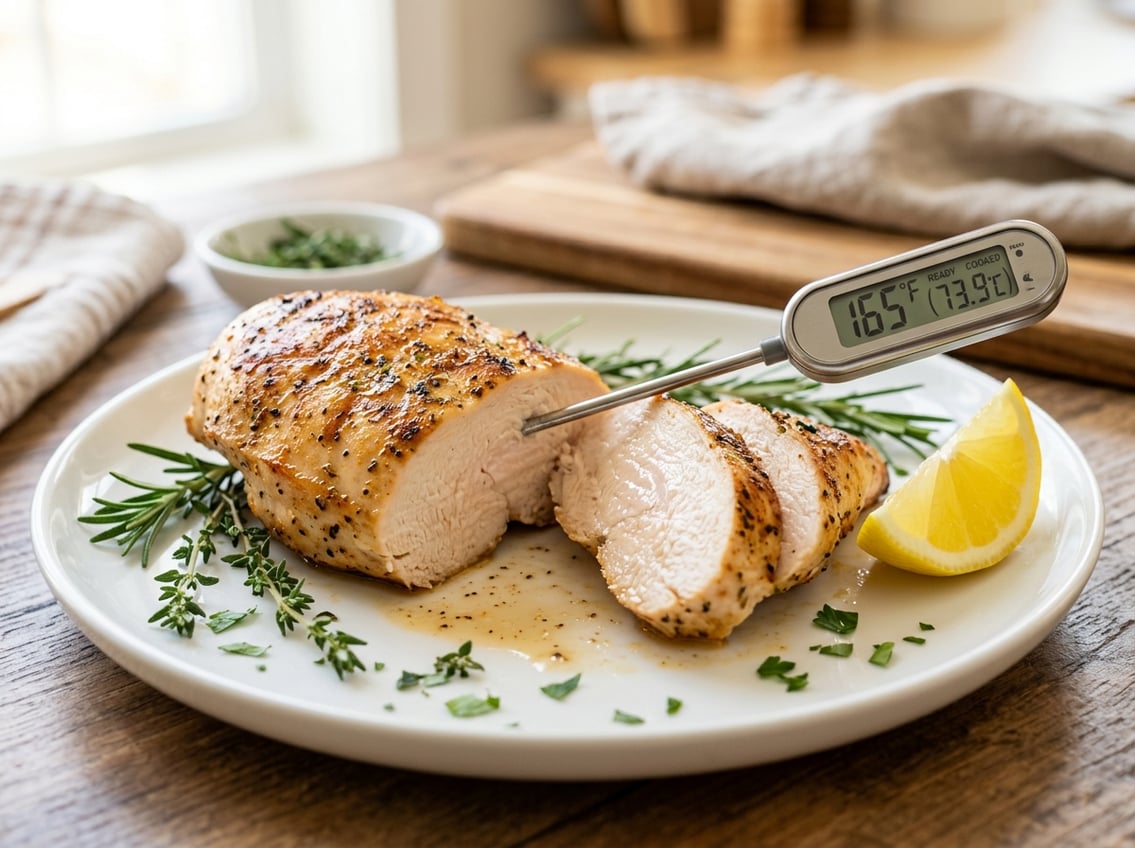
Chicken breast is cooked in the oven when its internal temperature reaches 165°F in the thickest part. The juices should run clear and the meat should look opaque.
That is the most reliable answer to when chicken breast is cooked in the oven. This method works better than guessing by color or time alone.

If you bake chicken breast the right way, you get meat that is safe to eat and still tender. The exact timing depends on oven temperature, breast size, and thickness, so you need both a thermometer and a timing guide.
Check temperature first, then use bake time as a guide. This approach gives you the best results.
A good oven baked chicken breast should be cooked through without turning dry.
How to Tell When It Is Done
You can figure out how long to bake chicken breast only after you know the chicken is close to done. Time varies a lot, so check the center and use visual signs as backup.
This is the best way to get juicy baked chicken breast.
Use Internal Temperature First
A meat thermometer gives the clearest test. Chicken breast is done at 165°F, which matches food safety guidance and gives you a reliable finish point.
Insert the thermometer into the thickest part, not the edge. Avoid thin sections to prevent a reading that is too high or too low.
Check the Thickest Part Correctly
The thickest part cooks slowest, so that is where you want your reading. If the breast is uneven, aim for the deepest center without touching the pan.
A small breast may be done sooner, while a thicker one may need extra time even in the same oven.
Know the Role of Carryover Cooking
Chicken keeps cooking a little after you pull it from the oven. If you take it out right at 165°F, the temperature may rise a few degrees while it rests.
Pulling it out a minute or two early, as long as it is close to 165°F, can help protect moisture.
Spot Visual Signs Without Guessing
Clear juices and opaque meat are good signs that the chicken is done. The center should look white, not pink or translucent, and the juices should run clear when pierced.
Use visual checks as a backup, but rely on temperature first.
Timing by Oven Temperature and Breast Size
Oven temperature changes the bake time, and thickness changes it even more. A small, thin breast can finish fast, while a large one may need several extra minutes.
Always check oven baked chicken breasts near the end of cooking.
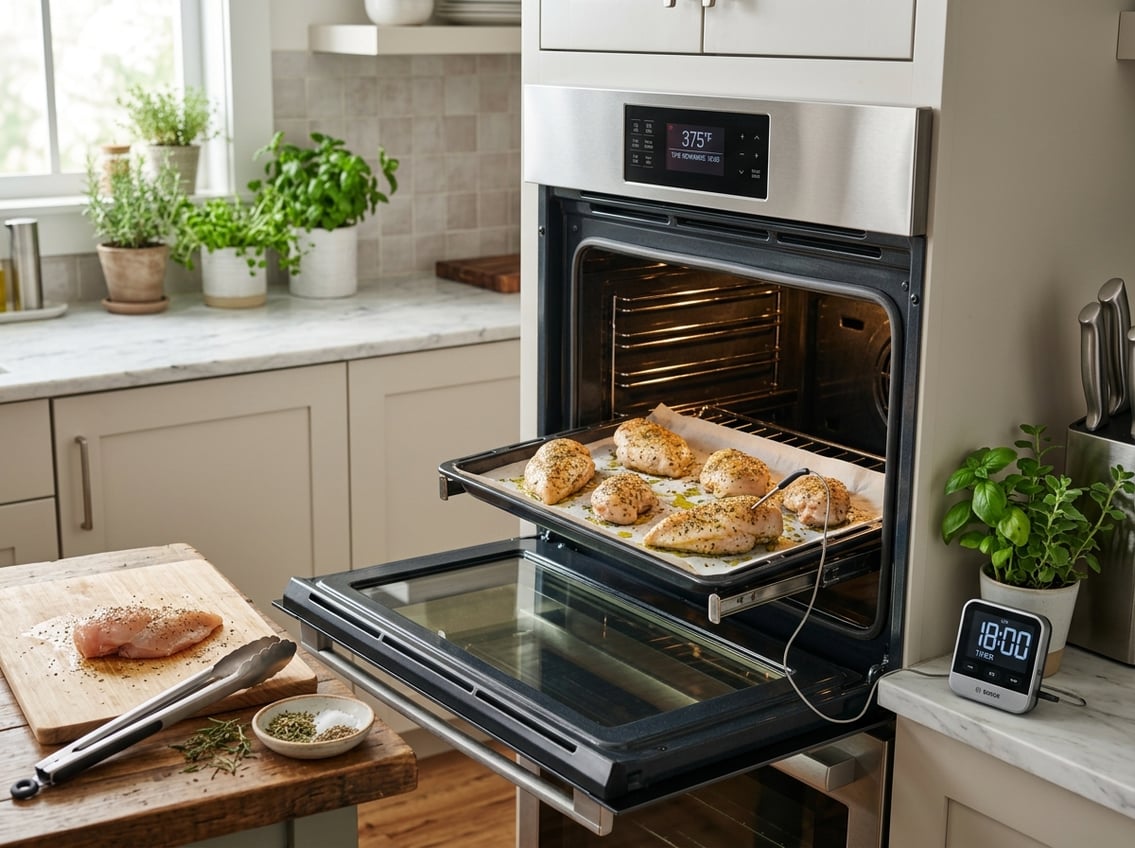
Typical Bake Times at 375°F
At 375°F, boneless, skinless breasts often take about 25 to 30 minutes. This is one of the most common temperatures for baking chicken breast at home.
If your breasts are larger than 8 ounces, start checking earlier and give them more time as needed. The target is still 165°F in the center.
Typical Bake Times at 400°F
At 400°F, chicken usually cooks a little faster, often in the low-to-mid 20 minute range for average boneless breasts. Higher heat can support a more efficient bake, especially when the pieces are evenly sized.
You still need to check temperature near the end.
Typical Bake Times at 425°F
At 425°F, thinner chicken breasts can cook quickly, sometimes in about 18 to 22 minutes. This higher heat can work well when you want a quicker dinner and are careful not to overbake.
Watch closely if the breasts are small. A few extra minutes can take baked chicken from moist to dry.
Why Thickness Matters More Than Weight
Weight gives you a rough idea, yet thickness tells you more about real cooking time. Two 6-ounce breasts can finish at very different times if one is thick and the other is flat.
Flattening uneven spots helps you predict how long to bake chicken breast more accurately. Even thickness leads to more even cooking and better texture.
What Helps Chicken Stay Juicy
Juiciness starts before the chicken goes in the oven. Small prep steps make a big difference, especially with lean breast meat.
These habits help you turn a basic baked chicken breast recipe into a more reliable weeknight meal.
Pound to Even Thickness
If one end is much thicker, pound the breast lightly so it cooks more evenly. This helps the thinner end avoid drying out before the thick part is done.
Even thickness also makes your timing more predictable.
Pat Dry, Oil, and Season Well
Pat the chicken dry with paper towels before seasoning. Dry skinless chicken helps the oil and seasoning stick and supports better browning.
Brush or rub on oil, then season both sides. This step helps the surface cook more evenly.
Choose a Simple Chicken Seasoning
A simple mix of salt, pepper, garlic powder, or lemon pepper works well. Simple seasoning is a smart choice when the chicken will be added to another dish.
Keep the seasoning mild if you plan to serve the chicken in salads, pasta, or rice bowls.
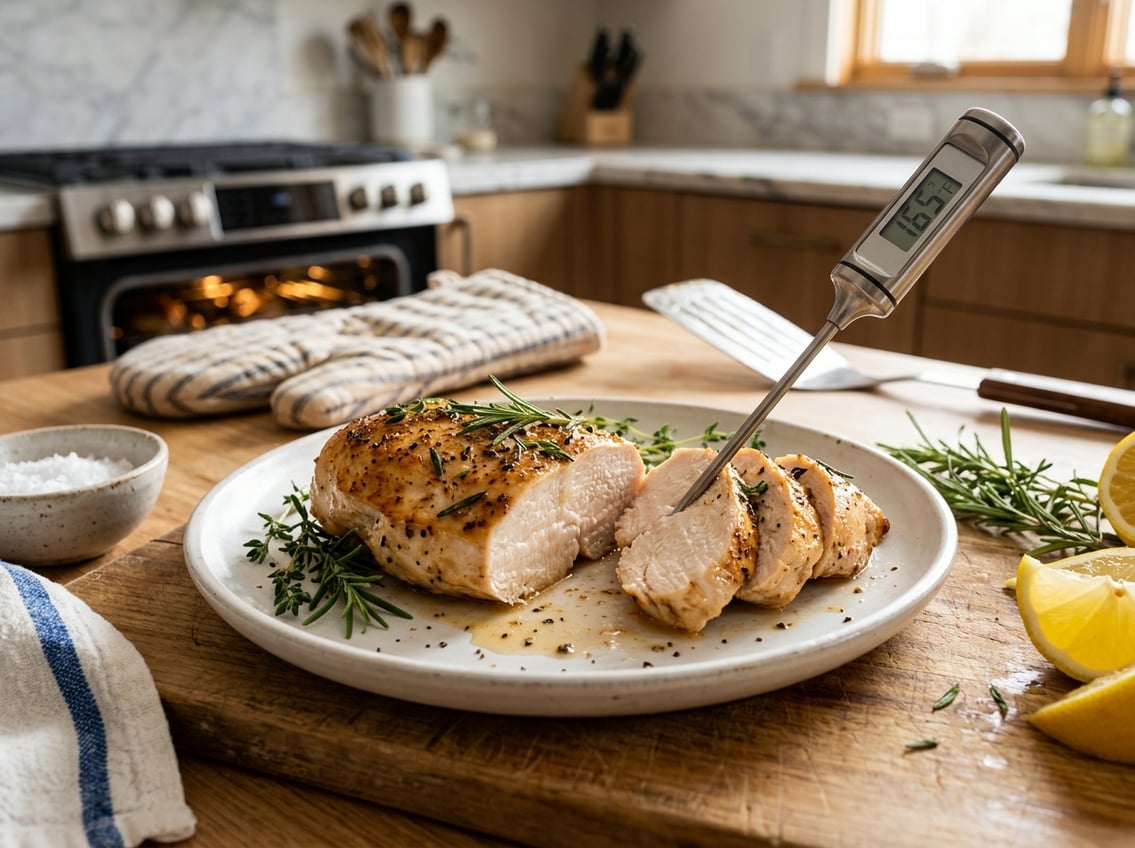
Rest Before Slicing
Let the chicken rest for a few minutes after baking. Resting gives the juices time to settle, so they stay in the meat instead of running out on the cutting board.
Slice too soon, and you lose more moisture than you need to.
Serving, Storing, and Reheating
Once your chicken is done, the next steps matter just as much. Proper slicing, storage, and reheating help protect texture and food safety.
Best Ways to Slice and Serve
Slice across the grain for a softer bite. Thin slices work well in salads, wraps, grain bowls, and pasta dishes.
If you want the most flexible option, keep the chicken in larger pieces until serving. That helps your oven baked chicken breast stay juicier longer.
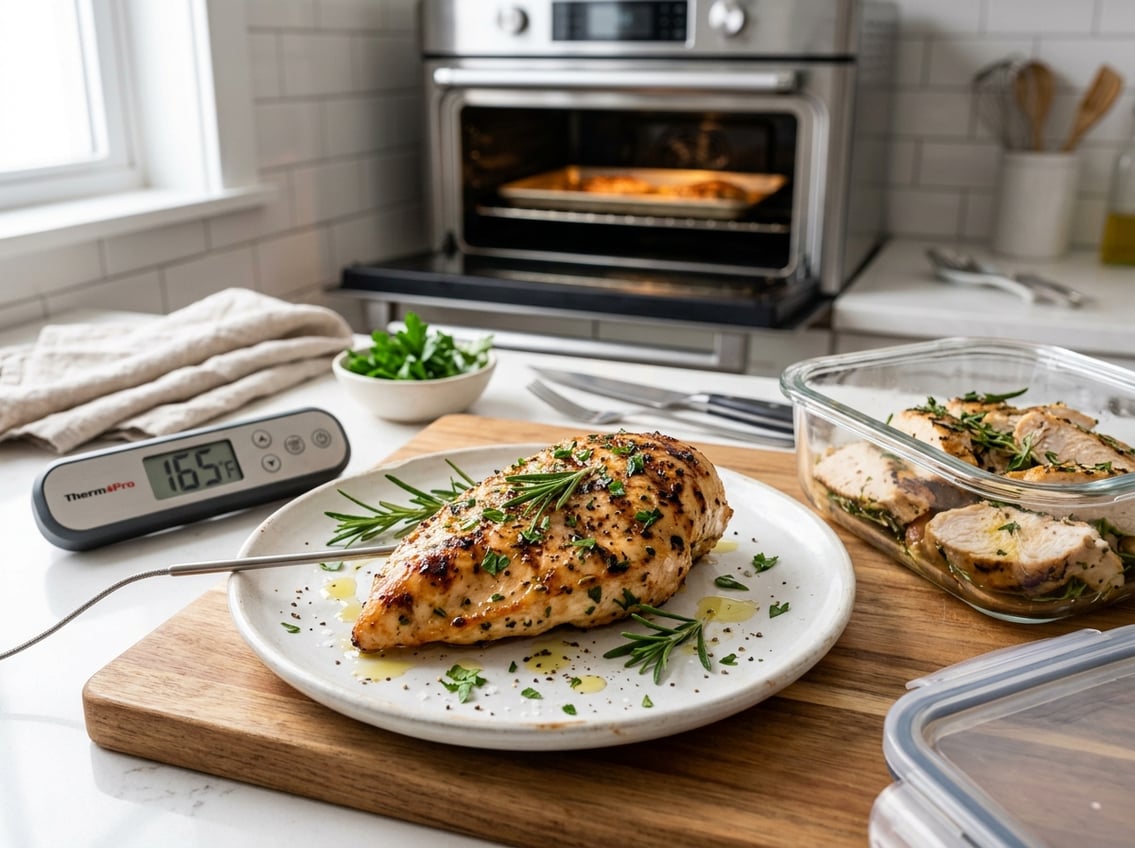
How to Store Leftover Chicken
Cool the chicken before packing it away. Store leftover chicken in an airtight container in the refrigerator for a few days, or freeze it if you need to keep it longer.
If you are planning ahead, wrap pieces separately so they are easier to thaw. This makes it simpler to use baked chicken breasts in future meals.
How to Reheat Without Drying It Out
Reheat chicken gently at low heat.
A low oven with a little broth or water in the pan helps keep the meat moist.
Cover the chicken with foil while reheating at 350°F.
Heat until it reaches 165°F to ensure it is safe to eat.


