
Do You Roast Chicken Breast Up or Down? Best Method
If you are asking do you roast chicken breast up or down, the answer depends on your goal. Breast-side down protects the lean white meat from drying out, while breast-side up gives you better browning and crispier skin.
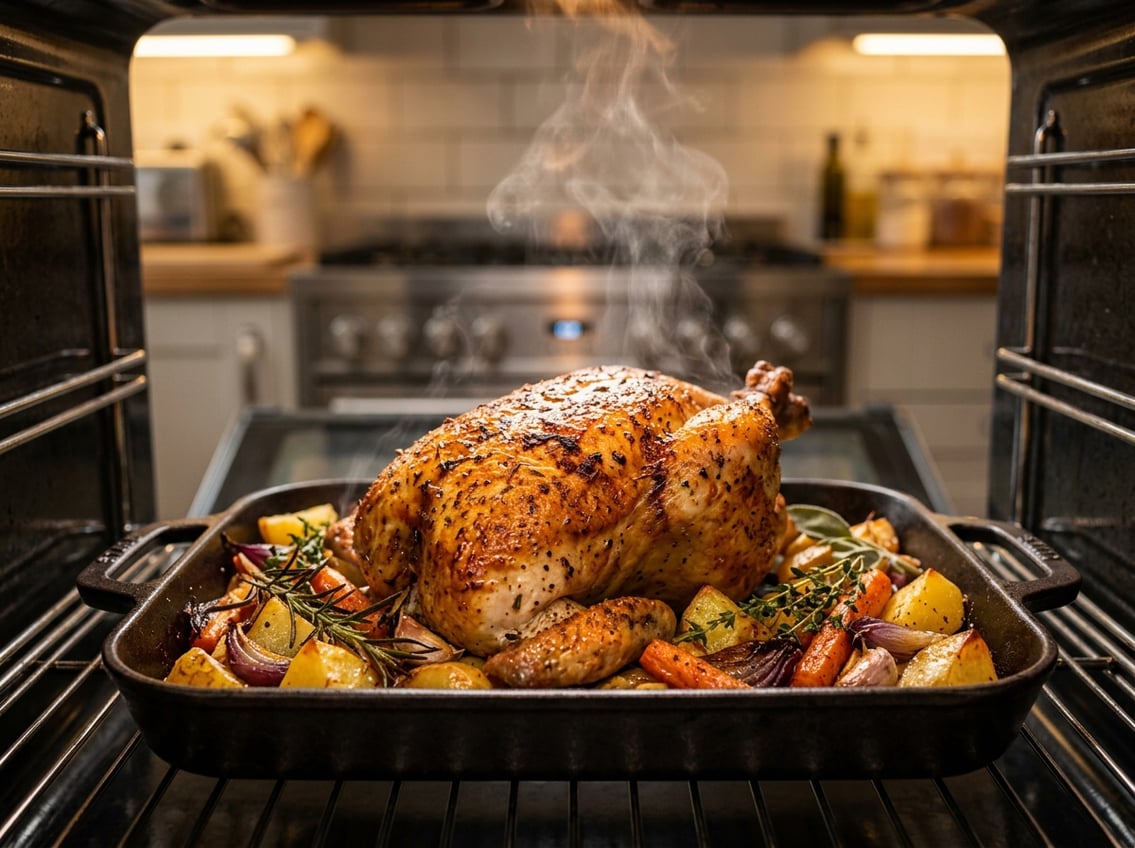
The most reliable method is to start the chicken breast-side down, then flip it breast-side up near the end of roasting. This approach gives you better moisture retention and a more appealing finish on the skin.

A whole roast chicken cooks differently depending on which side faces up in the oven. When you start with the breast down, the juices flow toward the breast meat and help keep it tender.
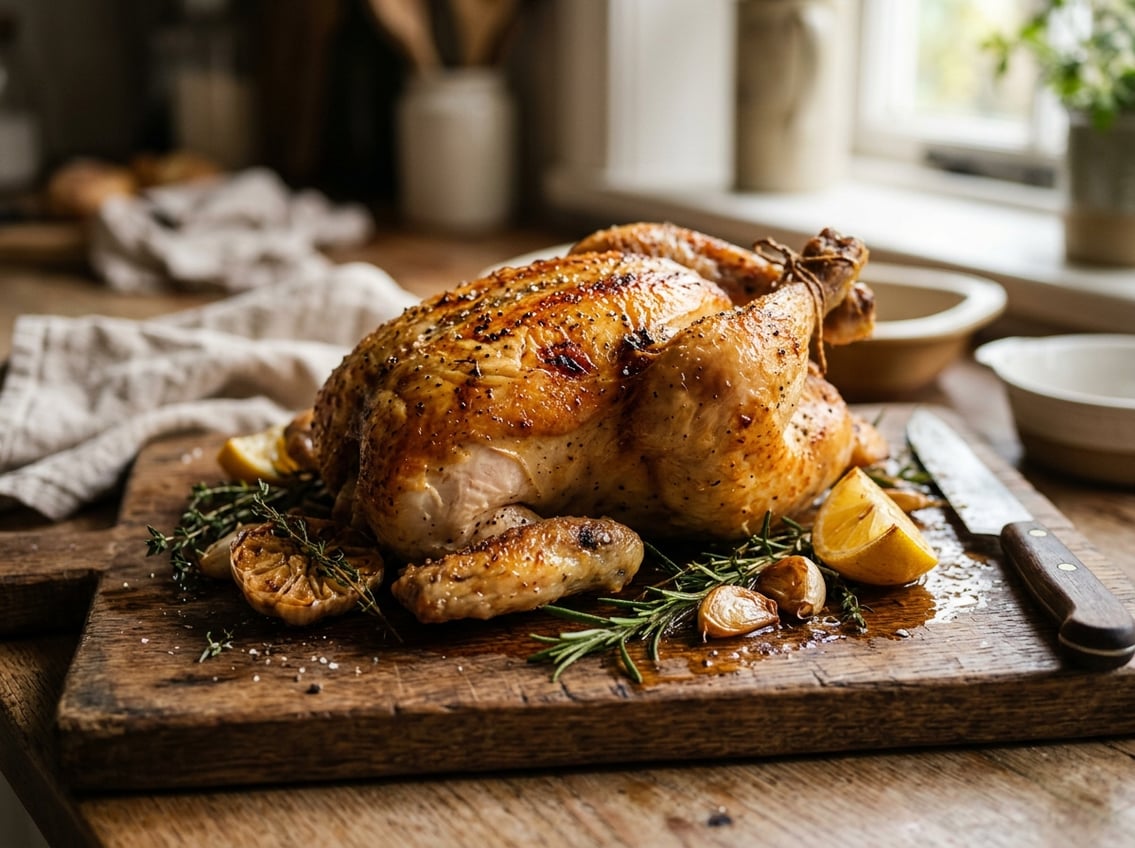
When you finish with the breast up, the skin browns more evenly and turns crisp.
Best Position for Juicy Meat and Crisp Skin
You balance two goals when you roast chicken: juicy breast meat and crisp skin. Breast-side down favors moisture retention, while breast-side up favors even browning and a better-looking finish.
Why Starting Breast-Side Down Helps Moisture Retention
Breast meat is lean, so it dries out faster than dark meat. When you roast breast-side down, the rendered fat and juices run toward the breast area and baste it as it cooks.
That self-basting effect helps keep the breast juicier. It is especially useful if you want a roast chicken with softer, juicier white meat, as noted in Chef’s Resource.
When Breast-Side Up Is Better for Even Browning
Breast-side up gives the skin direct exposure to dry heat, which helps the top brown more evenly. It also creates the classic roasted look people expect from a whole chicken.
If you care more about crisp skin than extra moisture, breast side up is a strong choice.
Why the Flip Method Often Works Best
The flip method gives you both benefits in one roast. You start breast-side down for moisture retention, then turn the bird breast-side up near the end so the skin can brown.
This method can balance juiciness and color for home cooks.
How to Roast for the Best Results
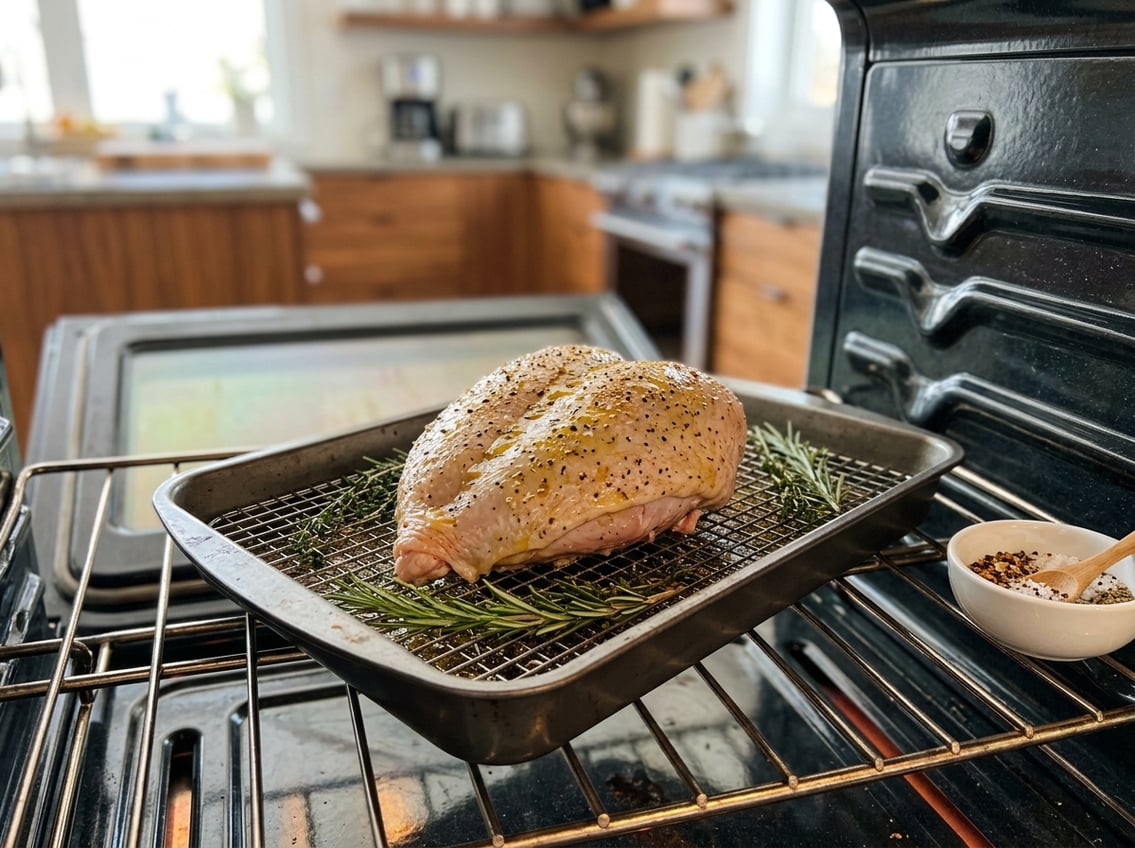
Good roasting starts with the right setup. A roasting pan, a roasting rack, and enough airflow around the bird all help the chicken cook more evenly.
Using a Roasting Pan and Roasting Rack
A roasting pan catches drippings and gives you space for aromatics, vegetables, or gravy later. A roasting rack keeps the chicken lifted above the pan juices so the skin does not sit in liquid.
If you roast breast-side down first, the rack helps the skin stay intact while the bird cooks. It also makes flipping easier because the chicken is less likely to cling to the pan.
Why Elevating the Chicken Improves Airflow
Elevating the chicken improves airflow around the entire bird. Hot air can move under the chicken, around the thighs, and across the skin, which supports more even cooking.
Better airflow reduces soggy spots and helps the roast chicken cook at a steadier rate.
How to Flip the Bird Without Tearing the Skin
Let the chicken roast long enough that the skin releases from the rack or pan naturally. If it sticks, use a thin spatula or tongs to lift it gently.
Flip the bird slowly and support the body with both hands or tools. A rested, lightly oiled skin surface is less likely to tear when you turn it.
Temperature, Timing, and Doneness
Roasting position affects texture, but temperature control matters just as much. You need the chicken to reach safe doneness without pushing the breast past juicy and tender.
When to Switch the Chicken Over
Start breast-side down for about 30 to 40 minutes, then switch to breast-side up for the rest of the cook. That timing gives the breast a moisture boost early on and more browning later.
If your chicken is large, you may need a little more time in the first position. Move it up before the skin gets too soft and before the breast starts overcooking.
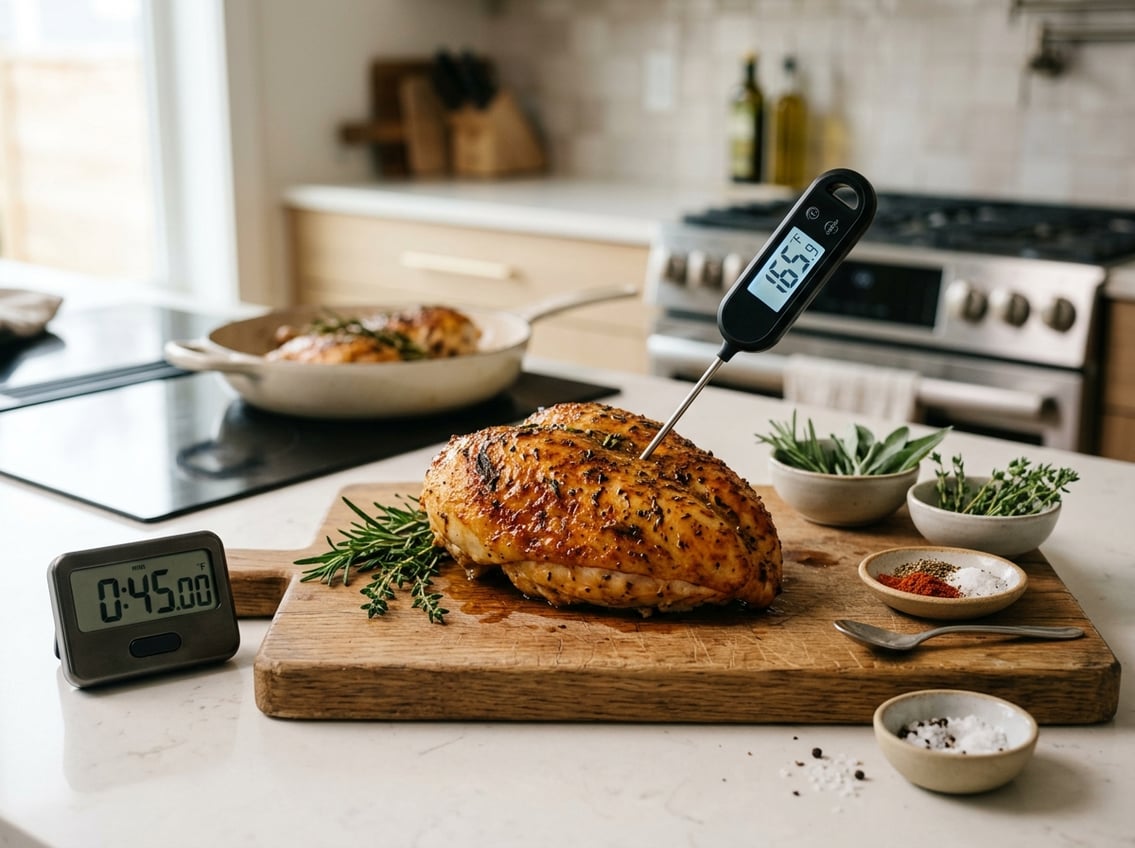
Where to Use a Meat Thermometer
Use a meat thermometer to check doneness. Insert it into the thickest part of the breast, and also check the inner thigh without touching bone.
The safe target for chicken is 165°F in the breast. If you use a meat thermometer for roast chicken, you can avoid guessing and pull the bird at the right time.
How to Avoid Overcooked Breast Meat
Keep a close eye on the breast after you flip it breast-side up. The skin can brown faster than the meat cooks, so oven heat alone is not enough to judge doneness.
Pull the chicken as soon as the breast reaches 165°F. Let it rest for 10 to 15 minutes so the juices settle back into the meat.
Choosing the Right Method for Your Priorities
Your best method depends on what you want most from the roast chicken. If you want crispy skin, juicy breast meat, or ease of cooking, the best position changes a little.
Best Option for Crispy Breast Skin
If you want the breast skin to brown and crisp well, roast breast side up for most of the cook. This gives the top direct heat and helps the skin dry out and color.
A flip at the end can still work if you want more moisture early in the roast. For the most visible browning, breast side up is the stronger choice.
Best Option for the Juiciest White Meat
If you want the juiciest white meat, breast-side down is the better starting point. The breast gets more protection and more basting from the bird’s own juices.
That approach is especially useful for larger chickens. It is a simple way to reduce the chance of dry breast meat.
Best Option for Beginners
If you are new to roasting chicken, the flip method is the easiest place to start.
It gives you a little forgiveness on moisture while still helping you finish with better skin.
Start breast-side down, then finish breast-side up and check doneness with a thermometer.
This method is practical and well suited to a standard roast chicken.


