
What Temperature Does the Chicken Breast Need to Be? Safe Temp Guide
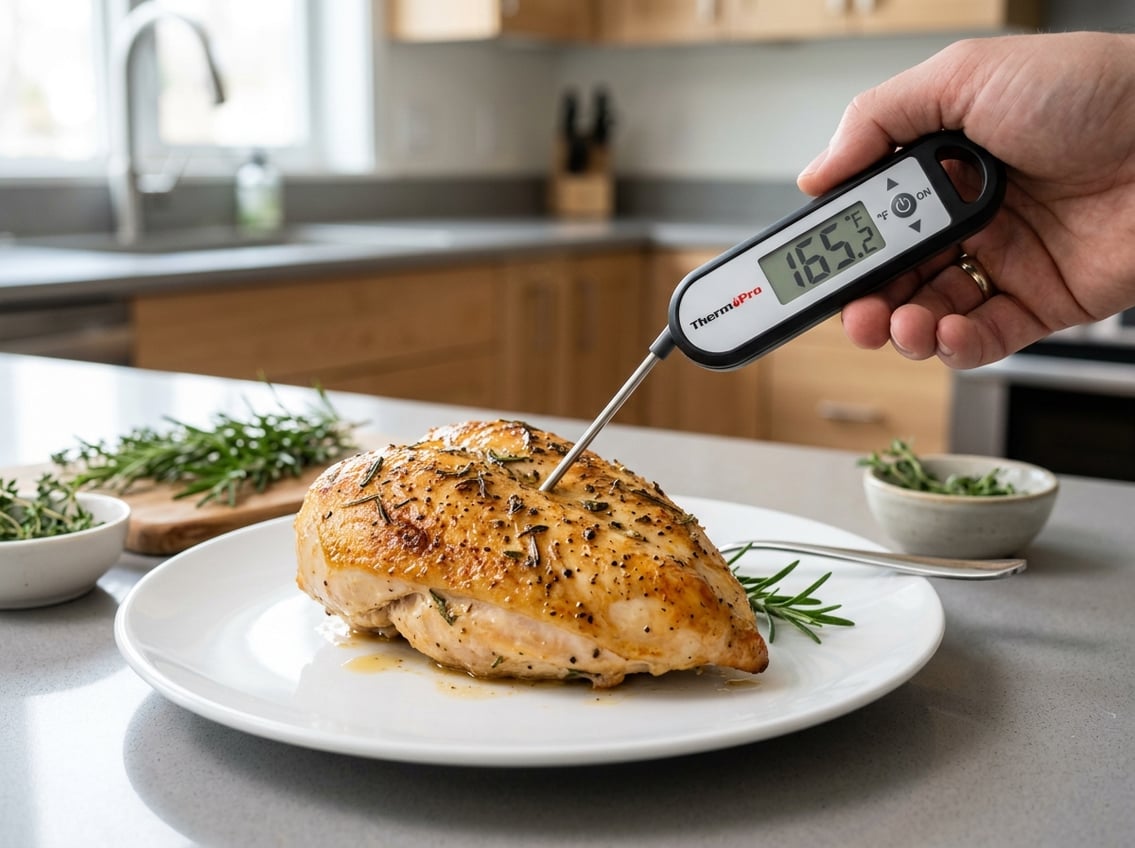
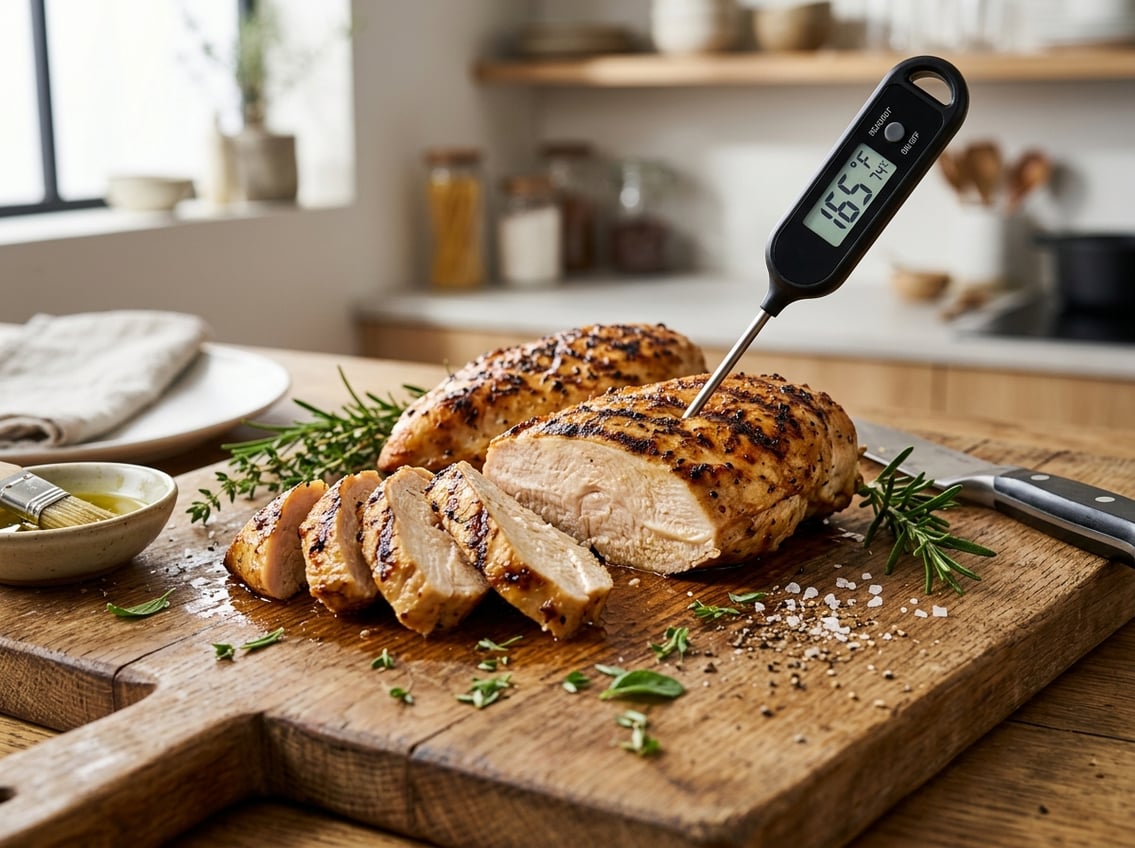
If you wonder what temperature the chicken breast needs to be, the safe answer is 165°F (74°C) at the thickest part of the meat. The USDA food safety standard for chicken internal temperature is 165°F, and you should trust that number.

Chicken breast is lean, so it can dry out quickly if you cook past the target. Reach a safe internal temperature while keeping the meat juicy enough to eat on its own or slice for salads, wraps, and meal prep.
The best way to know your chicken breast is done is to check the internal temperature with a meat thermometer. Let it rest to allow for a little carryover cooking.
The Safe Temperature to Aim For
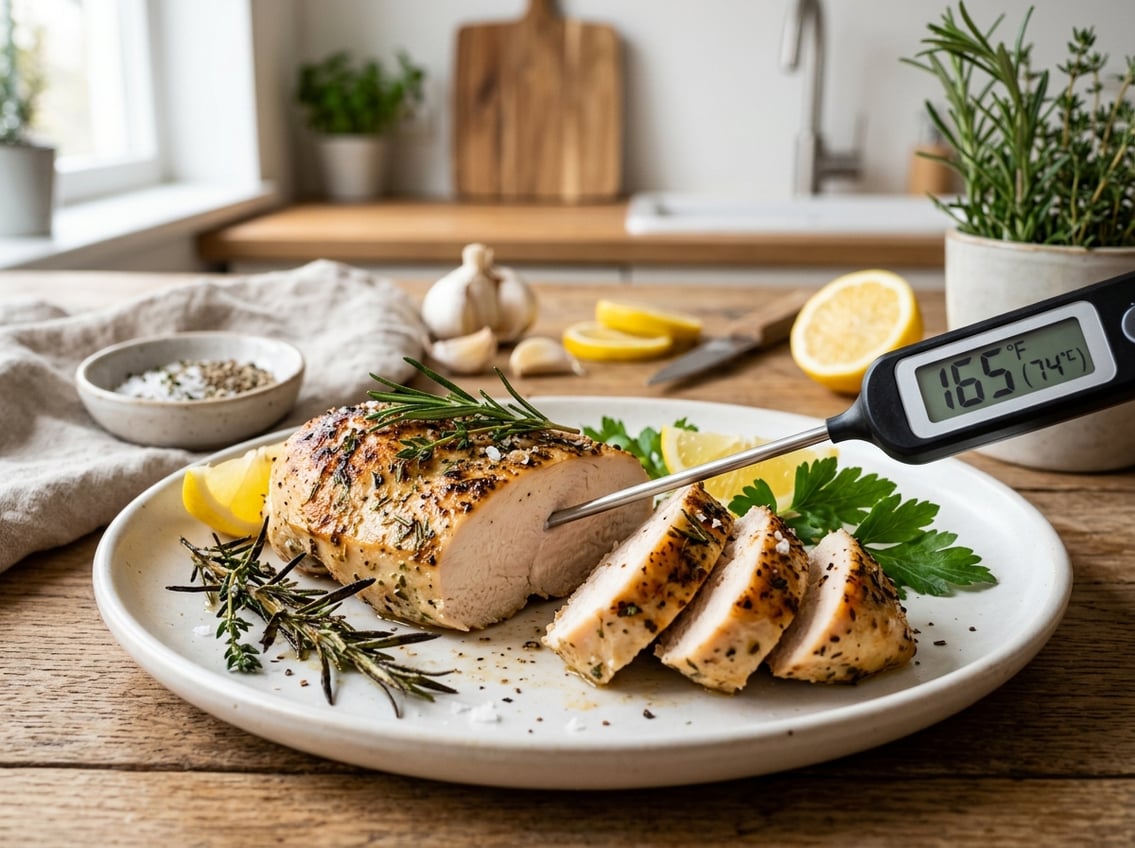
For chicken breast, aim for 165°F (74°C) in the thickest part. That number matters more than cook time, color, or surface appearance.
Many cooks pull chicken breast a little earlier, around 155°F to 160°F, then let it rest so carryover cooking brings it up to 165°F. Food safety still depends on the final internal temperature reaching the safe range.
Why 165°F (74°C) Is the Safe Minimum
Chicken breast can carry harmful bacteria if it is undercooked, so you need to reach 165°F (74°C). This is the standard you should use for safety.
Sources such as Allrecipes point to 165°F as the key internal temperature for chicken breast. The safety target stays the same no matter the cooking method.
When to Pull Chicken Breast Off the Heat
You can pull chicken breast off the heat once it is very close to the target, especially if you plan to rest it. A thermometer reading of 155°F to 160°F may finish well during resting, depending on thickness and heat retention.
Thin pieces cool faster and rise less during rest, so they may need to stay on the heat longer. Thicker breasts usually hold more heat and continue cooking more after removal.
Why Color and Juices Are Not Reliable
White meat can still be undercooked even when it looks opaque. Juices running clear is also not a full guarantee of doneness.
Some chicken turns white before it reaches a safe internal temperature. Only a thermometer can tell you if the center is actually at 165°F (74°C).
How to Check Doneness Accurately
A good meat thermometer takes the guesswork out of cooking chicken breast. If you use a meat thermometer the right way, you can check the center quickly and avoid undercooking or drying out the meat.
Place the thermometer in the thickest part, wait for the reading to stabilize, and check the lowest point. Small mistakes can make the result look safer or less safe than it really is.
How to Use a Meat Thermometer
Turn the thermometer on and wait for the reading to stabilize after you insert it. If your thermometer has a fast-read display, give it a few seconds before you decide the chicken is done.
Clean the probe before and after use. That keeps raw chicken juices from spreading to other foods or surfaces.
Where to Insert the Probe in Chicken Breast
Insert the probe into the thickest part of the chicken breast, usually from the side. Aim for the center of the meat, not the pan, grill, or cutting board.
Avoid touching bone if you are cooking a bone-in piece. Bone can give a false reading and make the chicken seem hotter than it really is.
Common Temperature-Reading Mistakes to Avoid
Do not take the reading from the thin end of the breast. It cooks faster than the thick center and can make the whole piece seem done too early.
Do not press the probe against the pan or grill grate. That measures heat from the cooking surface, not the chicken internal temperature.
Cooking Method Tips for Juicy Results
Juicy chicken breast starts with controlled heat and ends with a short rest. If you use the right timing and watch the temperature closely, you can keep the meat tender.
This matters most with grilling chicken breast, since high heat can dry out lean meat quickly. A simple method and a thermometer help keep it juicy.
Grilling Chicken Breast Without Drying It Out
Grilling chicken breast works best with medium-high heat and even thickness. Pounding the breast slightly or choosing similar-sized pieces helps them cook at the same rate.
A light oil coating and simple seasoning help the surface cook evenly. The goal is steady heat, not a hard sear that leaves the inside dry.
What 5-7 Minutes Per Side Really Means
The rule of 5-7 minutes per side is only a rough guide. Thickness, grill temperature, starting temperature, and whether the breast is boneless all change the total cook time.
Use the time range as a check, not a final answer. According to Allrecipes, grill timing can vary, so the thermometer reading matters more than the clock.
Resting Time and Carryover Heat
Resting lets the juices settle and helps carryover cooking finish the center.
After you remove the chicken breast from the heat, let it rest for a few minutes before slicing.
During this time, the chicken’s internal temperature can rise a few degrees.
Once the chicken reaches 165°F, it is safe to eat. The texture is usually better if you let it rest before cutting.


