
How Do You Know Chicken Breast Is Cooked Without a Thermometer?
If you want to know how chicken breast is cooked without a thermometer, use visual cues, texture, and a quick cut into the thickest part. Look for fully opaque white meat, clear juices, and a firm yet springy feel.

These signs are not as exact as a thermometer. Use more than one at a time for a better read on chicken doneness.
This helps you avoid undercooked chicken or an overcooked, dry breast.
The Fastest Ways to Check Doneness
When you need to tell if chicken is cooked without a thermometer, act quickly. The fastest checks are the center cut, the juice test, and a quick press for texture.
Use these methods together for a practical way to check if chicken is cooked.
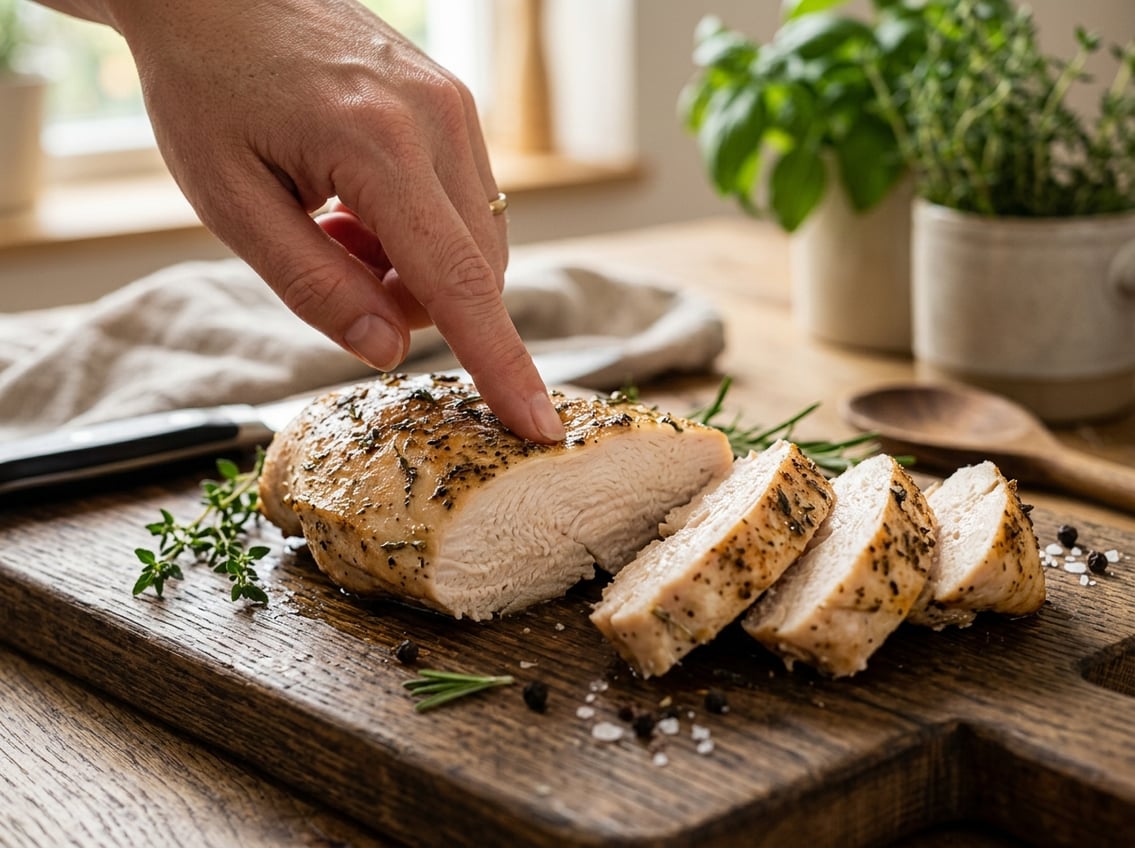
Cut Into the Thickest Part and Check the Center
Slice into the thickest part of the breast, because that area cooks last. The meat should look opaque white all the way to the middle with no glossy raw spots.
If the center still looks translucent, pink, or jelly-like, keep cooking it.
Look for Clear Juices Instead of Pink Liquid
A cooked chicken breast usually gives off clear or very pale juices when you cut into it. Pink or reddish liquid means it needs more time.
This check works best alongside the color test. Clear juices and a white center are reliable signs that the meat is done.
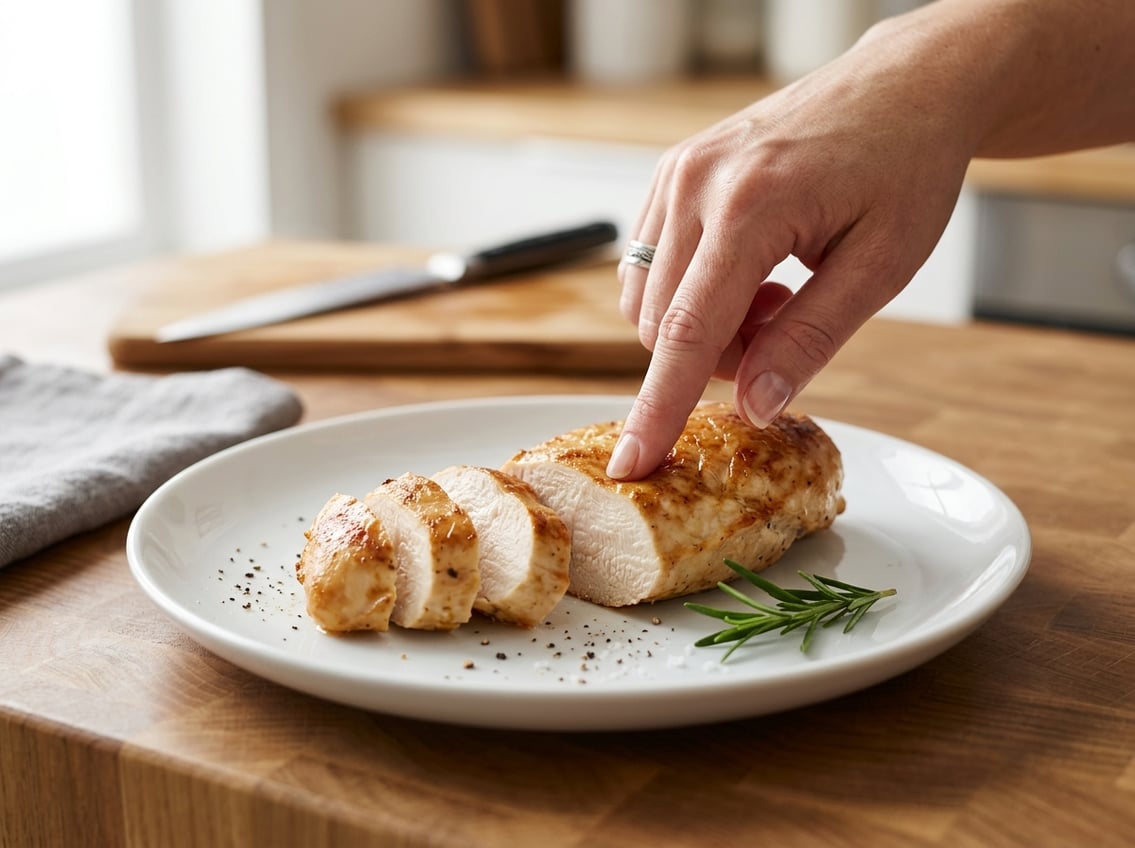
Use Texture and Springiness as a Backup Sign
Cooked chicken breast feels firm and slightly springy when you press it. Undercooked chicken often feels soft or jiggly, while overcooked chicken can feel hard and dry.
Use texture as a support check to confirm doneness when color and juices look close to right.
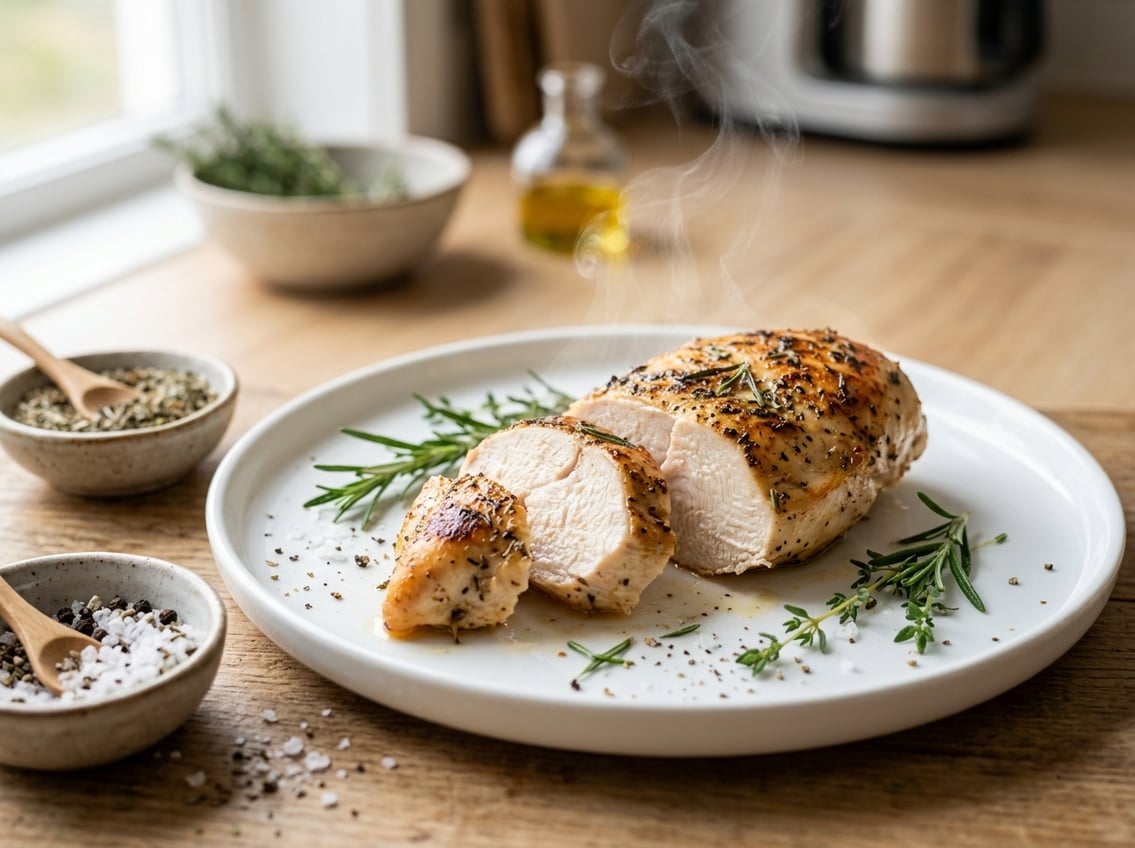
What Properly Cooked Chicken Breast Looks and Feels Like
Properly cooked chicken breast looks white and opaque, with a juicy but firm texture. It should be pleasant to cut and chew.
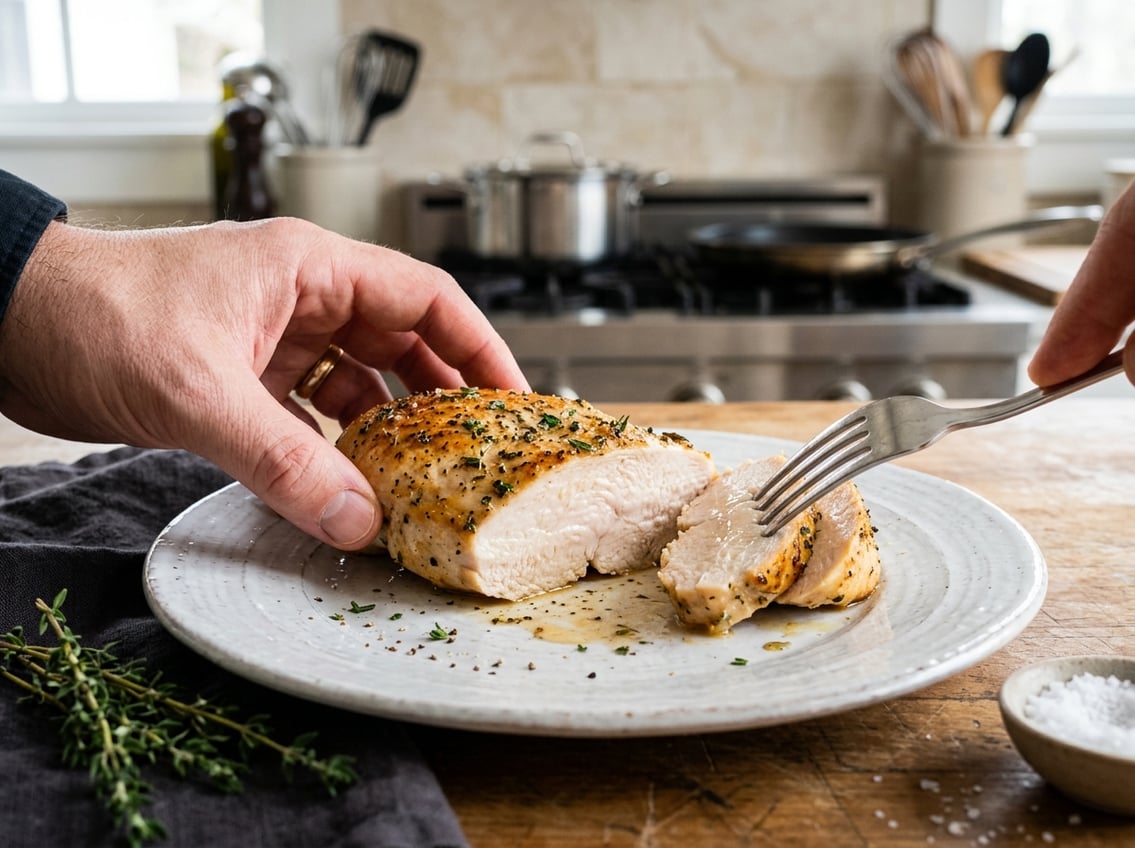
White Opaque Meat vs Glossy or Pink Flesh
Cooked chicken breast should look evenly white or off-white in the center. A little color near the surface from browning is normal, but the inside should not look glossy or raw.
Pink flesh inside the thickest part means the chicken is undercooked. Chicken breast should look opaque throughout when it is done.
Firm and Juicy vs Rubbery or Dense Texture
A done chicken breast feels firm when you press it, then gives a little and springs back. It should slice cleanly and still hold some moisture.
Rubbery, tight, or dense meat usually means it has not finished cooking or it has started to overcook.
Signs You Have Gone Too Far
Overcooked chicken breast often looks chalky, shriveled, and dry at the edges. The meat may pull apart into stringy pieces and lose its juiciness.
If the breast feels hard all the way through, it is past the point of best texture.
When Visual Cues Can Be Misleading
Visual checks are useful, but not perfect. How long you cook chicken, the thickness of the breast, and the cooking method can all change the final look.
You need to read more than color alone.
Why Color Alone Is Not Always Enough
Chicken can look white before it is fully safe, especially if the cut is uneven or the heat is strong on the outside. Some cooked chicken may also hold a faint pink tone and still be done.
Do not use color by itself to check if chicken is cooked. Pair the color check with the juice test and the texture test.
How Thickness Changes Cooking Results
A thin breast cooks much faster than a thick one, and the outside can finish long before the center. Thin and uneven pieces are easy to overcook on the edges while the middle is still catching up.
If one part of the breast is much thicker, focus on that area. The thickest part is the most important place to check.
Why Carryover Cooking and Resting Matter
Chicken keeps cooking for a few minutes after you remove it from heat. Carryover cooking can finish the center if the meat is very close to done.
Let the breast rest before slicing. Resting helps the juices settle and keeps the meat moist.
Cooking Time Guidelines
Time is not a perfect test, but it helps you judge doneness more confidently. The right cooking time depends on breast size, thickness, and whether you bake, pan-cook, or grill the chicken.
Breast Size, Thickness, and Cooking Method
Thicker chicken breasts need more time than thin ones, even at the same heat. Bone-in pieces cook differently from boneless breasts, so judge by both time and appearance.
If the breast is uneven, pound it to a more even thickness before cooking. This makes doneness easier to predict and reduces the chance of raw centers.
Typical Time Ranges for Baking, Pan Cooking, and Grilling
For boneless, skinless chicken breasts, baking often takes about 20 to 30 minutes at a moderate oven temperature, depending on thickness. Pan-cooking or grilling can take less time, often around 5 to 8 minutes per side for average breasts.
These are only rough ranges. Always check the thickest part instead of relying on the clock alone, because how long to cook chicken can vary from one piece to the next.
Why 165°F Is the Safety Benchmark Even Without a Thermometer
The U.S. safety target for chicken is 165°F. This benchmark still matters even if you do not use a thermometer.
You cannot measure the temperature directly. Your visual and texture checks are the only ways to estimate whether the meat has reached safe doneness.
Use those checks carefully. Avoid serving chicken that still looks raw in the center.
For a reliable time-and-temperature reference, the USDA food safety guidance remains the standard for safe chicken cooking.


