
How Long Does It Take to Cook Chicken Breast in Air Fryer?
You can cook chicken breast in an air fryer in about 12 to 20 minutes for most boneless skinless pieces, depending on thickness, size, and your air fryer’s heat. Use time as a guide and a thermometer as the final check.
If you want juicy air fryer chicken breast, cook it hot enough to brown the outside, then stop at 165°F in the thickest part. That gives you a tender center without drying out the meat.

Air fryers move hot air around the food, which helps chicken cook quickly and evenly. This makes air fryer cooking time shorter than oven time, especially for boneless pieces.
Chicken Breast Timing at a Glance
Start with temperature, then adjust for thickness and whether the chicken is fresh or frozen. Thin pieces cook fast, while thick pieces need more time to reach the safe internal temperature of 165°F.
A general guide from air fryer chicken breast timing tips places boneless pieces in the 15 to 20 minute range at common air fryer temperatures.
Best Temperature Range for Reliable Results
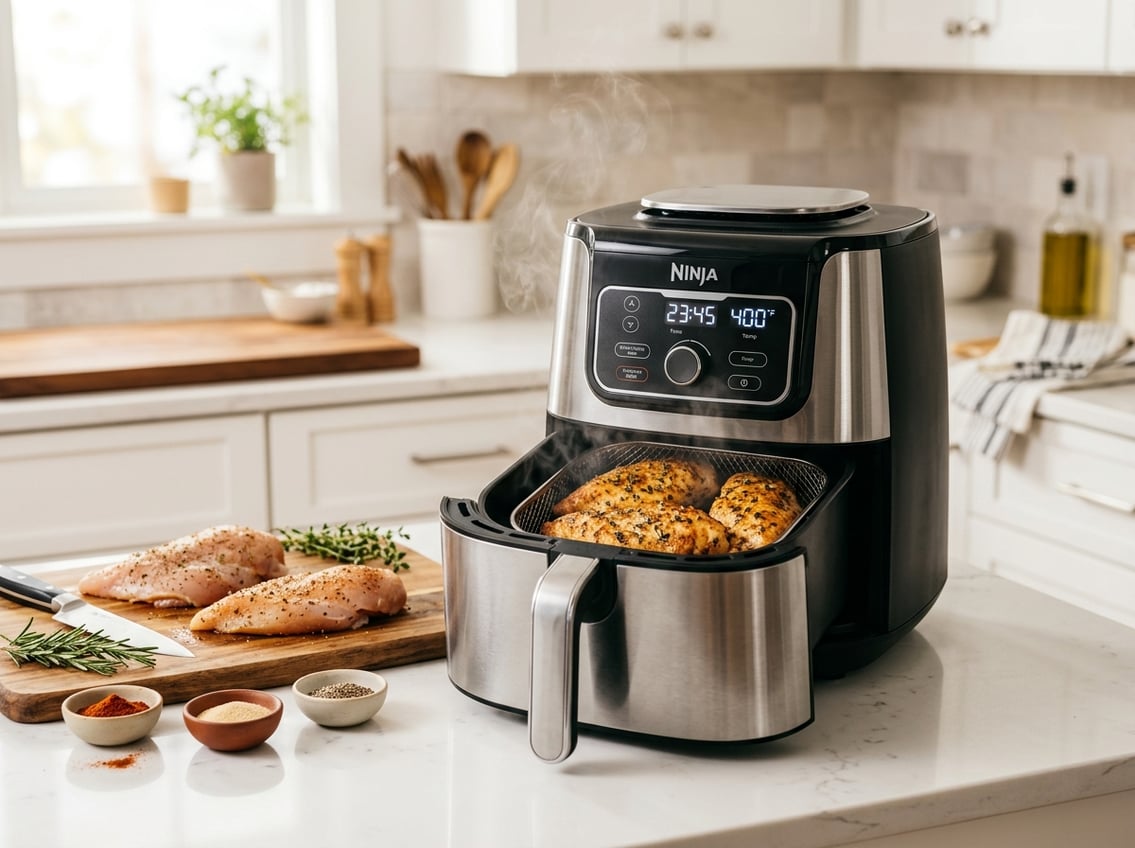
For most air fryer chicken breasts, 360°F to 400°F works well. A middle setting like 375°F gives you steady browning and even cooking without pushing the outside too hard.
If your air fryer runs hot, start closer to 360°F. If you want more browning and your chicken is not too thick, 390°F to 400°F can work.
Cook Time by Thickness and Size
For boneless skinless chicken breasts, use thickness more than weight as your timing guide.
- Thin cutlets, about 1/2 inch thick, may take 8 to 12 minutes.
- Average breasts, about 3/4 to 1 inch thick, often take 12 to 16 minutes.
- Thick breasts, over 1 inch thick, may need 16 to 20 minutes or a little more.
If you have air fryer chicken breasts of uneven size, the smaller one will finish first. The larger one should guide the total cook time.
Fresh vs. Frozen Timing Differences
Fresh chicken breasts cook faster and more evenly than frozen ones. Frozen chicken breasts need extra time because the outer layer must thaw before the center cooks through.
If you plan to air fry frozen chicken breast, expect a longer cook time than fresh chicken, often closer to 18 to 25 minutes depending on thickness. Keep the pieces in a single layer so the air can move around them.
When to Flip and When to Check Temperature
Flip the chicken halfway through cooking if your air fryer basket heats unevenly or if you want more even browning. Some newer models cook evenly enough that flipping is less important, but it still helps most of the time.
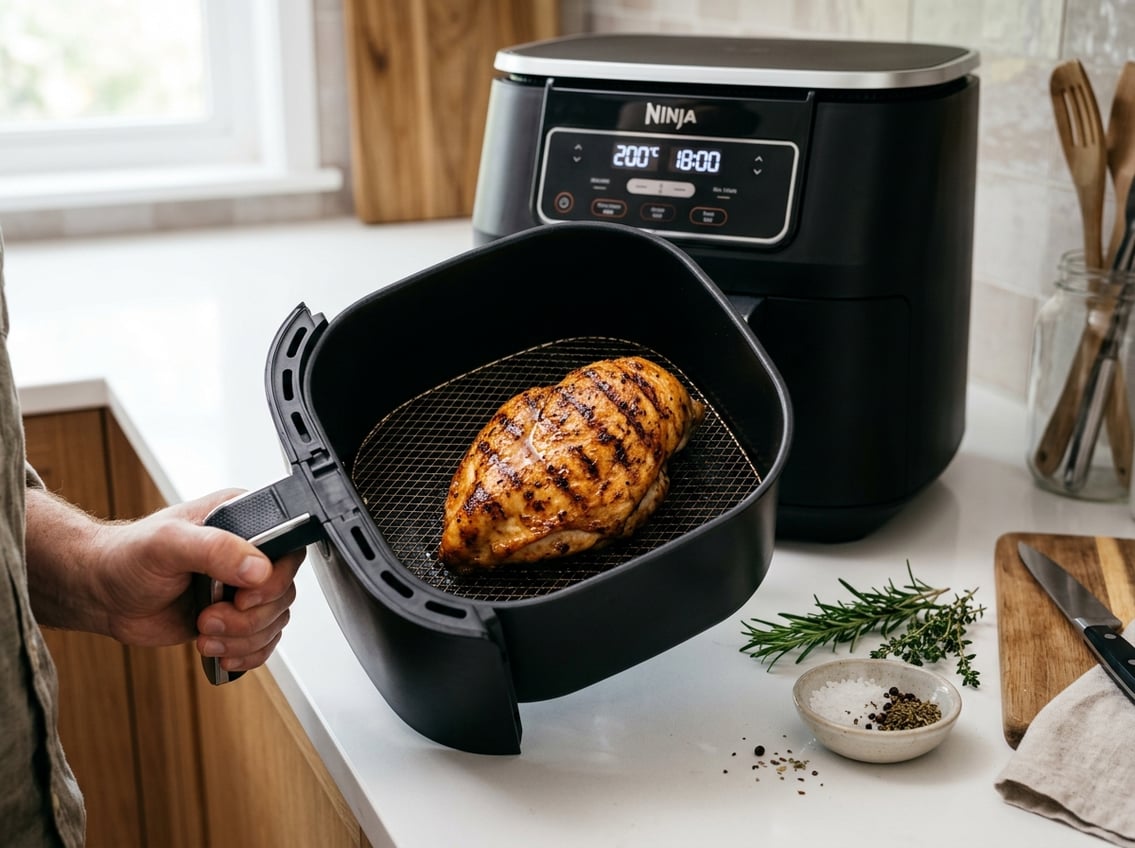
Start checking the internal temperature a few minutes before the expected finish. Remove the chicken when the thickest part reaches 165°F, then let it rest.
How to Get Juicy, Even Results
Juicy results come from even thickness, good airflow, and not overcooking. Air frying chicken breast works best when the meat is the same thickness across each piece and checked with a thermometer instead of guesswork.
Why Thickness Matters More Than Weight
A 6-ounce breast can cook faster than a larger one if it is thinner. Weight alone does not tell you how long to cook because shape changes the cook time more than ounces do.
If one end is much thicker, pound it gently or slice it so the piece cooks evenly. That is one of the easiest ways to improve any air fryer chicken recipe.
Preheating, Basket Spacing, and Airflow
Preheat your air fryer for about 3 to 5 minutes if your model supports it. A hot basket helps the chicken start cooking right away, which improves browning.
Leave space between pieces so air can move around the chicken. Crowding the basket can slow cooking and lead to uneven spots.
Brining, Oiling, and Seasoning Basics
A short brine can help a juicy chicken breast stay tender. Even a simple saltwater soak for 20 to 30 minutes can improve moisture.
A light coating of oil helps seasoning stick and supports browning. Dry seasonings work well on boneless skinless chicken breasts, especially when you keep the layer even and not too heavy.
For general seasoning guidance, Laura Fuentes explains how to season chicken with simple ingredients.
Using a Thermometer Without Guesswork
A thermometer removes the guesswork from air frying chicken breast. Insert it into the thickest part, away from the basket and away from bone if present.
Pull the chicken at 165°F. If you let it sit too long in the air fryer after that point, it can dry out fast.
Step-by-Step Cooking Method
This method works for a simple air fryer chicken recipe and fits most boneless skinless chicken breasts. You can also adapt it for frozen pieces with a longer cook time and a temperature check at the end.
Preparing Boneless Skinless Chicken Breasts
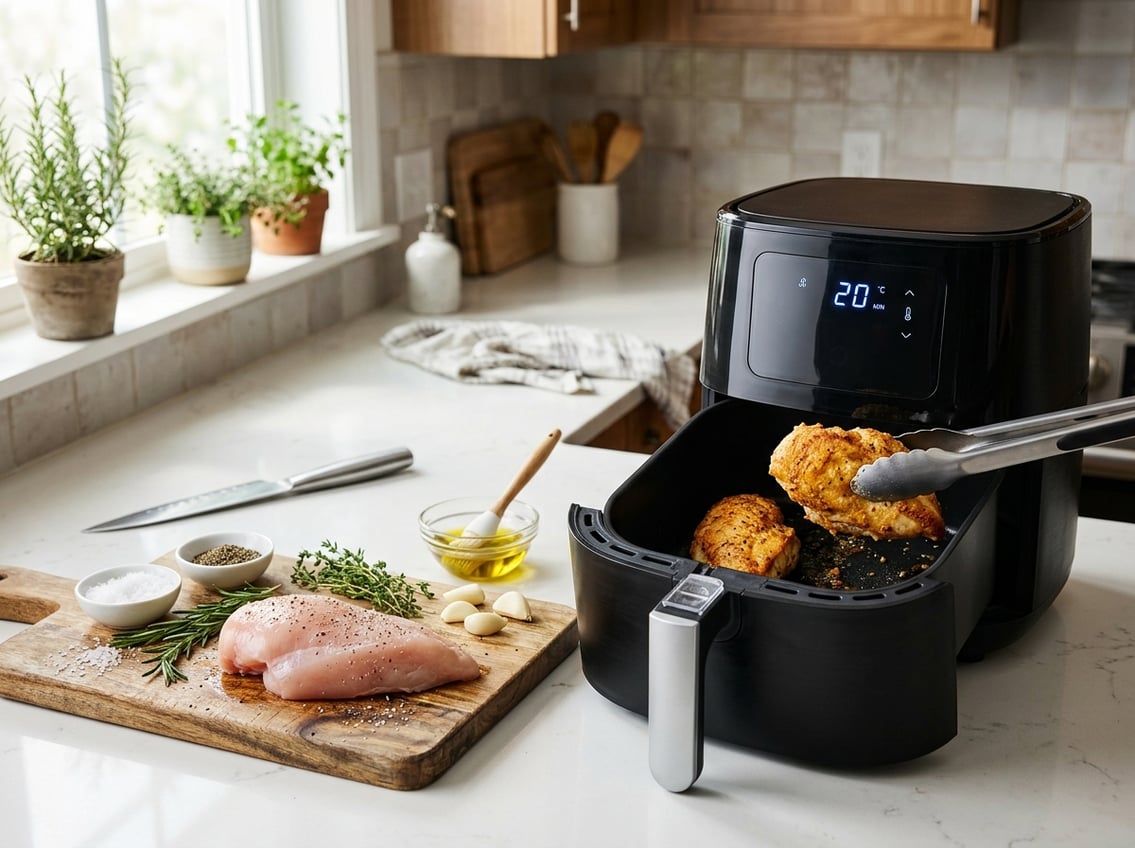
Pat the chicken dry with paper towels. If one side is much thicker, lightly pound it to even the shape.
Rub the chicken with a little oil, then add salt, pepper, and your seasoning blend. Let it sit while the air fryer preheats.
Cooking Fresh Chicken Breast
- Preheat the air fryer to 375°F.
- Place the chicken breasts in a single layer.
- Cook for 6 to 8 minutes.
- Flip the chicken.
- Cook for another 6 to 8 minutes, or until the thickest part reaches 165°F.
For thicker chicken breast pieces, add 2 to 4 minutes as needed. If you use a well-tested air fryer chicken breast recipe, you will often see a similar timing range for juicy results.
Cooking Frozen Chicken Breast
You can cook frozen chicken breasts in the air fryer, though the texture is best when the pieces are not stuck together. Start at a lower temp, around 360°F, so the outside does not overbrown before the center cooks.
Cook for about 10 minutes, flip, then cook 8 to 15 minutes more depending on thickness. Check the temperature in the thickest part and keep cooking until it reaches 165°F.
If the chicken is frozen in a solid block, thaw it first for better results.
Resting and Slicing for Better Texture
Let the chicken rest for 5 minutes before slicing. That pause helps the juices settle back into the meat.
Slice against the grain for a softer bite. This simple step improves the texture of many air fryer chicken recipes and makes the meat better for salads, wraps, and meal prep.
Seasoning Options and Common Mistakes
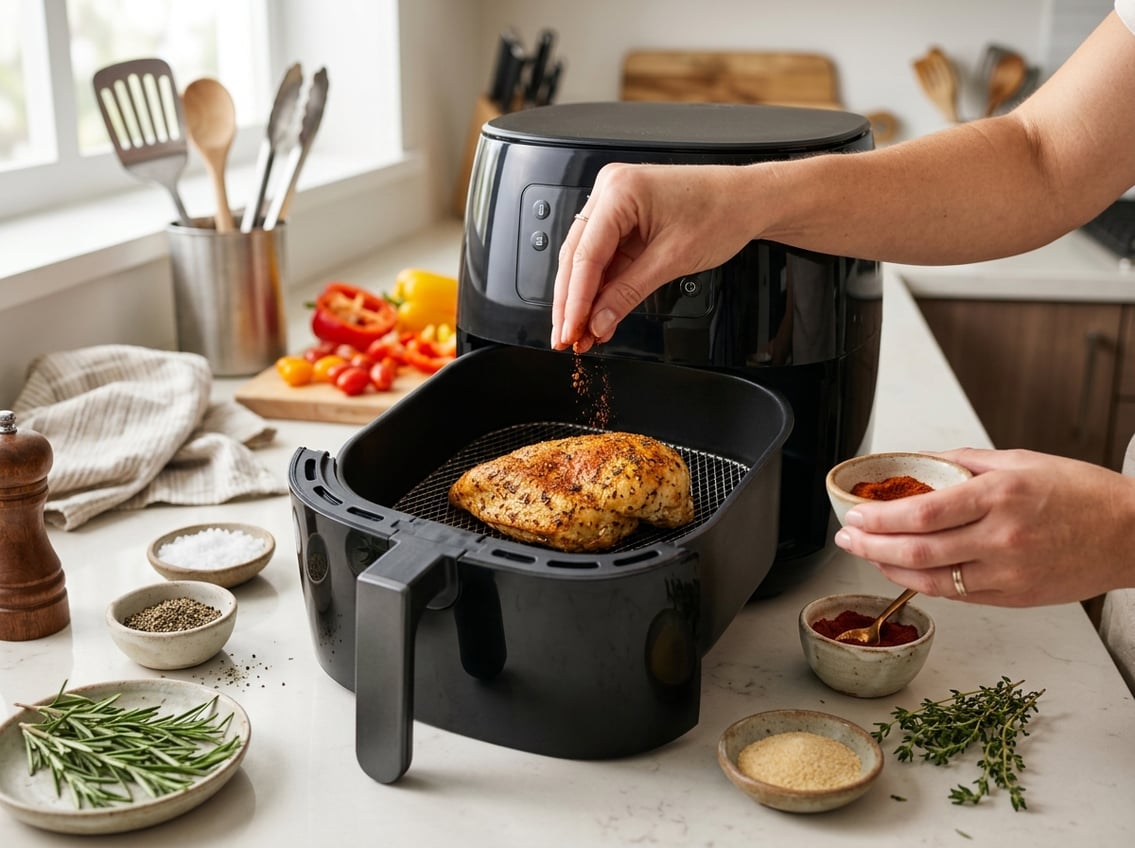
Seasoning does more than add flavor, it also helps the surface brown well. A few simple blends work best for air fryer chicken, and a few common errors can turn a good chicken breast dry or rubbery.
Simple Seasoning Blends That Work Well
Keep seasoning simple if you want clean, reliable flavor.
- Salt, pepper, garlic powder, and paprika
- Italian seasoning, garlic powder, and a little oil
- Smoked paprika, onion powder, and black pepper
These blends work well across many air fryer recipes because they do not add excess moisture.
Lemon Pepper Chicken Variation
Lemon pepper chicken fits the air fryer very well because the seasoning is bold and quick. Use lemon pepper, a little garlic powder, and a light coat of oil for even coverage.
If you want more citrus flavor, add lemon zest after cooking instead of adding too much liquid before cooking. That keeps the skinless chicken breast surface from steaming.
Why Chicken Turns Out Dry or Rubbery
Chicken often turns dry when you cook it too long or at too high a heat for the thickness. It can turn rubbery when the outside cooks fast while the inside still needs time.
Using very thin cuts with the same time as thick breasts is another common problem. Skipping the rest period after cooking can also lead to dryness.
Mistakes That Cause Undercooked Centers
The biggest mistake is not checking the center temperature. Color is not a reliable sign of doneness, especially in thicker pieces.
Overcrowding the basket causes problems because airflow drops. Keep each piece separate.
Check early and use a thermometer so your chicken breast cooks through evenly every time.


