
What Does Chicken Breast Need to Be Cooked to? Safe Temp
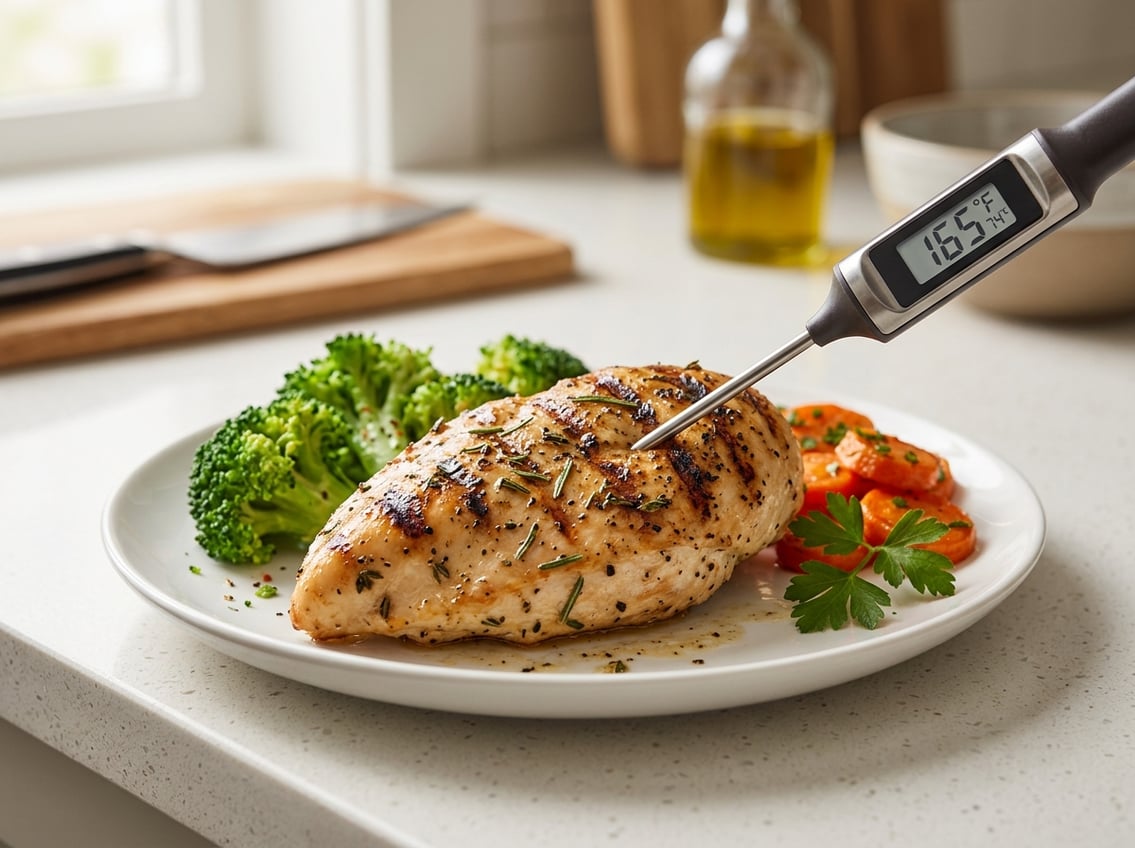
You may ask, what does chicken breast need to be cooked to? The direct answer is 165°F (74°C) in the thickest part of the meat.
That is the minimum safe internal temperature for chicken breast, where food safety and doneness line up.

For a perfectly cooked chicken breast, use a meat thermometer and aim for 165°F (74°C) in the thickest part. This step helps you avoid undercooked chicken and dry, overcooked meat.
Chicken breast cooks quickly and dries out fast if you leave it on the heat too long. Check the internal temperature near the end of cooking and let the meat rest before slicing.
Safe Temperature and Why It Matters
The safe target for chicken breast is simple but important. Cooking to the right internal temperature reduces the risk of foodborne illness and keeps the meat juicy.
The Minimum Safe Internal Temperature
The USDA sets the standard for chicken breast at 165°F (74°C). This is the minimum safe internal temperature for all poultry, including boneless or bone-in chicken breast.
At this temperature, the meat is safe to eat. A meat thermometer gives you the most accurate answer.
Why Salmonella and Campylobacter Are the Main Risk
Raw chicken often carries salmonella and campylobacter, two common bacteria linked to poultry. If you undercook chicken or let raw juices spread, these bacteria can cause stomach illness.
Cooking to 165°F (74°C) destroys these harmful bacteria. That is why the minimum safe internal temperature is so important.
Where to Check Temperature in the Thickest Part
Place the thermometer in the thickest part of the chicken breast, usually the center. Avoid touching bone, the pan, or the cooking surface, since those can give a false reading.
If the breast is uneven, check more than one spot. The thickest area decides whether the whole piece is safe.
How to Tell When It Is Done Without Guesswork
A meat thermometer gives you the most reliable answer. Visual cues can help, but always use them with temperature, not instead of it.
How to Use a Meat Thermometer Correctly
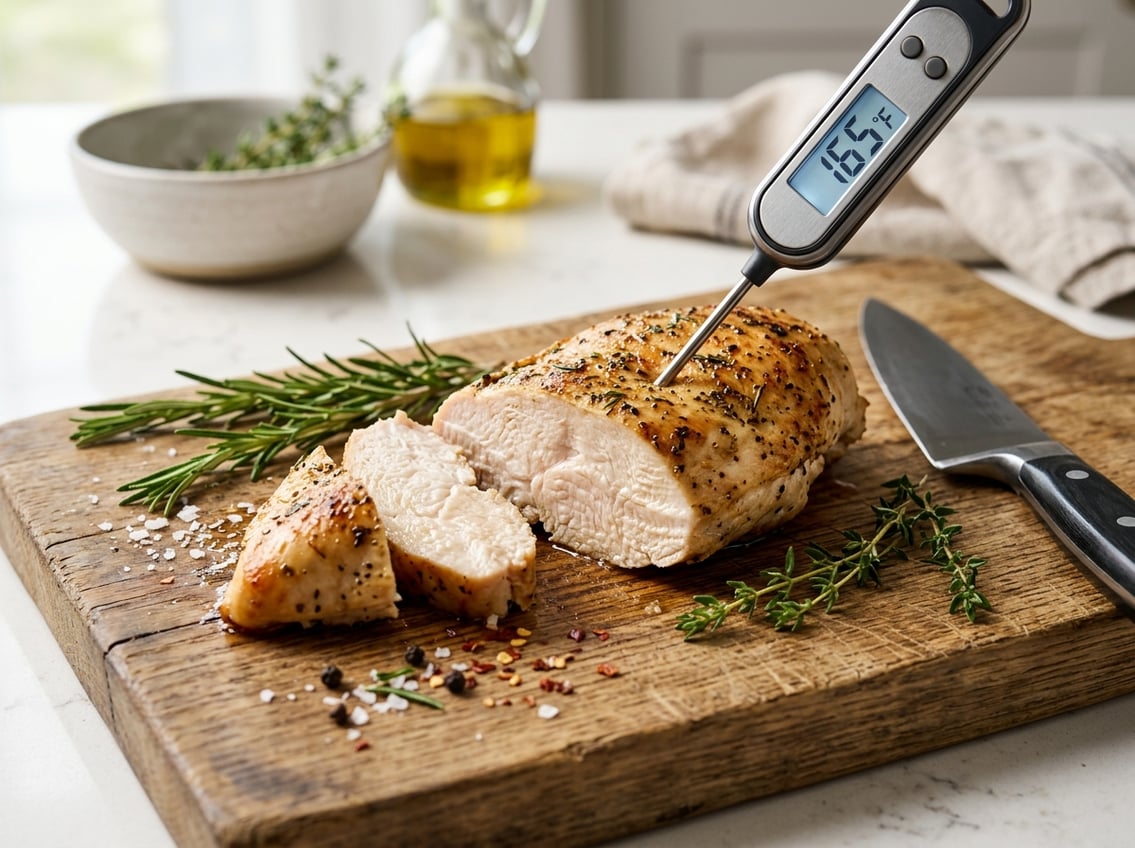
Insert the thermometer into the thickest part of the breast and wait for the reading to settle. If you are cooking more than one breast, check each piece, since they may not cook at the same rate.
Test near the end of cooking for the most accurate result. If you pull the chicken a little early, resting can finish the job and help the juices stay inside.
Visual Cues Like Color, Texture, and Clear Juices
Cooked chicken breast should look opaque, not translucent. The texture should feel firm, and the juices should run clear, not pink or red.
These visual cues are helpful, but they are not exact enough to replace temperature. A breast can look done on the outside and still be undercooked inside.
Why Time Alone Is Not a Reliable Test
Cooking time depends on thickness, starting temperature, and method. A thin breast in a hot skillet may finish fast, while a thick one in the oven may need much longer.
Use time as a guide and the thermometer as the final check. Temperature gives you the confidence that your chicken is safe.
Best Cooking Methods for Juicy Results
The best cooking methods help you reach the safe temperature without drying out the meat. Since chicken breast is lean, your method affects texture and flavor.
Baking Chicken Breast in the Oven
Baking chicken breast gives you steady heat and easy cleanup. It works well for even cooking and less hands-on attention.
Use a moderate oven and check the temperature near the end of the cook time. If you start with evenly sized pieces, you reduce the chance of dry edges and undercooked centers.
Skillet, Grill, and Poaching Basics
A skillet gives you browning and fast cooking, which is great for weeknight meals. The grill adds flavor from direct heat, while poaching keeps the meat gentle and moist.
Each of these cooking methods for chicken breast can work well if you stop at 165°F (74°C). The method matters less than the final temperature and your timing.
How Thickness and Resting Time Affect Results
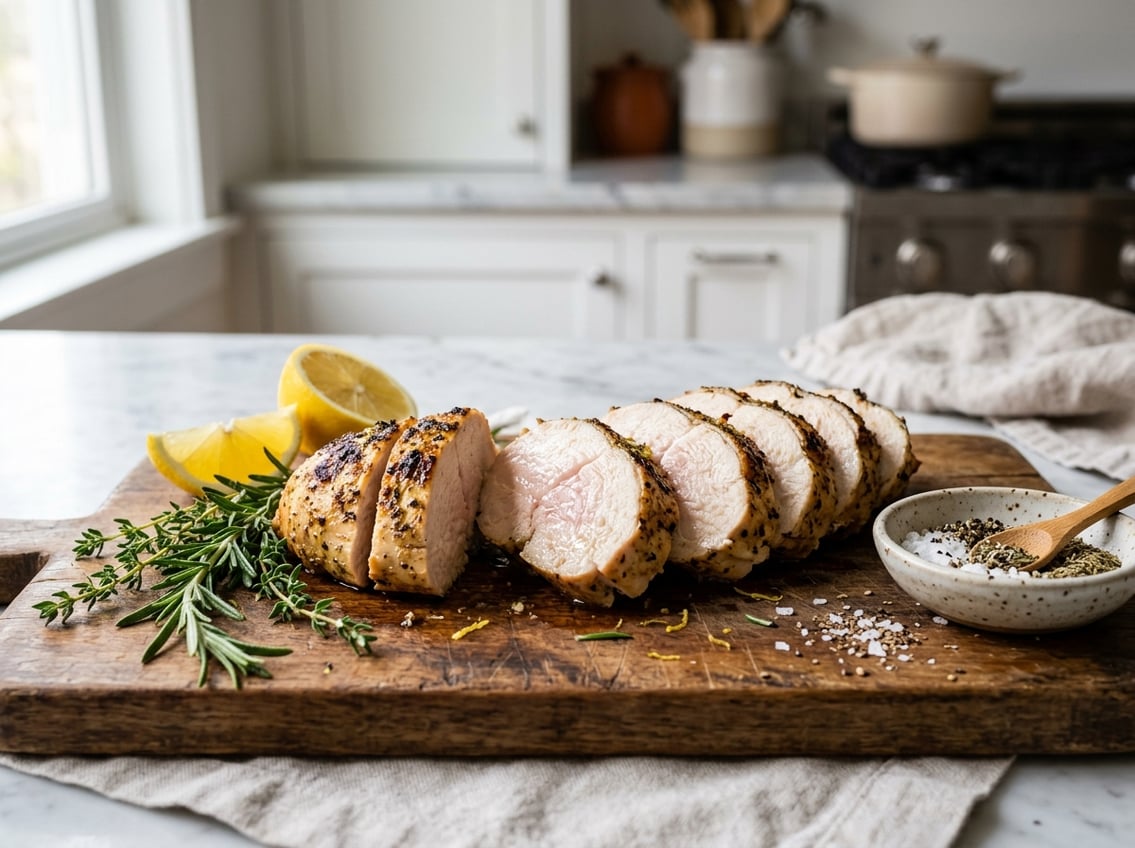
Thicker chicken breasts need more time, and uneven pieces cook unevenly. Pounding the meat to an even thickness helps you cook chicken breasts more evenly.
Resting matters too. After you remove the chicken from heat, let it sit for a few minutes so the juices settle before you slice it.
Handling, Storage, and Common Safety Mistakes
Safe cooking starts before you turn on the heat. If you store raw chicken correctly and avoid cross-contamination, you lower the risk of spreading bacteria around your kitchen.
How to Store Raw Chicken Safely
Store raw chicken in the coldest part of your refrigerator and keep it sealed so it does not leak onto other foods. If you will not use it soon, freeze it before it spoils.
When you bring raw chicken home, put it away quickly. Good cold storage supports food safety before you ever start cooking.
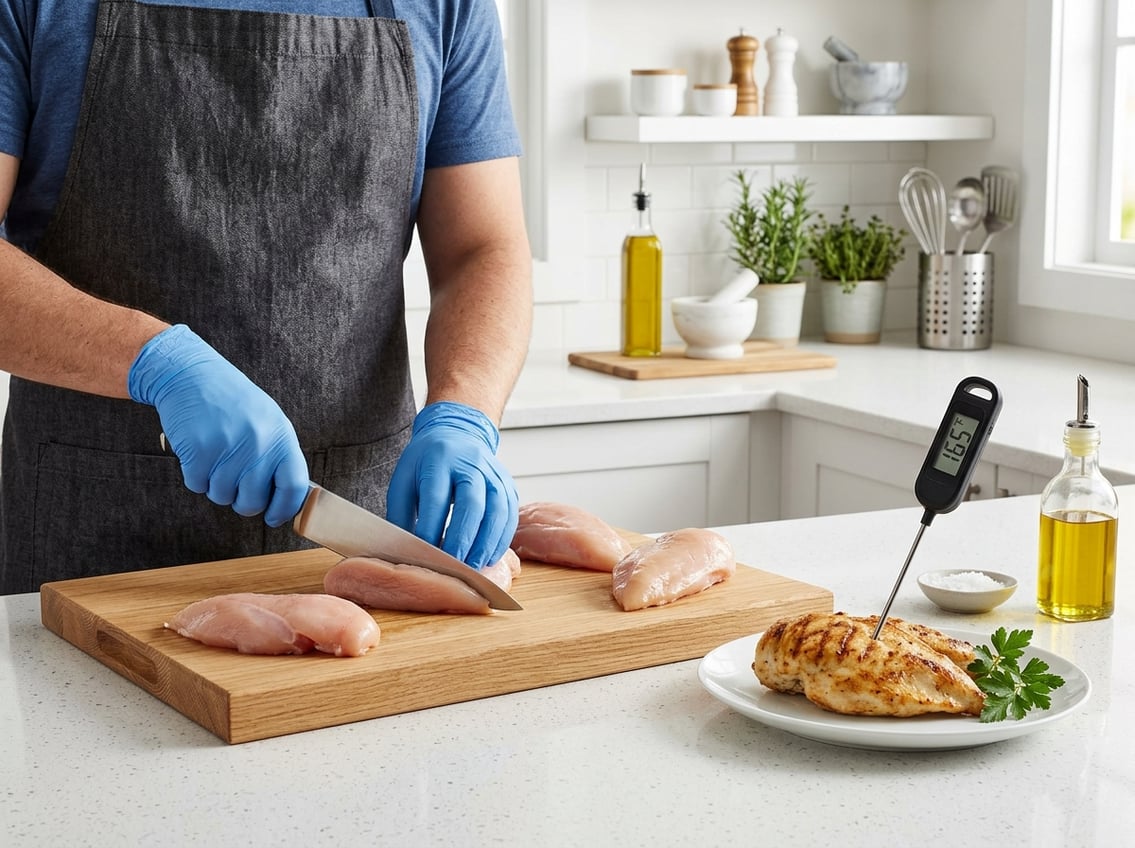
Avoiding Cross-Contamination in the Kitchen
Use separate cutting boards, plates, and utensils for raw chicken and cooked food. Wash your hands, counters, and tools with hot soapy water after handling raw chicken.
Never place cooked chicken back on a plate that held it raw. That is one of the easiest ways to undo safe cooking.
Common Errors That Lead to Dry or Unsafe Chicken
Many people stop by color alone and cut into the meat too early.
Others cook by time only, which can leave thick pieces underdone or thin pieces overdone.
When you skip the thermometer, you take the biggest risk.
For safe, juicy chicken breast, keep the minimum safe internal temperature at the center of your process every time.


