
Temperature at Which Chicken Breast Is Done Safely
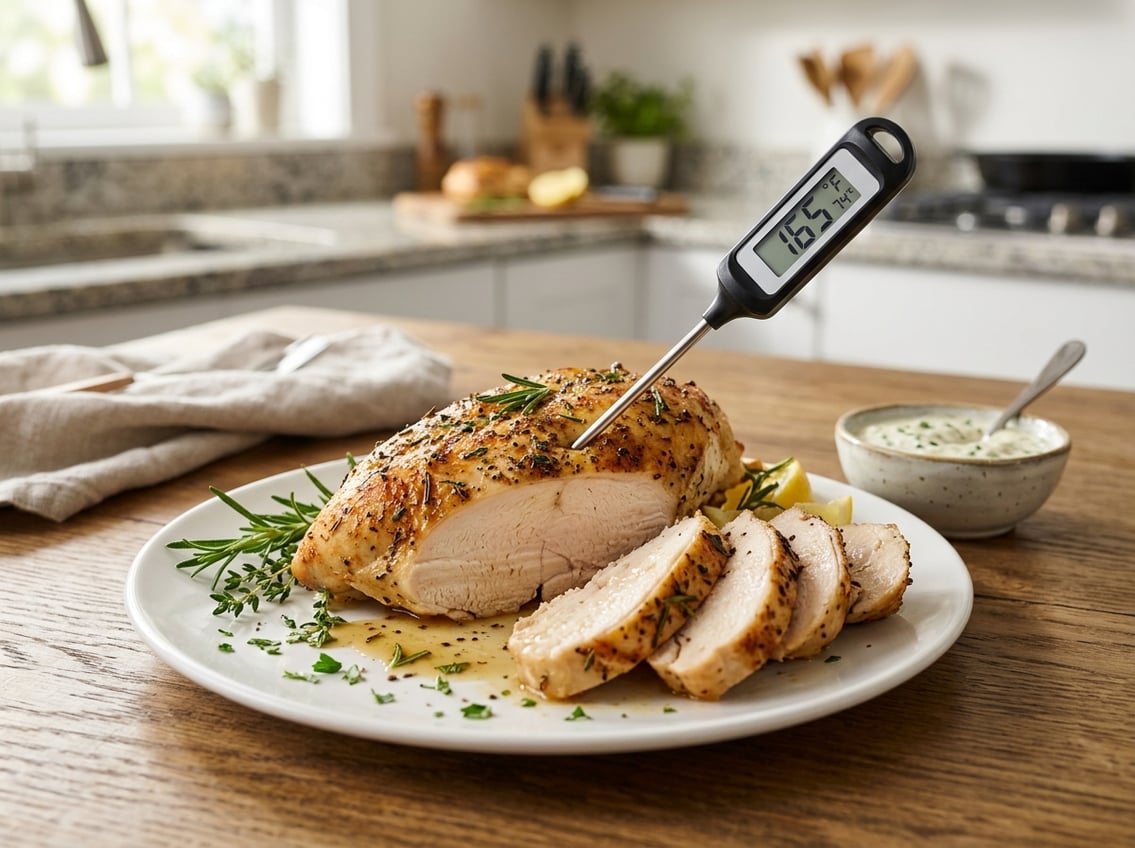
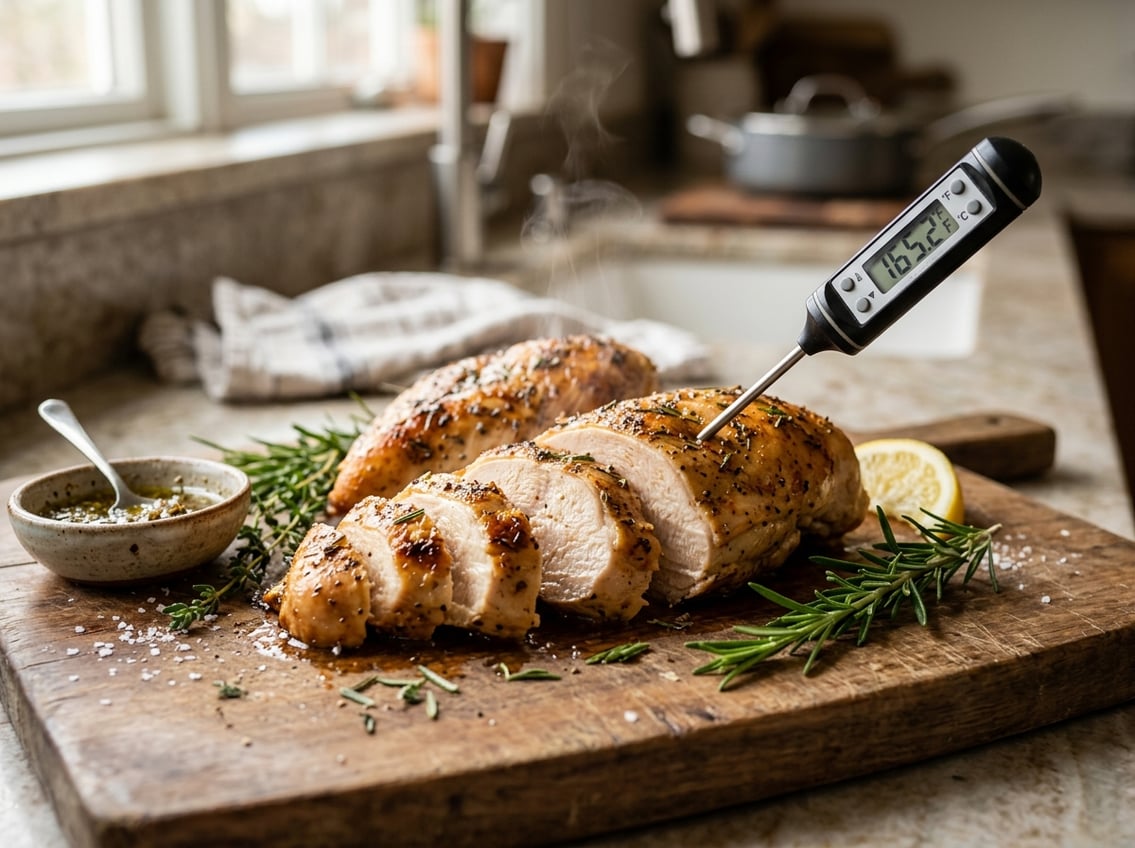
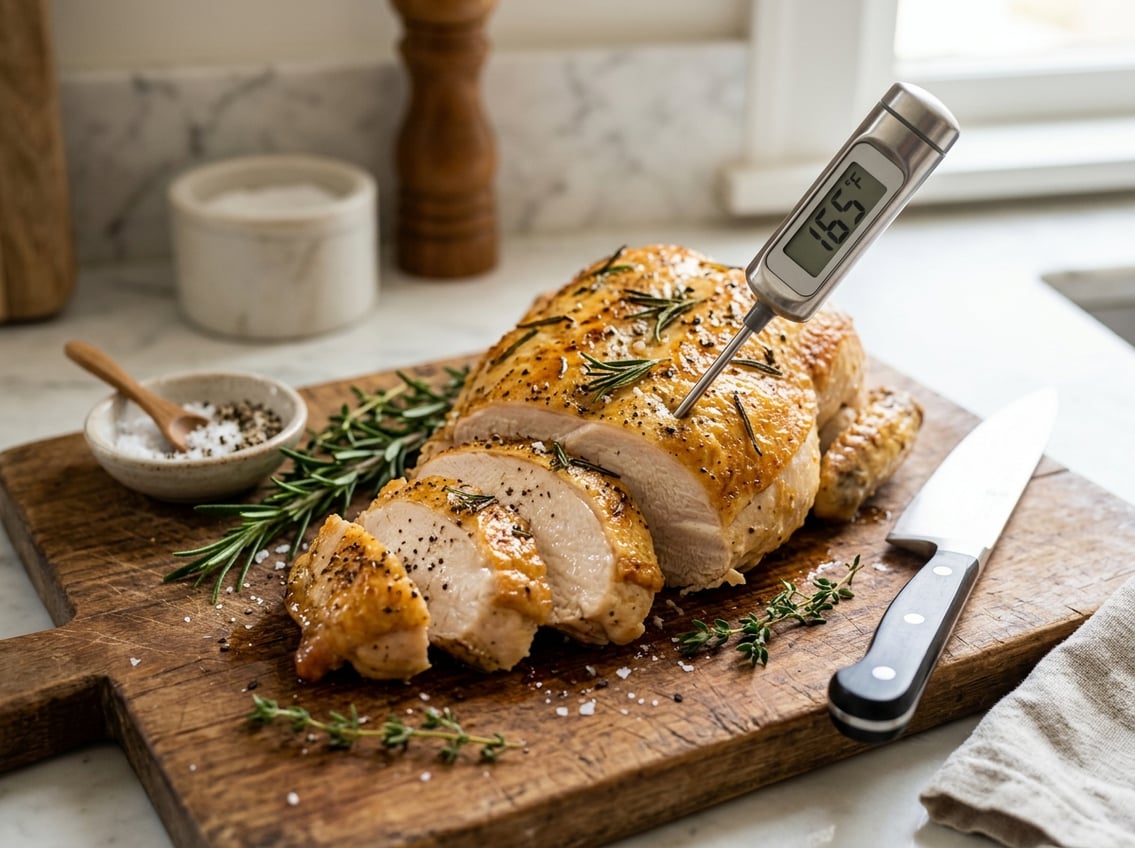
The safe temperature for chicken breast is 165°F in the thickest part of the meat. This is the standard in the U.S. for serving chicken breast safely.

Aim for 165°F, check it with a thermometer, and let the chicken rest briefly before slicing. This helps avoid dry meat while keeping it safe.
Cooking by color isn’t reliable. Use a thermometer to check the internal temperature and let the chicken rest to keep it tender.
The Exact Safe Temperature to Serve Breast Meat
Chicken breast is safe to eat at a minimum internal temperature of 165°F. Most home cooks in the U.S. use this number to decide when chicken breast is done.
This temperature destroys harmful bacteria such as salmonella and campylobacter. It also gives you a clear target so you don’t have to guess.
Why 165°F Is the Safe Minimum
Chicken breast becomes safe to eat right away at 165°F. Food safety guidance in the U.S. uses this number because it kills harmful bacteria quickly.
The government recommends this temperature, and most guides agree. A chicken internal temperature chart confirms that breast meat should reach 165°F.
What 160°F to 162°F Means Before Resting
If your chicken breast reaches 160°F to 162°F, carryover heat during resting may bring it up to 165°F. Resting lets the internal temperature rise a few degrees after removing the chicken from heat.
Use care with this method. If you remove the chicken too early, it may not reach the safe temperature.
How White Meat Differs From Dark Meat
White meat like chicken breast cooks faster and dries out more easily than thighs or drumsticks. Dark meat contains more fat and connective tissue, so it stays tender at higher temperatures.
Serve breast meat at 165°F for the best texture. Dark meat often tastes better slightly higher.
How to Measure Doneness Accurately

Use a meat thermometer to check chicken temperature accurately. An instant-read or digital thermometer gives you a quick reading.
Check the thickest part of the breast. Good thermometer placement gives a more reliable result than guessing or checking color.
Where to Check the Thickest Part of the Breast
Insert the thermometer in the thickest part of the breast, usually near the center. This spot takes the longest to cook.
If the breast is uneven, check more than one spot. Large pieces may have a safe outer area and a cooler center.
Thermometer Placement Without Touching Bone
Keep the probe away from bone, since bone can give a false high reading. Avoid thick pockets of fat or the hot cooking surface as well.
Slide the probe into the side or top of the breast so the tip is in the center of the meat. This helps you read the true internal temperature.
How to Use a Meat Thermometer Correctly
Insert the thermometer near the end of cooking and wait for the reading to steady. If you use a probe model, leave it in during cooking and watch the number climb.
A quick check with an instant-read thermometer is often enough for chicken breast. Confirm the internal temperature has reached at least 165°F before serving.
How to Keep Chicken Breast Moist Instead of Dry
Dry chicken breast often results from overcooking or slicing too soon. Remove the chicken at the right temperature and let residual heat finish cooking.
Small timing changes can make a big difference. Just a few minutes too long can dry out the meat.
Carryover Cooking and Resting Time
Carryover cooking continues after you remove the chicken from heat. The temperature can rise a few degrees while it rests.
Let chicken breast rest for 5 to 10 minutes before cutting. This helps the juices settle and stabilizes the temperature.
When to Pull Breast Meat Off the Heat
Remove the breast from heat when the thermometer reads 160°F to 162°F if you plan to rest it. During resting, it should reach about 165°F.
Thin pieces may rise less during resting. Watch the temperature closely to avoid drying out the meat.
Why Overcooking Happens So Easily
Chicken breast has little fat and dries out quickly. High heat, thin pieces, and delayed temperature checks are common reasons for dryness.
A guide to keeping chicken breast moist with precise temperature control supports resting and careful cooking. Cook to the safe minimum temperature, not beyond.
Temperature Guide by Cut and Cooking Situation
A chicken temperature chart helps you match the cut to the right target. The internal temperature changes by part, cooking method, and whether you are checking a whole bird or a single breast.
Use the thickest part of the breast as your reference for white meat. For a whole chicken, check more than one place since the legs and breast finish at different times.
Breast, Thigh, Wings, and Whole Bird Benchmarks
- Breast: 165°F
- Thigh: 175°F to 180°F for better texture
- Wings: about 175°F to 190°F depending on your texture goal
- Whole chicken: 165°F in the breast and at least 175°F in the thigh area for a better result
These numbers help you use the right internal temperature for each cut. The same temperature doesn’t fit every part.
What to Check in a Whole Chicken
Check the thickest part of the breast and the innermost part of the thigh near the leg joint. Avoid touching the bone.
If the breast is done early and the thigh is not, keep cooking until the dark meat reaches a safe temperature. This gives you a more even result.
When a Chicken Temperature Chart Helps Most
A chicken temperature chart helps most when you cook different cuts or switch methods, such as roasting, grilling, air frying, or pan-searing.
It prevents you from relying on memory.
The chart also helps you answer what temperature chicken is done for more than one cut.
With the chart in mind, you can make better timing choices and check the thickest part of the breast with more confidence.


