
Should Chicken Breast Be Flipped in Oven? Best Practice
You may wonder, should chicken breast be flipped in oven for better texture, even cooking, and moisture.
In many home ovens, the answer is yes, especially when you want the top and bottom to brown at a similar rate.

The best choice depends on the cut, thickness, oven type, and pan setup.
If you want evenly baked chicken breast with fewer dry edges, flipping is often the safest default.
Quick Answer: When Flipping Helps Most
If you want the most even browning, flip chicken breasts about halfway through baking.
That gives both sides similar exposure to oven heat, which helps reduce pale spots and dry edges, according to Chef’s Resource’s guide to baking chicken breast.
Flipping matters most in standard ovens with uneven hot spots.
It is less critical when you use a convection setting, a very even rack setup, or a thin breast that cooks fast.
Why Turning Can Improve Even Cooking
Chicken breast is lean, so the surface closest to the heat can dry out before the center is done.
Turning the meat helps balance the heat on both sides, which supports more even browning and a more even final texture.
That helps especially when your oven heats more strongly from the bottom or one side.
If you have ever noticed one side of your chicken turning brown while the other stays pale, flipping helps correct that.
When Leaving It Undisturbed Works Fine
You do not always need to flip.
Thin, evenly pounded breasts on a center rack in a convection oven can cook well without turning because the air circulates more evenly around the meat.
This can also work when the chicken sits on a rack over a sheet pan.
In that setup, hot air reaches more of the surface, so the bottom does not stay trapped against a hot pan.
Best Midpoint Timing for the Turn
Flip at the halfway point of the expected bake time.
For many boneless breasts at 375°F, turn after about 10 to 15 minutes, then finish until the thickest part reaches safe temperature.
If the pieces are very thick, flip a little later.
If they are thin, you may only need one quick check and turn near the middle.
What Changes the Right Approach
The right answer changes with the cut, the skin, the thickness, and the oven setup.
A method that works for one chicken breast can give a different result for another, even if you keep the same oven temperature.
Small details affect how fast the meat cooks and how much moisture stays inside.
Paying attention to those details gives you better control when baking chicken breast.
Boneless vs. Bone-In Pieces
Boneless breasts cook faster and more evenly than bone-in pieces.
They usually benefit more from a mid-bake turn, since the meat can dry out before the center reaches 165°F.
Bone-in breasts cook more slowly near the bone.
Flipping can still help, especially for browning, but the shape of the piece often matters more than the turn itself.
Skin-On vs. Skinless Results
Skin-on chicken breast holds moisture better and can brown more deeply.
Turning it can help the skin crisp a little more evenly, especially if the pan is not using a rack.
Skinless chicken breast dries faster.
In that case, flipping helps balance the cooking, but you also need to watch the temperature closely.
Thickness, Brining, and Oven Temperature
Thicker breasts need more time and benefit more from flipping or even pounding to a uniform thickness.
Brining helps because salt improves moisture retention, which is useful for lean cuts.
A moderate oven temperature, such as 375°F, usually gives a better balance of browning and juiciness than very high heat.
As noted by Chef’s Resource, the common target is a gentle bake that finishes at 165°F.
Convection, Rack Position, and Pan Choice
Convection ovens move hot air around the food, so you may not need to flip as often.
Even so, turning can still improve consistency if the breasts are thick or crowded.
Center rack placement usually gives the most balanced heat.
A heavy sheet pan, baking dish, or rack setup can also change how fast the bottom cooks, which affects whether you should flip chicken breasts during baking.
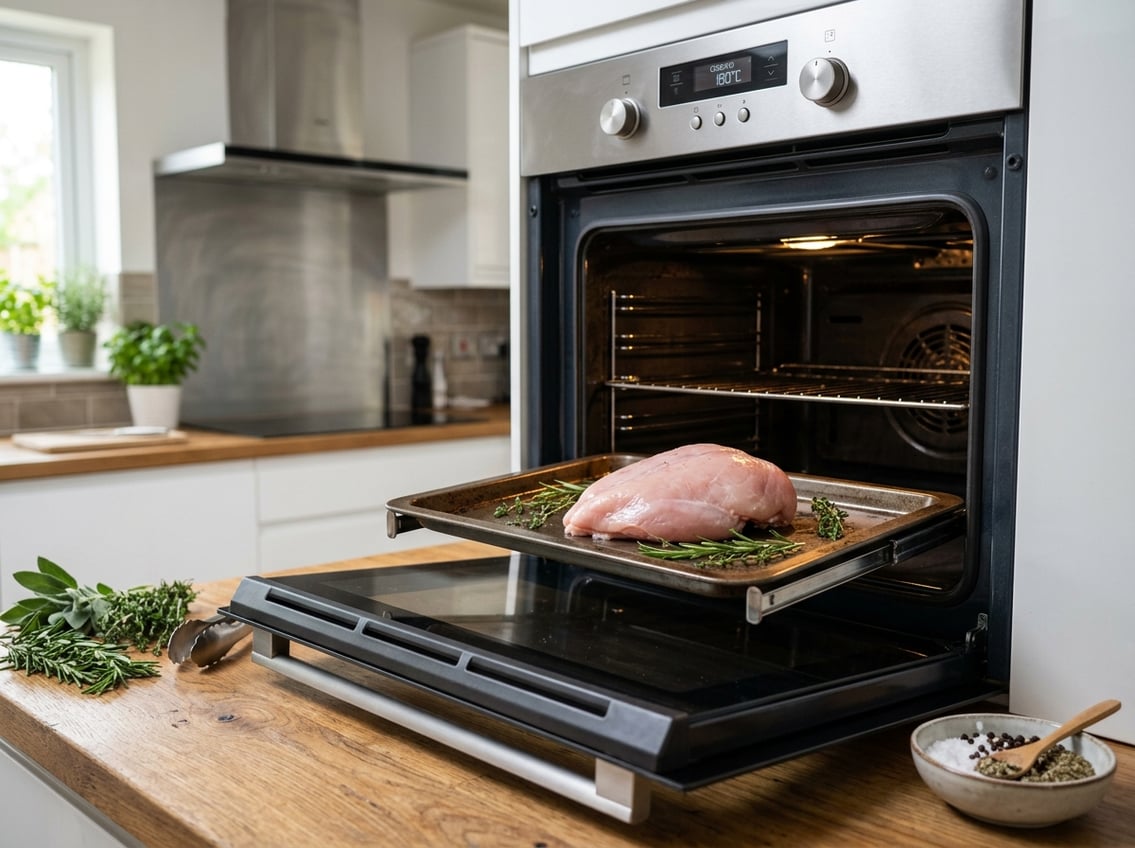
How to Bake Chicken Breast for the Best Texture
The best texture starts before the chicken goes into the oven.
Drying the surface, seasoning well, and keeping the pieces even in thickness all help you avoid dry spots.
Once the chicken is in the oven, your main job is to control heat and stop cooking at the right time.
That matters more than trying to force a long bake.
Prepping for Juicier Meat
Pat the chicken dry, then season it evenly with salt, pepper, and any spices you like.
If the breasts are thick on one end and thin on the other, pound them lightly so they cook at a similar speed.
You can also use a short brine or marinade for extra moisture and flavor.
That gives you a wider margin for error if your oven runs hot.
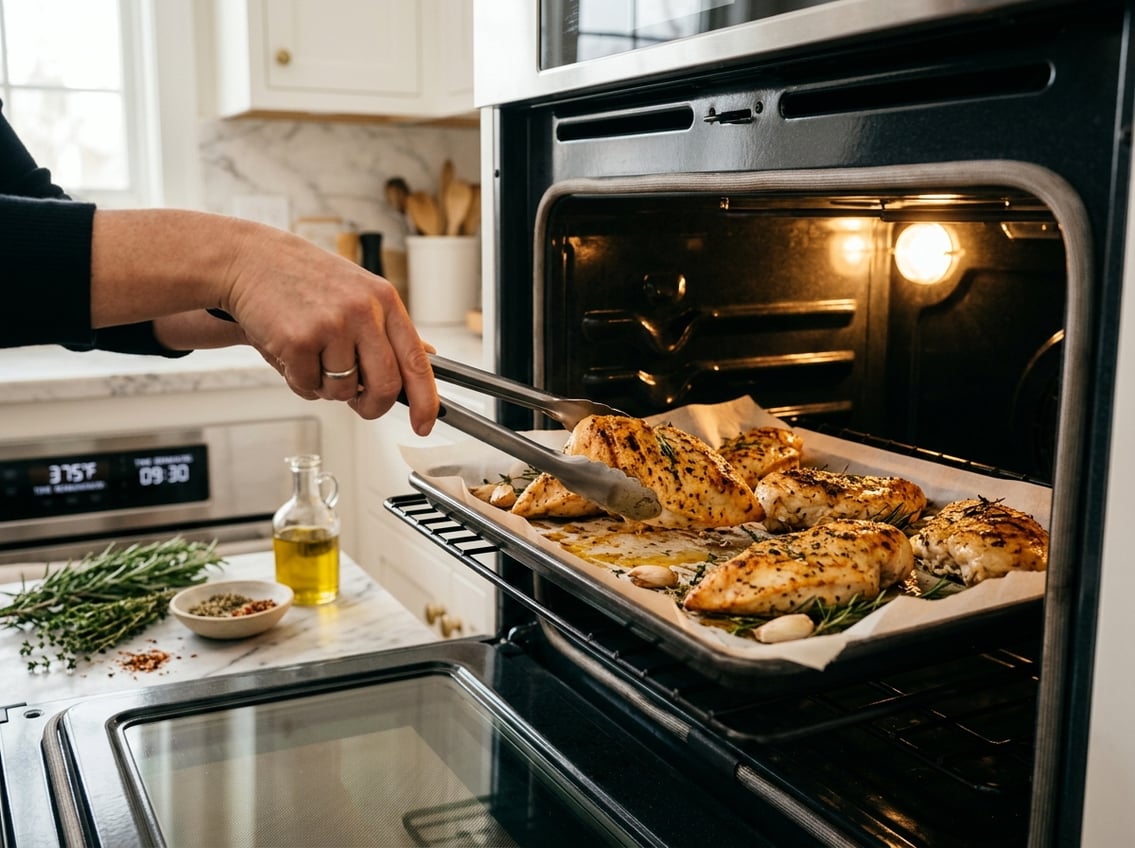
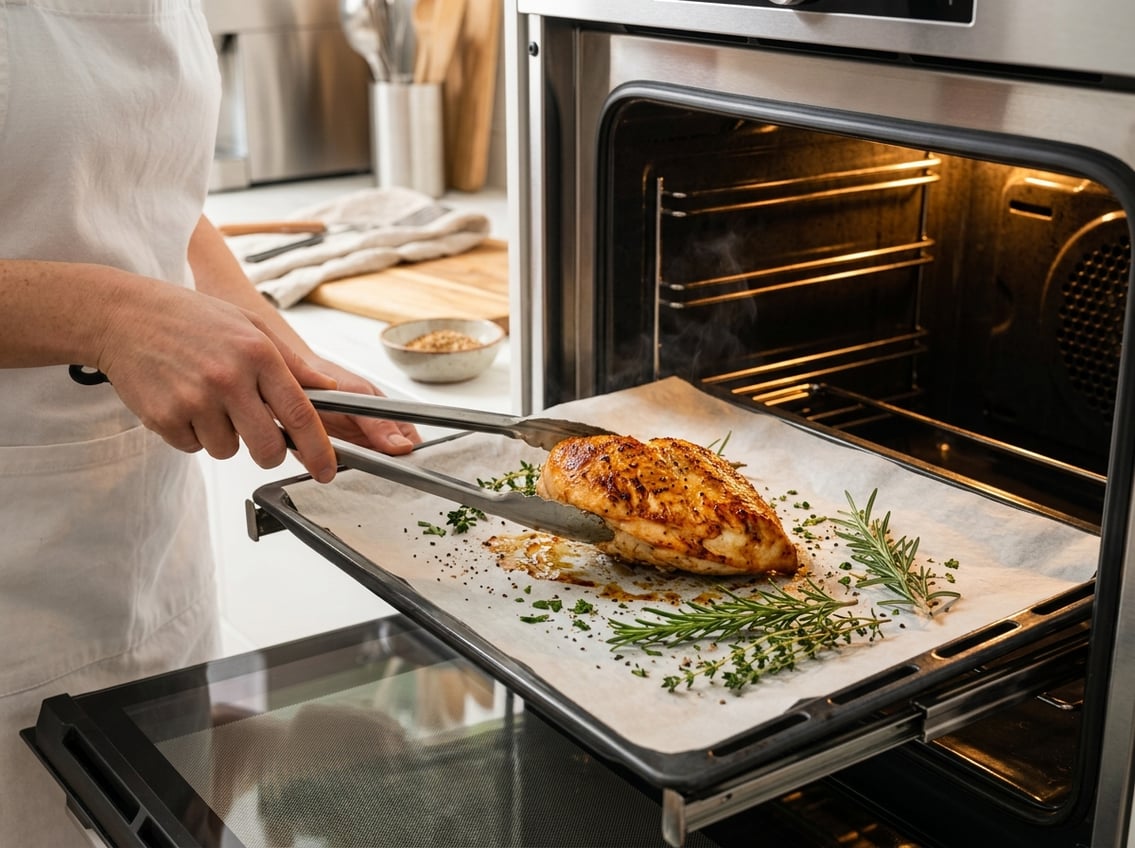
How to Turn It Without Losing Moisture
Flip chicken breasts once, gently, with tongs or a thin spatula.
Do it quickly so you do not lose much heat from the oven, and avoid pressing on the meat, which can push out juices.
If the surface is sticking, let it cook a little longer before turning.
A lightly oiled pan or parchment can also reduce sticking.
Checking Doneness With Internal Temperature
Use a meat thermometer for the safest and most reliable method.
Insert it into the thickest part of the breast, and stop cooking when it reaches 165°F, which is the standard poultry safety temperature noted by Chef’s Resource.
For thinner pieces, start checking early.
Carryover heat can raise the temperature a few degrees after the pan comes out of the oven.
Resting Before Slicing
Let the chicken rest for 5 to 10 minutes after baking.
This process allows the juices to settle back into the meat, which helps keep the texture tender.
If you slice too soon, more juice runs out onto the cutting board.
A short rest gives you better results with very little extra effort.


