
How Long Does It Take to Fry Chicken Breast? Timing Guide
Frying chicken breast usually takes about 6 to 8 minutes per side when you keep the oil at the right temperature and cook pieces of even thickness.
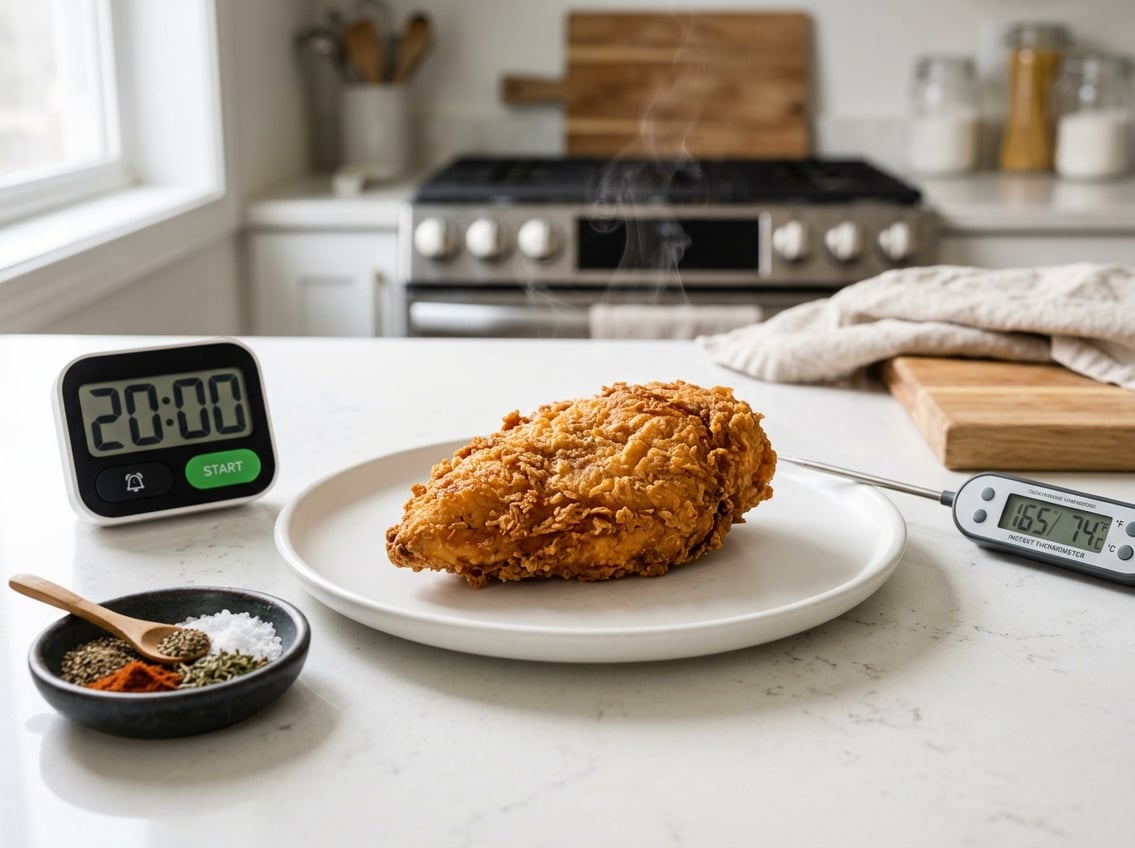
For reliable results, first cook to time, then confirm doneness with a meat thermometer at 165°F.

That timing gives you a crisp outside and a juicy center in most fried chicken breast recipes.
Thin cutlets finish faster, while thicker boneless breasts need more time and steadier heat.
Thickness, coating, oil temperature, and cooking method all affect the final cook time.
Best Time and Temperature Benchmarks
Match time with temperature for consistent results.
Use a meat thermometer because visual cues alone can miss undercooked centers.
A deep-fry thermometer helps you hold the oil in the safe range.
That matters when you deep fry chicken, since the oil temperature drops as soon as the chicken goes in.
Typical Frying Time by Thickness
A thin cutlet can cook in about 3 to 5 minutes per side.
A medium boneless breast often needs 5 to 7 minutes per side, while a thick breast may need 7 to 10 minutes per side.
If the pieces are uneven, the thinner end may finish before the thicker end.
Pound the breast to even thickness to help the whole piece finish at the same time, as noted in Chef’s Resource.
Ideal Oil Temperature for Crisp Results
Keep the oil at 325°F to 350°F for frying.
That range gives you browning without burning the coating too fast.
If the oil is too cool, the chicken absorbs more fat and turns greasy.
If it runs too hot, the outside darkens before the inside cooks through.
Internal Temperature for Safe Doneness
Check the thickest part of the breast with a meat thermometer.
Chicken breast is done at 165°F.
Do not guess based on color alone.
The breading can look finished before the center is safe to eat.
How Method and Coating Change the Cook Time
Your method changes the pace of cooking more than many people expect.
Pan-frying, deep-frying, breading, and thickness all shift the timing.
A coated fried chicken breast usually needs a little longer than an unbreaded piece of the same size.
The crust slows surface heating, while the inside still needs time to reach safe doneness.
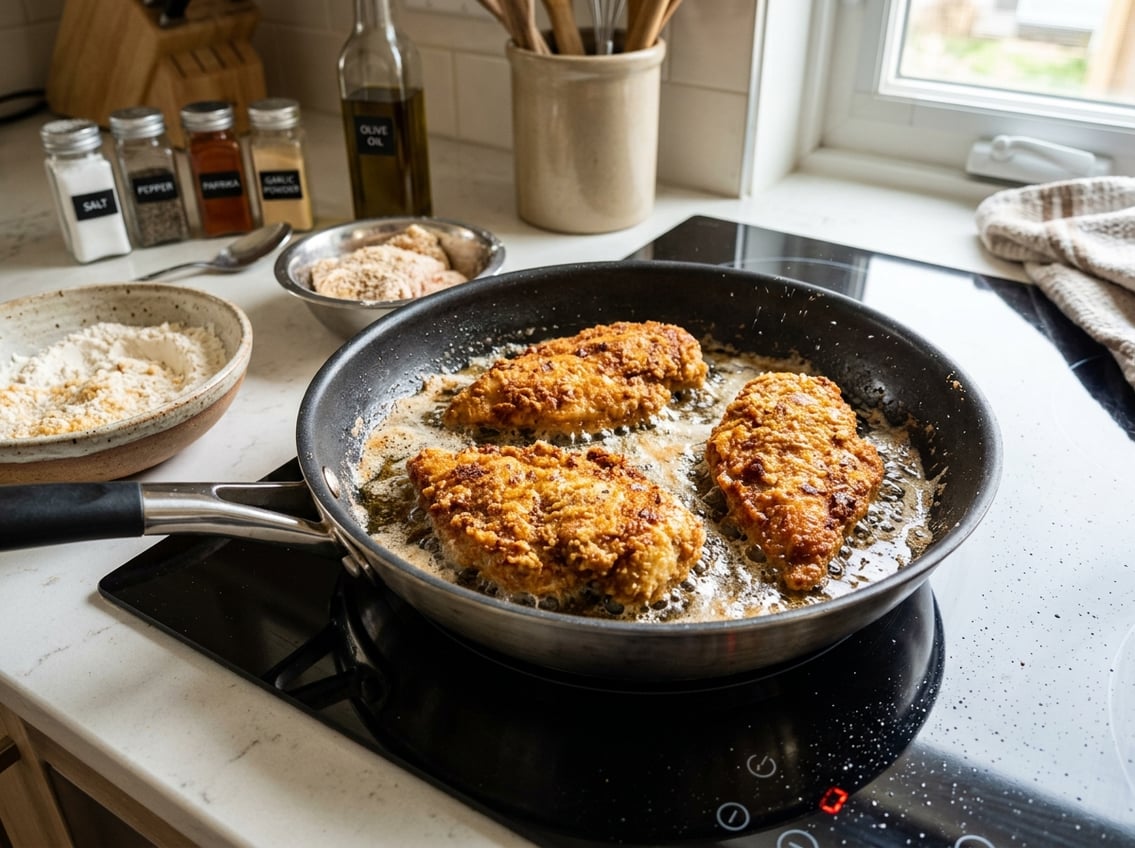
Pan-Frying vs. Deep Frying
Pan-frying uses less oil and often cooks one side at a time.
Timing can vary with pan heat and piece thickness.
Deep-frying surrounds the chicken with hot oil, which cooks more evenly and often faster.
For either method, keep the heat steady.
A sudden drop in temperature slows cooking and can make fried chicken breast absorb extra oil.
Breaded vs. Unbreaded Cutlets
Breaded chicken breast usually takes a bit longer than unbreaded cutlets because the coating adds insulation.
The coating also needs enough time to turn crisp and golden.
Unbreaded pieces brown faster, so they may need closer monitoring.
Breaded pieces are more forgiving on the outside, though the oil still needs to stay hot enough for a crisp crust.
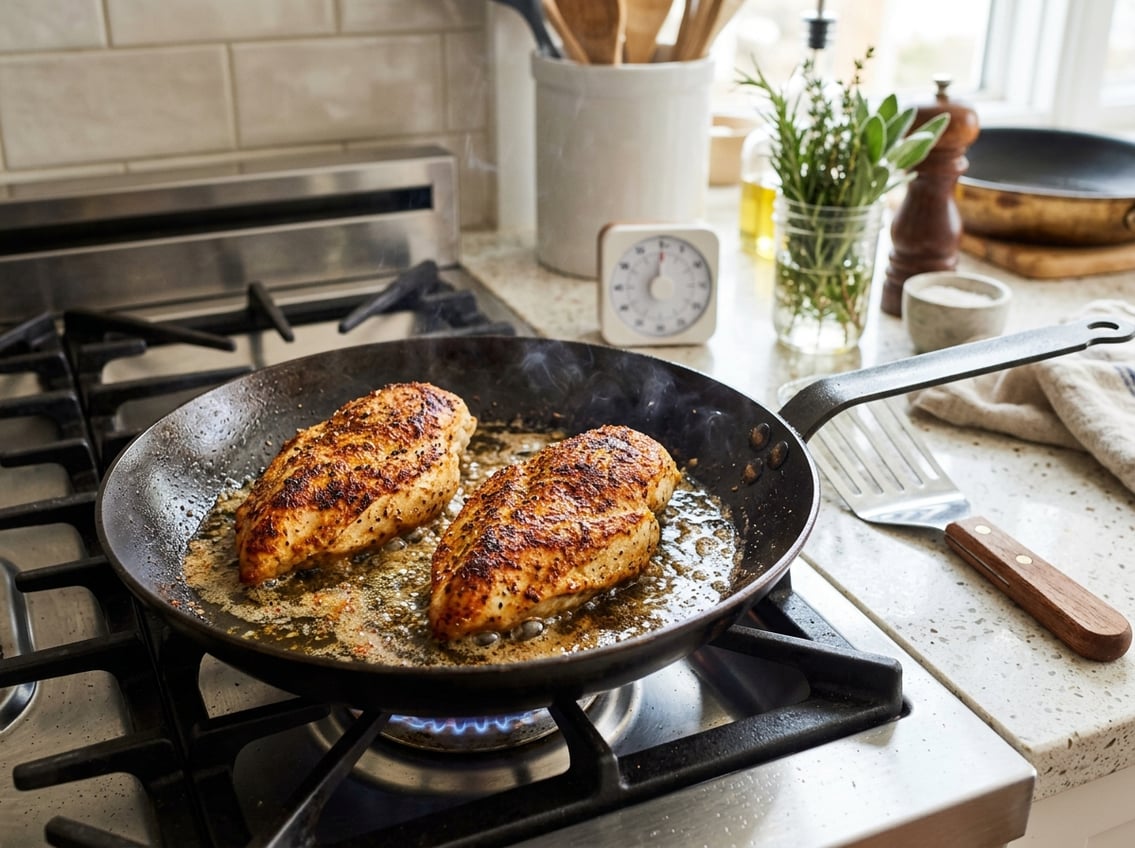
Boneless Thin Cutlets vs. Thick Breasts
Thin boneless cutlets cook quickly and are easier to time.
Thick breasts need more patience, especially if they have a tapered shape.
To get even results, slice large breasts in half horizontally or pound them to a uniform thickness before frying.
That reduces the gap between the outside and inside finish times.
Step-by-Step Cooking Process
A simple process gives you more control over timing and texture.
Keep your setup ready before the chicken touches the oil.
A good fried chicken recipe depends on steady heat, dry coating, and careful checking with a meat thermometer.
Prepping the Chicken for Even Cooking
Trim the chicken breast so it has a more even shape.
If one end is much thicker, pound it lightly so it cooks at the same rate.
Pat the chicken dry before seasoning or breading.
Too much surface moisture makes the coating slip and slows browning.
Heating Oil and Managing Temperature Drops
Heat the oil to 325°F to 350°F and check it with a deep-fry thermometer.
Add only a few pieces at a time so the temperature does not drop too far.
If the oil drops sharply, pause before adding more chicken.
Keeping the oil in range is one of the easiest ways to avoid greasy results.
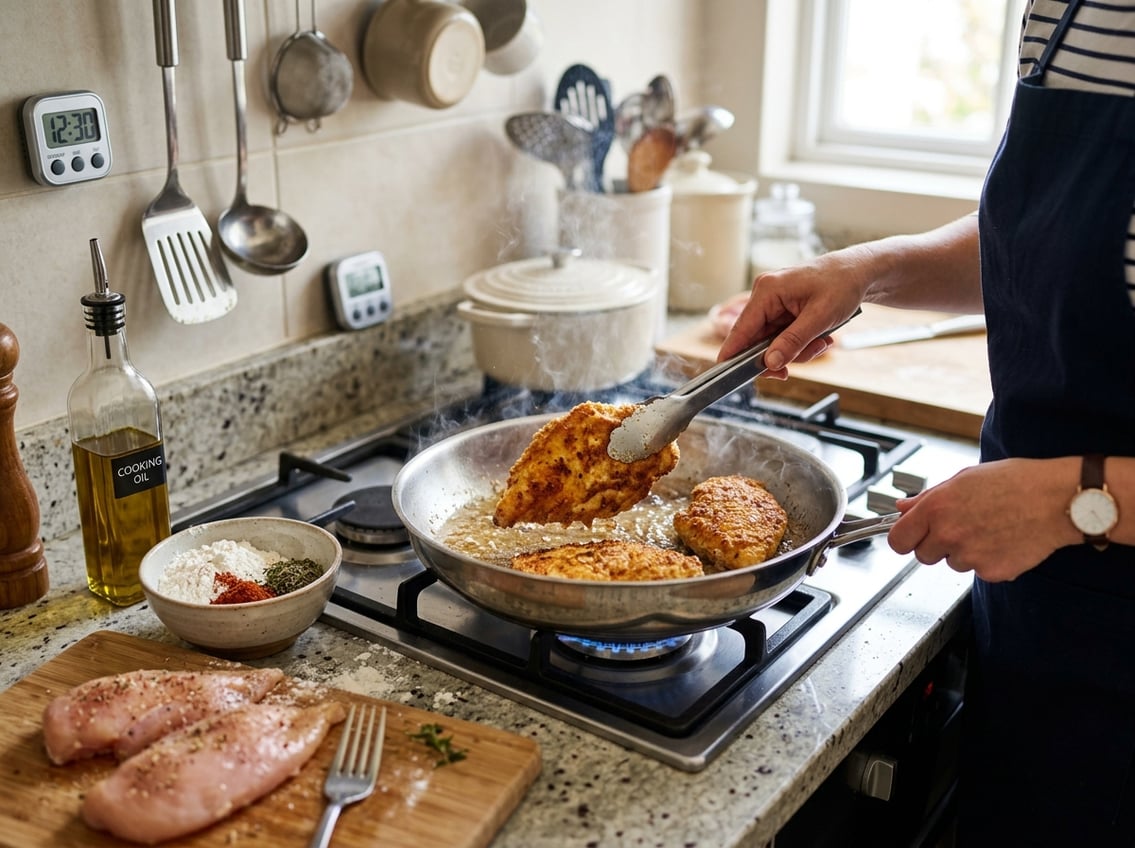
Flipping, Draining, and Resting After Frying
Flip the chicken once the first side is golden.
Do not move it too often, or the coating may break.
Set the cooked pieces on a wire rack so excess oil can drip away.
Let them rest for a few minutes, then use a meat thermometer again if you want to confirm the center reached 165°F.
Common Mistakes That Affect Results
Most fried chicken breast problems come from heat control, moisture, or handling.
Small changes can make a big difference in texture.
The goal is a dry, crisp coating and a fully cooked center.
That depends on keeping the oil hot enough, using the right coating, and avoiding rough handling.
Why Chicken Turns Greasy or Soggy
Greasy chicken usually means the oil was too cool.
When the oil temperature drops, the crust forms slowly and the meat absorbs more oil.
Soggy chicken can also happen if you cover the pan.
Steam gets trapped and softens the coating.
Why the Outside Browns Before the Inside Cooks
This usually means the oil is too hot or the pieces are too thick.
The surface colors fast while the center stays undercooked.
Lower the heat a little and give thick breasts more time.
A meat thermometer is the safest way to avoid guesswork.
How to Keep the Coating From Falling Off
The coating often falls off when the chicken is too wet, too crowded, or moved too soon.
Dry the meat well and press the breading on firmly.
Let the crust set before flipping.
Let a breaded chicken breast rest briefly after dredging.
This helps the coating cling before it hits the oil.


