
When Should You Brine Chicken Breast? Timing Guide
For most boneless, skinless chicken breast cuts, a short, controlled soak works best. You should brine just long enough to season the meat without making it too salty or soft.
A brine gives the best results when you match the timing to the thickness of the chicken and the strength of the salt solution.
The sweet spot is different for a thin cut, a standard cut, and a thick breast. Timing matters more than just adding extra hours.

Best Timing by Breast Size and Brine Type
You should line up your brining time with the size of the breast and the type of brine you use. For boneless cuts, a shorter window gives the best balance of flavor and texture.
A stronger salt concentration means you need less time.
Quick Answer for Most Boneless Cuts
For most boneless, skinless chicken breast, brine for 30 minutes to 2 hours with a standard wet brine. If the breasts are thick, you can go up to 4 hours, but longer risks salty or soft meat.
A step-by-step brine guide recommends keeping the soak controlled and the chicken fully submerged.
Timing for Thin, Standard, and Thick Pieces
Thin breasts or cutlets need the least brining time. Standard breasts need a middle range, and thick pieces need the longest soak.
| Breast size | Wet brine time | Dry brine rest time |
|---|---|---|
| Thin, under 1 inch | 30 to 60 minutes | 30 minutes to 2 hours |
| Standard, about 1 to 1.5 inches | 1 to 2 hours | 2 to 6 hours |
| Thick, over 1.5 inches | 2 to 4 hours | 6 to 12 hours |
For larger pieces, the extra time helps the salt reach the center more evenly.
Wet Brine Windows vs Dry Brine Rest Times
A wet brine uses a saltwater soak, so flavor moves in faster. A dry brine uses salt rubbed on the surface, then rests in the fridge, so it needs more time.
In a wet brine chicken breast recipe, you can get juicy chicken in just a few hours.
Dry brining works well when you want less mess and a firmer surface before cooking. It is also easier to manage if you need a longer rest in the refrigerator.
How Brine Strength Changes the Clock
A stronger salt concentration works faster, so you should use a shorter brining time. A lighter brine needs more time, especially for thick chicken breasts.
If you use a standard ratio, keep the soak in the short-to-middle range. If you increase salt, stay near the low end of the timing guide.
How Brining Improves Juiciness and Texture
Brining helps lean white meat hold onto moisture during cooking. It also changes the texture so the chicken feels more tender and evenly seasoned.
Moisture Retention in Lean White Meat
Chicken breast has little fat, so it dries out quickly in the pan or oven. Brining helps with moisture retention, so brined chicken breasts often stay juicier after cooking.
A basic brine guide explains that a saltwater soak is one of the simplest ways to make lean chicken more forgiving.
What Salt Does to Muscle Proteins
Salt changes how muscle proteins hold water through protein denaturation. The meat holds moisture better and feels less dry.
This is why brining chicken works well for high-heat methods like roasting or grilling.
Why Brined Chicken Can Taste More Evenly Seasoned
Brining seasons the meat from the inside, not just the surface. You get a more even salt flavor in each bite.
It can also make chicken taste cleaner and less flat than chicken that only gets salted right before cooking.
When Brining Helps More Than Marinating
Brining helps most when your main goal is moisture and seasoning. Marinating chicken breast adds flavor, but it does not always improve texture the same way salt does.
If you want to how to brine chicken for better juiciness, brine is usually the better choice for plain chicken breast.
Brine Recipe, Salt Choices, and Setup
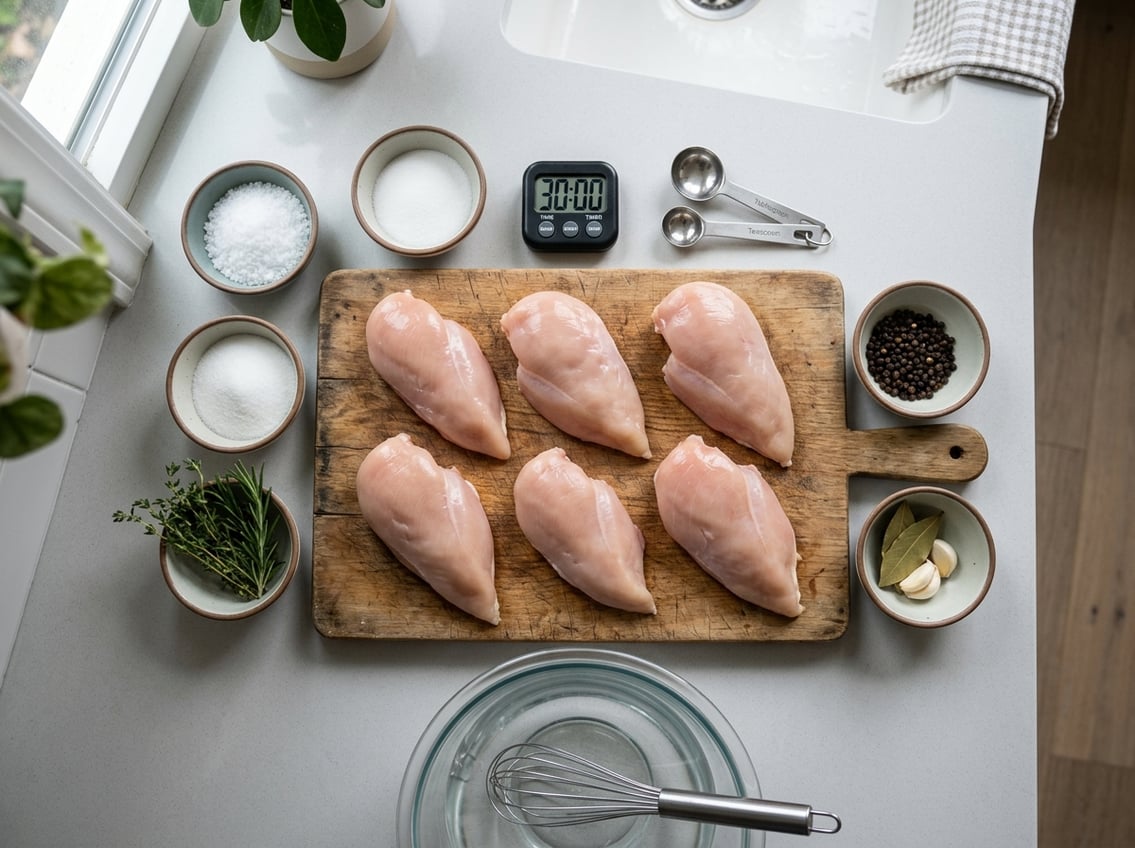
A good brine recipe uses simple, cold, and measured ingredients. You only need the right salt concentration, enough water, and a clean container.
Basic Brine Recipe for Chicken Breasts
For a simple wet brine, use 4 cups cold water and 1/4 cup kosher salt. Stir until the salt dissolves, then add the chicken breasts and chill them in the refrigerator.
This ratio matches the basic salt-to-water ratio often used for chicken breast brining.
If you want a lighter brine, reduce the salt and shorten the brine time. For more seasoning, keep the salt steady and add herbs or aromatics instead of more salt.
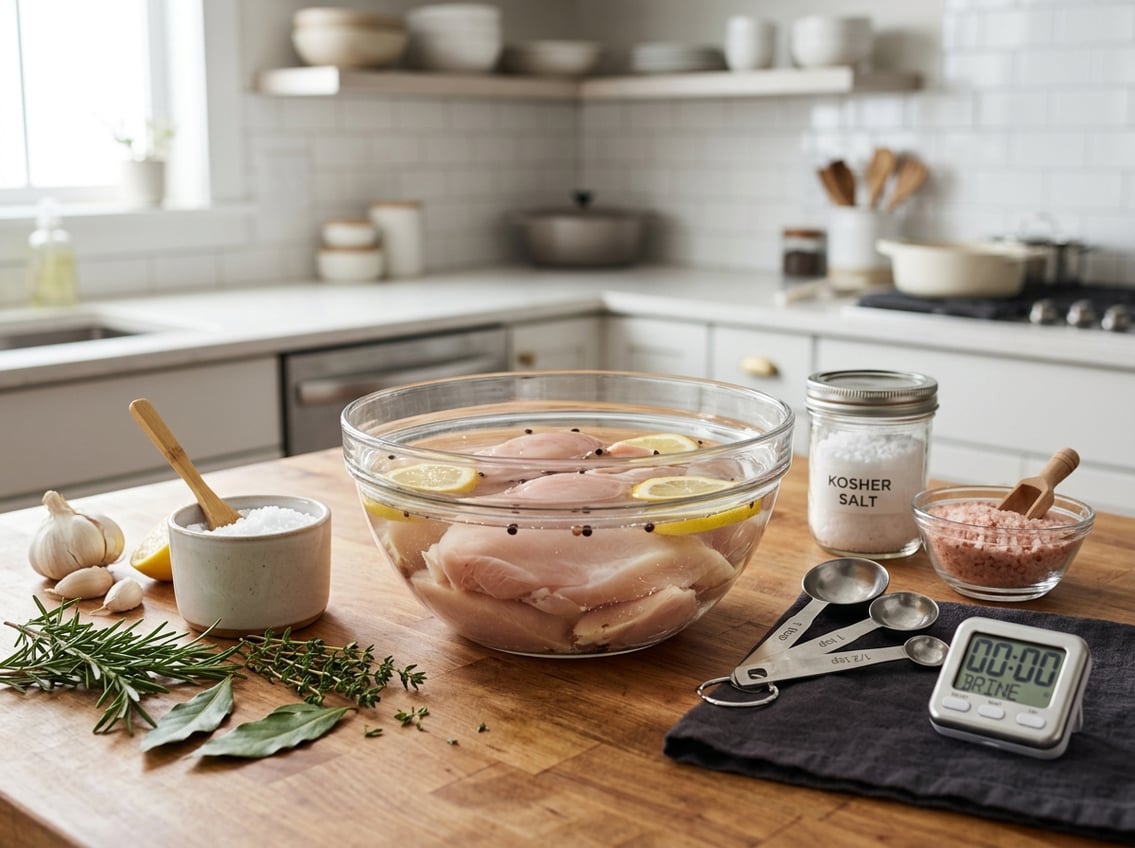
Diamond Crystal Kosher Salt vs Morton Kosher Salt
Salt choice affects brine strength because different brands measure differently. Diamond Crystal kosher salt is lighter and flakier, while Morton kosher salt is denser.
1/4 cup of one is not the same as 1/4 cup of the other.
If you use Diamond Crystal kosher salt style measurements, you may need a bit more volume than with Morton. If you use Morton kosher salt, measure carefully because it packs more tightly.
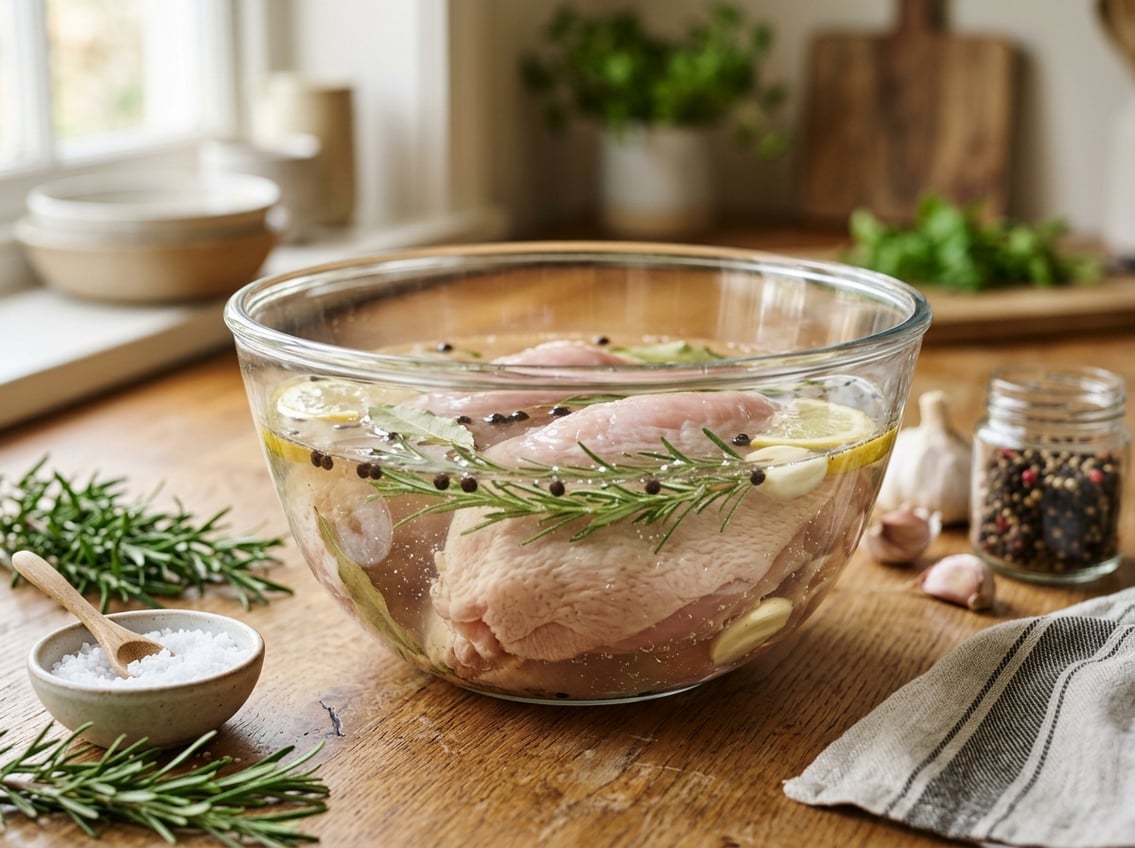
Cold Water, Containers, and Refrigeration
Use cold water only, and keep the chicken refrigerated during the soak. A glass, ceramic, or food-safe plastic container works well.
The chicken should stay fully submerged, and the container should not be crowded.
Food safety matters. Warm brine and room-temperature soaking are not safe for chicken.
Optional Sugar, Herbs, and Flavor Additions
Sugar can soften the salt edge and help browning a little. Herbs, garlic, peppercorns, citrus peel, and bay leaves add light flavor without changing the timing much.
Keep additions simple so the brine still tastes clean.
Mistakes to Avoid Before and After the Soak

Most brining mistakes happen because of too much time, too much salt, or poor handling after the soak.
If you control those three things, you can cook brined chicken with better texture.
Over-Brining and Under-Brining Signs
Over-brined chicken tastes too salty, feels soft on the outside, or seems a little spongy. Under-brined chicken may still taste plain and dry in the center.
The right brining time gives you seasoned meat without either problem.
Common Brining Mistakes to Avoid
Avoid using too much salt, leaving the chicken out at room temperature, and brining for too long. Using a container that does not fully cover the chicken leads to uneven results.
A timing guide for chicken breasts recommends staying in the 2 to 4 hour range for most breasts to avoid over-brining.
How to Cook Brined Chicken Without Oversalting
Before you cook brined chicken, pat it dry well. Skip extra salt on the outside until you taste the finished food.
Since the meat already absorbed salt, heavy seasoning can push it too far.
Brined chicken cooks well in the oven, on the grill, or in a skillet. Watch the final temperature so you do not dry it out.
Can You Freeze Brined Chicken Safely
You can freeze brined chicken safely after you drain it and pat it dry. Store the chicken in a sealed freezer-safe bag or container.
Freezing brined chicken can save time later. When you thaw it, keep it cold and cook it within a safe time window.


