
What’s the Best Way to Cook Chicken Thighs: A Complete Expert Guide
If you want juicy meat and crisp skin, pan-sear bone-in, skin-on chicken thighs and finish them in the oven. This method renders fat, crisps the skin, and lets the meat cook gently to a tender texture.
Pan-searing followed by oven-roasting gives you the best balance of crispy skin and succulent, fully cooked thighs.

You’ll learn how to choose between bone-in or boneless thighs and simple prep steps that lock in moisture. Find out target internal temperatures for ideal tenderness and when to use alternate methods like baking, grilling, or slow cooking.
This post gives straightforward guidance and practical techniques so you can pick the approach that fits your time, equipment, and flavor goals.
Choosing the Right Chicken Thighs
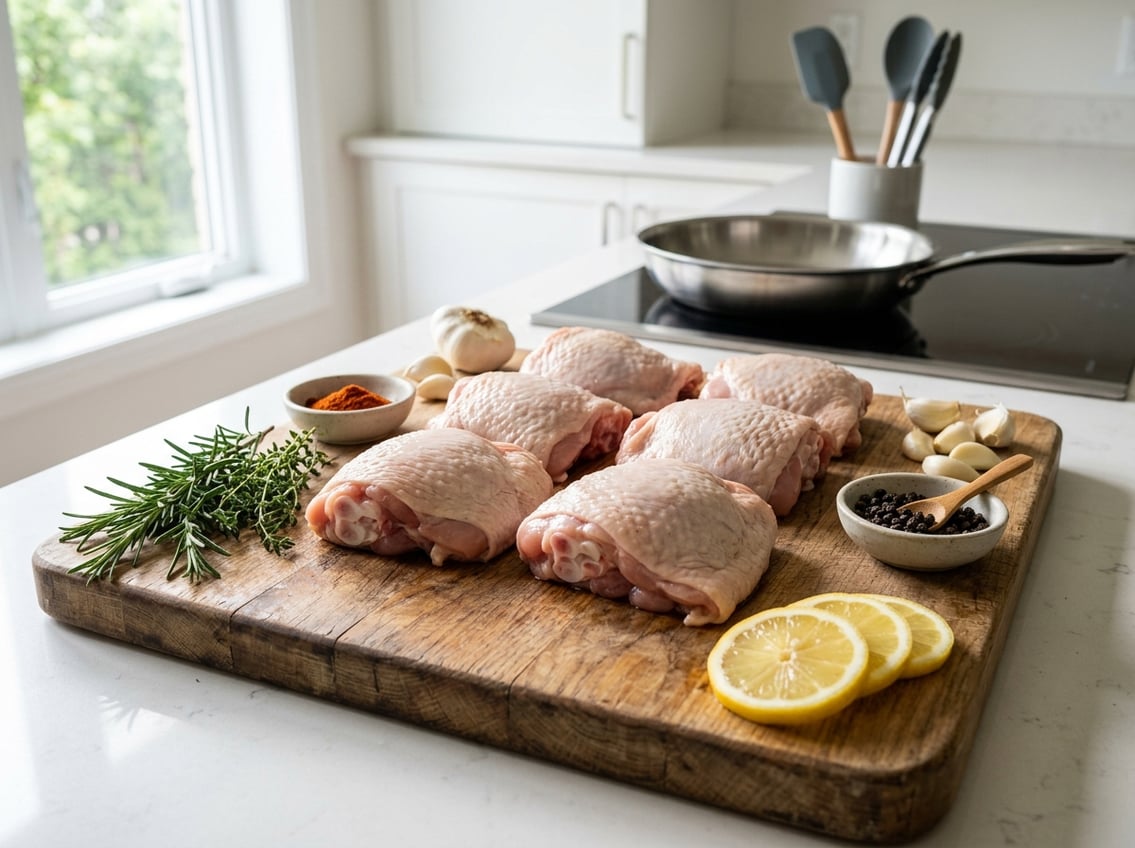
Pick thighs that match the cooking method and texture you want. Bone-in, skin-on cuts give more flavor and forgiving results.
Boneless or skinless thighs suit quick pan or stir-fry recipes and easier meal prep.
Bone-In vs. Boneless Cuts
Bone-in chicken thighs keep moisture and add flavor during long or moderate-temperature cooking. The bone conducts heat more slowly, so thighs stay juicier and benefit from slow braises, oven roasting, or grill sessions.
Expect slightly longer cook times and check temperature near the bone. Boneless chicken thighs cook faster and are easier to portion, making them ideal for weeknight sautés and skewers.
They brown quickly on a hot pan but can dry if overcooked, so watch internal temperature closely. Choose boneless if you prioritize speed and convenience.
Skin-On vs. Skinless Options
Skin-on chicken thighs deliver crisp, savory skin when seared or roasted and render fat that flavors the meat. Use skin-on for pan-searing then oven-finishing, or for roast recipes where you want a golden crust.
The skin also protects the meat during longer cooking, helping achieve tender chicken thighs. Skinless thighs reduce calories and cut preparation time since you skip skin crisping.
They work well for saucy dishes, curries, or recipes where you want the sauce to cling directly to the meat. Skinless cuts can feel drier if cooked too long, so aim for shorter cook times or braising to retain moisture.
Fresh or Frozen Considerations
Fresh chicken thighs offer better texture for quick-cook methods and for achieving crisp skin. When buying fresh, inspect for pale pink color and minimal liquid in the packaging.
Avoid strong odors and use within 1–2 days or freeze for later use. Frozen thighs provide convenience and longer storage, but thawing matters.
Thaw overnight in the fridge for even cooking and safe temperature control. Avoid microwaving to defrost unless you plan to cook immediately.
For frozen purchases, check whether they are individually quick-frozen (IQF) or sold in a block. IQF pieces thaw more predictably and keep their shape for recipes demanding uniform portions.
Essential Prep Steps for Juicy Results
Remove surface moisture, apply salt and flavor efficiently, and let the thighs relax to an even temperature before cooking. These steps cut down on moisture loss and promote crisp skin when present.
They also help seasoning penetrate the meat.
Patting Chicken Thighs Dry
Pat the thighs dry with paper towels, pressing firmly to remove all visible moisture from skin or meat. Wet surfaces steam in the pan or oven, which prevents browning and yields soggy skin on skin-on thighs.
For skin-on pieces, dry both sides and tuck the skin if needed so it contacts the pan evenly. For boneless, skinless thighs, drying helps marinades cling and improves sear.
If time allows, dry-brine by salting and leaving uncovered in the fridge for 1–12 hours. This draws out moisture, then the surface reabsorbs salt for deeper seasoning and firmer texture.
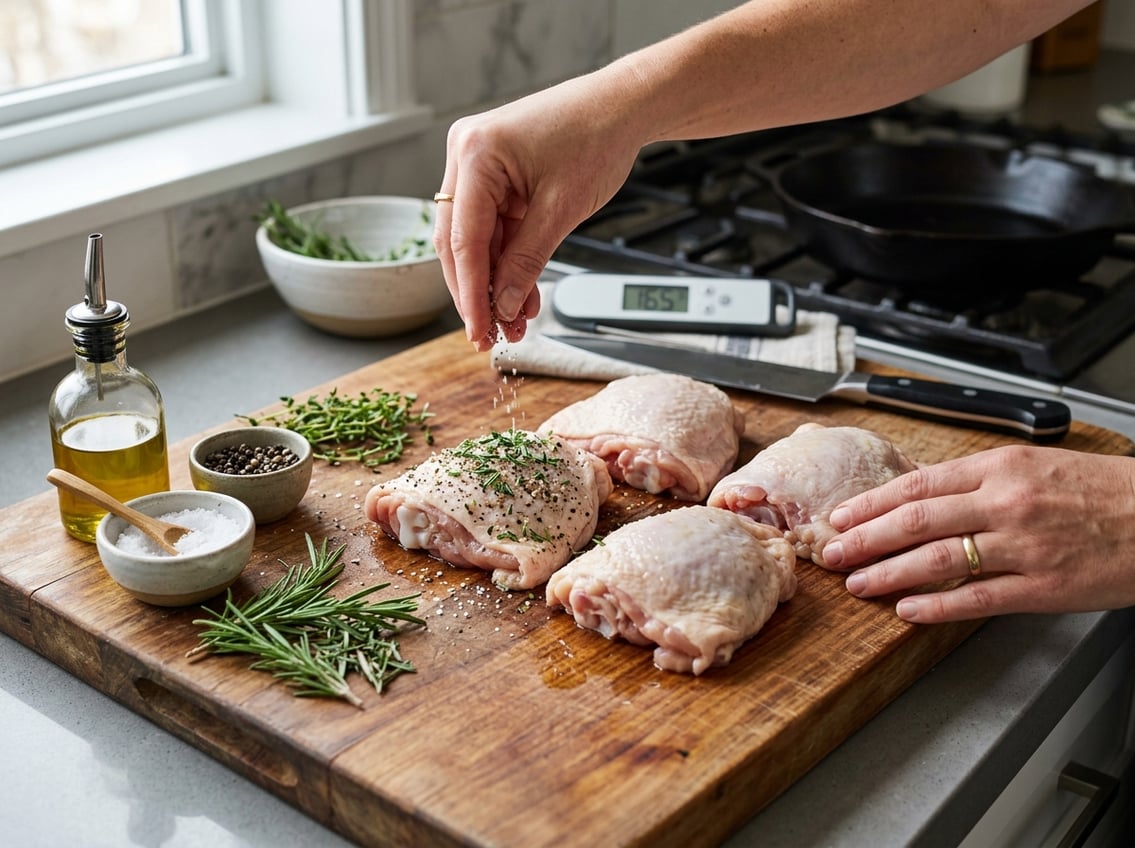
Seasoning Techniques
Start with kosher salt at roughly ¾–1 teaspoon per pound; sprinkle evenly and rub it into the meat so it adheres. Add black pepper and 1–2 additional spices or herbs such as garlic powder, smoked paprika, thyme, or cumin.
For quick cooking, season just before cooking so salt won’t draw out too much juice. For deeper flavor, marinate or wet-brine (buttermilk or saltwater) for 1–8 hours.
Use acidic marinades sparingly on thighs to avoid mushy texture. Pat excess marinade off before searing to prevent steaming.
For skin-on thighs, apply oil or a light butter rub to help the skin crisp and to carry the seasoning.
Bringing Meat to Room Temperature
Remove thighs from the fridge 20–30 minutes before cooking so the center warms slightly. This reduces carryover time and helps the meat cook evenly from edge to center.
Do not leave chicken out longer than 30–60 minutes for food safety. For thicker thighs, give an extra 10–15 minutes.
If you used a long brine or marinade, blot excess surface liquid before the warm-up period to preserve the dry surface needed for a good sear.
Achieving Optimal Cooking Temperatures
Target a temperature that guarantees safety while maximizing tenderness and juiciness. Use a fast, accurate thermometer and aim for a doneness range that matches the texture you want.
Understanding Internal Temperature
Internal temperature tells you both safety and texture for thighs. The USDA food-safety minimum is 165°F; reaching it instantaneously kills pathogens.
Dark meat benefits from higher temperatures because connective tissue and collagen convert to gelatin as the meat heats, improving tenderness. For chicken thighs, common practical targets are:
- 165°F — safe, fully cooked, firmer texture.
- 175°F — tender and juicy while still clinging to the bone.
- 185–195°F — increasingly gelled connective tissue and peak tenderness.
Check temperature in the thickest part of the thigh, avoiding bone contact. Allow for a few degrees of carryover after you remove the meat from heat.
Using an Instant-Read Thermometer
Use an instant-read thermometer to get a quick, reliable internal read. Insert the probe into the deepest part of the thigh, at least 1/4 inch away from bone.
Touching bone reads hot and gives a false high result. Prefer models that read within a second or two and have a clear digital display.
Calibrate or check accuracy periodically by testing in ice water (32°F) and boiling water (212°F at sea level). Clean the probe before and after each use to avoid cross-contamination.
For roasting or braising, spot-check with an instant-read. For longer cooks, consider a leave-in probe to monitor temperature without opening the oven repeatedly.
Safe vs. Ideal Doneness Range
Safety and ideal doneness are separate but overlapping concerns. If you prioritize absolute safety and minimal time, 165°F meets regulatory guidance.
If you prioritize tenderness, aim higher: 175°F yields noticeably more tender meat, while 185–195°F produces very soft, almost falling-apart thighs because collagen becomes gelatin.
If you choose a lower target than 165°F, you must hold the meat at that temperature long enough to achieve equivalent pathogen reduction. This method is used in sous-vide cooking but requires precise time-temperature control.
For most home cooks, aiming for 175–195°F balances safety, simplicity, and the best texture for thighs.
Pan-Searing and Oven Finishing for Crispy Skin
This method uses high, direct heat to render fat and produce golden skin, then moves the thighs into an oven for even, gentle cooking. Use a hot pan, a sturdy oven-safe skillet, and target an internal temperature that balances tenderness with safety.
Mastering the Sear
Heat a heavy cast iron skillet over medium-high until a drop of water skitters and oil just begins to shimmer. Pat bone-in, skin-on thighs dry with paper towels and season the skin side generously with salt.
Start skin-side down and press each thigh briefly so the skin makes full contact with the pan. Leave them undisturbed for 6–8 minutes so the fat renders and a deep golden crust forms.
Flip only once. Frequent turning prevents proper crust development.
Use an oil with a high smoke point such as grapeseed, canola, or refined avocado to keep the pan hot without burning.
Finishing in the Oven
Preheat the oven to 375°F (190°C) while you sear to minimize time between steps. After the skin is crisp, transfer the whole cast iron skillet to the oven to cook through evenly.
Bone-in thighs tolerate higher final temps; aim for 175°F (79°C) in the thickest part for tender, connective-tissue breakdown. Roast 12–20 minutes depending on size.
Use an instant-read thermometer to avoid guesswork. If you prefer slightly firmer texture, pull at 165°F (74°C) and rest; carryover will raise the temperature a few degrees.
Rest thighs 5–10 minutes uncovered to let juices redistribute and the skin re-crisp.
Getting Crispy Skin Every Time
Start with fully dry skin and avoid overcrowding the pan. Crowded pieces steam and never crisp.
Use direct heat on the skin side first, then moderate oven heat to finish cooking without burning the exterior. A hot cast iron skillet holds heat and promotes even browning across multiple thighs.
If skin softens after roasting, return the skillet to a hot burner for 30–60 seconds skin-side down to re-crisp. Brushing a light smear of melted butter or a quick spray of oil before searing enhances color.
Don’t add liquids during sear. For consistent results, rely on temperature and timing rather than appearance alone.
Oven-Baking Techniques
Learn step-by-step methods to bake chicken thighs with crisp skin and juicy meat. Set a wire rack and use appropriate oven temperatures for different results.
How to Bake Chicken Thighs
Pat thighs dry with paper towels and season both sides. Salt, pepper, and a light brush of oil will help the skin crisp.
Use bone-in, skin-on thighs when possible for better flavor and moisture retention. Boneless thighs cook faster and need lower times.
Preheat the oven and start with a hot pan sear if you want extra browning. Sear skin-side down in a skillet 3–5 minutes until deeply golden, then transfer to the oven.
If skipping searing, place thighs skin-side up on a baking sheet so the skin can render and roast. Use an instant-read thermometer to check doneness.
For thighs, remove from the oven when the thickest point reaches 175–185°F for tender, well-rendered connective tissue. 165°F is safe but may be firmer.
Rest uncovered 5 minutes to let juices redistribute.
Wire Rack Setup
Elevate thighs on a wire rack set over a rimmed baking sheet to encourage airflow and crisp skin. The rack prevents the thighs from sitting in rendered fat, allowing heat to surround the pieces for even browning on all sides.
Use a single layer with space between pieces. Choose a stainless-steel rack that fits snugly inside the sheet pan so juices drop away and the oven stays clean.
Line the sheet pan with foil for easy cleanup, but avoid covering the rack itself. When using a marinade or glaze, place the rack near the end of cooking to apply sticky finishes and then return to the oven briefly to set the glaze.
Recommended Oven Temperatures
High heat (400–425°F) gives the best combination of crispy skin and juicy interior. Bake at 425°F for 20–30 minutes for smaller bone-in thighs and check at 20 minutes.
At 400°F, expect 25–35 minutes depending on size and whether you seared first. For a gentler finish that breaks down connective tissue, roast at 350–375°F for 35–45 minutes.
This works well for larger thighs or when you cook with vegetables on the same sheet. If you seared first, you can safely use the lower end of the time ranges.
Always verify with an instant-read thermometer. Aim for 175–185°F for tender thighs.
Pull at 165°F only if you prefer firmer texture, then rest to let carryover raise the temperature slightly.
Grilling, Slow Cooking, and Alternative Methods
Grill for smoky char and quick high heat. Use low-and-slow or a slow cooker for fall-off-the-bone tenderness.
Use direct heat to crisp skin and indirect heat to finish without burning. Avoid overcrowding to maintain even cooking.
Grilling Over Direct and Indirect Heat
Start over direct heat to crisp skin and create grill marks. Place the chicken skin-side down for 4–8 minutes until deeply browned.
Set up a two-zone grill with coals or burners on one side for direct heat, and an empty zone for indirect heat. After searing, move thighs to the indirect heat and finish cooking until the internal temperature reaches 165°F.
Close the lid to keep the temperature steady. Expect 12–20 more minutes depending on thigh size.
Flip the thighs once or twice and avoid constant flipping. Watch for flare-ups from rendered fat.
Keep thighs spaced so air and heat can circulate. Rest the meat for 5 minutes before serving to let juices redistribute.
Making Slow Cooker Chicken Thighs
Pat thighs dry and season well. Browning in a skillet first improves flavor and texture but isn’t required.
Place thighs in a single layer in the slow cooker when possible. Overcrowding steams the skin and only lightly browns the meat.
Cook on low for 4–6 hours or high for 2–3 hours until the meat is tender and registers 165°F. For a crisper finish, transfer thighs to a hot oven broiler or a preheated skillet for 3–6 minutes skin-side up after slow cooking.
Add a small amount of liquid, such as broth or sauce, to keep thighs moist. Too much liquid will braise the meat and soften the skin.
Reserve pan juices to spoon over the finished thighs for extra flavor.
Air Fryer and Broiling Tips
Air fryers circulate hot air to mimic convection. Arrange thighs skin-side up with gaps between pieces to avoid overcrowding the basket.
Cook at 375–400°F for 18–25 minutes, flipping once halfway, until the skin is crisp and the internal temperature reads 165°F. For broiling, place thighs on a rimmed baking sheet skin-side up about 6–8 inches from the element.
Broil 6–10 minutes per side, watching closely to prevent burning. Use the oven’s convection setting if available for more even browning.
Both methods can dry meat if overcooked. Use an instant-read thermometer and pull thighs at 160–162°F, then rest 3–5 minutes.
Carryover heat will bring them to 165°F and keep them juicy.
Popular Recipes and Serving Ideas
Explore versatile weeknight recipes, bold marinades, and simple side pairings that make chicken thighs a reliable centerpiece. Use methods that keep thighs juicy such as roasting, braising, grilling, or a quick pan-sear.
Match the sauce and sides to the cooking method.
Family-Friendly Chicken Thigh Recipes
Choose recipes that allow some hands-off time and deliver consistent tenderness. Oven-baked honey mustard or barbecue chicken thighs cook at 400°F for 25–35 minutes and result in sticky glaze and tender meat.
One-pan skillet dinners start with browning chicken thighs, then finish with vegetables and a simple pan sauce. Slow-cooker shredded chicken thighs work well for tacos, sliders, and casseroles when you need make-ahead meals.
For picky eaters, keep flavors familiar with salt, pepper, garlic powder, and a squeeze of lemon. Always check for a 165°F internal temperature or cut to confirm juices run clear.
Flavorful Marinades and Seasonings
Marinades tenderize and add depth. Use acidic components sparingly to avoid a mushy texture.
Try a 30–60 minute marinade of soy, honey, garlic, and rice vinegar for an umami-sweet glaze. A yogurt-lemon-garlic mix creates tender, Middle Eastern-style thighs.
Dry rubs work well too. Paprika, cumin, brown sugar, and salt applied 30 minutes before cooking create a caramelized crust during high-heat searing or roasting.
For grilling, baste with a finishing sauce such as hot honey, chimichurri, or teriyaki in the last 5 minutes to preserve char and moisture. For crisp skin, pat thighs dry, season, then roast skin-side up on a rack or grill skin-side down over direct heat until blistered.
What to Serve with Chicken Thighs
Pair sides with the cooking technique and sauce to balance texture and flavor.
Serve rich, braised thighs with mashed potatoes, creamy polenta, or buttered egg noodles to soak up sauce.
Grilled or glazed thighs go well with bright sides. Citrus slaws, tabouli, or a simple cucumber-tomato salad cut through the richness.
Roast root vegetables or Brussels sprouts alongside the thighs for one-pan skillet or sheet-pan recipes so everything finishes together.
For carb options, serve thighs over rice pilaf, herby couscous, or lemon-garlic orzo to complement both shredded and whole-thigh preparations.


