
What Should the Chicken Breast Temperature Be? Quick Guide
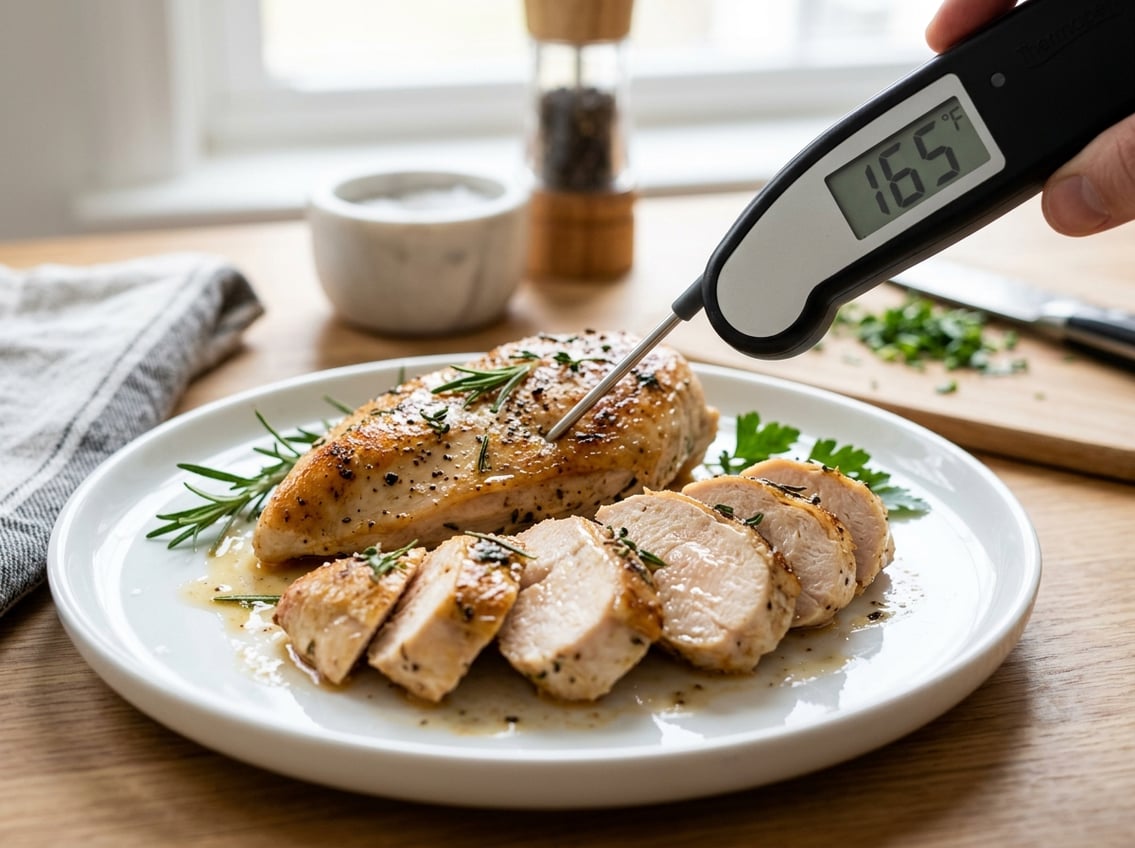
Aim for 165°F in the thickest part of the breast for safe chicken, then rest it so the final bite stays as juicy as possible. That target gives you a clear food-safety line and a reliable way to avoid dry, stringy meat.

Chicken breast is lean, so the difference between juicy and dry can be small. If you use a thermometer and pull the meat at the right point, you get much better results than guessing by color or timing alone.
The Exact Temperature to Aim For
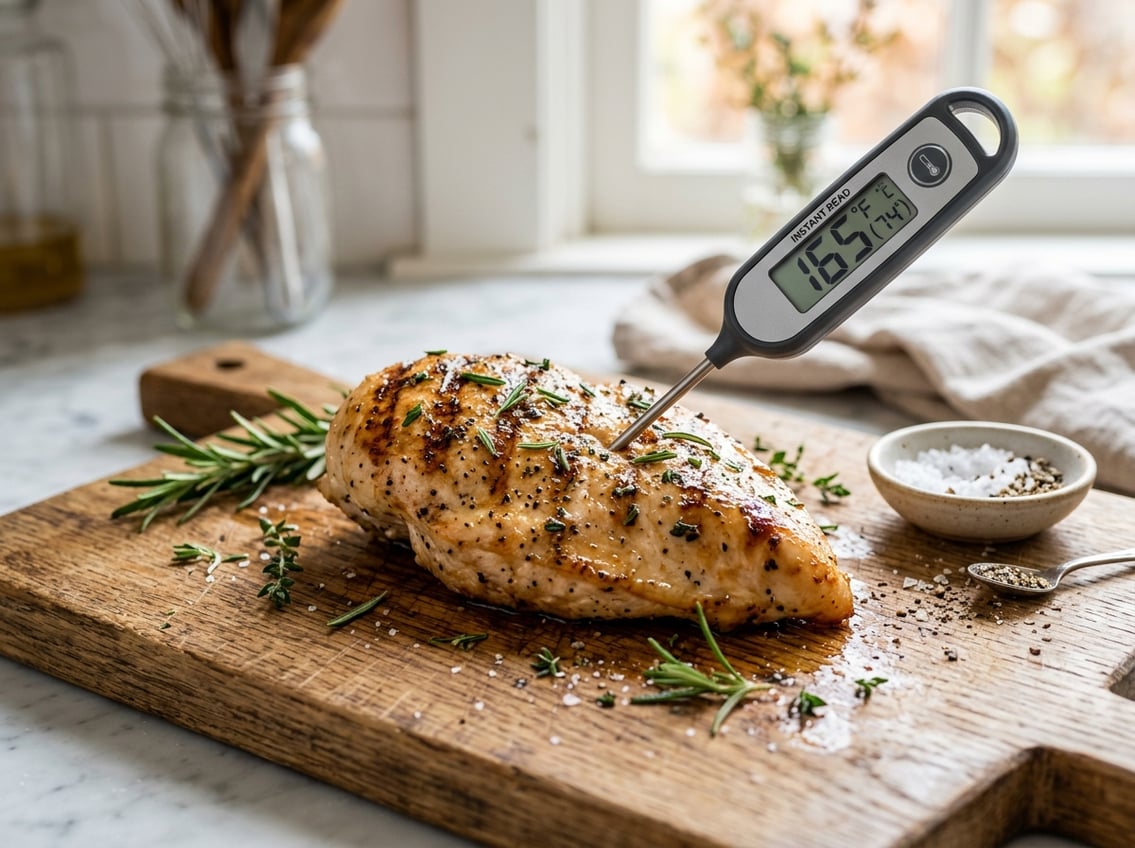
The best temperature for juicy chicken depends on when you remove it from the heat and how much resting time it gets. For food safety, you need to reach 165°F in the thickest part of the meat.
Safe Minimum vs Best Pull Temperature
The safe minimum is 165°F, which is the number most home cooks should use. You can pull the chicken a little earlier, around 155°F to 160°F, if you plan to rest it for a few minutes.
That resting time lets the temperature rise without pushing the meat too far.
Why 165°F Matters for Food Safety
165°F is the standard safe internal temperature for chicken in the U.S. That number helps reduce the risk of harmful bacteria in the meat.
You should not rely on guesswork when you cook chicken breast. Color, size, and cooking time can all vary, so the internal temperature is the clearest sign of doneness.
Temperature for Juicy Chicken Breast With Carryover Cooking
Carryover cooking means the chicken keeps cooking after you remove it from the heat. The center can rise several degrees while it rests, so the temperature is often a little below 165°F when you take it off the pan or out of the oven.
This works especially well for thicker pieces. If you rest the chicken under loose foil for a few minutes, you help the juices settle back into the meat.
How to Check Doneness Correctly
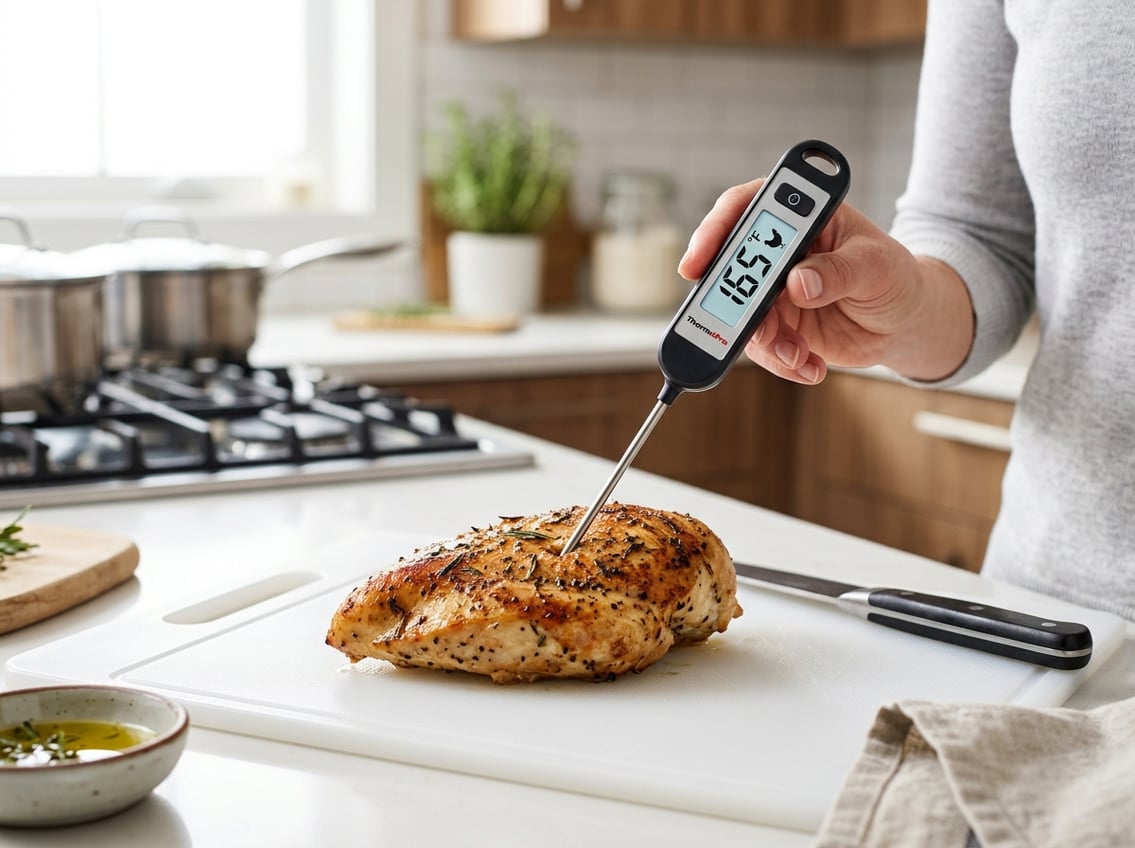
A thermometer gives you the most accurate answer. Trust the internal temperature, especially when cooking juicy chicken breasts that can dry out fast.
Where to Insert the Thermometer
Insert the tip into the thickest part of the chicken breast, not near the edge or in a thin corner. If the breast is uneven, check the thickest area first.
Avoid touching the pan, bone, or baking dish with the thermometer tip. That can give you a false reading and make the chicken seem hotter than it really is.
How Resting Changes the Final Temperature
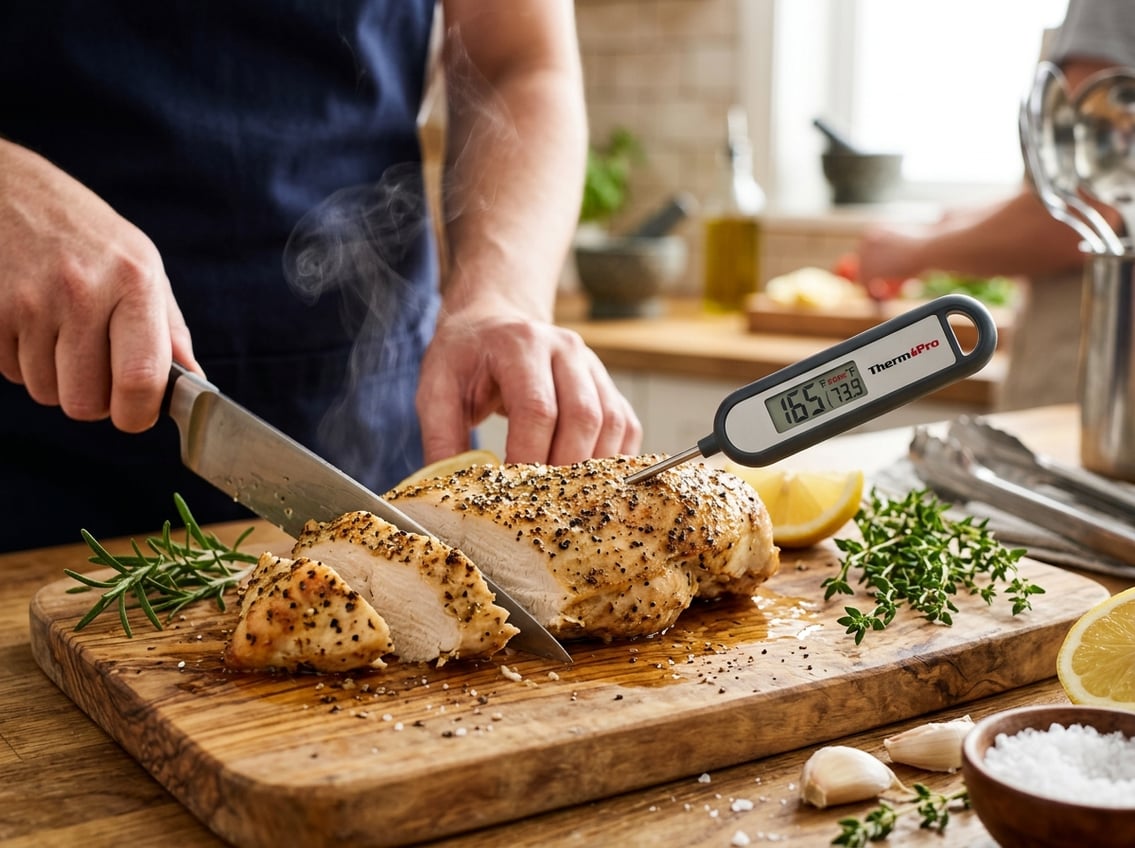
Resting changes the final temperature because heat keeps moving through the meat after cooking stops. A few minutes on the counter, lightly covered, can raise the center enough to finish the job without overcooking the outside.
Cutting too soon lets the juices run out before they can settle.
Why Color and Juices Are Not Reliable
White meat can still be undercooked, and slightly pink meat can still be safe depending on temperature and cooking method. Juice color also varies, so it is not a dependable test.
A thermometer removes the guesswork. That is the safest way to know when your chicken is done.
Best Cooking Methods for Moist Results
Good technique matters as much as temperature. Baking chicken breast and searing chicken both work well if you control heat and stop cooking at the right time.
Baking Chicken Breast in the Oven
Oven baking gives you steady heat and less hands-on cooking. Allrecipes recommends roasting at 450°F for 15 to 18 minutes or baking at 375°F for 30 to 35 minutes, depending on thickness and size.
This method works well when you want even cooking with less risk of burning the outside.
Searing Chicken on the Stovetop
Searing chicken on the stovetop gives you a browned outside and fast cooking time. Medium-high heat works well, and flip the meat once for even browning.
Chicken breast cooks quickly in a skillet, so a thermometer helps you stop before the meat turns dry.
How Thickness Affects Cooking Time
Thickness changes cooking time more than almost anything else. A thin chicken breast may be done quickly, while a thick one may need several extra minutes.
Try to pound very thick breasts to an even shape if needed. Even thickness helps the chicken cook more evenly.
Common Mistakes That Dry Out Chicken Breast
Dry chicken usually comes from a few preventable habits. Most problems start with heat control, timing, or cutting the meat too soon.
Overcooking Past the Ideal Range
Chicken breast dries out fast once it moves past the ideal range. The lean meat loses moisture as the proteins tighten, so a few extra degrees can make a big difference.
If you want juicy chicken breasts, check early and often. Pull the meat as soon as it reaches the right point for your cooking method.
Skipping Brining or Marinades
Brining or marinating helps chicken hold more moisture and adds flavor. A simple salt brine or a marinade with acid and seasoning can improve the final texture.
According to Allrecipes, pre-soaking the chicken is a smart step for keeping it juicy. This is especially useful for boneless, skinless breasts, which dry out more easily.
Cutting Into the Meat Too Soon
If you slice right away, the juices escape onto the cutting board instead of staying in the meat. That makes even well-cooked chicken taste dry.
Let the chicken rest first. Then cut it after a short pause.
This small step improves the final texture and helps keep every bite moist.


