
What Should Chicken Breast Be Cooked to in the Oven? Temp Guide
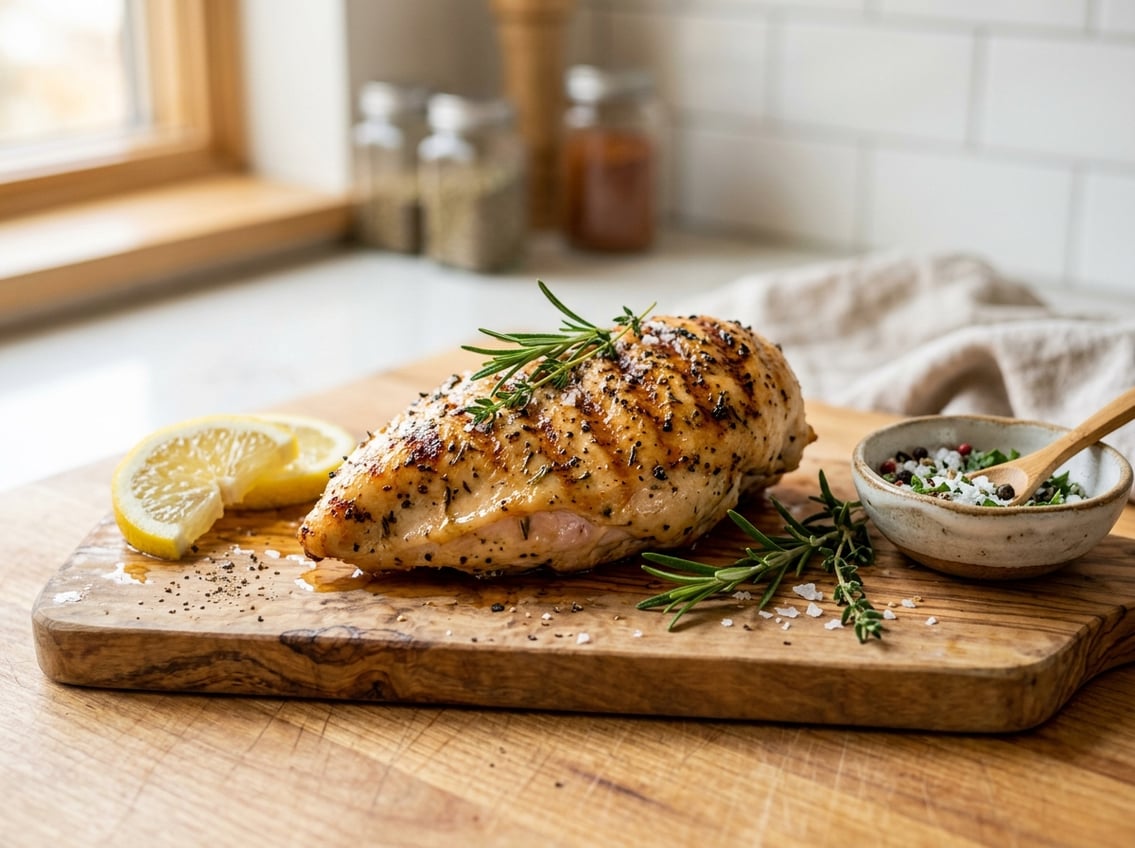
You should cook chicken breast in the oven to an internal temperature of 165°F. That is the safe target for poultry, and it gives you a clear finish line when you bake chicken breast for weeknight meals or a simple dinner.
The real key is not just the number, but where you measure it and how long you let the meat rest after it comes out of the oven. A thermometer gives you the most accurate result, and a short rest helps the juices settle so your oven-baked chicken stays more tender.

The Safe Internal Temperature to Hit
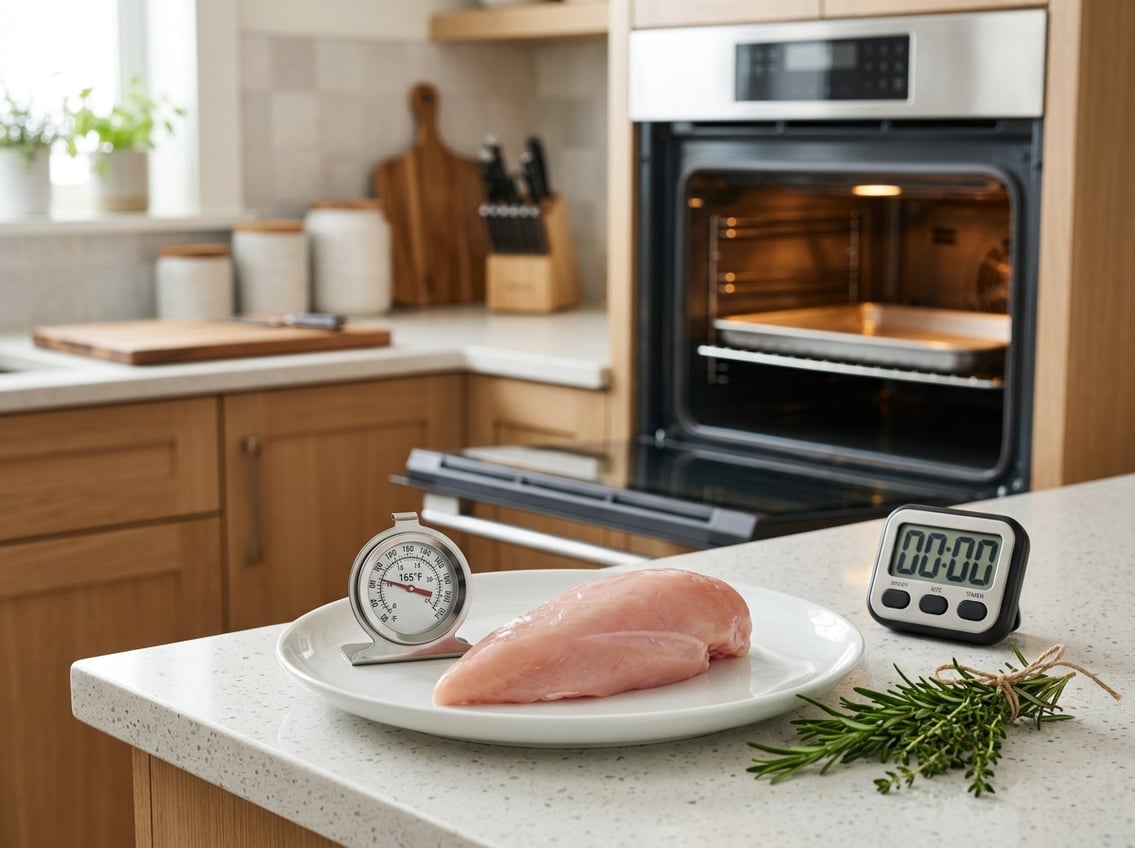
For baked chicken breasts, aim for 165°F in the thickest part. The USDA recommends this temperature for all poultry, including boneless skinless chicken breasts.
Trust temperature instead of color or cook time alone. USDA poultry temperature guidance
Why 165°F Is the Target for Chicken Breast
Chicken breast is lean, so it dries out faster than darker cuts. Reaching 165°F gives you the food safety margin you need without pushing the meat much farther past done than necessary.
Some recipes pull chicken a little early, around 160°F, then let carryover heat finish the job during resting. That can work if you know your oven and your thermometer well, but 165°F remains the simplest and safest target for most home cooks.
Where to Check Temperature With a Thermometer
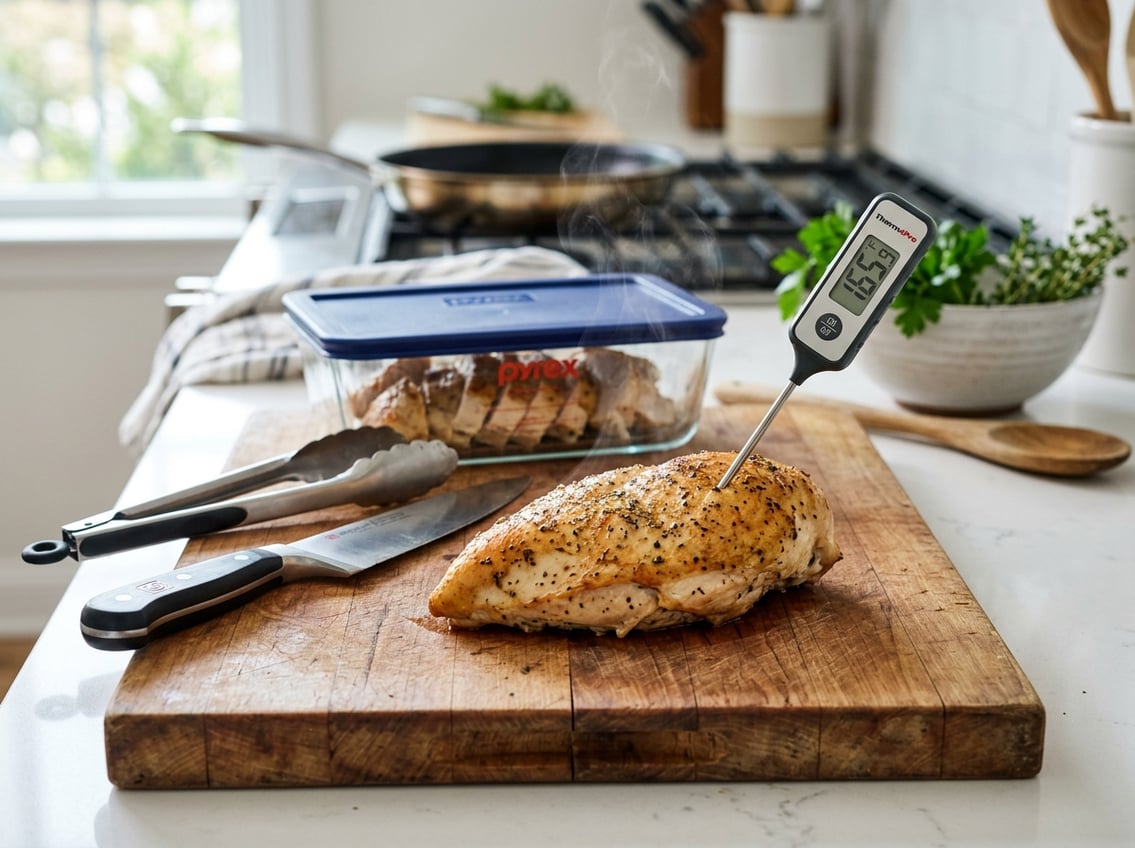
Insert the thermometer into the thickest part of the breast, not into the pan and not near the edge. If the piece is uneven, check the center of the thickest area, since thin edges heat faster and can mislead you.
Avoid touching bone when you measure bone-in pieces. Bone heats differently from meat, so a probe against the bone can give you a false reading.
When Carryover Cooking Matters After Baking
Carryover cooking happens when the meat keeps rising in temperature after you remove it from the oven. That matters most with thicker baked chicken breasts and bone-in pieces, because the outside keeps transferring heat inward.
If you pull chicken at 160°F, it may rise a few degrees while it rests. This can help preserve moisture, as long as the chicken reaches a safe finished temperature.
Bake Time by Oven Temperature and Cut
Bake time changes with oven heat, but thickness changes it even more. A thin cut at 425°F may finish faster than a thick one at 375°F, so use time as a guide and temperature as the final test.
Boneless Skinless Pieces at 375°F, 400°F, and 425°F
For boneless skinless chicken breasts, 375°F is a common starting point. Martha Stewart’s method uses 375°F and estimates about 20 minutes, with the chicken pulled when it reaches 160°F in the thickest part. How to bake chicken breasts juicy and delicious
At 400°F, many medium boneless pieces finish in about 18 to 22 minutes. At 425°F, they can finish in about 15 to 20 minutes, depending on size and thickness. Chicken breast baking time and temperature guide
Bone-In and Skin-On Pieces Need Longer
Bone-in and skin-on chicken breasts usually take longer than boneless pieces because the bone slows heat flow. They often bake best at slightly higher heat, such as 425°F to 450°F, and can take close to 20 minutes or longer depending on size.
Skin adds a little protection, while the bone helps slow drying. These cuts are more forgiving, though you still need to check the center with a thermometer.
How Thickness Changes the Clock More Than Weight
Two chicken breasts that weigh the same can cook at different speeds if one is thick in the center and the other is spread thin. Thickness changes how fast heat reaches the middle, so a plump breast may need more time than a flatter one.
If your chicken is uneven, expect the thickest end to set the pace. That is why the thermometer matters more than the package weight.
How to Keep the Meat Juicy Instead of Dry
Dry chicken breast usually comes from too much heat, uneven thickness, or cooking past done. You can prevent most of that with a few simple steps before the chicken goes into the oven.
Flatten Uneven Pieces for Even Cooking
If one end is much thicker than the other, pound the breast lightly to an even thickness. That helps the whole piece cook at the same speed, which lowers the chance that the thin end dries out before the center is done.
You do not need to make it paper thin. A gentle, even shape is enough to improve baked chicken breasts.
Brining, Oil, and Seasoning Basics
A short brine, even for 15 to 30 minutes, can help chicken hold moisture. Salting ahead of time also improves seasoning throughout the meat.
Before baking chicken breast, coat it lightly with oil and season it well. The oil helps the surface cook more evenly, while salt and herbs add flavor without making the meat dry.
Covered vs Uncovered Methods for Moisture Retention
Covered baking traps steam and helps protect lean meat from drying out. Martha Stewart’s method uses foil or parchment-lined foil over the baking dish for part of the bake, then recommends uncovering halfway through to glaze the meat with pan juices. Juicy baked chicken breast method
Uncovered baking gives you more browning and a firmer exterior. If you want extra moisture, start covered, then finish uncovered near the end so the outside does not overcook too fast.
Resting, Serving, and Storing Cooked Chicken
Once your oven-baked chicken is done, the next few minutes matter. Resting helps the juices stay in the meat, while proper slicing and storage keep leftovers useful for later meals.
How Long to Rest Before Slicing
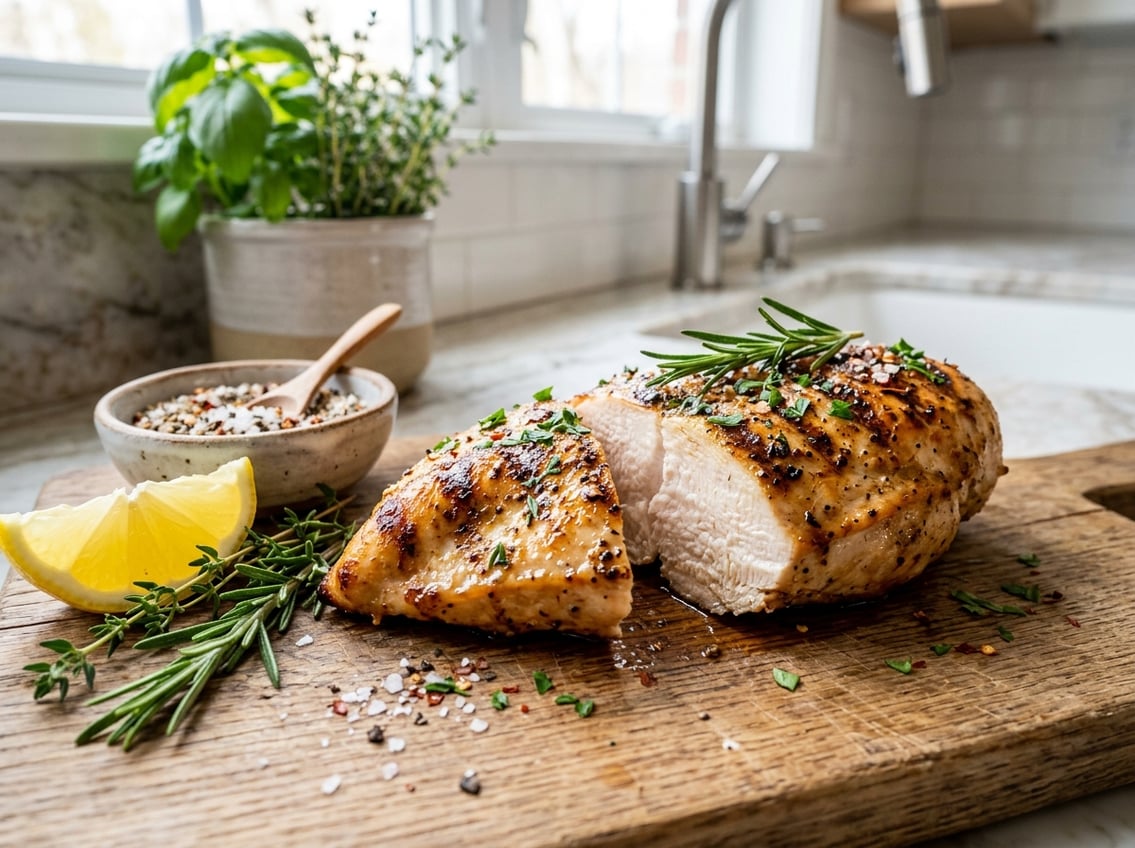
Let baked chicken breasts rest for about 5 to 10 minutes before cutting. Smaller pieces may only need a short rest, while thicker breasts benefit from the full time so the juices do not run out as soon as you slice them.
The Takeout notes that small chicken breast pieces can rest for 5 to 10 minutes and that carryover heat keeps working after they leave the oven. Why chicken should rest after cooking
Best Uses for Sliced or Chopped Chicken
Sliced chicken breast works well for sandwiches, grain bowls, and salads. Chopped or shredded chicken is also useful in soups, tacos, casseroles, and wraps.
If the meat came out a little dry, slice it thin so each bite has a better balance of sauce or dressing. That is a practical way to make oven-baked chicken more useful even when it is not perfect.
How Long Leftovers Keep in the Fridge and Freezer
Cooked chicken stays fresh in the fridge for about 3 to 4 days when you store it in a sealed container.
If you want to keep it longer, freeze it in airtight packaging and use it within about 2 to 6 months for the best quality.
Let the chicken cool before you store it.
Refrigerate it promptly.
When you reheat it, make sure it reaches 165°F so it is safe to eat.


