
Do You Cover Chicken Breast When Baking? Best Method
Cover chicken breast when baking if you want to keep it moist, especially with thick pieces or longer cook times.
The best method usually involves baking chicken uncovered to build color, then covering it so the meat stays juicy.
Baking chicken works best when you match the method to your desired result.
If you bake chicken uncovered, you get more browning. If you cover it, you hold in moisture and support even cooking.

If you wonder whether to cover chicken or leave it open, consider texture, size, and oven heat.
You can get juicy chicken breast with either method, but the technique changes the final result.
When to Cover, Uncover, or Use Both
Covering chicken while baking traps steam, which keeps it moist and supports even cooking.
Baking chicken uncovered gives you more browning and a crisp, flavorful surface.
Best Times to Cover for Juicier Results
Cover chicken when the breast is thick, the oven time is long, or you use a sauce that could dry out.
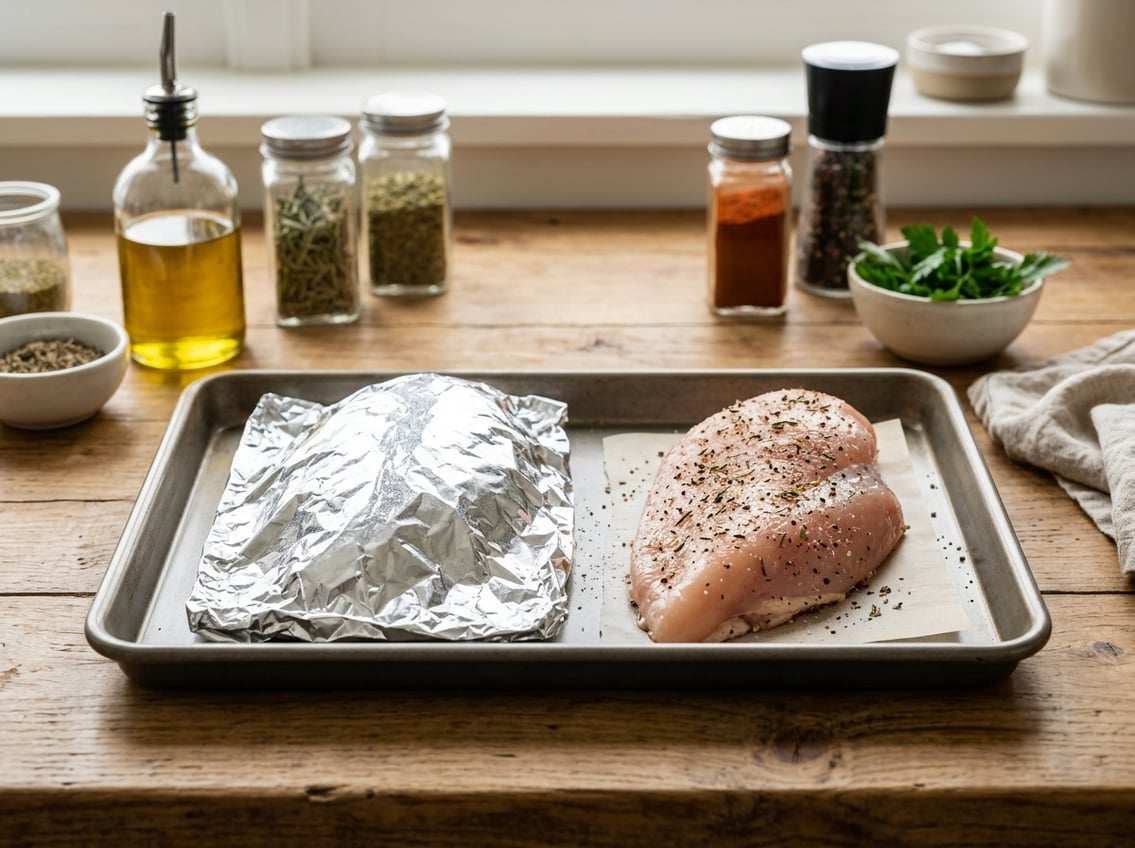
A light foil tent or a covered baking dish keeps the meat tender and prevents the surface from drying too fast.
When Uncovered Cooking Works Better
Bake chicken breasts uncovered when you want more browning and a firmer finish.
Dry heat helps the outside color faster and adds flavor.
Uncovered baking works well for smaller breasts that cook quickly.
If you bake chicken breasts uncovered, watch the temperature so the meat does not dry out.
Why a Covered-Then-Uncovered Finish Often Wins
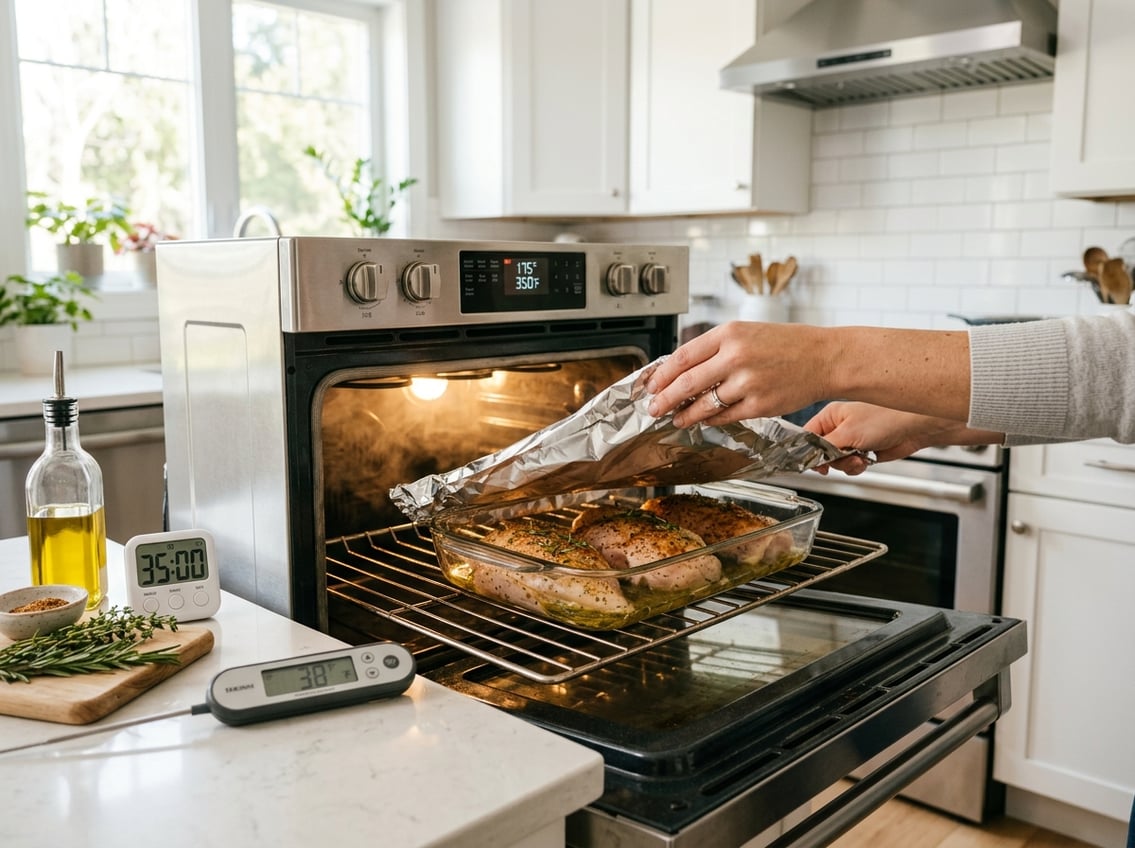
Start baking chicken uncovered to build color, then cover it near the end if the surface gets too dark before the center is done.
This method gives you browning first and moisture retention at the end.
Temperature, Timing, and Doneness
Oven temperature changes how fast chicken cooks and how much moisture you lose.
Check the center with a meat thermometer for the safest result.
How Oven Temperature Changes the Outcome
At 350°F, chicken cooks gently and is less likely to dry out, though it takes longer.
At 375°F, you get a balanced bake that cooks through evenly without too much surface dryness.
At 425°F, chicken cooks faster and browns more quickly. This works well for thinner pieces but leaves less room for error.
How Long to Bake Different Breast Sizes
A smaller breast may be done in about 20 minutes.
A thicker one may take 25 to 40 minutes depending on oven temperature.
Size matters more than weight alone.
A thick center needs more time, and a thin edge can dry out before the middle is done.
How to Check for Safe Doneness
Use a meat thermometer and check the thickest part of the breast.
The safe internal temperature for baking chicken is 165°F.
Take the chicken out as soon as it reaches that number.
Let it rest for a few minutes so the juices settle back into the meat.
How to Keep Breast Meat Moist and Flavorful
Moisture starts before the chicken goes into the oven.
Good prep, a little fat, and smart seasoning protect the texture of a juicy chicken breast.
Brining and Prep for Better Texture
Brining improves moisture retention.
A short brine helps the meat hold more liquid during baking.
Pat the chicken dry after brining so the outside can brown.
This gives you both tenderness and color.
Oils, Acids, and Seasonings That Help
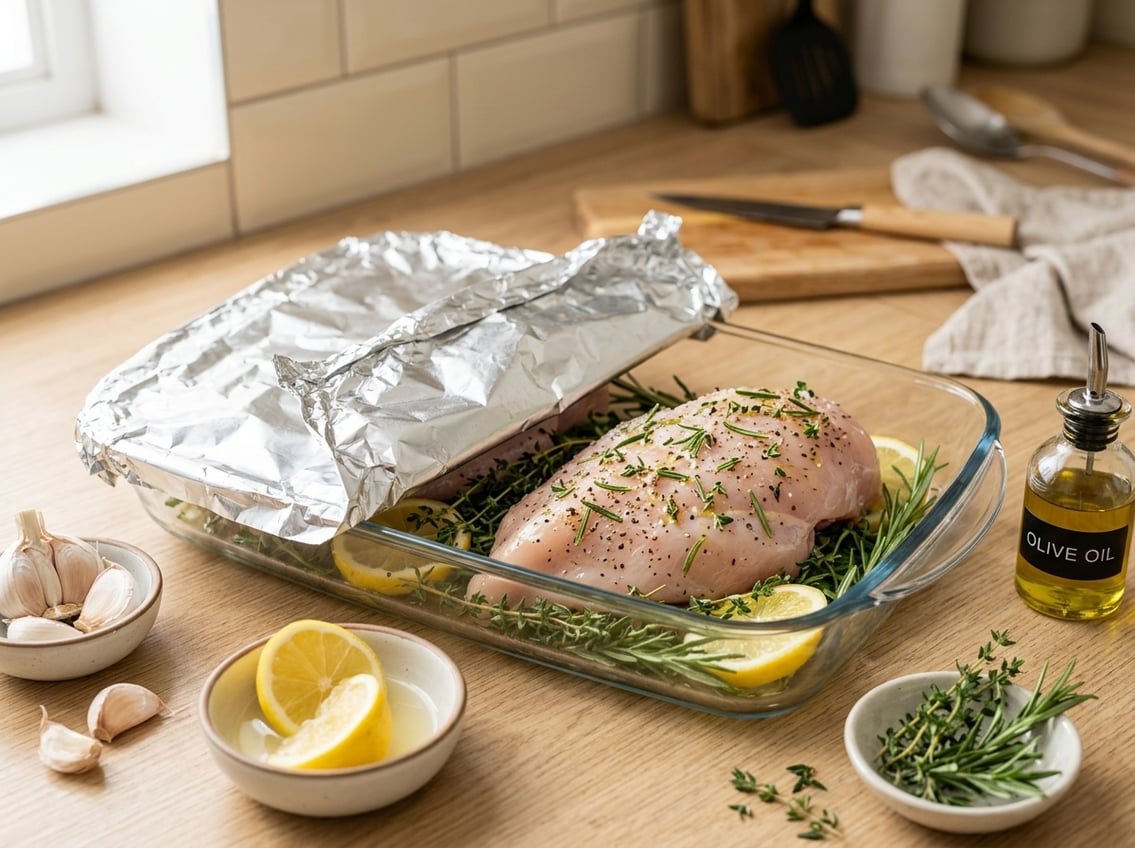
A thin layer of olive oil helps the surface cook evenly and slows drying.
Marinades add flavor, and small amounts of lemon juice or vinegar work well when balanced with oil.
Dry rubs with garlic powder, salt, pepper, and herbs build flavor without extra liquid that prevents browning.
How Sauces and Glazes Affect Covering
Barbecue and teriyaki sauces protect the surface but can darken fast.
If you use a glaze, cover the chicken partway through baking so the sugars do not burn before the center is done.
Basting helps with moisture, but it does not fix overcooking.
A glaze works best near the end, when you want flavor on the outside and a moist center inside.
Best Tools, Pans, and Covering Materials
The tools you use affect airflow, moisture, and browning.
A good pan setup makes covering chicken while baking easier.
Aluminum Foil vs. Parchment Paper
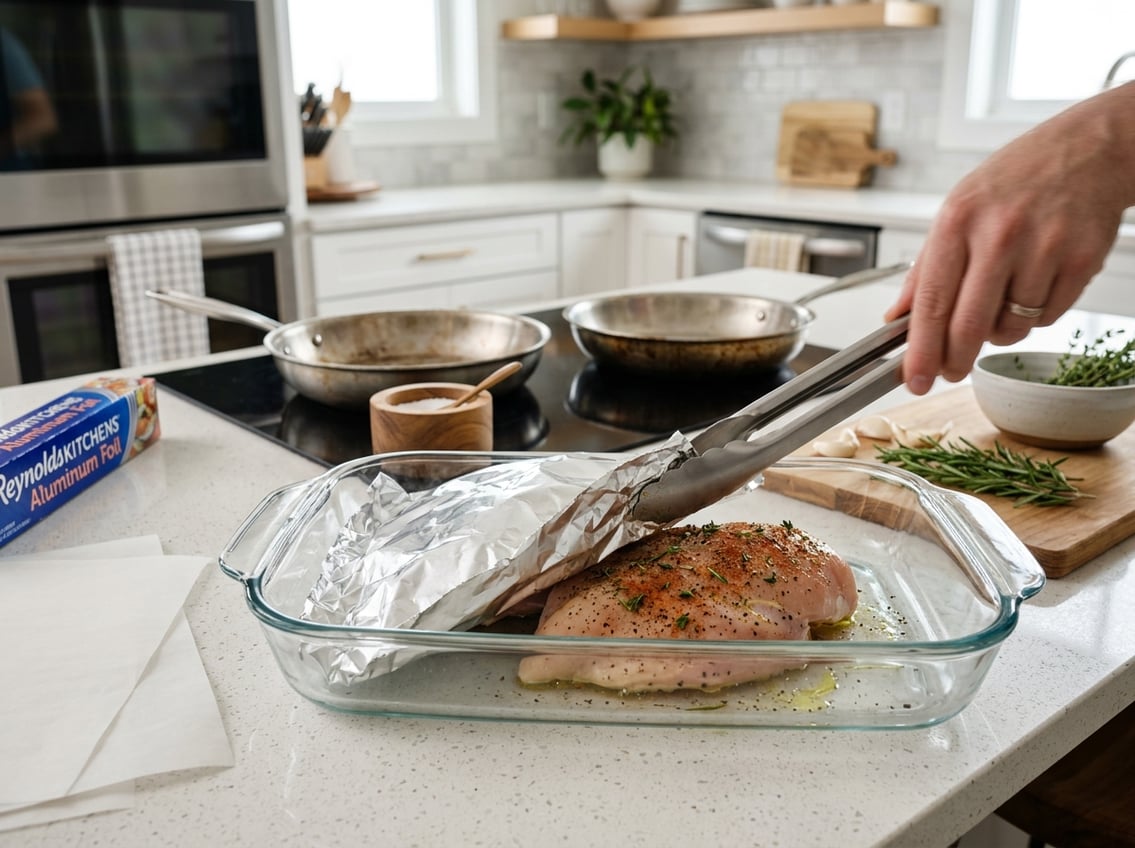
Aluminum foil traps steam well and is easy to remove.
It works well when you want to cover chicken for part of the bake and then uncover it.
Parchment paper is lighter and less tight, allowing more airflow.
That helps if you want less steaming and more browning.
How Pan Setup Affects Airflow and Browning
A shallow baking dish gives the chicken more exposed surface area and helps with browning.
A crowded pan slows airflow and can make the chicken steam in its own juices.
Leave space between pieces for more even cooking.
This helps heat move around the chicken instead of trapping liquid in the pan.
Common Mistakes That Lead to Dry Chicken
People often bake chicken too long because they wait for a color change instead of checking the temperature.
Sealing the chicken too tightly during cooking can stop browning and leave the texture soft.
Using too little seasoning or no fat at all can make the meat taste flat and dry.
To get the best results, match the cover method to the cut, the oven temperature, and the finish you want.


