
What Temperature Is the Chicken Breast Done? Safe Guide
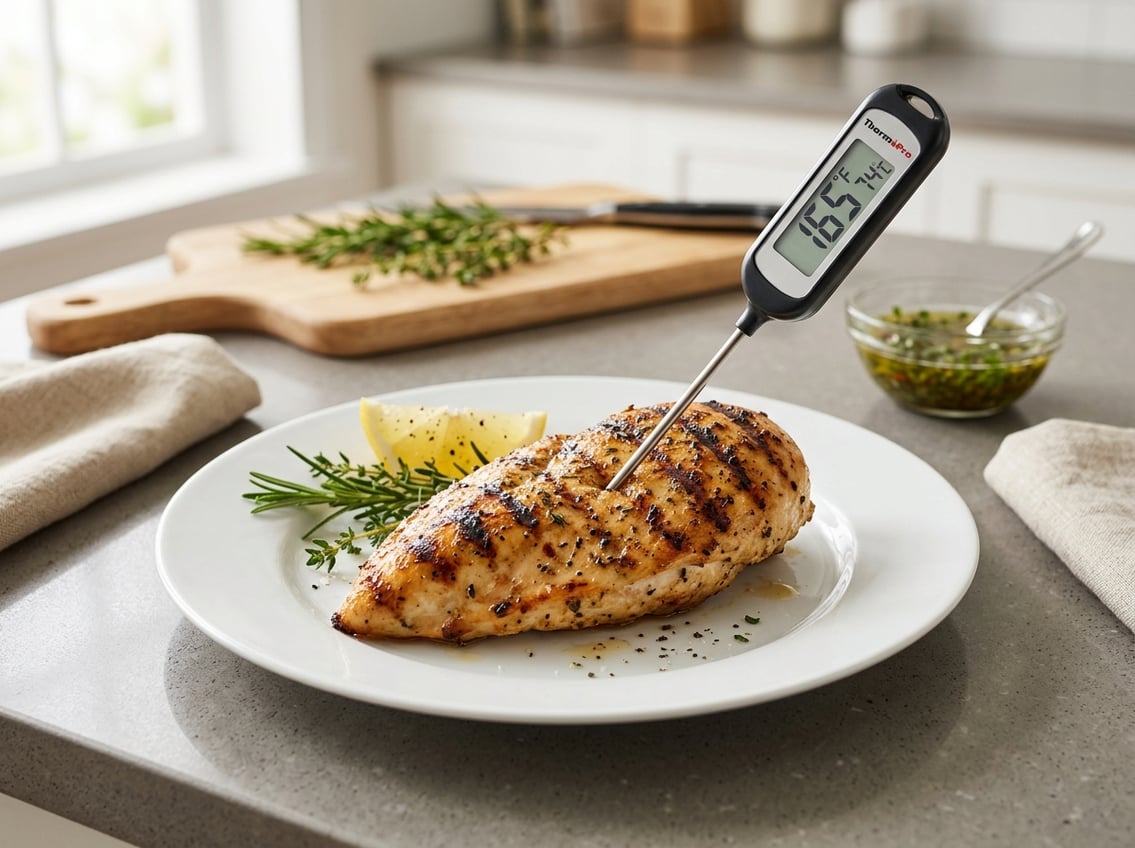
You may wonder what temperature chicken breast is done when you want to serve safe, juicy food without guesswork. Chicken breast is done when its thickest part reaches 165°F, or 74°C, which is the safe minimum internal temperature for chicken.

That number matters because chicken can look ready before it is safe. A meat thermometer gives you the clearest answer, while color, texture, and juices can mislead you.
The Safe Temperature for Chicken Breast
The safe minimum internal temperature for chicken breast is 165°F (74°C). This standard reduces the risk from bacteria such as salmonella and campylobacter.
Check the thickest part of the breast, and make sure the reading reaches the minimum internal temperature for chicken before you serve it.
Why 165°F Is the Safety Standard
At 165°F, chicken reaches the level that food safety guidance treats as safe minimum internal temperature. The USDA uses this standard because poultry can carry harmful bacteria, and the heat needs to be high enough to make the meat safe to eat.
What 74°C Means for Readers Using Celsius
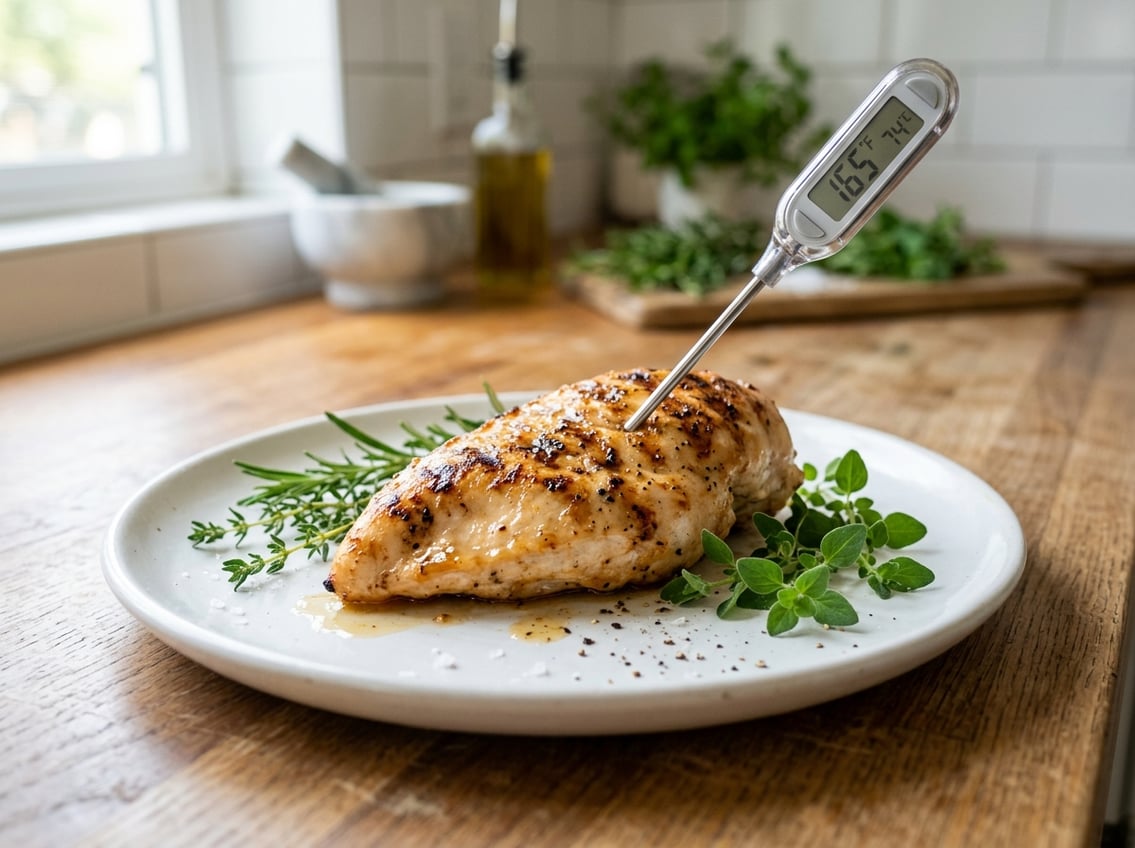
If you cook with Celsius, 74°C is the same safe minimum internal temperature. A thermometer that reads in Celsius should show 74°C in the thickest part of the breast.
That temperature works for any cooking method, whether you bake, grill, or pan-cook chicken.
Why Color and Juices Are Not Reliable Signs
Chicken breast can turn white before it is fully done. Juices can run clear even when the center has not reached a safe temperature.
Texture and color can help you notice progress, but they cannot replace a thermometer. A quick check with a digital meat thermometer is the more accurate way to know when the chicken is done.
How to Check Doneness Accurately
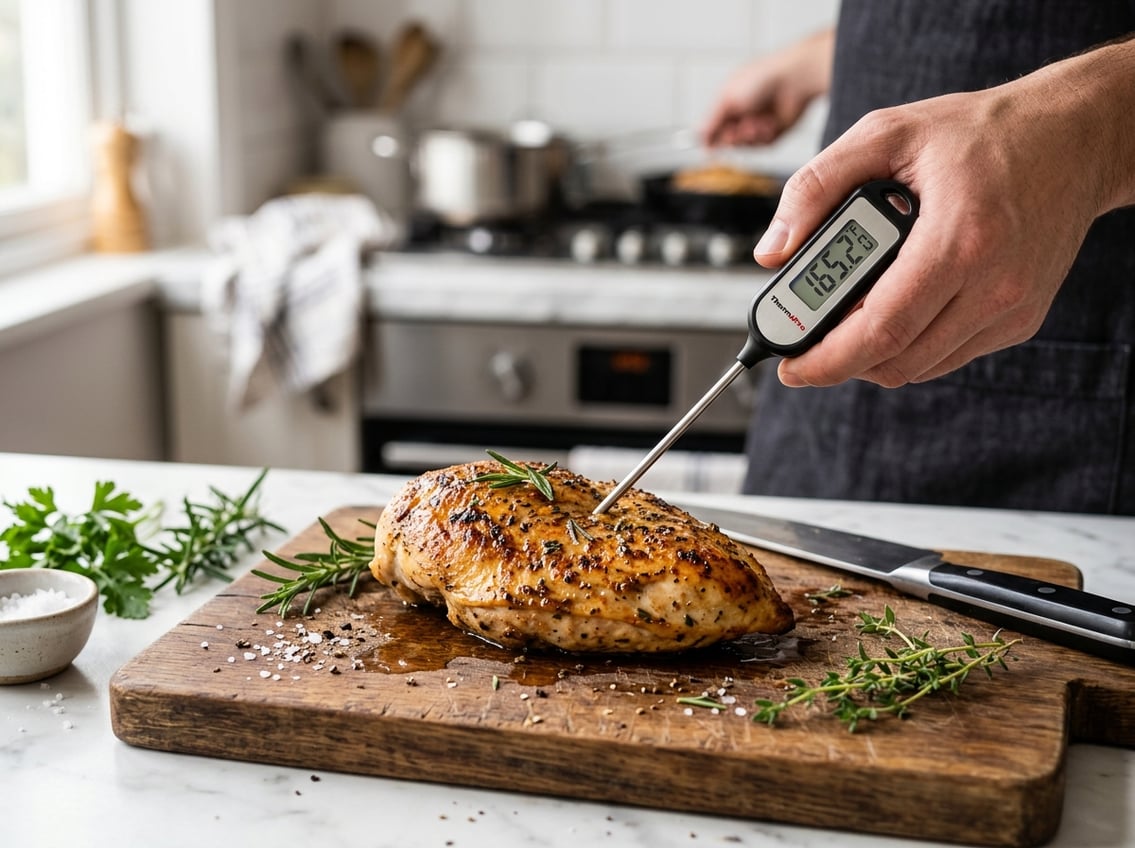
A proper reading depends on both the tool and where you place it. Place the thermometer in the thickest part of the breast, with the tip centered in the meat and away from the pan, bone, or fat.
How to Use a Meat Thermometer
Use a meat thermometer to check the internal temperature near the end of cooking. Insert it into the center of the thickest part, wait for the reading to settle, and confirm it reaches 165°F.
An instant-read thermometer works well for a fast check. A digital meat thermometer is useful if it gives a quick and clear reading.
Thermometer Placement in the Thickest Part
The thickest part of the breast heats the slowest, so that is the most important spot to check. If that part is done, the rest of the breast is usually done as well.
Do not place the probe too close to the surface, since that can show a higher temperature than the center. Good thermometer placement gives you the most reliable answer.
Instant-Read vs Digital Meat Thermometer
An instant-read thermometer is best for a fast spot check. A digital meat thermometer may have a probe or a display that is easier to read and can stay in the meat during cooking.
Both can work well if you use them correctly.
How to Keep Chicken Breast Juicy
Juicy chicken depends on timing as much as temperature. If you wait too long, the breast can dry out fast because it is lean.
The key is to stop cooking at the right point and let residual heat finish the job. That gives you better texture without risking undercooked chicken.
When to Pull It Off the Heat
For juicy chicken breasts, many cooks pull them a little before the final target and let them finish from residual heat. Allrecipes notes that some cooks remove chicken around 155°F and let it rise to 165°F while resting, which can help protect moisture.
That method still depends on accurate temperature checking.
How Carryover Cooking Finishes the Job
Carryover cooking is the extra heat that keeps moving through the meat after it leaves the stove or oven. The temperature can rise a few degrees while the chicken rests.
If you remove it at the right point, the final rise can help you land at 165°F without overcooking.
Resting Tips for Better Texture
Let the chicken rest for a few minutes after cooking. Cover it loosely with foil if needed, so the juices stay in the meat.
Do not cut it open right away. Resting helps you keep juicy chicken breasts instead of letting the juices run onto the cutting board.
Cooking Times and Methods That Affect Results

Cooking time changes with oven heat, breast thickness, and cooking method. A chicken temperature chart can help you estimate timing, but the thermometer is still the final check.
Baking Chicken Breasts at Common Oven Temperatures
According to Allrecipes, chicken breasts may roast at 450°F for 15 to 18 minutes or bake at 375°F for 30 to 35 minutes, depending on size. Those times are only estimates.
Your oven, pan, and starting temperature can all change the result. Use the time as a guide, then confirm with a meat thermometer in the thickest part of the breast.
How Thickness Changes Chicken Breast Cooking Time
Thicker chicken breasts need more time than thinner ones. A tapered breast can also cook unevenly, so one end may finish sooner than the other.
That is why chicken breast cooking time is never exact by minutes alone. The thickest part of the breast decides when the meat is truly done.
When a Temperature Chart Helps Most
A chicken temperature chart gives you a quick cooking guide for baking chicken breasts or other methods.
It helps you plan meal timing, especially if you cook several pieces at once.
Use the chart to support your thermometer, not replace it.
Cook by time first. Then verify doneness with temperature at the thickest part of the breast.


