
What Is the Best Way to Cook Chicken Thighs in an Air Fryer: Expert Tips and Flavorful Variations
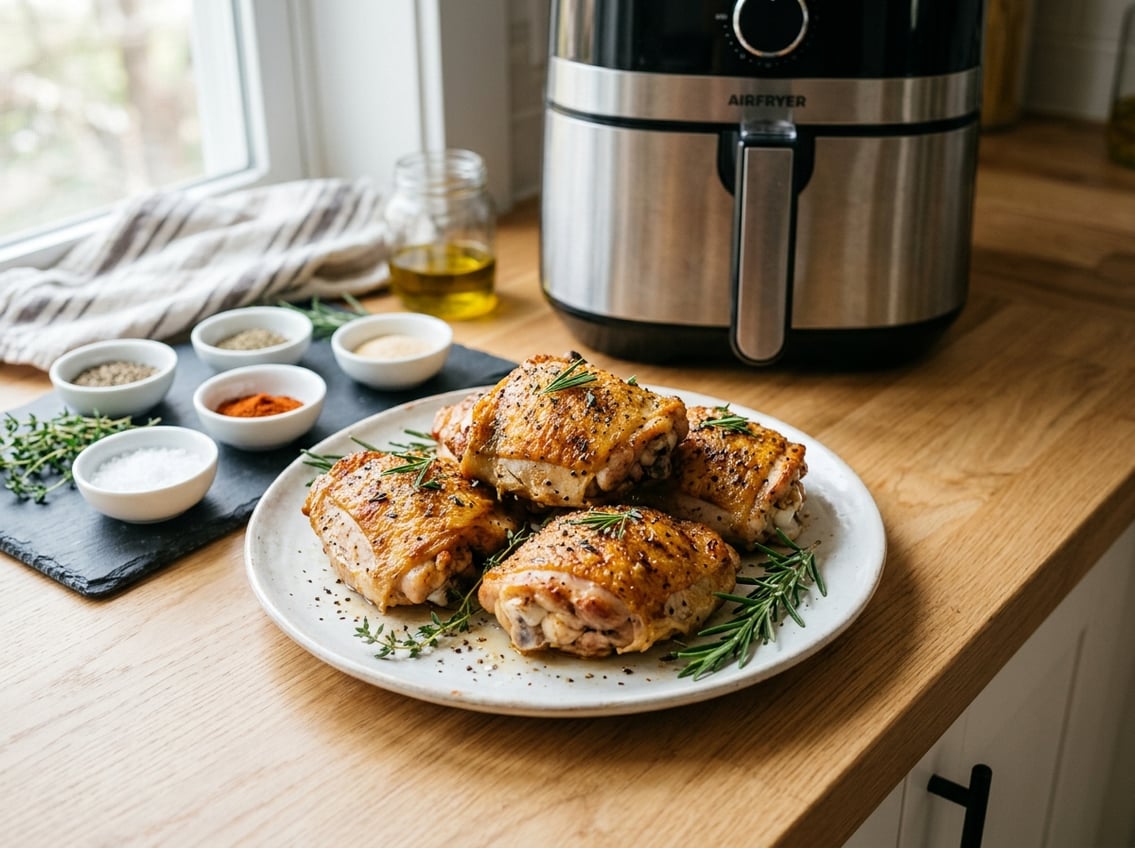
You want juicy, well-seasoned chicken thighs with crisp skin and minimal fuss, and the air fryer reliably delivers that result.
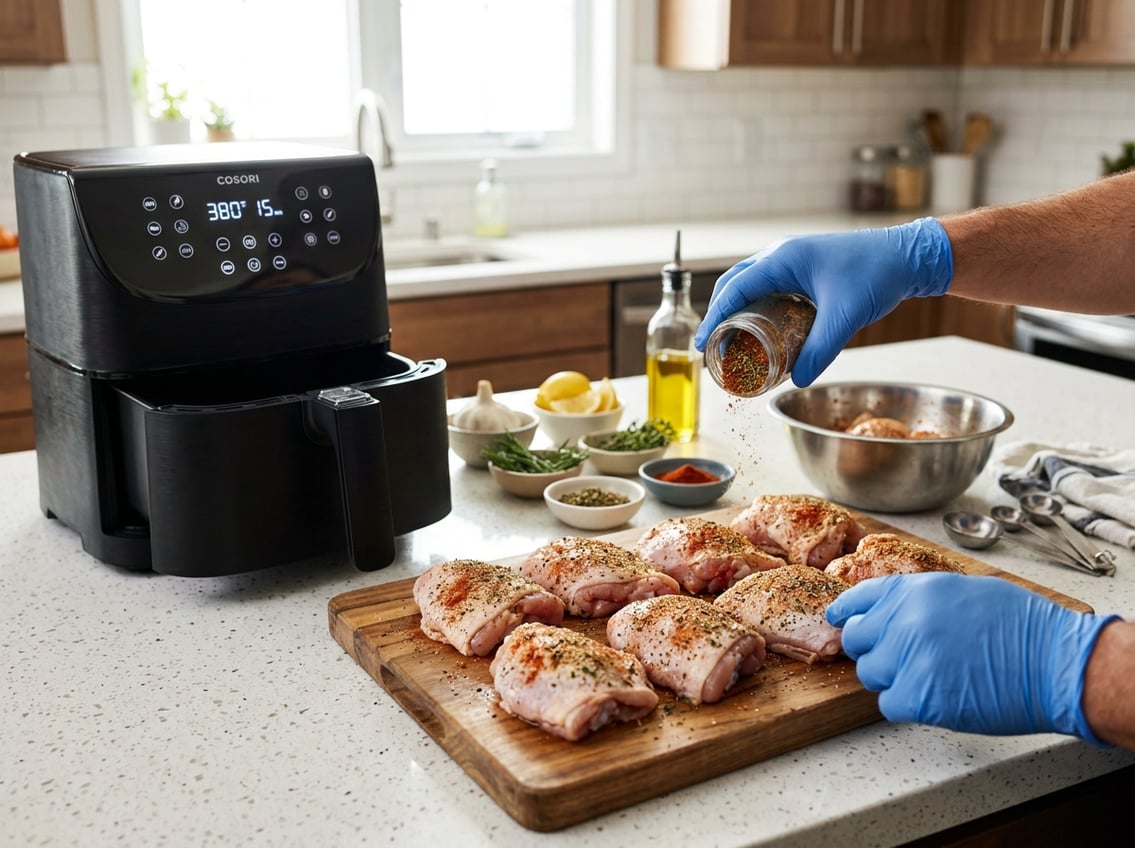
Use skin-on, preferably bone-in thighs, season them well, and cook at a high temperature (around 380–400°F) until the internal temperature reaches 165°F, flipping once for even crisping.

Start with the right cut and a reliable thermometer, and you’ll turn out consistent, restaurant-quality air fryer chicken every time.
Selecting and Preparing Chicken Thighs
Choose the cut and prep steps that match your time, texture, and crispiness goals.
Focus on whether you want faster cooking, maximum juiciness, or the crispiest skin to guide your decisions.
Choosing Between Bone-In and Boneless Thighs
Bone-in chicken thighs take longer to cook but deliver deeper flavor and more even moisture around the bone.
Plan for roughly 18–22 minutes total at 400°F (205°C) in most air fryers, flipping once; use an instant-read thermometer and aim for 175°F (79°C) in the thickest part near the bone for best texture.
Boneless chicken thighs cook faster—often 12–16 minutes at 400°F—and are easier to cut and portion.
They work well for quick weeknight meals, sandwiches, or recipes where a uniform thickness matters.
If using boneless thighs, pound them to even thickness only if pieces vary significantly; this prevents overcooking thin edges.
Choose bone-in for richer mouthfeel and more tolerance for timing.
Choose boneless for speed, convenience, and consistent slices.
Skin-On vs. Skinless Options
Skin-on chicken thighs deliver the crispiest exterior in the air fryer because hot circulating air renders fat and browns the skin.
If crisp skin matters, leave the skin on and dry-brine with kosher salt and a small amount of baking powder to accelerate browning and texture development.
Skinless thighs reduce fat and crispiness but still stay juicy if you avoid overcooking.
They brown more than chicken breast but won’t form a crunchy crust.
Brush with a thin coating of oil and a flavorful rub or marinade to promote even browning and add surface flavor.
Pick skin-on when you want texture and visual appeal.
Pick skinless when you need lower fat, quicker marinades, or a smoother surface for sauces.
Trimming, Drying, and Handling Chicken
Trim excess fat and loose skin, especially around the cavity or ragged edges, so pieces sit flat in the air-fryer basket and cook evenly.
Remove any stray bone shards or cartilage from bone-in thighs to prevent uneven cooking or tearing the skin during crisping.
Pat thighs thoroughly with paper towels to remove surface moisture; dryer skin crisps faster.
If time allows, salt the thighs and refrigerate uncovered on a rack for 1–24 hours to dry-brine; this firms the skin and improves flavor penetration.
Handle raw chicken on a clean surface and wash or sanitize utensils and cutting boards afterward.
Use an instant-read thermometer rather than timing alone to confirm doneness, and let thighs rest 5–10 minutes before serving to redistribute juices.
Essential Seasonings and Flavor Additions
Choose seasonings that balance savory, smoky, and aromatic notes while matching the cooking time and skin crisping of the air fryer.
Use a dry rub for quick prep and a short marinade when you want deeper flavor; always pat skin dry before seasoning for best crispness.
Basic Spices: Paprika, Garlic Powder, and More
Start with a base of paprika and garlic powder.
Paprika adds color and mild sweet-smoke, while garlic powder gives steady savory depth without burning.
Add salt and freshly ground black pepper to enhance flavor; use about 1 tsp salt per pound of chicken as a guideline.
Include onion powder for umami and a pinch of brown sugar for caramelization if you like a lightly sweet crust.
For herbs, sprinkle dried thyme or Italian seasoning (a blend of oregano, basil, rosemary) to introduce herbal notes that stand up to high heat.
Keep the layer light so the skin crisps instead of steaming.
Apply spices directly to dry skin or mix with a tablespoon of oil to help them adhere.
Use a meat thermometer to confirm doneness at 165°F (74°C).
Popular Dry Rub and Marinade Ideas
For a simple dry rub, mix 1 tbsp paprika, 1 tsp garlic powder, 1 tsp onion powder, 1 tsp salt, ½ tsp black pepper, and ½ tsp brown sugar.
Rub under and over the skin for even flavor.
This cooks well at 375–380°F and crisps the skin.
For a quick marinade, whisk 3 tbsp olive oil, 2 tbsp soy sauce, 1 tbsp lemon juice, 2 minced garlic cloves, and 1 tsp Italian seasoning.
Marinate 30 minutes to 2 hours in the fridge.
Pat skin dry before air frying to avoid sogginess.
For Cajun-style thighs, combine 1 tbsp Cajun seasoning, 1 tsp paprika, and ½ tsp garlic powder.
That blend gives heat and smoke without extra steps.
Use single-layer cooking to preserve the rub’s texture.
Creative Seasoning Variations
Try a citrus-herb finish by zesting one lemon into the dry rub and adding 1 tsp chopped fresh rosemary for bright, aromatic notes after cooking.
Citrus helps cut richness from dark meat.
For an Asian-inspired profile, mix 1 tbsp hoisin or soy, 1 tsp sesame oil, ½ tsp garlic powder, and 1 tsp grated ginger; brush on in the last 5 minutes to avoid burning.
This adds glaze and umami without causing bitter charring.
If you want bold heat, pair Cajun seasoning with smoked paprika and a dash of cayenne.
For milder, Mediterranean flavors, use Italian seasoning with lemon, garlic powder, and a light drizzle of olive oil.
Adjust salt, acid, and sugar to taste and always dry the skin before seasoning for optimal crispness.
Step-by-Step Air Frying Technique
Follow a few specific steps to get crispy, well-browned skin and a juicy interior.
You’ll prep the thighs, apply oil and seasoning, and arrange them so hot air circulates evenly for consistent doneness.
Preheating and Arranging Thighs in the Basket
Preheat your air fryer to 380°F (193°C) for 3–5 minutes for skin-on bone-in thighs.
Use 370°F (188°C) for boneless thighs.
Preheating shortens cook time and helps the skin start crisping immediately.
Pat thighs dry with paper towels to remove surface moisture.
If pieces vary in thickness, pound the thicker ones to match so they finish at the same time.
Arrange thighs in a single layer with about ½ inch (1 cm) between pieces.
Place thicker parts toward the outer edge of the basket where heat is often stronger.
Leave space above the basket if your model has a drawer-style fryer.
Applying Oil and Seasoning for Crispiness
Lightly coat thighs with 1–2 teaspoons of neutral oil per piece (avocado, canola, or light olive oil).
Use a refillable oil sprayer or brush for even coverage; don’t soak the skin.
Season immediately after oiling so rubs and spices adhere.
For a basic air fryer chicken thigh recipe, use kosher salt (about ¾–1 tsp per thigh), ½ tsp black pepper, and 1 tsp garlic powder.
Add smoked paprika or cayenne for color and depth.
If you want a dry-rub crust, press the rub into the skin with your fingertips.
For breaded air-fried chicken thighs, dredge in flour, egg wash, then panko.
Spray both sides lightly with oil to promote browning.
Single Layer Placement and Batch Cooking Tips
Cook in single layers only; stacking traps steam and yields soggy skin.
If cooking more than two to four thighs at a time, plan batches.
Most mid-size air fryers cook 4–6 bone-in thighs per batch.
Use the recommended times: bone-in thighs about 18–22 minutes at 380–400°F, flipping once at the halfway mark; boneless thighs 15–18 minutes at 370–380°F.
Always check internal temperature with an instant-read thermometer inserted into the thickest part; target 165°F (74°C).
Keep finished batches warm on a wire rack in a low oven (200°F/93°C) if needed.
Let thighs rest 3–5 minutes before serving to let juices redistribute and reach final safe temperature.
Optimizing Cook Time and Temperature
Adjust time and temp for the cut and thickness.
Always verify internal temperature, and allow a short rest to let juices redistribute and skin crisp.
Small changes in temperature or flipping time affect crispness and juiciness more than long marinades.
How Long to Cook Chicken Thighs by Type
Bone-in, skin-on thighs need more time to cook through and crisp the skin.
Cook at 380–400°F for about 22–25 minutes, flipping at roughly the halfway point.
Thicker pieces or ones taken straight from the fridge may need an extra 2–4 minutes.
Boneless, skinless thighs cook faster because there’s no skin to crisp and less mass to heat.
Set the air fryer to 380–400°F and plan 18–20 minutes, flipping around minute 9 or 10.
For very thin boneless pieces, check at 14–16 minutes.
If you start from frozen, add about 8–10 minutes to the bone-in timing and flip once at the midpoint.
Always avoid overcrowding the basket.
Cook in batches so air circulates evenly and times above remain valid.
Checking Doneness with an Instant-Read Thermometer
Insert the thermometer into the thickest part of the thigh, avoiding bone contact.
Bone gives a falsely high reading.
Target 165°F (74°C) for safe chicken.
Read the temperature as soon as it reaches that point.
For bone-in thighs, probe near the center of the meat, not next to the bone.
For boneless thighs, aim for the thickest section.
If the temp is a degree or two under, return to the fryer for 2–3 minutes and recheck.
Use an instant-read (not oven) thermometer for speed and accuracy.
Clean the probe between checks.
Rely on temperature over color.
Juicy thighs can remain slightly pink near the bone but still be safe at 165°F.
Resting and Final Crisping Steps
Remove thighs at 165°F and rest them 3–5 minutes.
Resting lets juices redistribute and prevents immediate juice loss when cut.
Cover loosely with foil if you need to hold them for a short time.
If the skin needs extra crisp, return thighs to a preheated 400°F air fryer for 1–3 minutes skin-side up after resting.
Watch closely—this step is brief but effective.
For boneless, a 1–2 minute blast can improve surface browning without drying the meat.
Pat skin dry before cooking and avoid excess marinade on the surface; dry skin crisps faster.
Small adjustments—flip timing, a 5–10°F temp change, or a 1–3 minute crisping finish—give predictable results once you know your air fryer’s behavior.
Serving Ideas and Side Dishes
Air fried chicken thighs pair well with sturdy, flavorful sides that stand up to their crisp skin and concentrated juices.
Choose one starch, one vegetable or salad, and a bright sauce or condiment to balance richness.
Pairing With Vegetables, Salads, and Grains
Select vegetables that contrast texture and cut through fat.
Roasted Brussels sprouts, charred broccolini, or pan-sautéed green beans provide crispness; toss with lemon and a little chili for brightness.
For grains, quinoa pilaf, herby couscous, or garlic mashed potatoes match the thigh’s savory depth and soak up pan juices.
Make salads fresh and bold.
A peppery arugula salad with shaved fennel and lemon vinaigrette or a crunchy cabbage slaw with apple cider vinegar adds acidity and crunch.
Add a warm element like blistered cherry tomatoes or grilled romaine for temperature contrast.
Consider simple finishing condiments.
Spoon chimichurri, harissa yogurt, or a lemon-garlic butter over the thighs just before serving.
These add herbs, heat, or acidity without masking the air fryer’s crisp finish.
Using Leftover Air Fried Chicken Thighs
Turn cold or reheated air fryer chicken thighs into quick meals that keep their texture. Slice the thigh and toss it into grain bowls with warm farro, roasted vegetables, a soft-cooked egg, and a drizzle of tahini.
The thigh’s fat flavors the grains. Shred leftovers for tacos or sandwiches.
Briefly warm the meat in a skillet with a splash of stock or salsa to revive juiciness. Pile the chicken into tortillas with pickled onions and cilantro.
Add chopped thigh to a tomato or white-bean broth near the end of simmering. The chicken heats through without falling apart.
Reheat in the air fryer at 350°F (175°C) for 4–6 minutes to restore crisp skin. If you use the microwave, cover the chicken with a damp paper towel and expect softer skin.
Storing and Reheating Air Fryer Chicken Thighs
Refrigerate cooked thighs within two hours. Use airtight containers or vacuum seal bags for longer storage.
Label with the date and separate skin-side up if you want to re-crisp the skin later.
Best Methods for Refrigerating and Freezing
Place thighs in an airtight container within 2 hours of cooking. Eat within 3–4 days.
Arrange thighs skin-side up in a single layer so steam doesn’t soften the skin. If you need to stack, place parchment between layers to protect the crust.
For longer storage, freeze on a tray for 1–2 hours until firm. Move the thighs to freezer bags or vacuum seal.
Remove as much air as possible and label with the date. Frozen cooked thighs keep best for 2–3 months for quality.
Thaw frozen thighs in the refrigerator overnight. Do not thaw at room temperature to reduce bacterial risk.
If you need to thaw quickly, use the microwave’s defrost setting or submerge sealed bags in cold water, changing the water every 30 minutes until pliable.
Reheating for Maximum Crispiness
Set your air fryer to 350–400°F (175–205°C) and preheat for 3–5 minutes. Place thighs skin-side up in a single layer and cook for 6–12 minutes, depending on size and starting temperature.
Flip once if needed. Use an instant-read thermometer to check for an internal temperature of 165°F (74°C).
If refrigeration softens the skin, start at 375°F for 4–6 minutes to restore crispness. Increase to 400°F for 2–4 minutes to finish.
For thick pieces, tent loosely with foil after crisping and lower the heat. This helps avoid over-browning while you bring the center to temperature.
Avoid microwaving, as it heats unevenly and makes the skin soggy. Use tongs to handle hot thighs and let them rest for 2–3 minutes before serving.


