
How Long to Cook Chicken Thighs in Aga: Timing, Tools, and Tips
If you want perfectly juicy, crispy chicken thighs from your AGA, aim for about 35–45 minutes in the roasting oven for bone-in, skin-on thighs, checking for an internal temperature of 74°C (165°F).
Aim for 35–45 minutes in the AGA roasting oven for bone-in, skin-on thighs, or until they reach 74°C (165°F) internally.

Timing shifts with thigh size, AGA oven type, and whether you use breasts or slow-cooked legs.
You’ll find guidance on prep, essential equipment, step-by-step method, and flavor ideas for a successful roast.
Key Timings and Temperature Guidance

Control doneness by using the right oven zone, timing, and an accurate meat thermometer.
Target specific internal temperatures and adjust for your AGA model to avoid dry or undercooked thighs.
Standard Cooking Times for Bone-In Thighs
For a typical AGA roasting oven, cook bone-in, skin-on chicken thighs for about 35–45 minutes.
Use a tray that allows air to circulate and avoid overcrowding; leave at least 1 inch (2.5 cm) between pieces.
Smaller thighs (4–6 oz / 115–170 g) cook faster, while larger pieces (8 oz / 225 g and up) need the full 45 minutes or a bit more.
If you start thighs on the simmering oven to render fat, then transfer to the roasting oven, reduce roasting time by 5–10 minutes.
Check the thickest part near the bone before serving.
Internal Temperature Targets
Aim for an internal temperature of 175–185°F (80–85°C) measured in the thickest part, not touching bone.
This ensures connective tissue breaks down for tender, juicy dark meat.
If you prefer the minimum safe temperature, 165°F (74°C) is the USDA minimum, but thighs become more tender at a higher range.
Use an instant-read meat thermometer and check several thighs if sizes vary.
Let cooked thighs rest 5–10 minutes; carryover cooking can raise the internal temperature by a few degrees.
Adjustments for Different Aga Cooker Models
Classic heat-storage AGAs run hotter in the roasting oven than newer electric or programmable models.
On a traditional 3-oven AGA, the roasting oven behaves like ~400°F (200°C); use the 35–45 minute guideline but check early.
On modern AGA Total Control models, follow the set roast program and confirm doneness with a thermometer.
If your AGA has a slower roasting tray or you use the simmering oven first, add 5–10 minutes to the roasting time.
For high-altitude kitchens or crowded trays, increase time and check temperature.
Always prioritize the meat thermometer reading over clock time.
Selecting and Preparing Chicken Thighs
Choose thighs with good color, firm flesh, and intact skin for crispy results.
Trim excess fat, season simply, and consider adding aromatics to boost flavor.
Choosing Free Range Chicken
Buy thighs labeled “free range” or from a trusted butcher for better texture and flavor.
Free range thighs often have firmer meat and deeper color, which helps them hold up to high, dry heat in an AGA.
Check packaging for sell-by dates and avoid thighs with a strong odor or slimy texture.
Look for evenly sized pieces so they cook at the same rate.
Boneless thighs should be similar in thickness to prevent overcooking.
If you prefer skin-on thighs, make sure the skin covers the meat evenly for crisping.
Bone-in, skin-on thighs give more flavor for braising or slow cooking; boneless thighs roast quickly and evenly.
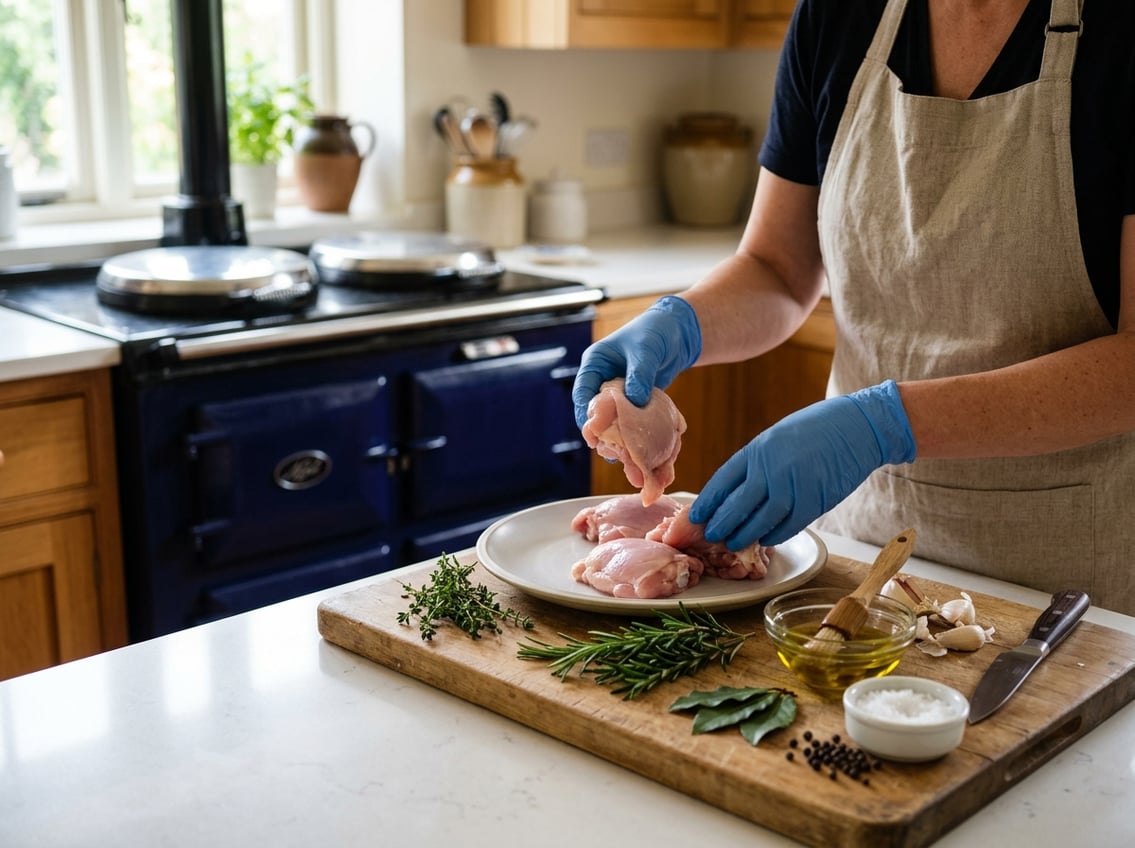
Trimming and Seasoning Techniques
Pat thighs dry with paper towels to help skin crisp and let seasonings stick.
Trim excess fat and loose skin; leave a thin fat layer for flavor and moisture.
Season with salt and black pepper, then rub with a little oil.
Add chopped thyme and a pinch of crushed garlic for aromatics.
Scatter chopped parsley over finished thighs or mix into a marinade for brightness.
Season at least 20–30 minutes before cooking, or up to overnight in the fridge.
Bone-in pieces need slightly more seasoning than boneless.
Stuffing and Aromatics for Extra Flavor
Tuck a few onion wedges and thyme sprigs under skin or around the joint for extra flavor.
The onions release moisture and sweetness during roasting.
For stuffed thighs, use compact fillings like a sage-parsley breadcrumb mixture or herbed goat cheese.
Secure stuffing with a toothpick.
Avoid bulky, wet fillings that increase cooking time.
Place herbs and onions on the same shelf but not on top of thighs for even air circulation and browning.
Essential Aga Roasting Equipment
Choose tools that give even heat, steady browning, and make turning or resting the thighs easy.
Use a robust roasting tin or good-quality cast iron, a half size Aga roasting tin for smaller portions, and a non-stick layer like Bake-o-Glide for easy cleanup and crisp bases.
Benefits of Cast Iron and Aga Roasting Tins
Cast iron and heavy-duty roasting tins retain and radiate heat evenly.
This helps thighs cook through without drying out.
Cast iron smooths temperature swings in the oven, so the skin crisps while the meat stays juicy.
The metal holds high surface heat, giving better browning.
Heavy tins reduce hot spots compared with thin pans.
Choose a tin with a low rim for good air circulation.
A tight-fitting roasting tin helps collect pan juices for gravy, while an open tray gives better evaporation for crispy skin.
Using Half Size Aga Roasting Tin and Bake-O-Glide
A half size Aga roasting tin fits neatly on the oven runners and suits 2–4 chicken thighs or a small joint.
Its size concentrates heat under the meat so juices caramelize and drip into the base.
Line the tin with Bake-o-Glide or high-temperature release paper to prevent sticking and make cleanup quicker.
Bake-o-Glide reduces the need for added fat, helping skin render and brown.
Place thighs skin-side up and avoid overlapping pieces.
Check the paper for scorching on very high settings and replace if it darkens.
Placement in the Roasting Oven
Position the tin on the middle or lower runners for steady, even heat.
Middle runners balance top and bottom browning; lower runners suit ovens where radiant heat concentrates near the base.
For stronger browning, move the tin up in the oven for the last 10–15 minutes.
Turn the thighs once if your tin is deep, or rotate the tin halfway through for even color.
Leave space between pieces for air circulation.
Check internal temperature with a probe rather than relying only on timing.
Step-by-Step Aga Roasting Method for Chicken Thighs
Focus on tempering the thighs, choosing the correct runner or shelf, and using a thermometer for a juicy finish.
Prepare a lined roasting tin, arrange aromatics if using, and monitor internal temperature.
Room Temperature and Prepping the Tin
Take the thighs out of the fridge 20–30 minutes before cooking.
Pat the skin dry with paper towels, then season with salt and pepper.
Add a light drizzle of oil if your thighs are skinless.
Line a half-size Aga roasting tin with Bake-o-Glide or parchment.
Spread a single layer of sliced onions or halved garlic cloves across the base.
The onions protect the meat from direct contact with the tin and add flavor to the juices.
Leave 2–3 cm between pieces for air circulation.
Preheat the roasting oven runners you plan to use so the tin slides in hot.
Oven Positioning and Cooking Sequence
Use the roasting oven’s lower runners (cast oven) or the R6 setting for steady, radiant heat.
Place the tin on the third set of runners for even exposure.
Slide the tin in and roast thighs skin-side up for the first 20–30 minutes to render fat and crisp skin.
Check color and rotate the tin if one side browns faster.
Continue roasting for another 15–25 minutes depending on thigh size.
Typical total time ranges from 35–55 minutes in an Aga roasting oven.
Check doneness with a meat thermometer in the thickest part.
Remove when the thermometer reads 74°C (165°F) and the juices run clear.
For crispier skin, move the tin to a hotter runner for the last 5 minutes.
Resting and Carving Guidance
Transfer the thighs to a warm plate and cover lightly with foil.
Rest for 5–10 minutes to let juices redistribute.
While thighs rest, make a quick gravy with pan juices and roasted onions.
Skim excess fat, deglaze with stock or wine, and reduce.
Carve or separate thighs from bone by cutting through the joint.
Serve immediately while still warm.
Enhancing Flavor: Herbs, Seasonings, and Aromatics
Use salt and black pepper as your baseline.
Build layers with fresh herbs and aromatics, and add vegetables to flavor and protect the thighs.
Focus on simple combinations like thyme, parsley, and sliced onions.
Layering Herbs and Vegetables
Pat thighs dry, then season with salt and freshly ground black pepper.
Tuck thyme sprigs under the skin and scatter chopped parsley over the surface.
Place a bed of sliced onions and halved garlic cloves in the roasting tin.
They add flavor and lift the thighs off the metal for even cooking.
Add carrot or celery chunks for extra sweetness and moisture if you like.
Let seasoned thighs rest 20–30 minutes at room temperature before cooking.
Classic Aga Recipe Inspiration
Rub thighs with olive oil, salt, pepper, minced garlic, and chopped thyme.
Arrange thighs skin-side up on an ovenproof tray atop sliced onions.
Set the Aga roasting oven to medium-high and cook until the internal temperature reaches 74°C (165°F) and the skin crisps.
Spoon pan juices and softened onions over the thighs after resting 5–10 minutes.
Finish with chopped parsley for color and fresh herb brightness.
Tips for Crisp Skin and Juicy Meat
Dry skin and a hot surface produce crispness.
Dry thighs well and avoid overcrowding the tray.
Start skin-side down briefly on a preheated hotplate or roasting surface to render fat.
Transfer to the Aga roasting oven skin-side up to finish cooking.
Season under the skin with salt, pepper, and thyme.
Use onions and a low rack position to trap steam and keep meat moist.
Check temperature with an instant-read thermometer.
Rest the thighs 5–10 minutes before serving.
Perfect Roast Dinner Sides and Serving Tips
Plan sides that match the chicken’s cooking temperature and flavor.
Prepare a simple gravy from the pan juices.
Time vegetables to finish when the thighs rest, and include a bright element like acid or herbs to balance the richness.
Pairing with Vegetables and Gravy
Parboil roast potatoes, rough up the edges, then roast them at the AGA roasting temperature alongside the chicken for 40–60 minutes until they turn crisp and golden.
Use goose or olive oil and toss the potatoes with rosemary and salt before roasting.
Cut carrots, parsnips, and fennel into uniform pieces. Coat them lightly with oil and roast them in a separate tray so their sugars caramelize without burning.
Prepare buttered kale, steamed green beans, or sautéed Brussels sprouts to add color and texture. Cook these last and hold them briefly; they reheat in residual oven warmth.
Deglaze the roasting tin with white wine or stock and scrape the brown bits.
Reduce the liquid, then whisk in a knob of butter or swirl in a little cream for sheen. Strain the gravy if you want a smooth finish.
Ideas for Roast Chicken Variations
For a lemon-thyme roast, tuck halved lemons and thyme sprigs under the skin of the thighs before roasting in the AGA. The oils from the lemon and thyme baste the meat and brighten the flavor.
To make garlic-butter spatchcock, flatten thighs or use bone-in split pieces. Rub them with garlic butter and roast on the hotplate for faster, even browning.
This method creates crisp skin and keeps the meat juicy.
For a spiced and smoky version, rub thighs with smoked paprika, cumin, and a touch of brown sugar. Roast on the AGA roasting shelf and serve with a yogurt-cucumber sauce.
Serve roast chicken with pan gravy, chimichurri, or a simple pan jus. Finish with chopped parsley or lemon zest for freshness.


