
Do You Cook Chicken Breast Up or Down? Best Method
Cook chicken breast up or down based on the result you want. For most roasting jobs, breast side up is the best default.
That position gives you a familiar presentation and helps the top brown well. It also makes it easier to monitor doneness.

If you roast a whole bird, breast side up is usually the standard choice. If you want extra moisture in the breast, start breast side down for part of the cook so juices move toward the breast.
The answer depends on whether you are cooking a whole chicken or a single baked chicken breast. The position changes how heat hits the meat, how the skin browns, and how much moisture stays inside.
The Short Answer: Which Side Works Best
For most roasting chicken breast setups, start with chicken breast side up. This method gives you a neat finish and good browning on top.
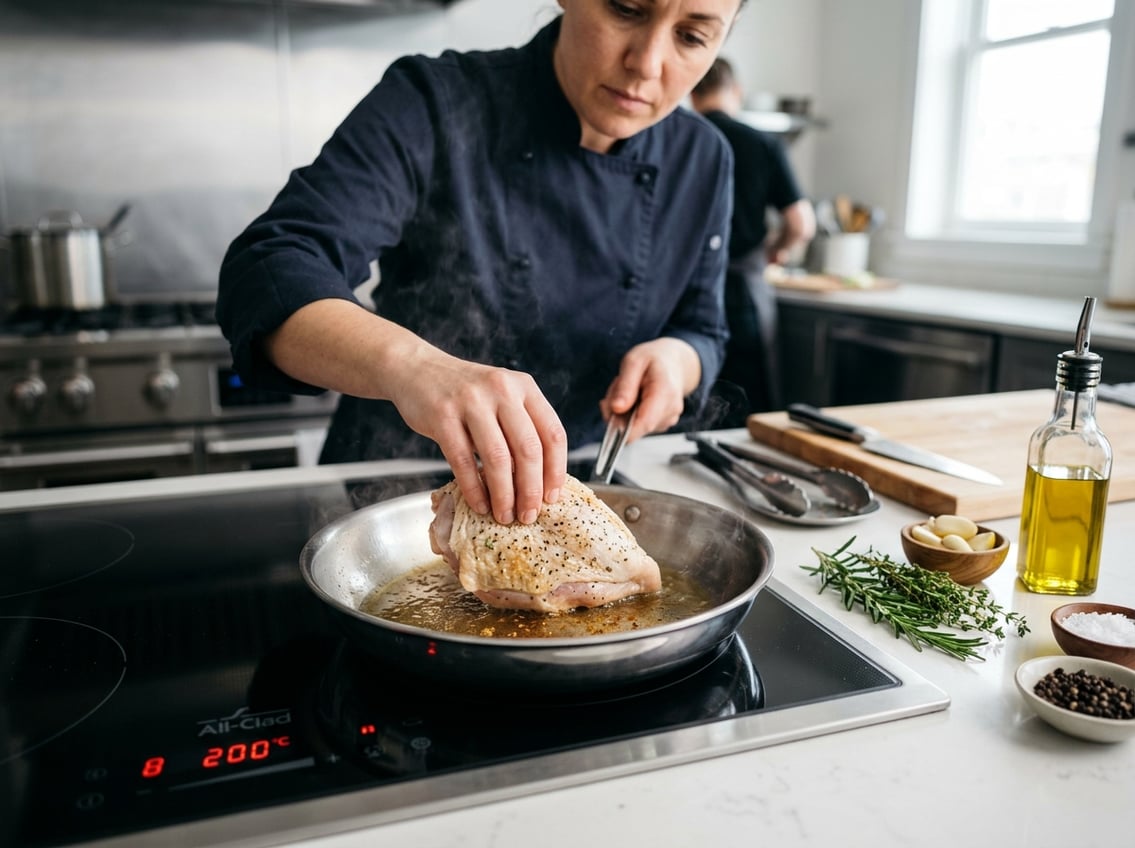
For a baked chicken breast piece, focus on even heat, proper timing, and internal temperature.
Why Breast Side Up Is Usually Best for Roasting
When you cook chicken breast up, you can season, check, and serve the breast more easily. It also gives you the classic roasted look.
This method is useful if you want the skin on top to brown well. Breast-up roasting supports even cooking and a good presentation.
When Breast Side Down Makes More Sense
Chicken breast side down helps if your main goal is moisture. The breast gets less direct oven heat, and juices from the thighs and legs drip toward the breast.
You can roast breast side down for part of the cook, then flip near the end for browning.
Whole Bird vs. Baked Chicken Breast Pieces
A whole chicken and a single breast need different approaches. A whole bird needs balanced heat flow and skin browning across different cuts.
A lone chicken breast is usually placed in the pan based on recipe direction. The main concern is avoiding overcooking the lean meat.
How Position Affects Moisture, Skin, and Even Cooking
The position you choose changes how heat moves through the bird. It also affects how much fat renders and how the skin turns out.
What Happens to Juices During Cooking
When you cook chicken breast in a breast-down position, juices and rendered fat move toward the breast. This can help the breast stay moist during roasting.
When you roast breast side up, the breast is more exposed to dry oven heat. This method works well as long as you do not overcook it.
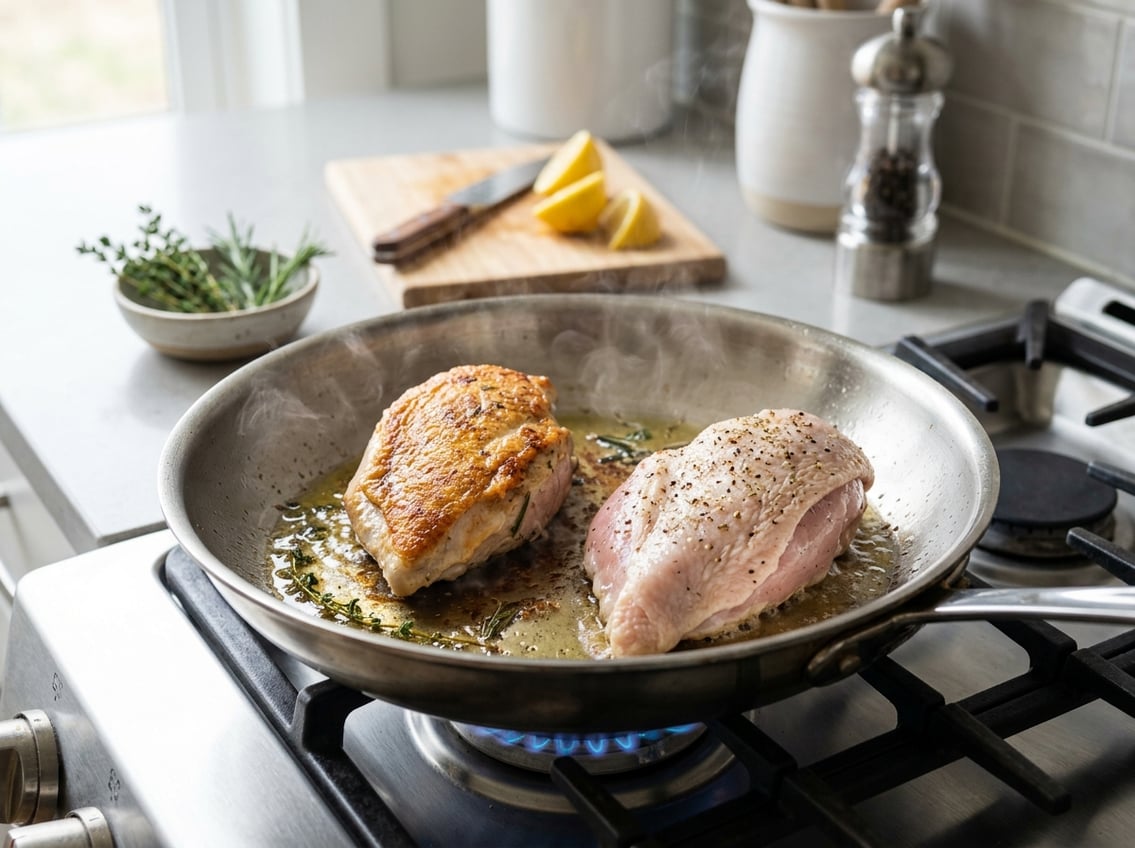
Crispy Skin vs. Juicier Meat
Breast side up gives you better browning on the top skin. If crispy skin matters most, this is the easier method.
Breast side down can lead to a juicier breast, especially during the first part of roasting. Some cooks flip the bird near the end so the skin can crisp.
How Heat Reaches the Breast and Thighs
In a whole chicken, the breast is lean and cooks faster than the thighs. Roasting chicken can feel tricky since you want both parts to finish at the same time.
Breast side up exposes the breast to direct oven heat. Breast side down gives the thighs more direct contact with heat while shielding the breast.
Best Practices for Roasting and Baking
You get better results when you match oven temperature, timing, and pan setup to the cut you are cooking. The right method helps both baked chicken breast and whole roasting chicken breast turn out moist and safe.
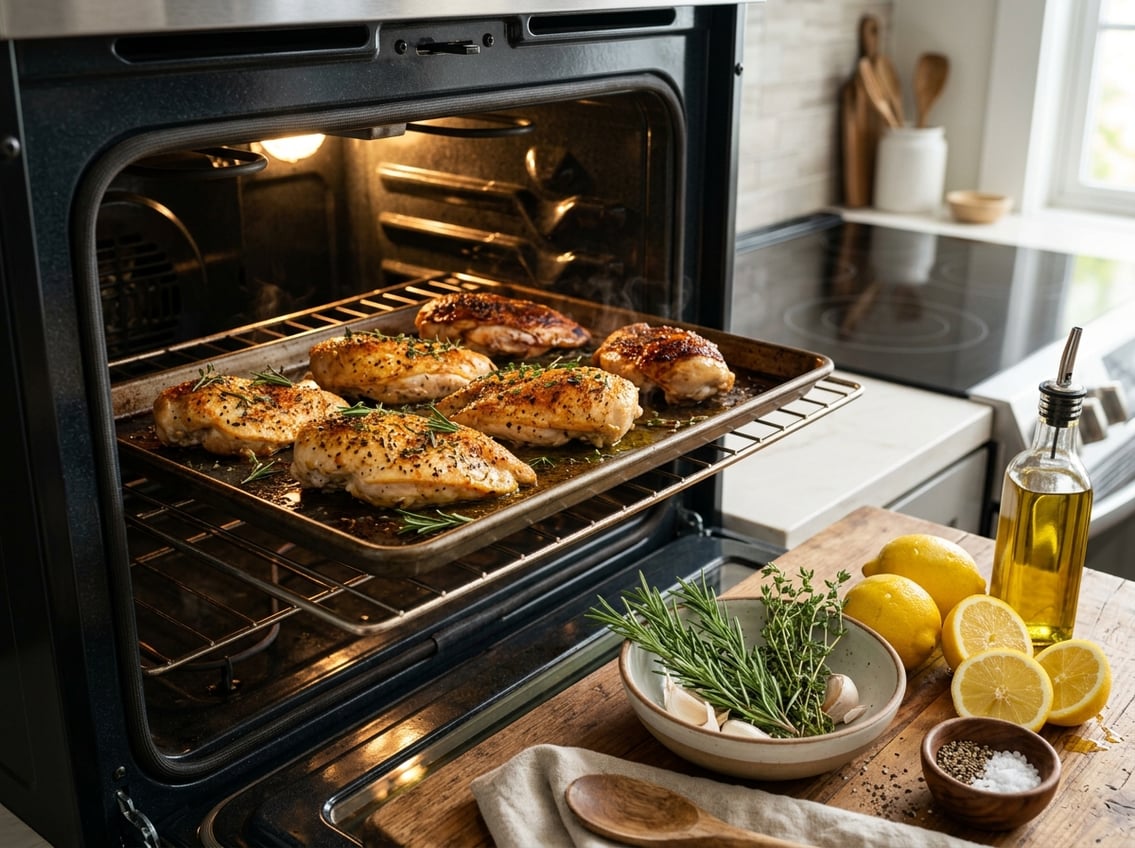
Ideal Oven Temperature and Timing
For a whole bird, use moderate heat so the outside browns without drying the breast. For boneless breasts, higher heat for a shorter time can work well.
Allrecipes recommends roasting at 450 F for 15 to 18 minutes or baking at 375 F for 30 to 35 minutes. Your timing depends on size, whether the meat is boneless, and if the bird starts cold or at room temperature.
Using a Thermometer for Perfect Doneness
A thermometer is the best tool for safe, juicy chicken. Check the thickest part of the breast and avoid touching bone.
Chicken should reach 165 F in the breast. Pulling it at the right temperature matters more than whether you started with the breast up or down.
When to Flip and When to Leave It Alone
If you want a moister breast and you are roasting a whole bird, start breast side down and flip later. That gives the breast a protected start and a browned finish.
If you are baking pieces, leave them alone unless the recipe says to turn them. Too much flipping can tear the skin and slow browning.
Common Mistakes That Dry Out Chicken
Dry chicken usually comes from simple mistakes, not just one cooking position. If you avoid these errors, your baked chicken breast or roasted bird has a much better chance of staying tender.
Overcooking the Breast
The breast is lean, so it dries out faster than darker meat. If you wait too long to pull it, the meat tightens and loses juice.
A thermometer helps more than guessing by time alone.
Skipping Rest Time
After cooking, the juices need a few minutes to settle back into the meat. If you cut too soon, they run out onto the board instead of staying in the chicken.
Resting also makes slicing cleaner. Give the chicken a short rest before carving or serving.
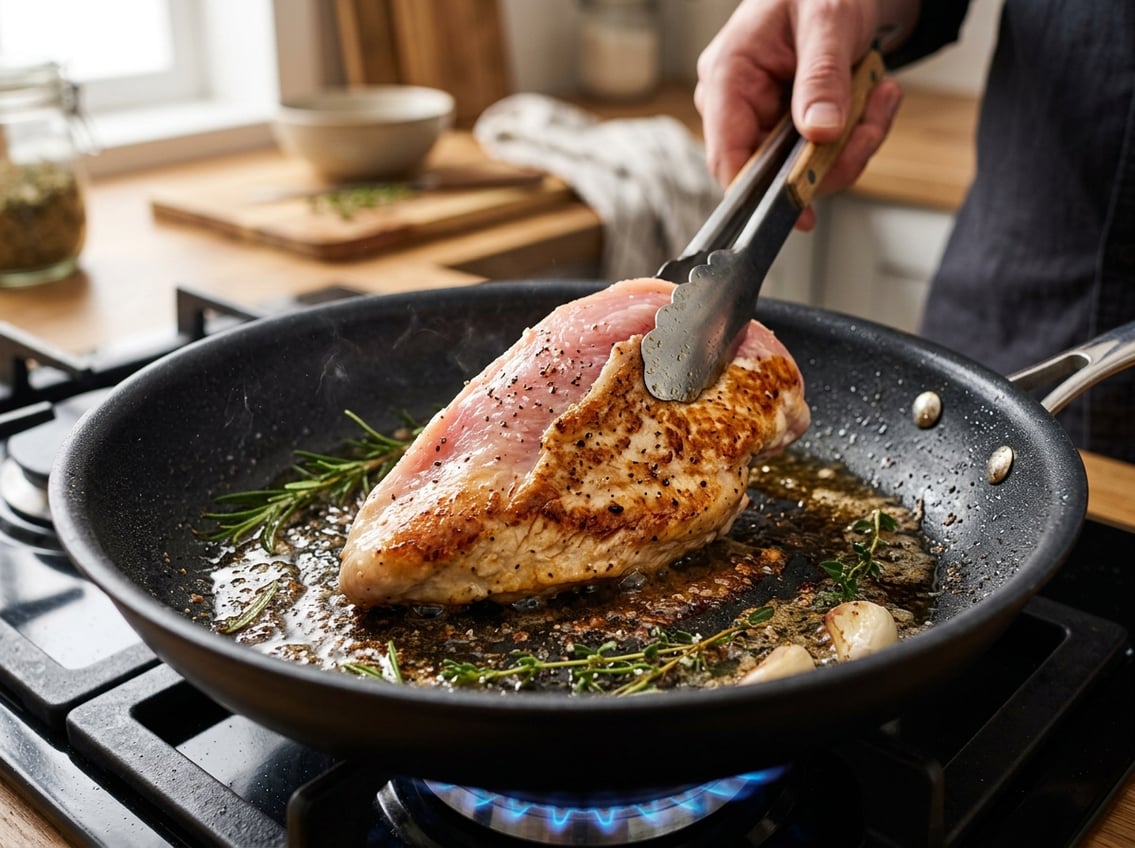
Not Drying or Seasoning the Skin Properly
Wet skin browns poorly. For better color and texture, pat the skin dry before seasoning.
Salt, pepper, and a little oil help the skin crisp more evenly when you cook chicken breast side up. If the skin is wet or crowded in the pan, it steams instead of roasts.


