
Do I Cover Chicken Breast in Oven? Best Method
If you ask whether to cover chicken breast in the oven, the answer depends on your goal. Covering helps keep the meat moist, while baking uncovered gives you more browning and a firmer exterior.
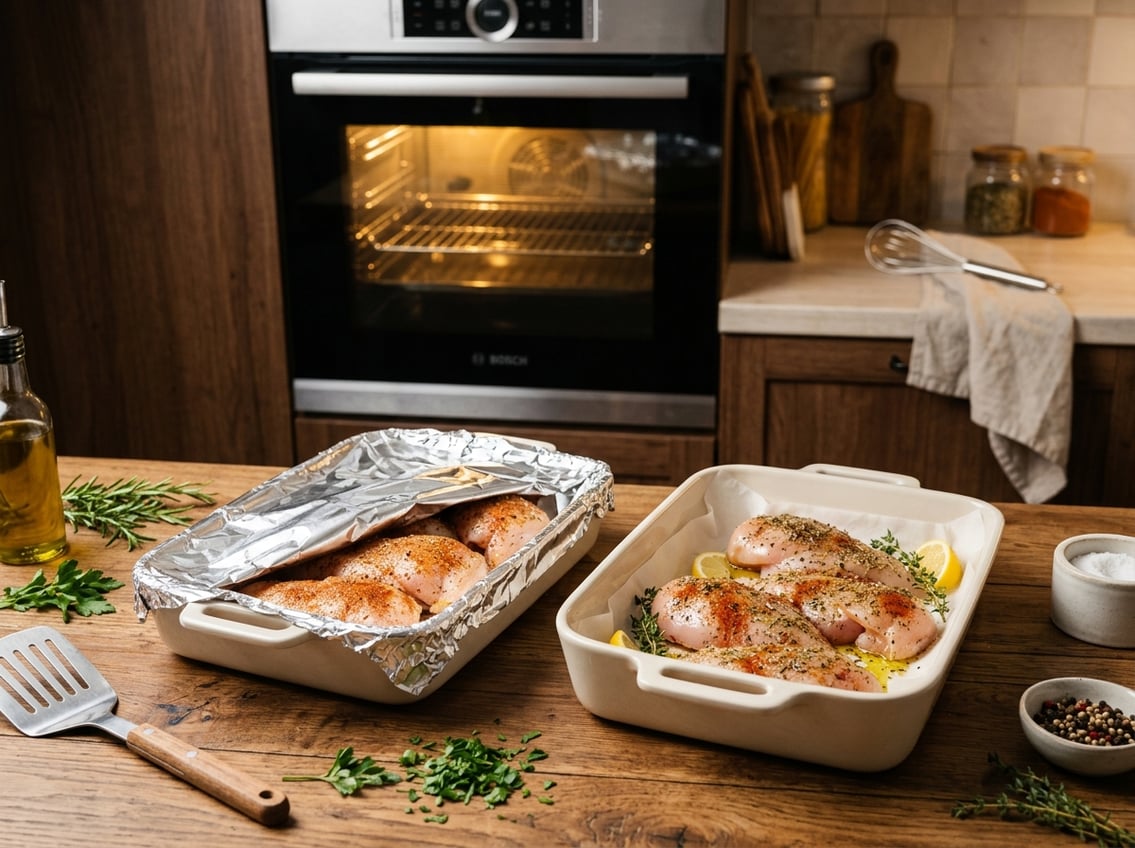
The most reliable approach is to cover the chicken breast first to protect the meat. Then, uncover it near the end to finish the color.

Chicken breast dries out easily because it is lean. That is why the choice to cover or leave it open matters.
If you want juicy chicken breast with good color, match your oven method to the cut, thickness, and whether the chicken has sauce or a coating. Small changes can make the difference between dry and tender meat.
The Short Answer
You can cover chicken breast when baking, bake it uncovered, or do both in one recipe. The right choice depends on whether you care more about moisture, browning, or a balance.
Covering protects the chicken from drying out. Baking uncovered gives you more browning and a firmer surface.
When Covering Makes Sense
Cover the chicken breast if it is thin, lean, or baked with little added fat. Covering also helps when you use a sauce, broth, or marinade that you want to keep close to the meat.
When Baking Uncovered Works Better
Bake chicken uncovered when you want a drier surface that browns more easily. This works well for lightly oiled chicken or recipes that need a roasted finish.
Why the Hybrid Method Works Well
A hybrid method gives you both benefits. Cover the chicken early to trap steam, then uncover near the end for color and texture.
How Each Method Changes Moisture, Texture, and Browning
Covering and uncovering change how heat and steam move around the meat. This affects juiciness, the feel of the outer layer, and how much color you get.
How Covering Traps Steam and Prevents Dryness
When you cover chicken, steam stays in the dish longer. That extra humidity slows surface drying and helps keep the chicken juicy during baking.
This works well for boneless, skinless breasts, which can dry out fast in a hot oven. Covering also helps if your chicken is sauced or sitting in liquid.
How Uncovered Baking Improves Color and Texture
Baking uncovered lets moisture escape from the surface. This gives you better browning and a more roasted texture, especially with a little oil or butter.
The tradeoff is that exposed chicken can lose moisture faster. Timing becomes more important when you bake uncovered.
Tradeoffs Between Tender Meat and a Crisp Finish
You usually cannot maximize both tenderness and browning at the same time. Covering protects the meat, while baking uncovered improves the outside.
A short covered start, followed by an uncovered finish, keeps the center moist and still gives the top a better color.
How to Choose the Right Approach
Let your recipe guide the method. The cut of chicken, added liquid, oven heat, and thickness all affect whether you should cover or leave it open.
Boneless Skinless Breasts vs. Bone-In Cuts
Boneless, skinless breasts dry out faster, so they benefit from being covered at least part of the time. Bone-in cuts hold moisture better and can handle longer uncovered baking.
If you are cooking very lean boneless breasts, a covered start is usually safer. If the chicken has skin, uncovered baking helps the skin render and brown.
When Sauce, Broth, or Marinade Changes the Decision
If your chicken sits in sauce or broth, covering helps the liquid stay hot and steamy. That keeps the meat moist and prevents the sauce from reducing too fast.
A marinade adds surface moisture and flavor. In that case, uncovered baking can still work if you pat the chicken lightly and oil the top before it goes in the oven.
A basic oven method with a thermometer is recommended in this guide to baking chicken breast.
How Oven Temperature and Breast Thickness Affect Results
Thicker breasts need more time, which raises the risk of drying out. Lower or moderate heat gives you more control, especially when the pieces are uneven in size.
At higher heat, uncovered chicken browns faster, so you need to watch it closely. If the thickest part is still far from done, covering can help the outside avoid overcooking before the center is safe.
Best Baking Method
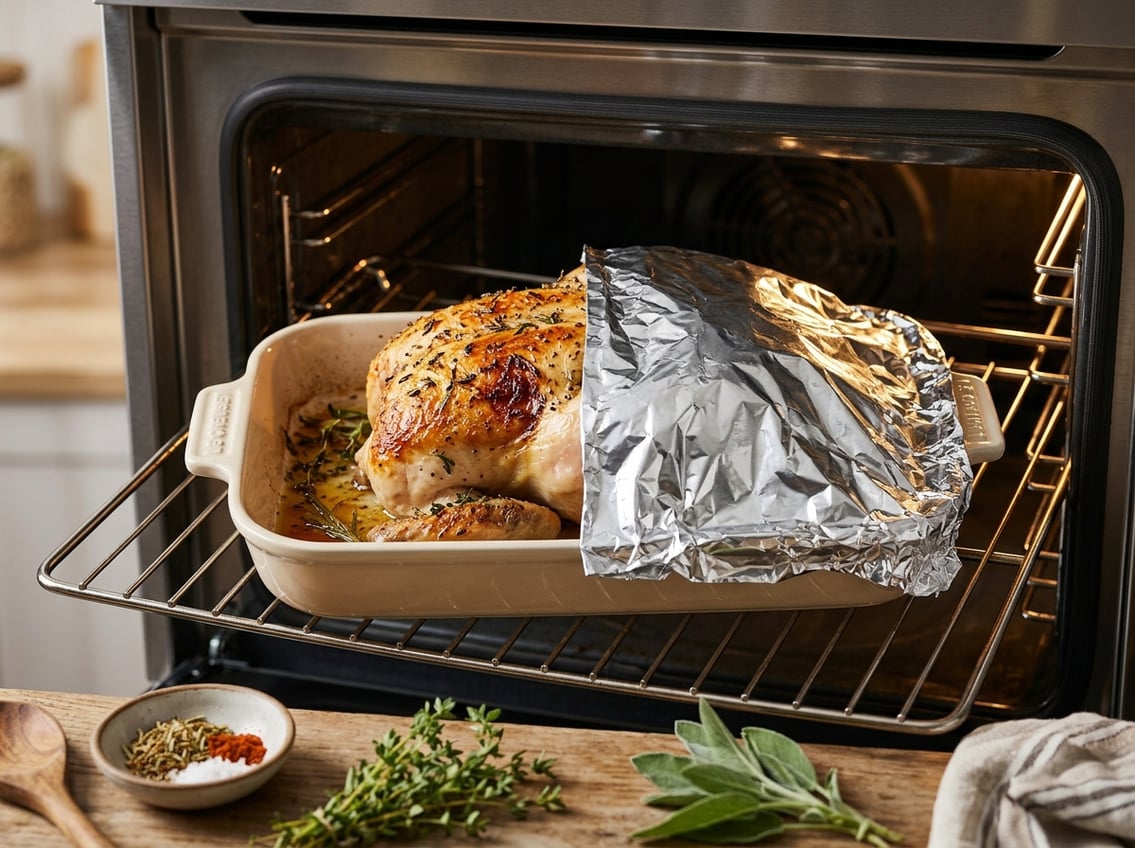
Start covered, then uncover near the end. This gives you a better chance of getting juicy chicken breast with a nicely cooked surface.
Step-by-Step Hybrid Oven Method
- Preheat the oven to 375°F to 400°F.
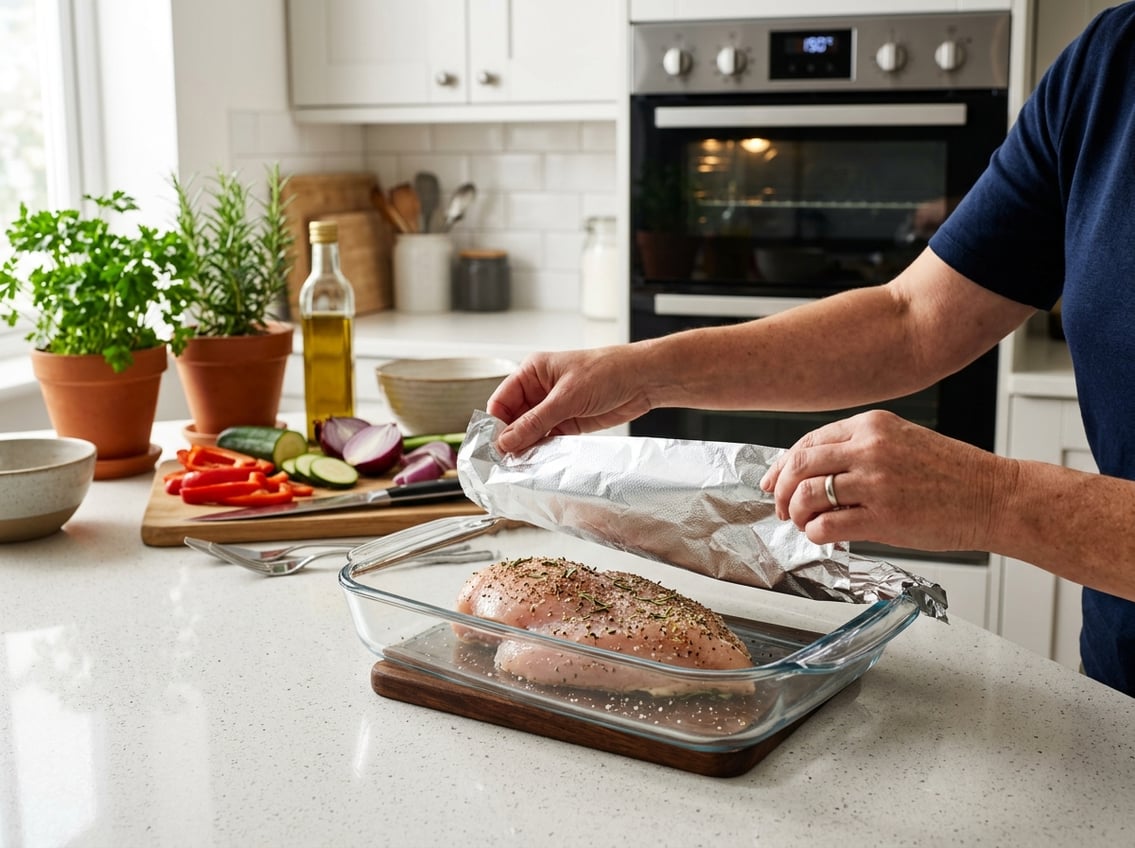
- Place the seasoned chicken in a baking dish with a small amount of oil, broth, or sauce if your recipe uses it.
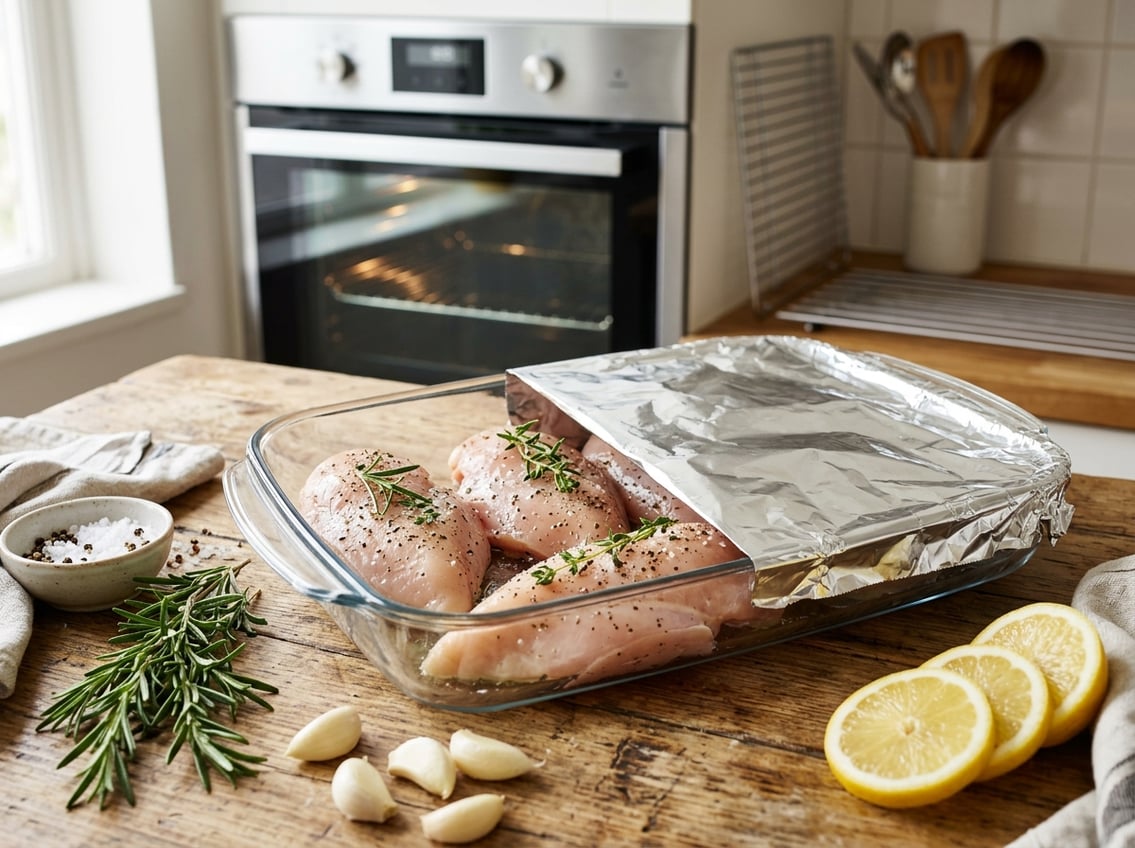
- Cover tightly with foil or a lid for most of the bake.
- Remove the cover for the last 5 to 10 minutes so the top can brown.
- Check the thickest part with a thermometer before serving.
This method works well for everyday boneless breasts and simple meal prep.
Foil, Lid, and Parchment Options
Foil is the easiest choice and traps steam well. A lid works the same way if your baking dish has one.
Parchment helps reduce sticking, but it does not seal in moisture as strongly as foil. If you want maximum juiciness, foil or a tight lid usually works better.
Internal Temperature and Resting Time
The thickest part of chicken breast should reach 165°F for safe eating. Remove it from the oven as soon as it reaches that point, because carryover heat can continue cooking it.
Let the chicken rest for 5 to 10 minutes before slicing. This pause helps the juices settle and keeps more moisture in the meat.


