
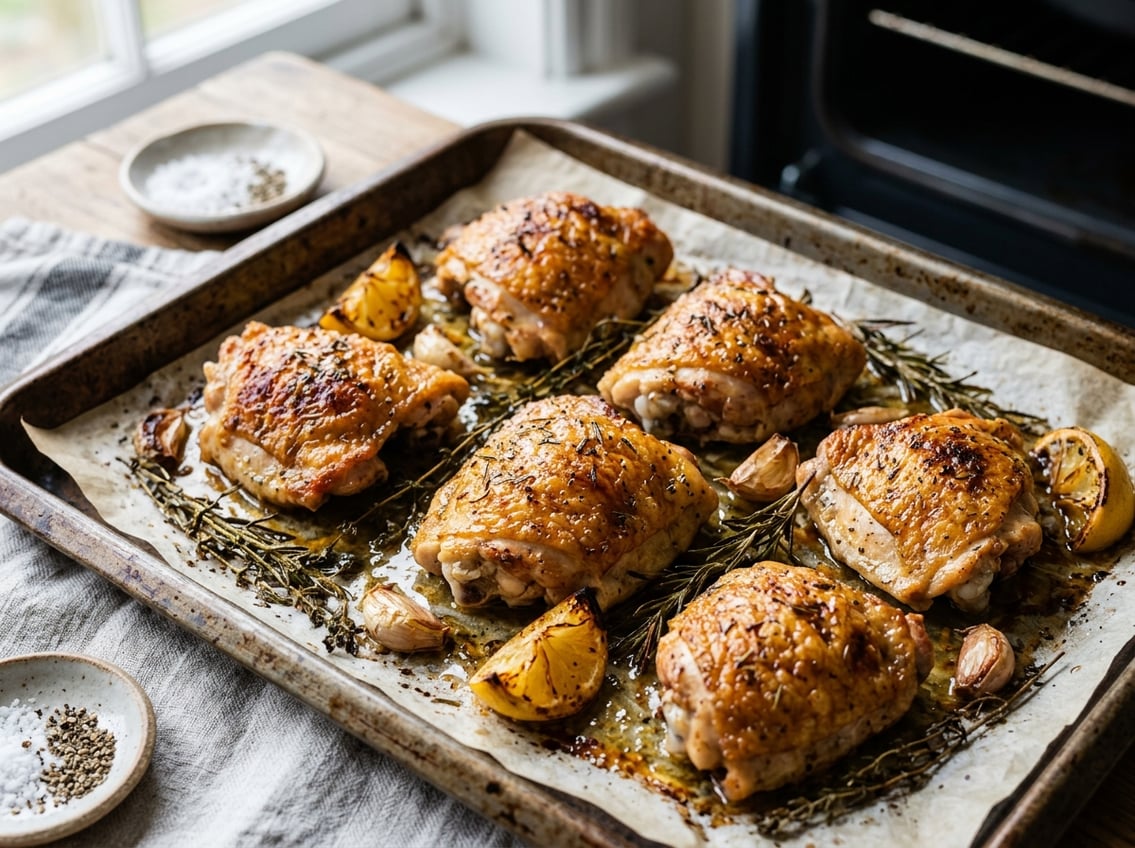
Will Chicken Thighs Get Crispy in the Oven? Expert Guide & Tips
You can get crispy oven baked chicken thighs by controlling a few simple factors: dry skin, high final oven heat, and a method that renders fat without overcooking the meat.
Start with dry, well-seasoned skin, sear or begin in a cold skillet to coax out fat, then finish at a high oven temperature (around 400–425°F) to achieve juicy meat with crisp skin.

This guide explains why skin texture and fat rendering matter. You’ll find a step-by-step method, timing guidelines, and practical tips for crispy oven baked chicken thighs.
Troubleshooting, serving, storage, and reheating advice are included to help your chicken thighs stay great beyond dinner.
What Makes Chicken Thighs Crispy in the Oven
Rendered fat, dry skin, and high, steady heat produce crispiness. The right cut, surface prep, and oven setup control these factors.
The Science Behind Crispy Chicken Skin
Crisp skin forms when skin fat melts and the skin surface dries and browns.
As fat renders, it separates the skin from moisture in the meat and allows the skin to dehydrate. Dehydration concentrates proteins and sugars, enabling the Maillard reaction and visible browning.
Salt helps remove water from the skin via osmosis, so a light kosher salt rub or a short dry-brine overnight works well.
A small dusting of baking powder (not baking soda) raises surface pH and speeds browning, producing a firmer, crisp skin.
Pat the skin dry before cooking and trim loose flaps. Surface moisture steams the skin and prevents crisping.
Why Bone-In and Skin-On Thighs Perform Best
Bone-in, skin-on chicken thighs combine high fat content and even thickness for crisp skin and juicy meat.
The bone slows heat penetration, letting the skin reach high temperatures without overcooking the meat.
Skin-on pieces provide the fat layer needed for rendering. Boneless, skinless thighs won’t produce the same crispy exterior.
For best results, choose bone-in, skin-on cuts, trim excess skin, pat dry, and lightly season.
Role of Oven Temperature and Airflow
High oven heat (400–450°F / 200–230°C) promotes rapid fat rendering and Maillard browning.
Start with a lower stovetop sear in a cold pan then finish at 425°F to improve crispness and reduce splatter. A straight high-heat roast also works if the skin is dry.
Use a wire rack on a sheet pan to let hot air circulate under and around each thigh. Crowding the pan traps steam and softens skin.
Leave space for air and flip once if needed. Convection mode further improves airflow and browning.
Step-by-Step Method for Achieving Crispiness
Prepare the thighs so the skin can dry and render. Build flavor with a focused seasoning and arrange pieces to expose air and heat evenly.
Each step uses common tools like a baking sheet and a wire rack, plus pantry spices for dependable results.
Proper Prep: Drying and Trimming
Pat each skin-on chicken thigh thoroughly with paper towels until the surface feels dry.
If time allows, place the thighs uncovered on a wire rack set over a baking sheet in the refrigerator for 1–12 hours. This air-dry step tightens the skin and yields crisper results.
Trim large, loose fat pieces from under the skin and around the cavity but leave enough fat to render and keep the meat juicy.
Brush the skin with a thin film of olive oil to promote even browning and help spices adhere. Use just enough oil to coat the surface.
Seasoning Strategies for Maximum Flavor
Start with kosher salt as the base and sprinkle it evenly over both skin and underside.
Build a simple spice blend: 1 tsp paprika, 1/2 tsp black pepper, 1/2 tsp garlic powder, 1/2 tsp onion powder, and 1/2–1 tsp poultry seasoning (or a mix of dried oregano, thyme, and Italian seasoning). Rub the blend into the skin and under the edges where possible.
For a brighter finish, toss a small amount of oregano or thyme into the cavity or under the skin before baking.
Avoid sugary glazes before roasting; sugar can burn under high heat and ruin the skin’s texture.
If you marinate, keep it brief (30–60 minutes) and avoid wet, oil-heavy or sugar-heavy marinades on the skin. Pat the skin dry again before roasting if marinated.
Arranging Chicken Thighs for Even Cooking
Preheat your oven to 400–425°F (200–220°C) depending on how fast you want the skin to brown.
Place thighs skin-side up on a wire rack set inside a baking sheet. The rack allows hot air to circulate under and around each thigh.
If you lack a rack, use a rimmed baking sheet lined with parchment and flip the thighs once halfway through cooking.
Space the thighs at least 1 inch apart to avoid steaming.
For a final crisp burst, broil for 1–3 minutes with the oven door cracked, watching closely so paprika and garlic powder don’t burn.
Use a meat thermometer to check for 165°F (74°C) at the thickest part near the bone. Rest the thighs 5–10 minutes on the baking sheet so juices redistribute while the skin stays crisp.
Oven Techniques and Timing for Best Results
Control temperature, manage moisture, and time the oven stage so skin renders and crisps without drying the meat.
Use a hot oven for roasting, then finish under high heat or broil briefly to achieve a crunchy exterior while keeping thighs juicy.
Ideal Temperature Range
Set the oven between 400°F and 450°F for bone-in, skin-on oven baked chicken thighs. Temperatures in this range render fat from the skin and promote Maillard browning.
If you use a lower temperature (350°F), expect longer cook time and less crisp skin. For very thick thighs, 425°F is a good compromise.
Use an oven thermometer to confirm actual temperature. Preheat fully for at least 15 minutes and place thighs skin-up with space between pieces.
How Long to Bake Chicken Thighs
Bake bone-in, skin-on thighs at 425°F for roughly 25–35 minutes, depending on size. Plan on about 30 minutes for average-sized thighs (6–8 ounces each) and check internal temperature.
Insert an instant-read thermometer into the thickest part, avoiding bone. Remove thighs at 160–162°F and let them rest 5–10 minutes.
If you use boneless thighs, reduce bake time to about 18–25 minutes at the same temperature. Pat the skin dry, trim excess skin, and space pieces on a rimmed sheet or in a skillet to avoid steaming.
Broiling for Extra Crunch
After baking, switch to the oven broiler for 2–4 minutes to intensify browning and crisp the skin.
Move the rack 6–8 inches from the broiler element to avoid flare-ups and watch closely to prevent burning.
Alternatively, start on the stovetop in a cold skillet to render fat and sear the skin for 8–12 minutes, then transfer the pan to a 425°F oven to finish. Use tongs to check skin color.
The broiler should be a short finishing step, not the primary cook, to ensure the meat reaches safe temperature.
Variations: Crispy, Juicy, and Flavorful Options
Control skin, seasoning, and fat to dial in crisp skin, tender meat, and bold flavor.
Small technique changes—how you dry, oil, and season—make the biggest difference in texture and taste.
Boneless or Skinless Chicken Thighs
If you choose skinless chicken thighs, pat them very dry and use a hot oven (425°F/220°C). Arrange thighs on a wire rack over a sheet pan so air circulates; this reduces steaming and encourages caramelization.
For bone-in, skin-on thighs, the skin protects moisture and crisps reliably when rubbed with oil and salt.
If you prefer skinless for convenience or health, sear briefly in a hot skillet before finishing in the oven to build a browned crust.
Adjust cook time: boneless cooks faster (about 25–30 minutes at 400–425°F) while bone-in needs 35–45 minutes.
Experimenting With Spice Blends
Start with a base of salt, black pepper, and garlic powder, then layer flavors to suit your meal.
A simple paprika-forward blend (2 tbsp paprika, 1 tbsp garlic powder, 1 tbsp onion powder, 1 tsp chili or cayenne, 1 tsp dried oregano, 1 tsp salt) gives smoky-sweet heat that crisps attractively.
For Italian-style chicken, swap paprika for 1–2 tbsp Italian seasoning and add a pinch of lemon zest.
Use dried herbs (thyme, rosemary) sparingly; they can burn under high heat, so mix with the oil before rubbing on the skin.
If you like bold blends, apply 15–30 minutes ahead to let the salt draw flavor into the meat, or overnight in the fridge for deeper seasoning.
Alternative Oils and Marinades
Olive oil works well to promote browning and carries herb and spice flavors; use 1–2 tablespoons per pound of thighs.
For higher smoke point, use avocado oil or light (refined) olive oil instead of extra-virgin, especially at 425°F.
Acidic marinades (lemon juice, vinegar, yogurt) tenderize but can prevent extreme crisping if left too long. Marinate skinless thighs for up to 2 hours and skin-on for up to 6 hours.
For a flavorful compromise, mix olive oil with minced garlic, chopped herbs, and a touch of vinegar. Reserve some to brush on in the last 5–10 minutes of roasting to boost flavor without softening the skin.
Serving and Pairing Ideas
Crispy oven-baked chicken thighs work with both hearty, comforting sides and quicker, creative plates.
Pick sides that either absorb juices—like mashed potatoes—or offer a contrasting texture, like a crisp salad or creamy mac and cheese.
Classic Comfort Sides
Serve crispy chicken thighs with buttery mashed potatoes to catch pan juices and balance the salty, browned skin.
Season the mash with roasted garlic and a splash of chicken stock for depth. Add a little sour cream for creaminess.
Mac and cheese makes a rich companion. Choose a sharper cheese (sharp cheddar or gruyère) and a baked breadcrumb top for contrast.
Add a simple vegetable: roasted Brussels sprouts or green beans tossed with olive oil and lemon. They provide bright, slightly bitter notes and give the plate color and texture.
Creative Weeknight Combinations
For fast weeknight meals, pair baked chicken thighs with a grain or salad.
Serve over quinoa tossed with chopped herbs, toasted almonds, and lemon zest for a light, protein-forward bowl.
Try a sheet-pan meal: roast potatoes and carrots alongside the thighs so the edges crisp together. Use smoked paprika and thyme on both for cohesive flavor.
If you prefer freshness, build a quick arugula and fennel salad with shaved Parmesan and a mustard vinaigrette. The peppery greens and acidic dressing contrast the crispy chicken and keep the plate lively.
Storage and Reheating Crispy Chicken Thighs
Cool chicken thighs and store them properly to keep their texture and ensure safety. Place them in airtight containers, remove excess moisture, and control the temperature to preserve the skin and meat.
Best Practices for Leftovers
Let chicken thighs cool to room temperature for no more than two hours after cooking. Pat the skin dry with paper towels before storing to prevent the skin from softening.
Store the pieces in a single layer if possible. If you need to stack them, separate layers with parchment or paper towels to absorb steam and avoid sogginess.
Use shallow, airtight containers and chill at 40°F (4°C) or below. Eat the chicken within 3–4 days.
For longer storage, freeze the pieces on a baking sheet until solid. Then transfer them to labeled freezer bags to help them keep their shape. Thaw in the refrigerator overnight before reheating.
How to Retain Crispiness When Reheating
Preheat the oven to 350–375°F (175–190°C). Place chicken thighs on a wire rack set over a rimmed baking sheet so air can circulate and the bottom stays crisp.
Reheat for 10–20 minutes. Check that the internal temperature reaches 165°F (74°C).
If you use an air fryer, set it to 350°F and reheat for 5–8 minutes. Flip the chicken once during reheating.
Avoid the microwave unless you plan to finish in a hot skillet or under the broiler to restore the skin texture.
For extra crispness, brush the skin lightly with melted butter or oil before reheating. Broil for 1–2 minutes at the end if the skin needs more color, and watch closely to prevent burning.


