
Why Do Chicken Thighs Take Longer Than Breasts? Cooking Science Explained
You probably notice thighs often take longer to finish than breasts. Thighs contain more connective tissue, fat, and sometimes bone, which slow heat penetration and need extra time to become tender.
Thighs require higher or longer heat to break down collagen and render fat, so they reach safe, juicy doneness more slowly than lean breasts.

Composition, bone presence, and cooking method all change timing. Using a thermometer and practical fixes can help you avoid dry breast meat or underdone thighs.
Composition Differences Between Chicken Thighs and Breasts
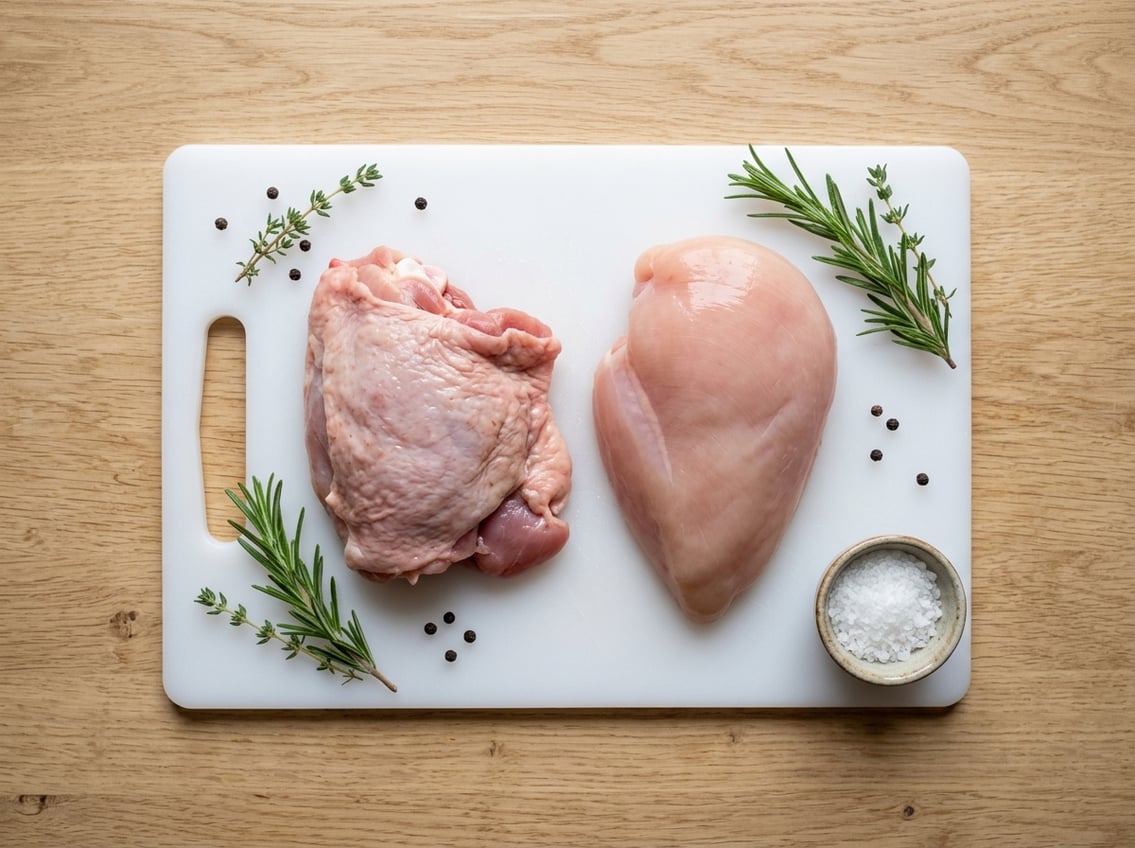
Thighs and breasts differ in fat and moisture, connective tissue, and muscle fiber makeup. These factors explain why thighs tolerate longer, hotter cooking while breasts require more precise control.
Fat Content and Moisture Levels
Chicken thighs contain more intramuscular and surface fat than breasts. That extra fat helps thighs resist drying during prolonged cooking and contributes to richer flavor.
More fat means more rendered juices as temperature rises, which keeps the meat moist even when internal temperature climbs past the point where lean meat loses water. Thighs often have higher baseline moisture because fat traps and redistributes juices during cooking.
For breasts, the low fat content gives a clean, lean profile but a narrow window between safe doneness and dryness. Overcooking by even a few degrees can turn the texture dry and chalky.
Connective Tissue Structure
Thighs have more connective tissue because leg muscles do more work. Collagen tightens when heated but converts to gelatin if cooked long enough at higher temperatures, tenderizing the cut and adding a silky mouthfeel.
Breasts contain less connective tissue, so they don’t benefit from long, slow cooking. Prolonged cooking only drives out moisture without recovering tenderness.
When you cook thighs, use temperatures and times that allow collagen to dissolve. For breasts, use rapid, controlled heat or lower-temperature techniques to avoid toughening the small amount of connective tissue.
Muscle Density and Color
Thigh meat has more slow-twitch (red) muscle fibers and a denser structure because legs support movement. Those fibers contain more myoglobin, which gives dark color and affects how heat penetrates and how proteins coagulate during cooking.
Breast meat is mostly fast-twitch (white) fibers and is less dense. The proteins in white fibers coagulate at lower temperatures and lose water earlier, making breasts prone to dryness if you exceed their narrow doneness range.
Because of higher density and more connective scaffolding, thighs require longer heat exposure to reach an equivalent level of tenderness. Breasts heat through faster but require precise timing to retain juiciness.
Impact of Bone-In Versus Boneless Cuts
Bone-in cuts change how heat moves through the meat and affect cooking time, moisture, and final texture. Skin and bone alter heat flow and evaporation, so you need to adjust temperature, time, and resting.
Heat Transfer and Bone-In Chicken
The bone absorbs and conducts heat differently than muscle. In bone-in chicken thighs, the bone raises the mass that must reach safe internal temperature, so the meat near the bone heats more slowly than the outer flesh.
Bone-in chicken thighs take several minutes longer than equivalent boneless pieces, especially for thicker cuts. Use an instant-read thermometer, measuring at the thickest part without touching bone.
Pull bone-in thighs at 165–170°F (74–77°C) and rest; carryover heat continues to cook the meat near the bone. For even cooking, use moderate oven temps or start high then finish lower to avoid overbrowning outer meat while the center reaches temperature.
Skin-On Versus Skinless Variations
Skin traps rendered fat and slows moisture loss, which affects cooking time and crust development. Skin-on, bone-in chicken thighs keep more juiciness and can protect the interior from direct heat, often adding several minutes to total cook time compared with skinless thighs.
If you want crisp skin, start skin-side down in a hot pan or use a higher initial oven temp, then lower heat to finish so the inside reaches temperature without drying. For skinless chicken thighs, you’ll get faster, more uniform cooking but less protection for the meat.
Reduce cooking time or lower heat slightly and watch closely to avoid overcooking skinless pieces.
Temperature and Safety Considerations
You need clear target temperatures, reliable measurement, and an understanding of how heat continues to cook the meat after you remove it.
Recommended Internal and Cooking Temperatures
For safety, cook all poultry until the thickest part reaches at least 165°F (74°C) measured with an instant-read thermometer. That temperature kills common pathogens quickly and is the USDA minimum for poultry.
Dark meat (thighs) often benefits from higher or longer cooking. Many chefs aim for 175–195°F (79–90°C) for thighs when braising or roasting to break down collagen and render fat, producing more tender results.
Breasts can be pulled at 160–165°F to stay moist; residual heat will bring them to a safe level. Adjust oven or grill temperatures accordingly: lower, slower methods favor collagen breakdown in thighs, while higher, shorter methods suit breasts.
Measuring With a Meat Thermometer
Use an instant-read thermometer for quick, accurate checks. Insert into the thickest part of the thigh or breast, avoiding bone contact.
Take multiple readings if pieces vary in size. For bone-in thighs, measure at least ¼ inch from the bone.
Calibrate or check your thermometer periodically. Rely on temperature, not time alone; cooking times vary with oven accuracy, piece thickness, and starting temperature.
Carryover Cooking and Rest Times
Carryover cooking raises internal temperature after removal; thighs and large breasts can climb 5–10°F. Smaller boneless breasts may rise less.
Remove meat a few degrees below your target if you want an exact final temp. Rest meat 5–15 minutes under loose foil to let juices redistribute and finish carryover cooking.
Longer rests suit larger bone-in thighs; shorter rests work for thin breasts. Use the final thermometer check after resting if precision matters.
Cooking Methods and How They Affect Timing
Different heat sources and piece types change how long chicken needs to reach safe, tender doneness. Bone presence, skin, and whether you use direct or indirect heat are the main reasons thighs usually take longer than breasts.
Baking and Roasting Chicken Thighs
Roasting at 400–425°F (200–220°C) crisps skin and renders fat. Bone-in, skin-on thighs need about 35–45 minutes, while boneless thighs usually finish in 25–35 minutes.
Arrange thighs skin-side up on a rimmed sheet or wire rack so air circulates. Cramped pieces steam and extend cooking time.
Pat skin dry and use a light oil coat to speed browning. Use an instant-read thermometer in the thickest part and remove at 175–185°F for tender dark meat, or at 165°F for a firmer texture.
Rest 5–10 minutes for carryover and juice redistribution.
Grilling Chicken Thighs and Breasts
On a medium-high grill, manage direct versus indirect heat. For bone-in thighs, sear skin-side over direct heat 3–5 minutes, then move to indirect heat to finish; total time often runs 25–35 minutes depending on thickness.
Boneless thighs take 8–12 minutes total, flipped every 2–4 minutes. Breasts heat through faster; a 3/4–1 inch boneless breast often needs 6–10 minutes per side and will dry if left past 165°F.
Use two-zone grilling to avoid burning exterior while the interior climbs. Brush sauces near the end to prevent sugar burn.
Pan-Frying Techniques
Use a heavy skillet and medium-high heat for skin-on thighs to render fat and crisp skin. Start skin-side down 6–10 minutes without moving the piece to develop color, then reduce heat and cover briefly if the interior needs more time.
Bone-in pieces require longer than boneless. For boneless, cut-thinner or butterfly thighs, sear 3–5 minutes per side until they reach 170–180°F.
Avoid overcrowding; cook in batches so the pan stays hot. Finish with a quick pan sauce from deglazed fond to add flavor without extra cook time.
Factors Influencing Cooking Times
These factors determine how long your chicken needs in the oven, on the grill, or in a pan. Pay attention to piece size, starting temperature, and whether you marinated the meat.
Thickness and Size of Chicken Pieces
Thicker pieces take longer because heat must travel farther to reach the center. A boneless chicken breast 1 inch thick typically reaches 165°F in far less time than a bone-in thigh that’s 1.25–1.5 inches thick.
Bones slow heat transfer; meat next to a bone needs extra minutes to hit the safe internal temperature. Use an instant-read thermometer in the thickest part without touching bone for accurate cooking time assessment.
Match similar-sized pieces on the same pan to avoid overcooking smaller pieces. If pieces vary, remove thinner ones early and let the rest finish.
Pounding boneless thighs to uniform thickness reduces cooking time and evens doneness.
Starting Temperature of Meat
Cold-from-fridge chicken adds minutes to cooking time. If your thighs are 40°F (4°C) versus 65–70°F (18–21°C), expect roughly 10–15 extra minutes in the oven for the colder pieces.
Bringing meat closer to room temperature for 15–30 minutes before cooking shortens total cook time and promotes even heating. Don’t leave poultry out beyond safe limits (no more than 2 hours at room temp).
Account for carryover cooking: internal temperature will rise a few degrees after removal. Check temperature toward the end of the estimated cooking time rather than relying strictly on minutes-per-inch rules.
Marinating and Its Effects
Wet marinades and brines add surface moisture that can slightly extend cooking time because liquid absorbs heat before the meat warms. An overnight brine may add about 5–10 minutes compared with unbrined pieces.
Oil-based marinades speed browning. Sugary glazes require shorter or lower-heat finishing to avoid burning.
Pat thighs lightly before searing or roasting to reduce surface water and shorten crisping time. Acid-heavy marinades can tenderize surface proteins but don’t significantly change core cooking time.
Always confirm doneness with a thermometer—target at least 165°F for safety and 175–185°F if you want thighs more tender due to collagen breakdown.
Common Mistakes and Solutions
You can spot and fix overcooking, prevent undercooking safely, and get even results when cooking mixed cuts.
Identifying Overcooked Chicken
Overcooked chicken thighs and breasts become dry, stringy, or tight to the touch. If the meat flakes apart into dry strands or the juices run clear and thin rather than slightly glossy, the chicken is likely overcooked.
Use a thermometer to confirm: breasts are best pulled at 160–165°F (71–74°C) and thighs tolerate 170–185°F (77–85°C). Check temperature at the thickest point, away from bone.
Texture matters. Press the meat—overcooked pieces feel firm and resist give.
Rest meat 5–10 minutes; carryover cooking raises internal temperature a few degrees and softens fibers. If you overcook, slice thinly and serve with sauce or broth to add moisture and improve mouthfeel.
How to Avoid Undercooking
Never rely on time alone. Use an instant-read probe and insert it into the thickest part without touching bone.
For safety, target a minimum of 165°F (74°C) for poultry. Aim slightly higher for thighs if you want tender collagen breakdown.
Bring pieces closer to room temperature for 15–30 minutes before cooking. This step helps reduce uneven internal cold spots.
If you use high-heat methods, finish thicker or bone-in pieces in indirect heat or a 350–375°F oven. This allows the center to reach a safe temperature without burning the exterior.
If you grill or sear, set up two-zone cooking. Use direct heat for searing and indirect heat to finish.
For mixed thickness, remove smaller pieces earlier. Keep them on a warm rack.
Always rest meat after cooking. This evens out temperature and completes doneness.
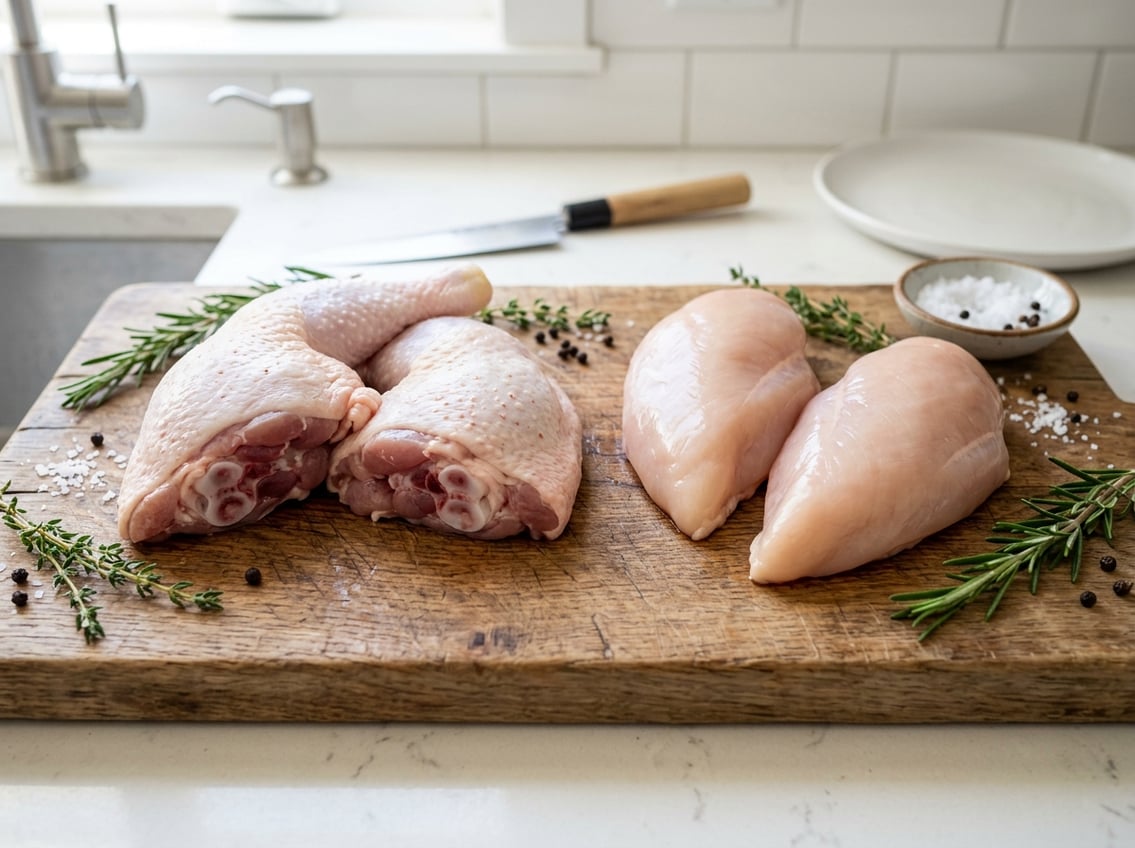
Achieving Even Cooking With Multiple Cuts
When you cook breasts and thighs together, match thickness and method to prevent uneven results. Trim or pound breasts to the same thickness as thighs.
Cut thighs into uniform pieces so everything cooks at a similar rate. Arrange pieces with space between them on the pan or grill.
Overcrowding causes steaming and uneven browning. Use a wire rack over a baking sheet to promote air circulation for roasting.
Start bone-in pieces first, then add boneless pieces later. Tent thinner pieces with foil while thicker pieces reach temperature.
Move seared items to a 350°F oven to level heat. Keep an instant-read thermometer handy and remove pieces at their target temperatures.


