
What Should Chicken Thighs Look Like When Cooked: Chef-Approved Signs
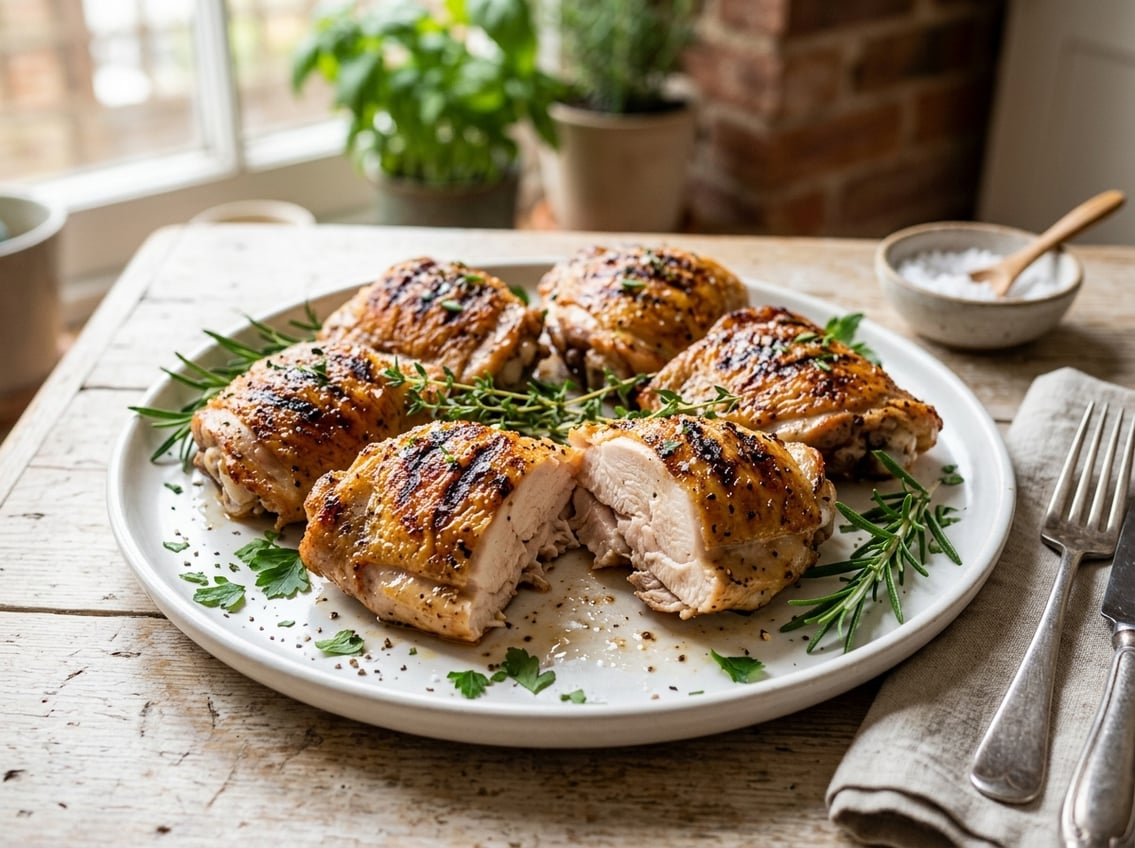
You want to know at a glance whether chicken thighs are safe and delicious. The clearest sign is simple: properly cooked chicken thighs have opaque, firm meat that yields slightly to pressure, clear juices, and, if skin is present, golden-brown, crisped skin.
That combination tells you the thigh is done without relying on guesswork.

This guide explains what to look for visually, how texture and temperature confirm doneness, and how bone-in versus boneless cuts and different cooking methods change the appearance.
Follow these cues so you can spot undercooked or overcooked thighs and serve juicy, safe chicken every time.
Visual Appearance of Properly Cooked Chicken Thighs
Look for specific color, juice clarity, and texture cues that signal safety and juiciness.
Check skin color and meat opacity, inspect juices for cloudiness or pink, and press the thickest part to confirm a firm, non-translucent texture.
Expected Skin and Meat Color
Skin on a properly cooked thigh turns golden-brown to deep amber when roasted or seared.
If you use high heat to crisp the skin, expect blistering or small charred spots; even browning means rendered fat and flavor development.
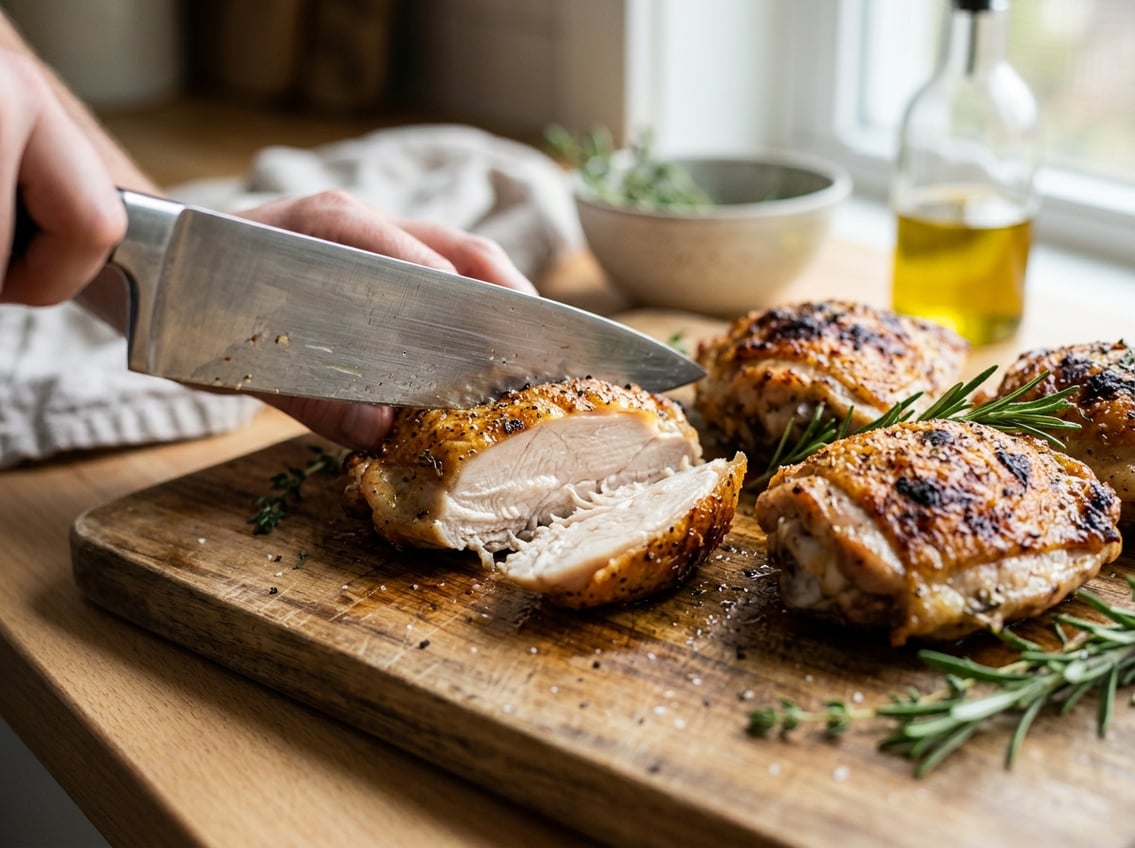
The meat should be opaque and range from off-white to light tan in the thickest areas.
Dark meat keeps a slightly deeper hue than breast meat because of myoglobin, so a faint pink tint near the bone can be normal on larger bone-in thighs.
Rely on temperature and other cues rather than color alone if you see that slight pink near bone.
Clear Versus Pink Juices
When you pierce the thickest part, the juices should run clear or very pale.
Clear juices mean muscle fibers have contracted and expelled surface liquid, which signals the internal temperature reached the safe zone.
If juices are pink, red, or blood-tinged, keep cooking.
A little pink in juices can appear with undercooked meat or with blood from bone marrow; only consider thighs safe if the thermometer reads 165°F (74°C) in the thickest meat away from bone.
Opaque and Non-Translucent Texture
Press the center of the thigh with a finger or fork; it should feel firm with slight springback.
Properly cooked thigh meat flakes easily along the grain and separates from the bone a bit in bone-in pieces.
Look for an opaque, non-translucent interior.
Translucent or glassy spots in the middle mean the thigh needs more time.
Overcooked thighs become stringy and dry because collagen and fat have fully rendered, so aim for an endpoint where the meat is tender but still moist.
Texture and Firmness as Doneness Indicators
Texture and firmness help you decide if thighs are safe and pleasant to eat.
Firm but slightly springy meat, clear juices, and loosened connective tissue are practical signs to check.
Surface Feel and Firmness
Press the thickest part of the thigh with a fingertip or tongs.
Properly cooked thigh meat feels firm yet yields slightly; it should not be mushy or overly soft.
If the flesh bounces back quickly and resists pressure, the meat is likely done.
Use a fork to probe the interior at the deepest point away from the bone.
The fork should meet mild resistance—not rubbery, not jiggly.
Juices that appear clear (not pink) when you pierce the meat further confirm doneness.
For the most reliable check, insert an instant-read thermometer into the same thick spot: 165°F (74°C) is the safety target.
Bone Separation and Shreddability
Check the joint and bone area for connective tissue breakdown.
As collagen cooks, it softens and the meat will pull away slightly from the bone.
When the leg wiggles easily at the joint or the meat comes off the bone with light tugging, connective tissue has rendered and thighs will be tender.
For shredded chicken thighs, pull the meat with two forks: it should separate into moist strands without requiring force.
If the meat resists and looks translucent near the bone, keep cooking.
Aim for shredded texture that remains moist and cohesive.
Using Temperature to Ensure Safety and Quality
Temperature gives you the most reliable way to know chicken thighs are both safe and cooked to your preferred texture.
Target temperatures and proper thermometer technique prevent undercooking while letting you aim for juiciness or tenderness.
How to Use a Meat Thermometer
Insert the probe into the thickest part of the thigh, avoiding contact with bone by at least 1/4 inch.
Bone conducts heat and will give a falsely high reading.
Hold the probe steady until the thermometer stabilizes—this usually takes a few seconds with digital units and longer with older dial models.
Aim for an internal temperature of at least 165°F (74°C) to meet USDA food-safety guidelines.
If you prefer more tender, fall-apart dark meat, allow thighs to reach higher temperatures (175–195°F) during low-and-slow cooking.
Always check several pieces when cooking multiple thighs, since one thigh can reach a safe temp before others.
Correct Use of Instant-Read Thermometers
Use an instant-read thermometer only for spot-checks near the end of cooking, not as an oven probe left in the meat.
Insert the tip into the center of the thickest area and wait for the quick readout—modern instant-read models typically stabilize in 1–5 seconds.
Calibrate regularly by testing in ice water (expected 32°F/0°C) or boiling water (approx. 212°F/100°C at sea level) and follow manufacturer instructions.
Clean and sanitize the probe between checks to avoid cross-contamination.
When checking doneness, test several thighs and record the highest accurate reading; rely on 165°F (74°C) as the minimum safe target.
How Appearance Changes by Cooking Method
Different methods change skin color, surface texture, and internal opacity.
Pay attention to browning, juice clarity, and any pink near the bone to judge doneness.
Baking Chicken Thighs
Baking at 400–425°F produces evenly browned, golden skin that often becomes blistered where fat renders.
Space thighs at least 1 inch apart on a rimmed sheet or in an oven-safe skillet so hot air circulates and skin crisps rather than steams.
Insert an instant-read thermometer into the thickest part without touching bone; aim for 165°F (74°C).
When done, juices run clear and the meat away from the bone looks opaque, though a faint pink near the bone can still appear in larger bone-in thighs.
If you want extra crisping, broil 1–3 minutes at the end while watching closely.
Rest 5–10 minutes to let juices redistribute and the meat firm slightly.
Grilled Chicken Thighs
Grilling creates pronounced sear marks and a darker, slightly charred crust from direct heat.
Start skin-side down over medium-high heat to render fat and create color, then move to indirect heat to finish through without burning the exterior.
Check temperature at the thickest spot, aiming for 165°F.
The interior should be opaque and pull apart with a fork; clear juices indicate doneness.
For bone-in thighs, expect longer cook times and check near the bone for any stubborn pink.
Use oil on the grates to prevent sticking and flip sparingly so the skin can develop a consistent crust.
Cooking Chicken Thighs From Frozen
Cooking thighs from frozen changes surface browning and extends cooking time.
Expect less initial color and a longer period before juices clear.
If baking from frozen, increase oven time and check multiple pieces because heat penetrates unevenly.
Use an instant-read thermometer and probe several spots; the thickest part must reach 165°F.
For best exterior color, thaw briefly in hot water or finish under a broiler or in a hot skillet after the internal temperature is safe.
If you grill or pan-sear from frozen, sear long enough to brown the exterior, then finish over lower, indirect heat to cook through without burning the outside.
Bone-In Versus Boneless Chicken Thighs
Bone-in thighs usually take longer to cook and often look plumper near the bone.
Boneless thighs cook faster and present as uniformly shaped pieces.
Texture, internal color near the bone, and skin crispness differ between the two, and those differences guide how you cook for best results.
Differences in Look and Cooking
Bone-in thighs show a gradual color change from the outer meat toward the bone.
Near the bone you may see a faint pink hue even when safe to eat, because the bone can retain pigment and marrow-colored juices.
The skin on bone-in, skin-on thighs browns and crisps while the meat near the bone stays juicier.
Expect cook times roughly 5–10 minutes longer than boneless at similar oven temperatures; adjust by thickness and starting temperature.
Boneless thighs are flatter and cook more evenly through the center, with uniform color when done.
They lose less surface shape during cooking and are easier to slice for presentation.
Because they lack bone mass, they reach 165°F (74°C) sooner; watch internal temperature rather than time alone to avoid drying.
Best Way to Achieve Juicy Results
For bone-in thighs, use moderate heat (375°F/190°C oven or medium-high pan) and cook until the thickest part reaches 175–180°F (79–82°C) for tender, pull-apart meat.
Rest for 5–10 minutes so juices redistribute.
If cooking with skin, start skin-side down to render fat, then finish skin-up to crisp.
For boneless thighs, sear over medium-high heat to develop crust, then finish at lower heat or in the oven until internal temp hits 165–170°F (74–77°C).
Brief brining (30–60 minutes in 1–2% salt solution) or a light oil-and-acid marinade keeps boneless pieces moist.
Use an instant-read thermometer to confirm doneness; rely on temperature rather than color alone.
Common Signs of Undercooked and Overcooked Thighs
You need clear, observable signs to confirm doneness and avoid unsafe or unpleasant results.
Look for specific color, texture, juices, and how the meat separates from the bone.
Identifying Undercooked Thighs
Undercooked thighs often show pink or translucent meat near the bone.
If the interior still looks glossy or jelly-like, the thigh hasn’t reached safe doneness.
Press the thickest part of the thigh: raw or undercooked meat feels very soft and spongy.
The juices will be pink or reddish rather than clear.
Avoid relying on surface color alone; the skin can be browned while the interior remains undercooked.
The most reliable check is a thermometer.
Insert an instant-read probe into the thickest part, avoiding bone; thighs should register about 175°F (79°C) for dark meat to be both safe and tender.
If you don’t have a thermometer, cut into the thickest area—meat should be opaque and fibers should pull apart easily.
Detecting Overcooking
Overcooked thighs turn dry, stringy, and feel noticeably stiff when you press them.
The skin and outer meat often appear very dark or slightly leathery.
When you cut into an overcooked thigh, you will find few juices and the meat pulls apart into long, fibrous strands.
Texture changes more than color in this case. The meat feels tight and resists pulling apart.
The flavor may taste flat or slightly bitter if the exterior burns.
Monitor internal temperature closely to prevent overcooking. Remove thighs from heat at 170–175°F and let them rest for 5–10 minutes so residual heat finishes the cooking without drying them out.


