Lava Cake: Easy Molten Chocolate Dessert
A cracked chocolate shell gives way to a warm, flowing center the moment your spoon hits it. That contrast, tender cake outside and liquid chocolate inside, is what makes lava cake one of the most requested desserts on any menu, from neighborhood bistros to five-star dining rooms. The best part is how little it takes to recreate it in your own kitchen: five to seven pantry staples, a hot oven, and about 25 minutes stand between you and a dessert that looks like it came from a professional pastry kitchen, as shown in this beginner-friendly lava cake method.
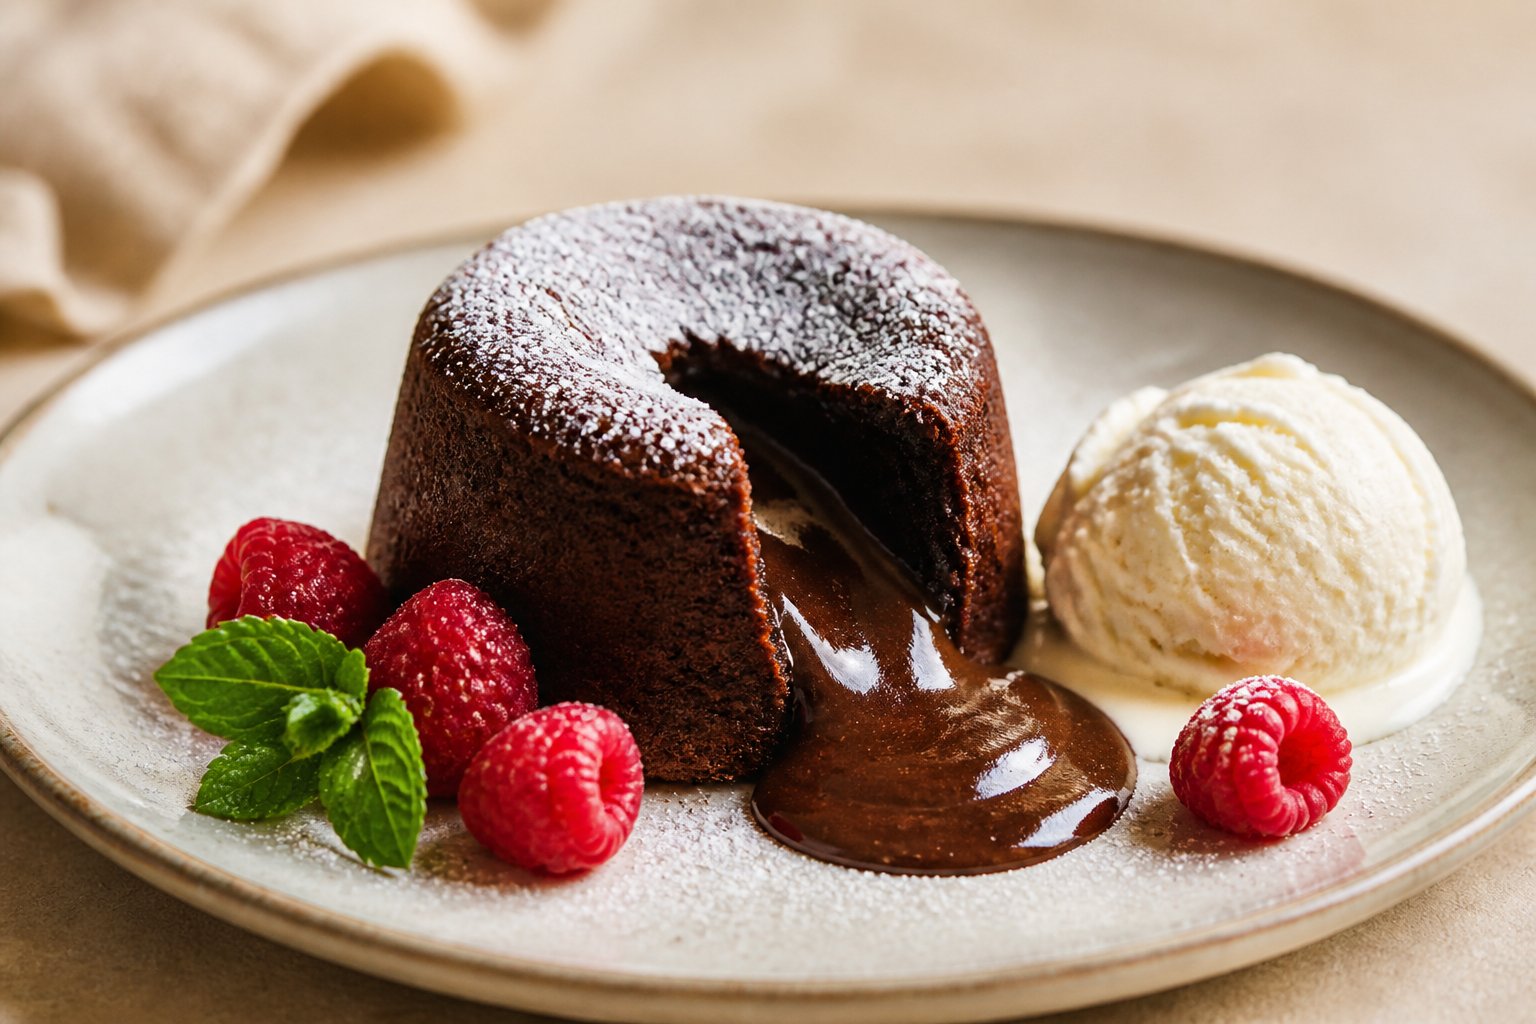
Lava cake, also called chocolate lava cake or molten lava cake, traces back to French kitchens and gained popularity in the United States through fine dining in the 1990s. You don’t need a culinary degree to pull off a molten chocolate center at home; you need the right ratio of chocolate to flour and a reliable sense of timing. Whether you’re planning a Valentine’s Day dessert for two or a quick weeknight chocolate fix, this recipe scales easily and forgives small mistakes. Grab some ramekins and a bar of good chocolate, and you’ll have warm, gooey cakes on the table faster than most delivery orders arrive.
What Creates the Molten Center?
The molten center forms because the cake is deliberately underbaked in its middle while the outer edges cook fully through. A high oven temperature sets the exterior into a stable, cake-like shell within minutes, while the batter at the core never reaches the point where eggs and flour fully firm up. According to Wikipedia’s entry on molten chocolate cake, the dessert is built from just five ingredients: butter, eggs, sugar, chocolate, and flour, and the ratio between them determines how “liquid” that center stays.
Chocolate cake in its classic form bakes until a toothpick comes out clean. Lava cake reverses that goal entirely. Some bakers achieve a similar effect with flourless chocolate cake batter, though the flourless version tends to set more evenly since there’s no starch structure competing with the chocolate for control of texture.
Why the Outside Sets Before the Middle
Heat moves from the outside of the batter inward, so the edges closest to the hot ramekin walls firm up first. Baking at 425°F, as recommended in this breakdown of molten cake thermodynamics, creates a firm crust almost instantly, strong enough to hold the liquid interior once the cake is flipped from its mold. Lower temperatures let heat creep toward the center too slowly, and you end up with a fully baked cake instead of a lava cake.
Is a Gooey Center Safe to Eat?
Yes, when the eggs are fresh and the batter reaches an internal temperature high enough to kill off surface bacteria during the few minutes it bakes. The center of a properly baked molten chocolate lava cake is warm, not raw batter; it’s simply undercooked relative to a standard cake, not undercooked to the point of food safety concern. Using pasteurized eggs offers extra peace of mind if you’re serving young children or pregnant guests.
Ingredients That Make a Rich, Flowing Cake
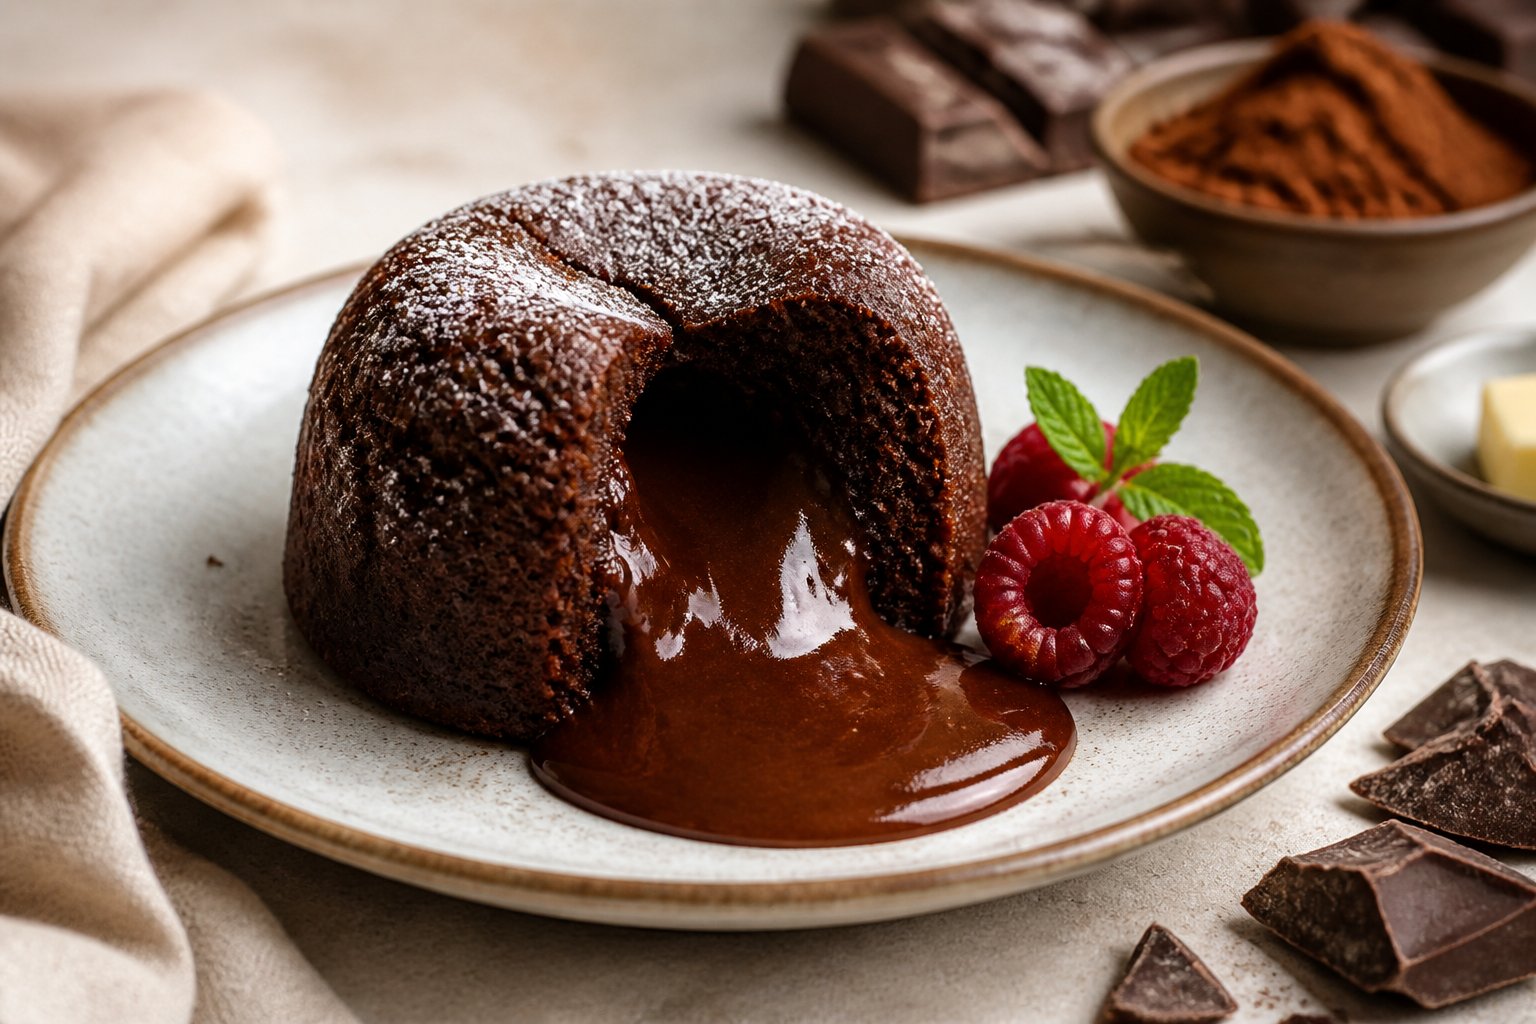
Six to seven ingredients build the entire structure of a lava cake: chocolate, butter, eggs, sugar, flour, vanilla, and a pinch of salt. Getting the ratio right between chocolate and flour is what separates a cake with a proper molten core from one that bakes through completely.
Yield: 4 individual cakes
Prep time: 15 minutes
Cook time: 12-14 minutes
Oven temperature: 425°F
Ingredients:
- 4 oz bittersweet or semi-sweet baking chocolate, chopped (or good-quality chocolate chips)
- ½ cup (1 stick) unsalted butter, plus extra for greasing ramekins
- 1 cup powdered sugar
- 2 large eggs
- 2 large egg yolks
- 6 tablespoons all-purpose flour
- 1 teaspoon vanilla extract
- ¼ teaspoon salt
- Optional: ½ teaspoon espresso powder or 1 tablespoon cocoa powder for deeper flavor
Choosing Dark, Bittersweet, or Semi-Sweet Chocolate
Bittersweet chocolate (60-70% cacao) gives the most balanced, deeply chocolatey lava cake, since it isn’t overly sweet against the sugar already in the batter. Semi-sweet chocolate chips work in a pinch and melt smoothly, though the flavor reads slightly milder. Dark chocolate above 70% cacao produces a more intense, less sweet cake; if you go this route, add an extra tablespoon of sugar to balance it out.
How Eggs, Egg Yolks, Butter, and Flour Affect Texture
Whole eggs give the cake its structure and lift, while the extra egg yolks add richness and help keep the center silkier rather than cakey. Butter carries much of the chocolate flavor and contributes to that glossy, melting texture as it liquefies in the oven. Flour is the ingredient to watch most closely: too much and the batter bakes through evenly with no molten center; too little and the cake won’t hold its shape when unmolded. Six tablespoons across four cakes is the ratio that reliably produces a flowing center without collapsing structure, a proportion echoed in this chocolate lava cake ingredient guide.
Optional Flavor Boosters for Deeper Chocolate
A half teaspoon of espresso powder intensifies chocolate flavor without adding a coffee taste, a trick borrowed from professional pastry kitchens. Orange extract or a few drops of peppermint extract turn the same base batter into a completely different dessert experience. A tablespoon of cocoa powder whisked into the dry ingredients deepens the color and flavor further, especially useful if you’re working with milder semi-sweet chocolate.
How to Make Lava Cake at Home
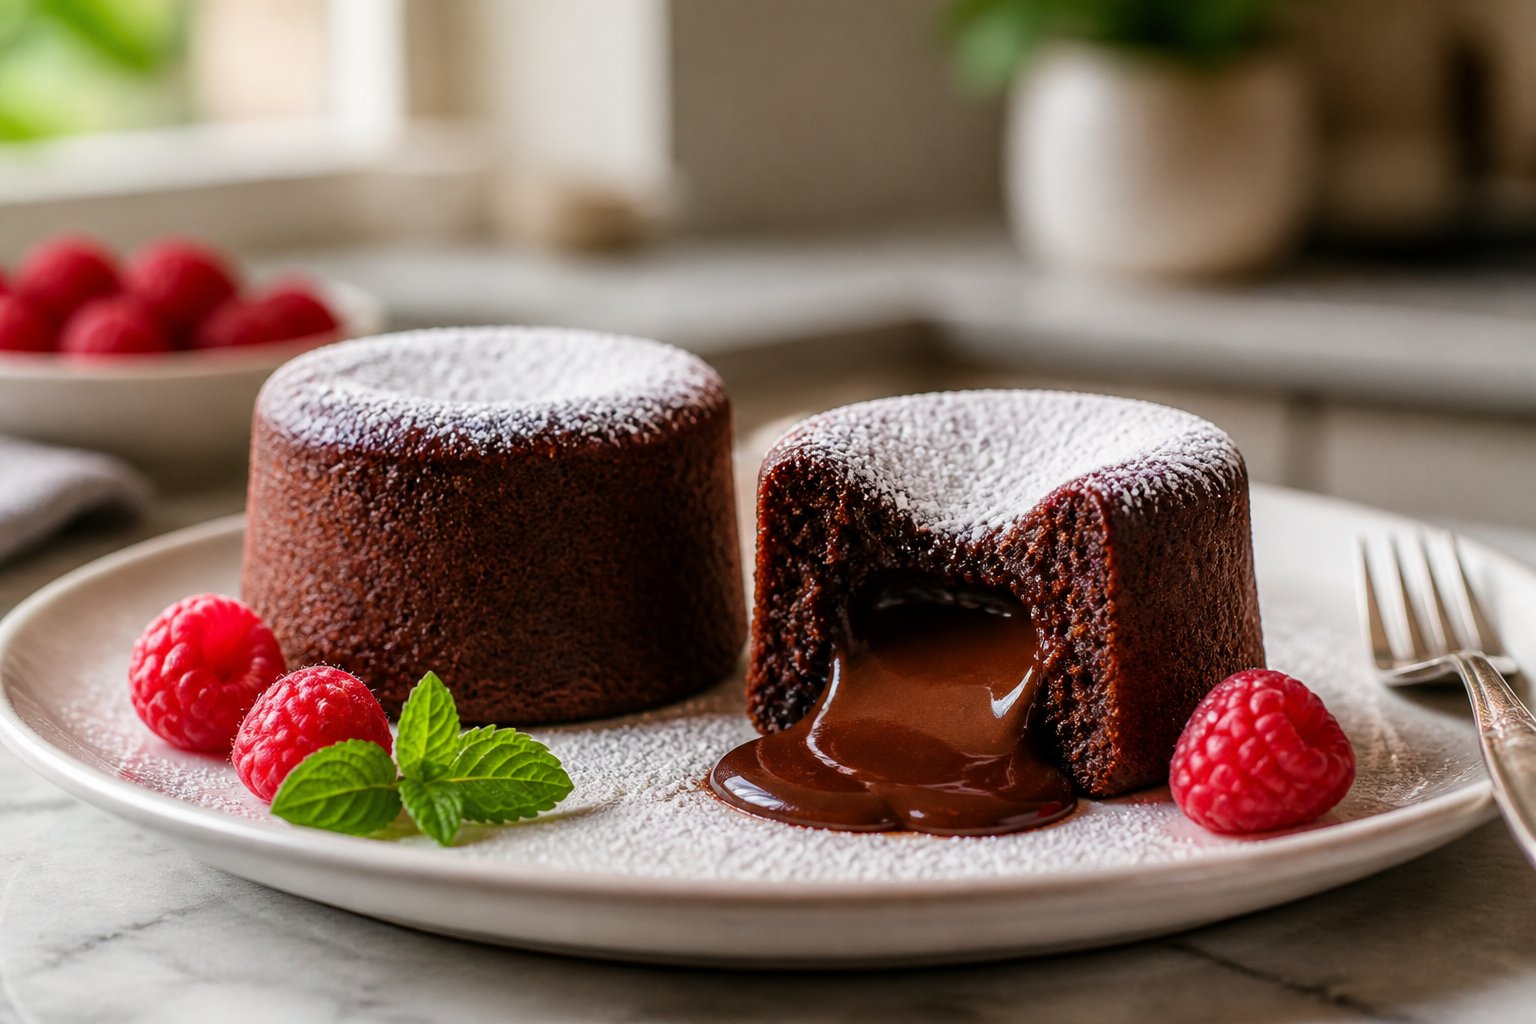
Making chocolate lava cake at home comes down to melting chocolate and butter together, folding in a light egg-sugar mixture, and baking briefly in a hot oven until the edges set but the center still jiggles. The entire process, from mixing to plate, takes under 30 minutes.
Instructions:
- Preheat the oven to 425°F. Butter four 4 oz ramekins generously, then dust with cocoa powder or flour, tapping out the excess. Alternatively, coat with baking spray.
- In a microwave-safe bowl, melt the chocolate and butter together in 30-second bursts, stirring between each, until smooth.
- In a separate bowl, whisk the eggs, egg yolks, and powdered sugar until pale and slightly thickened, about 1 minute.
- Fold the melted chocolate mixture into the egg mixture. Stir in the vanilla extract and salt.
- Sift the flour over the batter and fold gently just until no streaks remain. Do not overmix.
- Divide the batter evenly among the prepared ramekins, filling each about ¾ full.
- Bake for 12-14 minutes, until the edges are firm and set but the centers still look soft and slightly jiggle when nudged.
- Let the cakes rest in the ramekins for 1 minute, then run a thin knife around the edge and invert onto serving plates. Serve immediately.
Preparing Ramekins for Easy Release
Butter every surface of the ramekin thoroughly, then dust with cocoa powder instead of flour to avoid a chalky white coating on the finished cake. Baking spray with flour built in works as a faster substitute and gives consistent results across custard cups of different shapes.
Mixing the Batter Without Overworking It
Fold the flour in with a spatula using slow, deliberate strokes rather than a whisk or electric mixer. Overmixing develops gluten in the flour, which firms up the batter’s structure and can prevent the center from staying molten.
Baking Until the Edges Set and Centers Jiggle
Check at the 12-minute mark: the edges should look matte and fully risen, while the very center still appears glossy and slightly wet. A slight jiggle when you nudge the ramekin is the clearest sign the cake is ready, more reliable than relying on baking time alone since ovens vary.
Unmolding and Serving While Warm
Invert the ramekin onto a plate within a minute or two of pulling the cakes from the oven; waiting too long lets the residual heat finish cooking the center. Lava cakes don’t hold well, so plan to serve them the moment they’re unmolded.
Ramekin Sizes, Muffin Pans, and Timing Adjustments
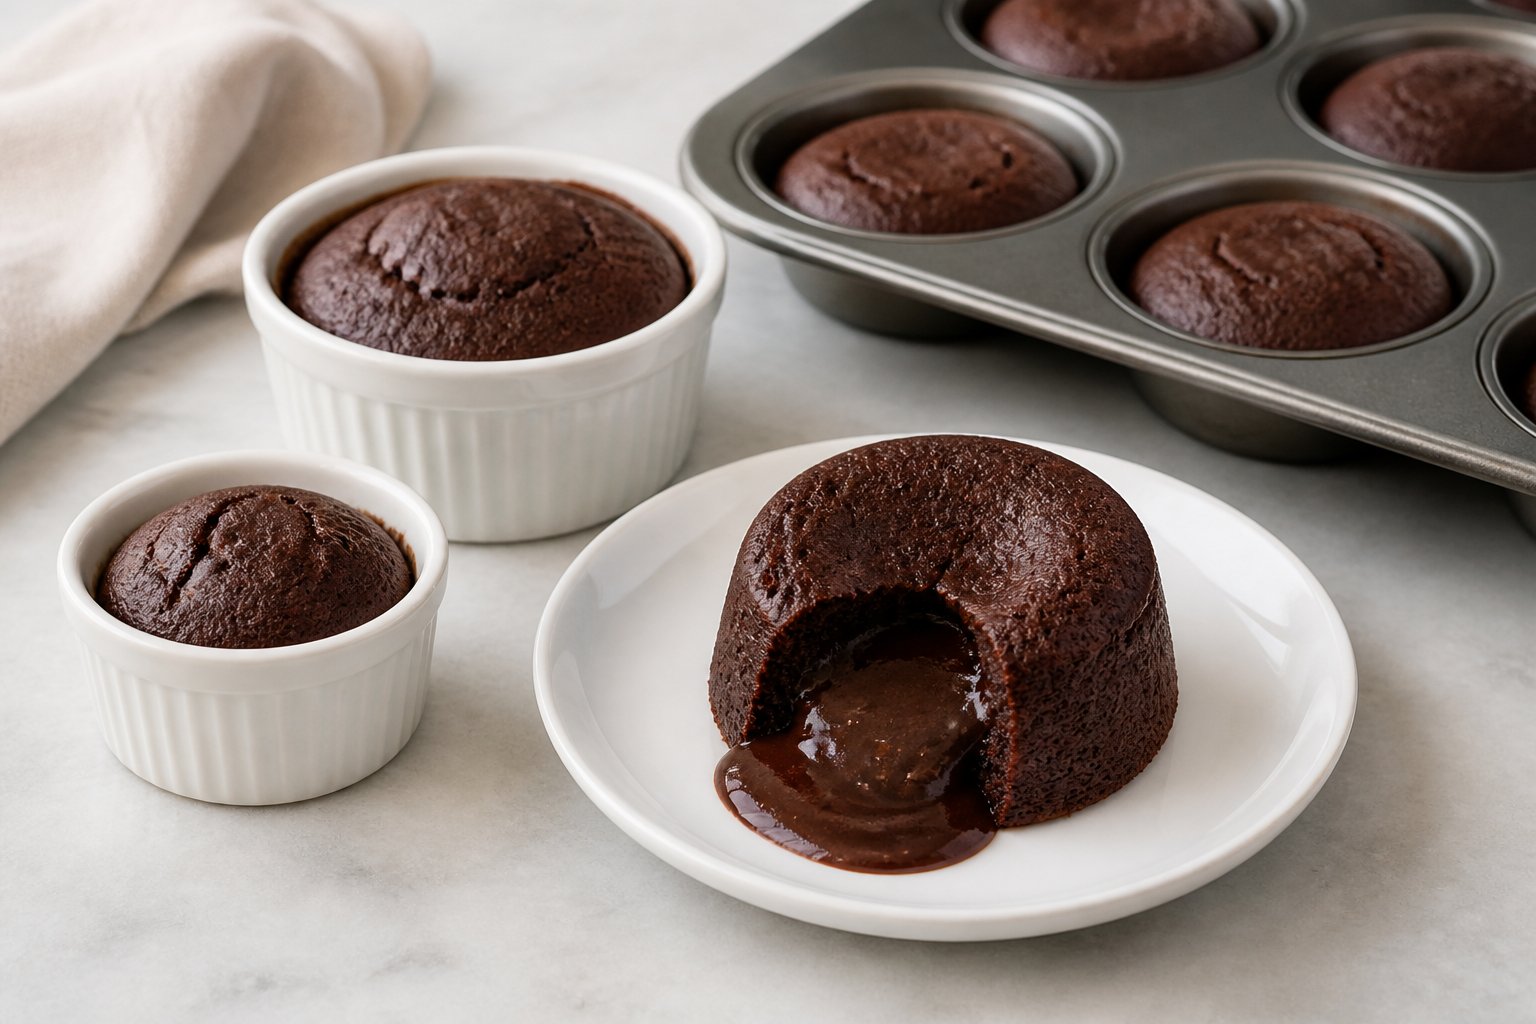
Ramekin size directly changes how long a lava cake needs in the oven, with smaller vessels baking faster and larger ones needing a few extra minutes to set the exterior. A muffin tin works as a reliable substitute if you don’t own individual ramekins.
Using 4-Ounce and 6-Ounce Ramekins
A 4 oz ramekin holds a single-serving portion and bakes in 12-14 minutes at 425°F, matching the recipe above. A 6-ounce ramekin, described as “the sweet spot” for lava cakes in this ramekin sizing guide, holds a more generous portion and typically needs 14-16 minutes since there’s more batter for the heat to reach. Sizing up further to 8-ounce ramekins risks a drier center unless you also increase the chocolate-to-flour ratio slightly.
How to Bake Individual Cakes in a Muffin Tin
Grease each cup of a standard muffin pan the same way you’d prep a ramekin, using butter and a dusting of cocoa powder. Fill each cup about two-thirds full and bake at 425°F for 10-12 minutes, checking a minute or two earlier than you would with ramekins since muffin cups are shallower and heat penetrates faster.
How to Tell When They Are Done
The most reliable cue is visual: risen, matte edges paired with a center that still looks glossy and slightly wet. A gentle jiggle test, nudging the pan and watching the middle move independently of the set edges, works better than a toothpick test, since a clean toothpick means the center has baked through completely.
Toppings, Variations, and Make-Ahead Tips
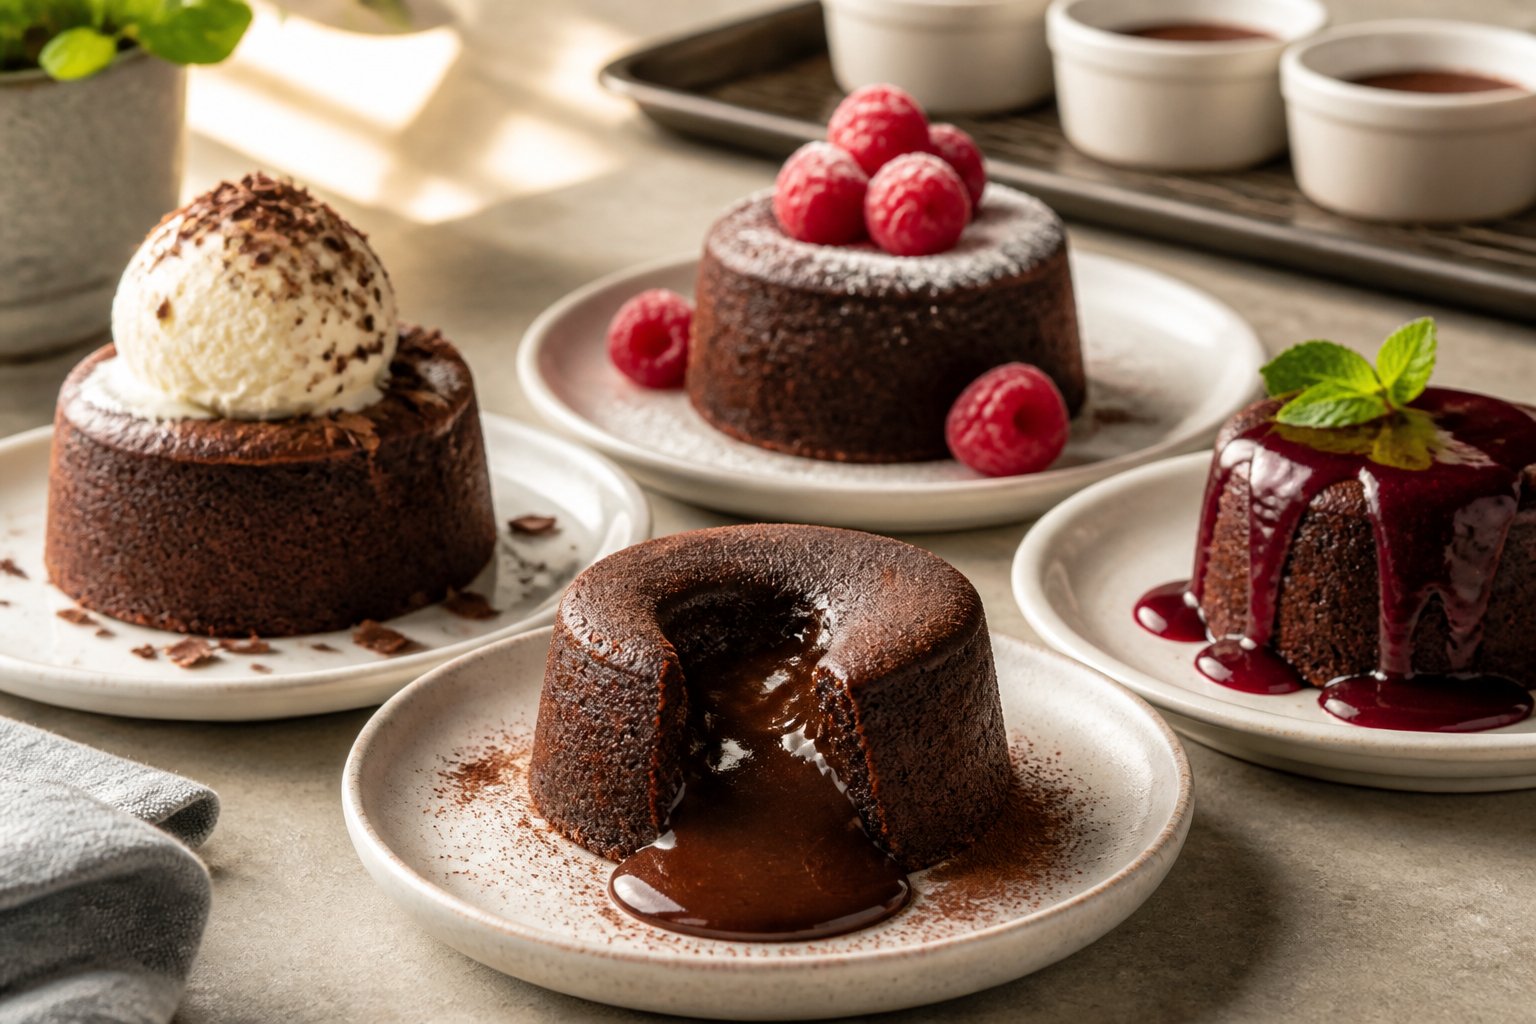
Vanilla ice cream is the classic pairing for lava cake, its cold creaminess balancing the warm, rich center on contact. Fresh berries, a dusting of powdered sugar, and a drizzle of chocolate syrup or caramel sauce round out the plate without overpowering the chocolate itself.
Best Toppings for Warm Chocolate Cakes
A scoop of vanilla ice cream melting slightly against the hot cake creates the temperature contrast that makes lava cake so memorable. Whipped cream offers a lighter alternative, while fresh raspberries or strawberries add acidity that cuts through the richness. Strawberry sauce, caramel sauce, or a spoonful of Nutella warmed slightly all work as drizzle options for special occasions.
Easy Flavor Variations to Try
Swap the vanilla extract for orange extract to create a chocolate-orange lava cake reminiscent of a classic candy bar flavor pairing. A few drops of peppermint extract turn the same base into a holiday-ready dessert. For a deeper mocha profile, stir espresso powder directly into the batter rather than using it only as a garnish note.
Can You Prepare or Store the Batter Ahead?
Yes, the batter can be mixed and portioned into ramekins up to a day ahead, then refrigerated and baked straight from the fridge with a few extra minutes added to the bake time. Baked and cooled lava cakes also freeze well for up to two months, according to this guide on make-ahead lava cake methods; wrap each one individually in plastic wrap before freezing, then reheat gently in the microwave until warm before serving.
A Warm Dessert Worth Serving Right Away
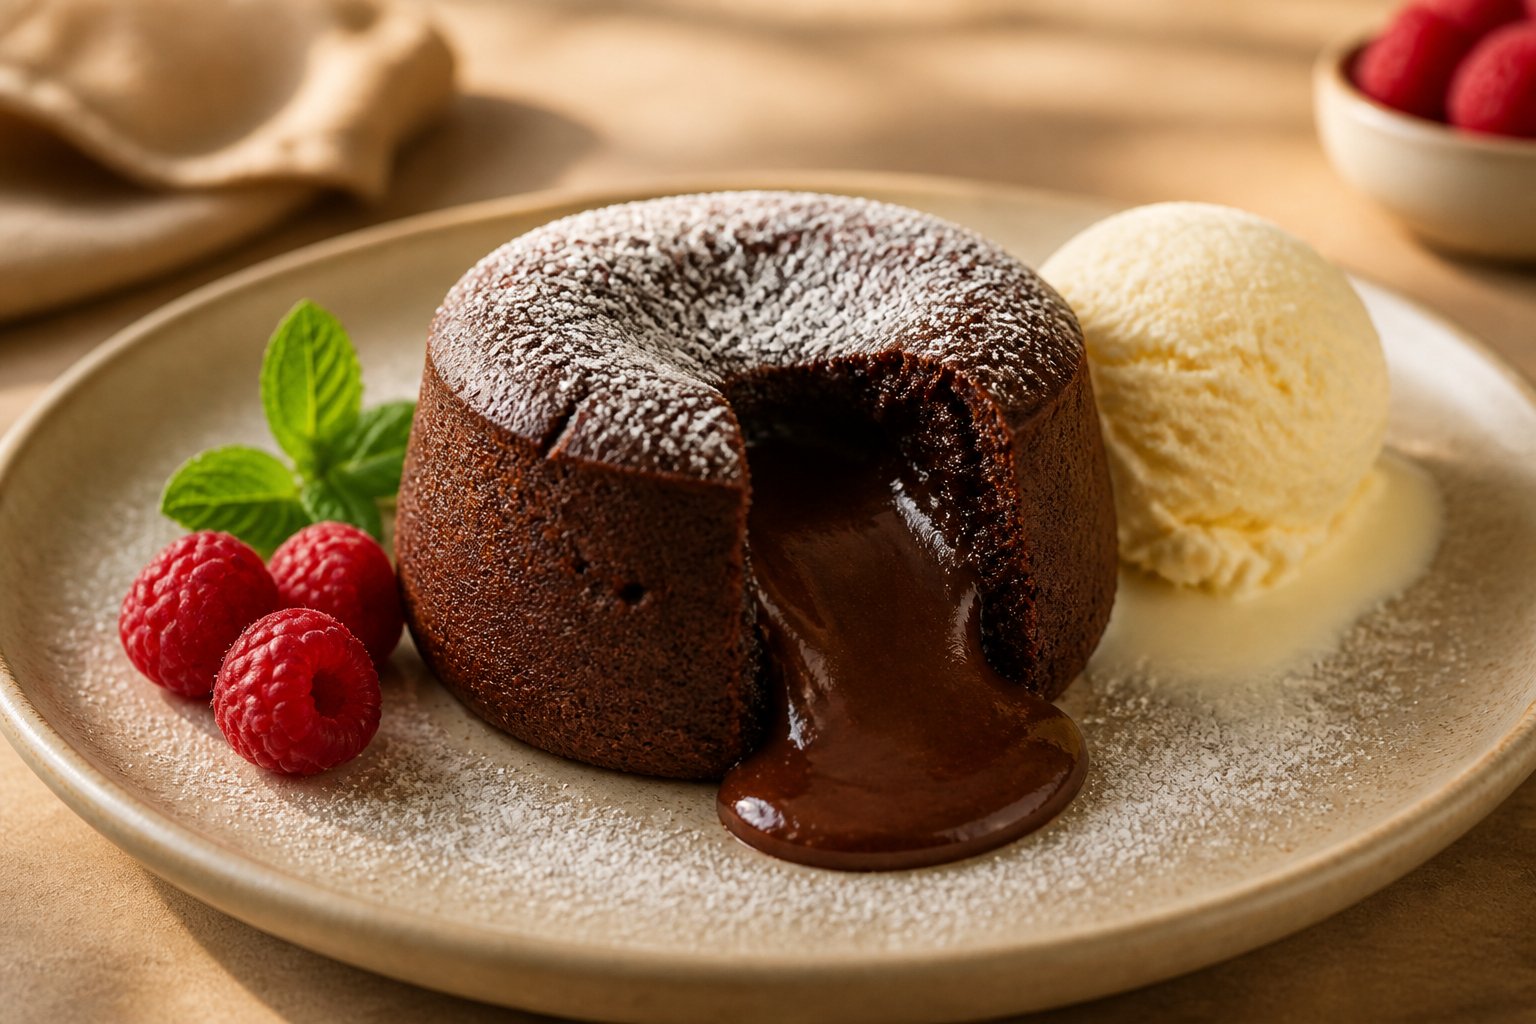
Molten lava cake rewards immediate serving more than almost any other dessert, since the gap between warm and cooled is the difference between a flowing center and a firm one. A few good chocolate bars, a hot oven, and a handful of ramekins are all it takes to bring restaurant-quality chocolate lava cake to your own table.
Pair the finished cakes with vanilla ice cream and fresh berries for the classic presentation, or dress them up with whatever toppings suit the occasion. The technique holds up whether you’re baking for two on a quiet night in or scaling the recipe up for a dinner party, and it stays forgiving even for first-time bakers.