
Is It Good to Air Fry Chicken Thighs? Benefits, Methods, and Tips
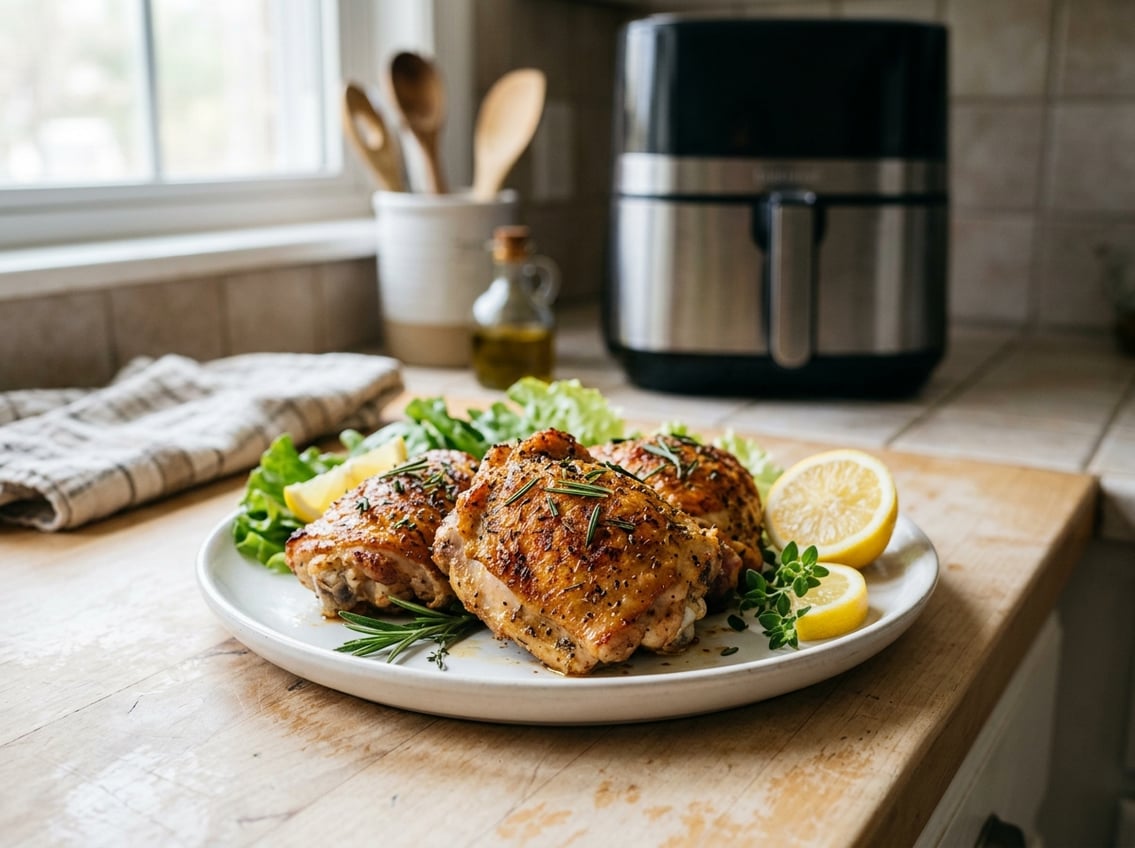
You can get juicy, flavorful chicken thighs with a crisped exterior using an air fryer, no deep frying required. Air frying locks in moisture while circulating hot air to create a crisp skin quickly, making it an efficient and reliable method for weeknight meals.

This post will guide you through why the air fryer works well for thighs. You’ll learn how to choose the right cut, simple seasoning and prep tips, and step-by-step cooking times.
Follow along and you’ll turn your air fryer into a go-to tool for fast, tasty meals.
Why Air Frying Is Ideal for Chicken Thighs
Air frying locks in juice, crisps skin, and shortens cook time while using far less oil than pan-frying or deep-frying. You get tender dark meat with a browned exterior and minimal cleanup.
Health and Convenience Advantages
When you air fry chicken thighs, you use a thin coating of oil or none at all, so you cut total fat compared with deep-frying. Air frying produces crispy chicken thighs with less surface oil, which helps when you’re tracking calories or trying to reduce saturated fat.
You also save time and energy. Preheat takes only a few minutes and a 6–8 ounce bone-in thigh finishes in roughly 20–28 minutes at 375–400°F, depending on size.
That makes air-fried chicken practical for weeknight meals and meal prep. Cleanup is easier too: a single basket and a tray replace large pans and splattered stovetops.
If you brine or season ahead, you can refrigerate and pop the thighs straight into the air fryer for fast, consistent results.
How Air Circulation Affects Texture
High-speed hot air creates a convection effect that dries the skin surface quickly, encouraging browning and crisping. This rapid surface dehydration produces chicken thighs with a crunchy exterior while preserving the moist interior.
Bone-in thighs benefit because the bone slows heat penetration, letting connective tissue break down without overcooking the outer layers. Aim for an internal temperature of about 175°F (79°C) for tender meat.
Use an instant-read thermometer to check doneness. Arrange thighs in a single layer with gaps between pieces so air circulates evenly.
Overcrowding causes steam pockets and soggy skin. Leave space for air to circulate.
Comparing Air Frying to Traditional Methods
An air fryer reaches browning temperatures faster than oven roasting and needs less time and preheating. You get comparable crispness to oven-roasted skin, but often with a shorter cook window.
Compared with pan-searing or deep-frying, air frying uses far less oil and reduces splatter. Pan-searing gives quick color but often requires finishing in the oven; deep-frying gives exceptional crust but with much higher oil absorption.
If you want skin with maximum crunch and minimal added fat, use the air fryer. For smoky char or grill marks, use a grill. For a batter-coated crisp, deep-frying still outperforms air frying.
Choosing the Best Chicken Thighs for Air Frying

Pick thighs that balance moisture and crisping potential for the result you want. Bone-in pieces give more flavor and steady cooking; skin and portion size change timing and texture significantly.
Bone-In vs. Boneless
Bone-in chicken thighs hold more fat and connective tissue, which keeps meat moist during the high heat of an air fryer. Expect slightly longer cook times—usually 4–8 minutes more—than boneless thighs, and aim for an internal temperature of about 175°F (79°C).
Place thicker parts toward the hottest area of the basket and check temperature near the bone for doneness. Boneless chicken thighs cook faster and more evenly.
They reach safe temperatures sooner and suit quick weeknight meals or recipes that call for slicing. Let boneless thighs rest after cooking to let juices redistribute, and avoid overcooking since smaller boneless pieces dry out faster.
Skin-On Versus Skinless
Skin-on chicken thighs give you the crispy exterior most people seek from an air fryer. The skin renders fat as it heats, creating brown, crackling texture when you dry-brine and add a small amount of baking powder.
For best results, pat skin very dry, season well, and cook skin-side down briefly before flipping to crisp both sides. Skinless thighs finish faster and absorb marinades more directly.
They remain juicy if you avoid high, prolonged heat. If you want a browned surface on skinless pieces, lightly oil and finish with a quick high-heat burst.
How Portion Size Affects Results
Thicker, larger bone-in chicken thighs require more time for the center to reach safe temperatures. Plan 18–25 minutes at 400°F (205°C) depending on size and air-fryer model.
Smaller or boneless pieces often finish in 12–18 minutes. Use an instant-read thermometer to confirm doneness rather than relying on time alone.
Leave space for air to circulate and cook in batches if needed. Consistent piece size gives uniform cooking, so trim or group similar-sized thighs together before seasoning and air frying.
Essential Ingredients and Seasoning Tips
Use a few reliable pantry staples, one or two bold spices, and a simple acid or oil to help seasoning stick and to boost browning. Small adjustments—salt timing, a dash of smoked paprika, or a short marinade—make the biggest difference in texture and flavor.
Core Pantry Staples
Keep kosher or sea salt, freshly ground black pepper, garlic powder, and onion powder on hand. Salt draws moisture to the surface for crisp skin; apply it 15–30 minutes before air frying or rub it on right before cooking if short on time.
Use a neutral oil with a high smoke point (grapeseed or avocado) to help spices adhere and encourage browning. A light brush or spray of oil is enough—about 1 teaspoon per thigh—so the air fryer achieves crisp edges without excess grease.
Add a citrus element (lemon juice or zest) or a small amount of sugar (brown or honey) when you want brightness or caramelization. If you plan to follow an air fryer chicken thigh recipe, trim excess fat and pat thighs dry for the best results.
Popular Seasoning Blends
A simple, versatile rub: 1 tsp garlic powder, 1 tsp onion powder, 1 tsp smoked paprika, ½–1 tsp salt, ½ tsp black pepper. This blend gives savory depth and a subtle smoky color.
For bolder profiles, try Cajun (paprika, cayenne, garlic powder, onion powder, thyme) or a Mediterranean mix (dried oregano, rosemary, garlic powder, lemon zest). Apply rubs evenly and press gently into the skin so the spices stay in place.
If you prefer a glazed finish, reserve a portion of a sweet-spicy rub or a teriyaki-style sauce to brush on during the last 3–5 minutes of cooking. This prevents burning while adding a sticky, flavorful coating.
Marinades and Flavor Variations
Buttermilk marinade tenderizes and adds tang; mix 1 cup buttermilk with 1 tsp salt, ½ tsp garlic powder, and ½ tsp onion powder, then refrigerate thighs 2–8 hours. Pat dry before air frying to keep the skin crisp while maintaining juiciness inside.
For quick Asian-inspired flavor, combine 2 tbsp soy sauce, 1 tbsp honey, 1 tsp grated ginger, and ½ tsp garlic powder; marinate 30–60 minutes. Shake off excess marinade to avoid soggy skin and glaze in the final minutes for caramelized color.
Try a dry-brine for extra flavor concentration: salt and smoked paprika applied 12–24 hours ahead under refrigeration. This method firms the skin and gives a deeper, more evenly seasoned result.
Prepping and Cooking Chicken Thighs in an Air Fryer
Proper surface oil, even seasoning, and single-layer placement make the difference between soggy and crispy thighs. Cook at high heat and use an instant-read thermometer to confirm safety while avoiding overcooking.
Preparation Steps for Optimal Crispiness
Pat thighs dry with paper towels to remove surface moisture; this helps the skin or exterior brown quickly. If skin-on, leave the skin intact; if skinless, lightly coat each thigh with 1/2 teaspoon oil to encourage browning.
Season evenly with salt (about 1/8 tsp per thigh) and your preferred spices. Rub the oil and seasoning into all surfaces so flavor and crust form during cooking.
Arrange thighs in a single non-overlapping layer with about 1/2 inch of space around each piece. Don’t overcrowd the basket; work in batches if necessary.
Preheating to 400°F for 2–3 minutes is optional but helps consistent browning.
How Long to Cook Chicken Thighs
Set the air fryer to 400°F for most thighs; timing depends on cut and form. Boneless, skinless thighs (unrolled) typically take about 10 minutes total.
If they’re sold as bundles, cook 10 minutes, flip, then 5–7 more minutes. Bone-in thighs need more time because the bone slows heat penetration.
Start at 400°F for 15 minutes, flip, and cook another 10–15 minutes until the center reaches the safe temperature. If skin-on, begin skin-side-down so the final browning happens on top.
Check earlier if your air fryer runs hot, or add a few minutes if pieces are larger than 6 oz each. Let thighs rest 2 minutes after cooking to let juices redistribute before serving.
Using a Meat Thermometer for Safety
Use an instant-read meat thermometer to confirm doneness: insert the probe into the thickest part of the thigh without touching bone. The target internal temperature is 165°F (74°C).
Check temperature toward the end of the recommended cook time rather than waiting until the full interval finishes. This prevents overshoot and ensures juiciness.
If the thigh reads 160°F, return it to the fryer for 1–3 minutes and recheck. Calibrate your thermometer periodically with an ice-water or boiling-water test.
Record temperatures for different thigh sizes and styles so you build a reliable guide for your specific air fryer model.
Getting Crispy and Juicy Results Every Time
Master salt, surface dryness, temperature control, and brief resting to get crackling skin and moist meat on air fryer chicken thighs. Small technique changes—like patting skin dry, using baking powder, and flipping once—produce consistent crispy chicken that stays juicy inside.
Techniques for Maximum Crunch
Pat each thigh dry with paper towels to remove surface moisture. Moisture prevents browning, so this step alone changes texture quickly.
Use a light dusting of baking powder mixed with salt and spices; baking powder raises pH and promotes browning without a metallic taste when used sparingly (about 1/2 teaspoon per pound of chicken). Rub a thin film of oil over the skin to help the heat conduct and crisp the skin evenly.
Arrange thighs skin-side up in a single layer with space between pieces. Crowding traps steam and softens skin.
Flip once halfway through cooking to brown undersides, but avoid excessive handling.
Temperature and Timing Adjustments
Preheat your air fryer to 400°F (204°C) for 3–5 minutes to ensure immediate high heat at contact. High starting heat helps render fat and crisp skin quickly.
Cook bone-in thighs 18–22 minutes, flipping at the halfway mark. Adjust to 16–18 minutes for smaller thighs or boneless pieces.
Use an instant-read thermometer: target 165°F (74°C) at the thickest point, then rest. Carryover will finish the meat while preserving juices.
If skin browns too fast, lower to 375°F (190°C) for the final 4–6 minutes. For extra-crispy skin, finish with a 1–2 minute blast at 425°F (218°C) if your air fryer allows.
Preventing Common Mistakes
Let thighs rest 5–7 minutes after cooking. Resting helps juices redistribute so the meat stays moist when you cut into it.
Use dry breadcrumb or panko mix lightly pressed onto the skin if you want a coated crust. Avoid heavy batters for air fryer chicken thighs because wet batter can drip and prevent airflow, causing soggy spots.
Check the air fryer basket to avoid overcrowding. Overcrowding lowers crispness.
Season under the skin and on the surface for deeper flavor in your air fried chicken thighs. Under-seasoning can mask flavor even if texture is perfect.
Serving Suggestions and Side Dishes
Air-fried chicken thighs pair well with roasted vegetables and hearty sides that balance the savory, slightly oily flavor of the skin. Choose sides that offer contrast in texture and acidity to brighten the plate.
Pairing With Roasted Vegetables
Roast Brussels sprouts, carrots, or broccoli at 425°F for 18–22 minutes with 1–2 tablespoons of oil, salt, and pepper. Toss the vegetables halfway through for even browning.
Cut vegetables small, such as halved Brussels sprouts or thin carrot coins, for quicker prep so they finish at the same time as the chicken. Finish roasted vegetables with a squeeze of lemon or a drizzle of balsamic glaze to cut fat and add brightness.
Arrange vegetables beside the thighs or pile them under the chicken to soak up juices.
Complementary Side Dishes
Choose one starch and one fresh element for a balanced plate.
Starch ideas:
- Mashed potatoes or sweet potatoes for creamy texture.
- Rice, quinoa, or couscous with herbs or lemon.
- Cornbread or garlic bread for a heartier pairing.
Fresh or acidic options:
- Simple green salad with vinaigrette.
- Coleslaw or cucumber salad for crunch and acidity.
Try this plating: 1 chicken thigh, 3/4 cup herbed quinoa, 1 cup roasted vegetables, and 1/2 cup crisp salad. This ratio keeps portions balanced and textures varied.
Storing and Reheating Leftovers
Let leftovers cool to room temperature for no longer than 2 hours. Store them in an airtight container.
Refrigerate leftovers for up to 3–4 days. Freeze them for 2–3 months if needed.
Reheat leftovers in the air fryer at 350°F for 5–8 minutes to restore crispness. Flip them once during reheating.
If you use the oven, warm leftovers at 375°F on a wire rack over a baking sheet for 8–12 minutes. Add a splash of chicken broth or a pat of butter if the meat seems dry.
Label containers with the date and contents. Use the oldest leftovers first.


