
Cook Chicken Breast on Stove: Juicy Pan-Seared Method
Cooking chicken breast on the stove is one of the fastest ways to make a simple dinner that tastes fresh and satisfying. When you use the right heat, a dry surface, and a short rest, you can turn a basic cut into a juicy, pan-seared main dish.
You only need a skillet, oil, seasoning, and careful timing. The key is to sear the chicken without drying out the center.
This method works well for busy weeknights and meal prep. It also gives you more control than baking because you can watch the color, manage the heat, and stop cooking as soon as the chicken reaches a safe temperature.

Prep the Chicken for Even Cooking
Even cooking starts before you heat the pan. If your chicken breast is uneven, the thin end dries out before the thick end is done.
Choose Boneless Skinless Chicken Breasts
Use boneless skinless chicken breasts for this method since they cook quickly and sear evenly. Pieces that are similar in size work best.
If one breast is much larger than the other, cook it separately or trim it to match. That small step makes a big difference.
Pound or Slice for Uniform Thickness
Place the chicken between sheets of plastic wrap or in a zip-top bag. Pound the thickest part until the breast is even.
You can also slice a very thick breast horizontally to make two thinner cutlets. Aim for a thickness that is close to even from end to end.
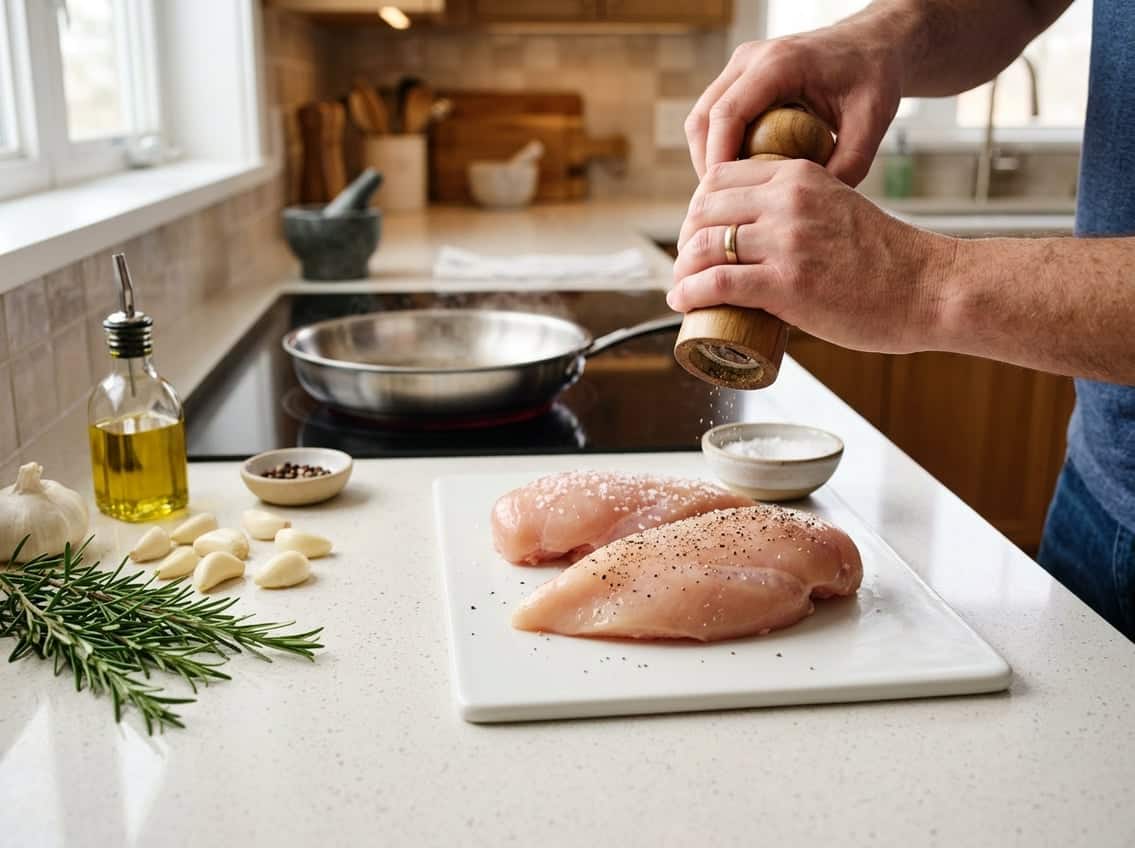
Dry and Season the Surface
Pat the chicken dry with paper towels before seasoning. A dry surface helps the chicken brown instead of steaming.
Season both sides with salt, pepper, and any dry spices you like. A well-seasoned surface gives the chicken more flavor and a better crust.
Pan-Sear It the Right Way
A good sear gives you browned flavor and a better texture. Use medium-high heat, enough oil, and enough space in the pan so the chicken can brown instead of steam.
Preheat the Skillet and Oil
Set a heavy skillet over medium-high heat and add a thin layer of oil. Let the oil heat until it shimmers.
Choose an oil with a higher smoke point, such as avocado, canola, or vegetable oil. This helps you avoid burning the surface too soon.
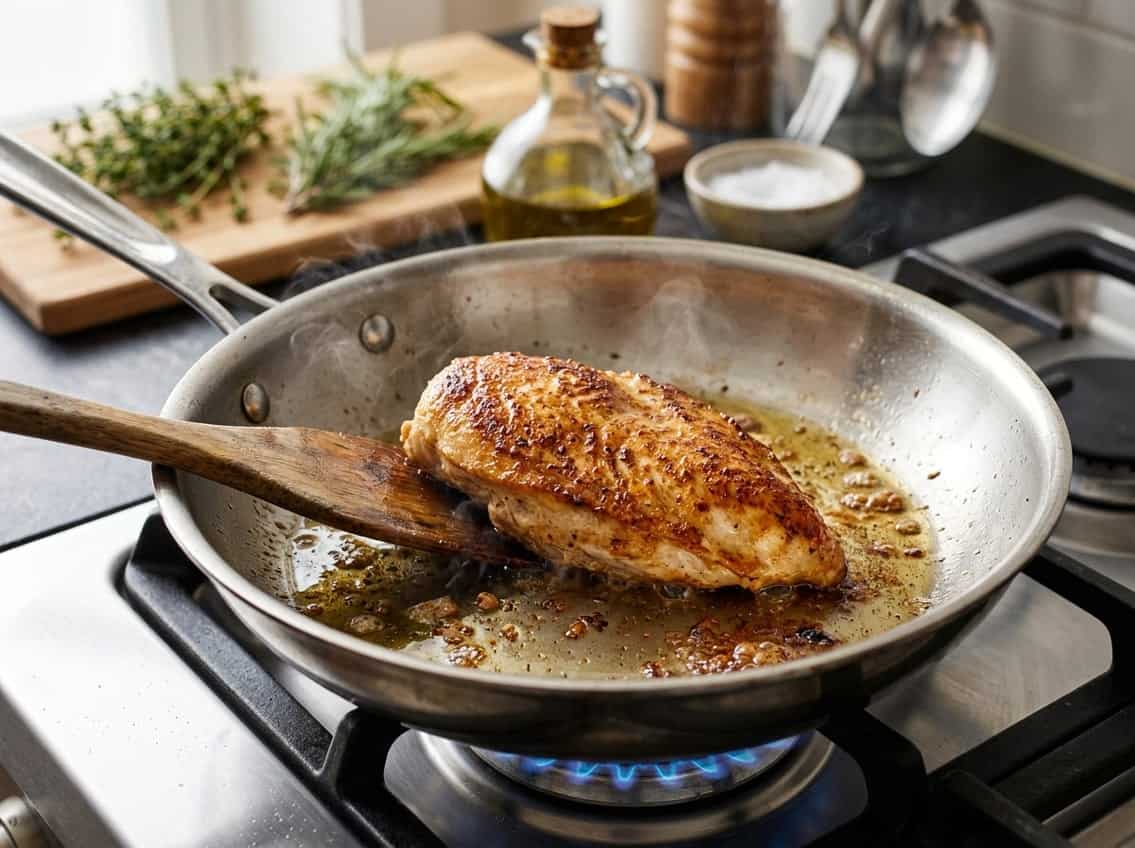
Sear Without Moving the Chicken
Place the chicken in the hot skillet and leave it alone. If you keep shifting it, the crust cannot form well.
Do not overcrowd the pan. If needed, cook in batches so each piece has room and heat around it.
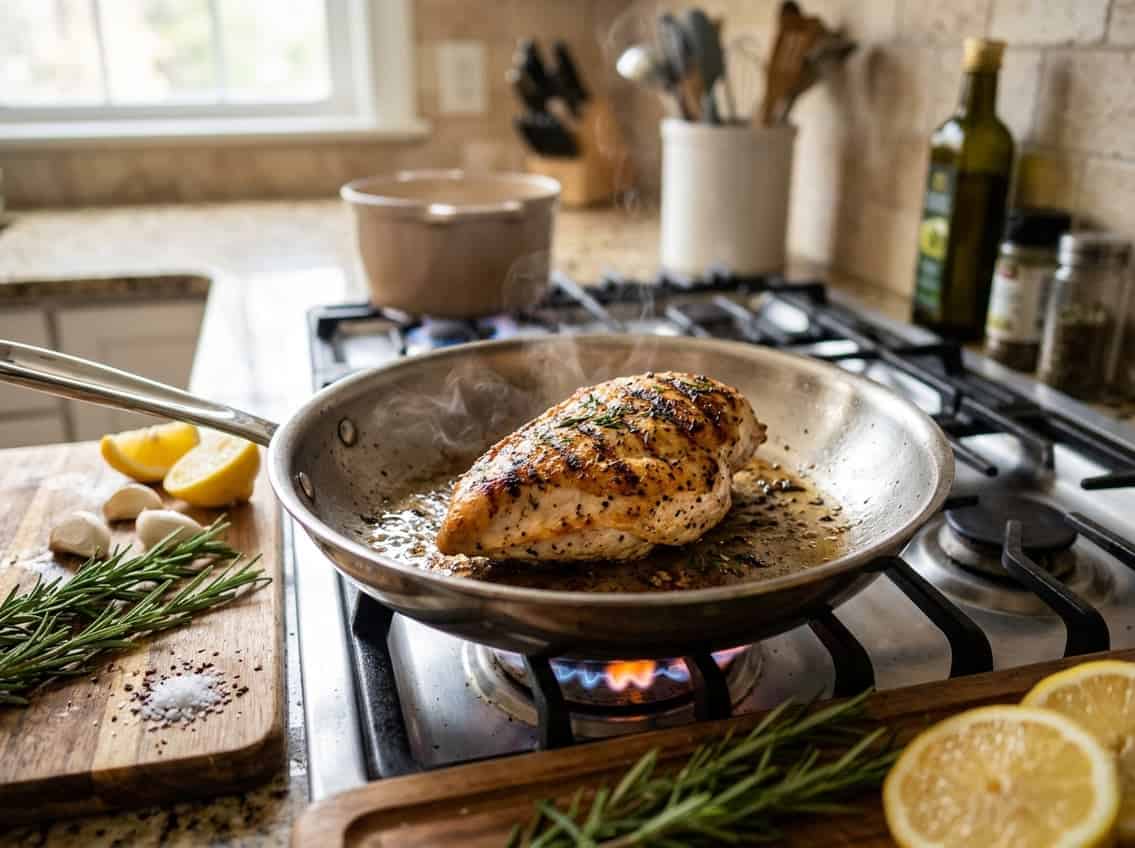
Flip, Finish, and Rest Before Slicing
Flip the chicken once the first side is deeply golden and it releases easily from the pan. Cook the second side until the center is done, then move the chicken to a plate or cutting board.
Let the chicken rest for several minutes before slicing. This keeps the juices inside and gives you a better pan-seared chicken breast.
Know When It Is Done
Cooking time changes with thickness, pan heat, and whether the chicken started cold or at room temperature. The safest way to judge doneness is by temperature, not color alone.
How Long to Cook Based on Thickness
For average boneless skinless breasts, the total cook time is often about 10 to 15 minutes. Thin cutlets need less time, and thicker pieces need more.
A standard stovetop chicken breast that is about 1 inch thick usually needs several minutes per side. If the chicken is thicker, it may take longer and can dry out if the heat is too high.
Use a Meat Thermometer for 165°F
Check the thickest part of the chicken with a meat thermometer. The safe internal temperature for chicken breast is 165°F.
This matters more than time alone. A thermometer gives you the most reliable result.
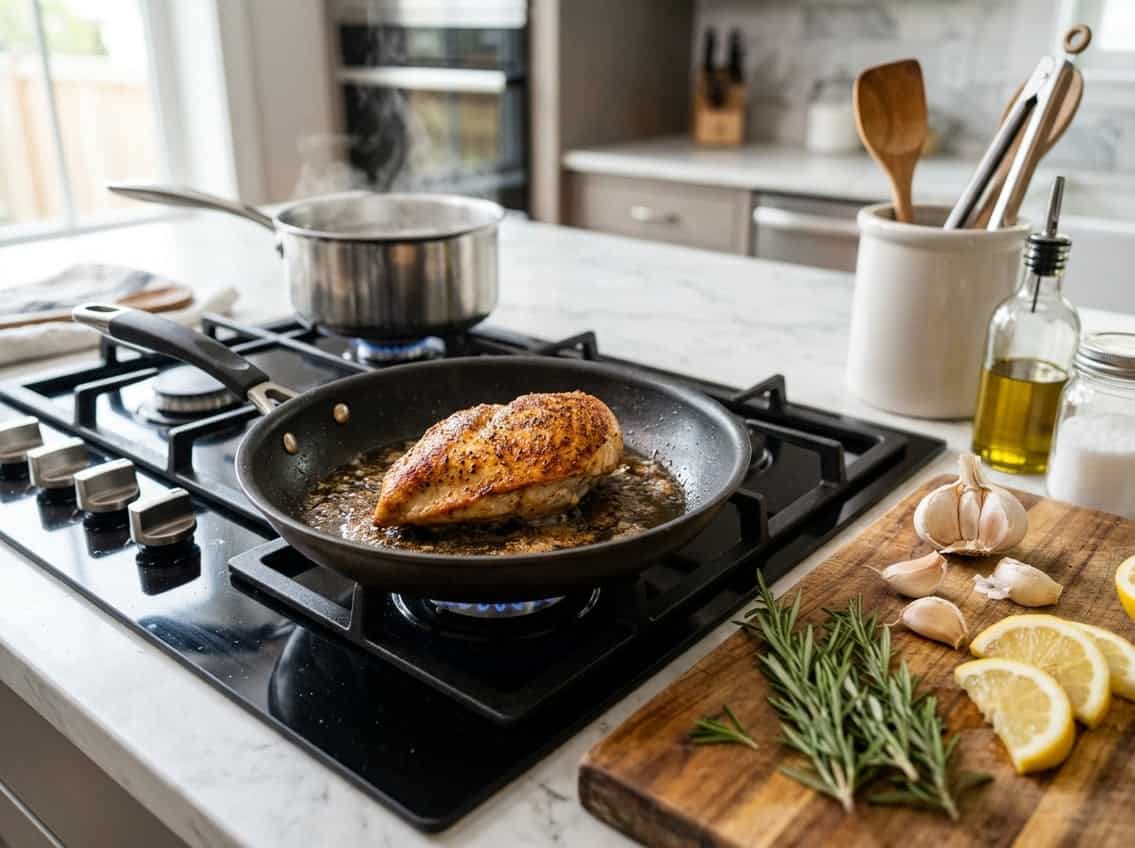
Visual Signs of Proper Doneness
Properly cooked chicken looks opaque in the center and feels firm, not rubbery. The juices should run clear when you cut into the thickest part.
If you see a glossy pink center, return the chicken to the pan for a short time and check again.
Serve, Store, and Reheat
A cooked chicken breast can be sliced many ways and used across several meals. It also stores well, which makes it practical for the week.
Best Ways to Slice and Serve
Slice the chicken against the grain for the most tender bite. Serve it over rice, pasta, vegetables, or a green salad.
You can also add it to sandwiches, wraps, grain bowls, or soup.
Refrigerating Leftovers Safely
Cool the chicken first, then store it in an airtight container in the refrigerator. Use it within 3 to 4 days for the best quality.
Keep leftovers separate from sauces or wet toppings if you want the chicken to stay firmer. Reheat only what you need so the rest stays moist.
How to Freeze Cooked Chicken
You can freeze cooked chicken for later use.
Wrap each piece tightly. Place it in a freezer-safe bag or container.
Label it with the date. Use it within about 3 months for best quality.
When you are ready to use it, thaw it in the refrigerator. Reheat it gently so the chicken does not dry out.


