
Can I Cook Chicken Thighs in the Air Fryer? Simple, Juicy, and Crispy Guide
You can cook chicken thighs in an air fryer and get juicy meat with crispy skin in less time than the oven. Set the air fryer to 400°F and use oil, salt, and your favorite seasonings to reach an internal temperature of 165°F while keeping the outside browned.

This guide covers which thigh types work best, how to prep them, and step-by-step air frying methods that fit weeknight dinner schedules. You’ll also find easy spice blends, troubleshooting tips, and serving and storing suggestions.
Types of Chicken Thighs for Air Frying
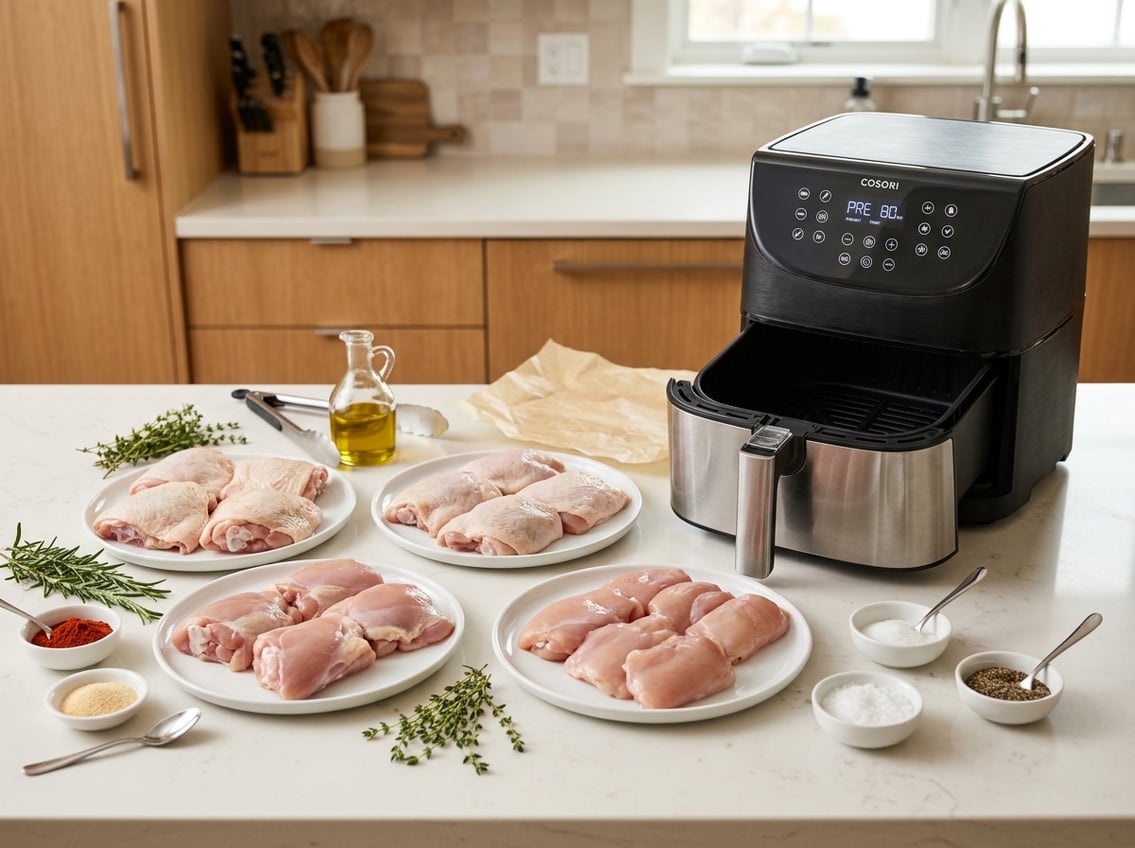
Choose between bone-in or boneless thighs, and decide whether you want skin left on or removed. Each choice affects cook time, juiciness, crispiness, and how you season or position the pieces in the air fryer.
Bone-In vs. Boneless
Bone-in chicken thighs hold more moisture around the bone, so they stay juicier during longer cooks. Cook them for roughly 25–35 minutes at 400°F, flipping halfway, until the internal temperature reaches 165°F.
Use an instant-read thermometer near the bone for accuracy. Boneless chicken thighs cook faster and more evenly across the surface. They usually finish in 10–17 minutes at 400°F depending on thickness and whether they’re rolled or unrolled.
Boneless thighs brown quickly, so watch for a golden crust and check internal temperature in the thickest part. For meal prep, boneless thighs are easier to slice and store.
Skin-On vs. Skinless
Skin-on chicken thighs get a crisp, flavorful exterior in the air fryer because the hot air renders fat and browns the skin. Place them skin-side down first, then finish skin-side up to crisp the surface.
Use a light oil spray to help browning. Skinless chicken thighs are leaner and cook faster, but they can dry out if overcooked.
Keep an eye on timing, use a small amount of oil, and consider brining or a simple marinade to boost juiciness. Reheat skinless thighs in the air fryer at lower heat to preserve texture.
Pick skin-on for crispy texture and richer flavor. Choose skinless for lower fat and easier slicing for salads or tacos.
Choosing the Best Cut
Match the cut to your plan. Serve-as-is dinners benefit from bone-in, skin-on thighs for presentation and flavor.
For quick weeknight meals or shredding for tacos, choose boneless skinless chicken thighs to save time. Inspect pieces before cooking and look for uniform thickness so thighs finish at the same time.
Trim excess fat or loose skin that may burn. If thighs are bundled, decide whether to cook them rolled for compactness or unrolled for faster, more even browning.
Arrange thighs in a single non-overlapping layer with space between pieces in the air fryer basket to allow proper air circulation.
Prepping Chicken Thighs for Superior Results
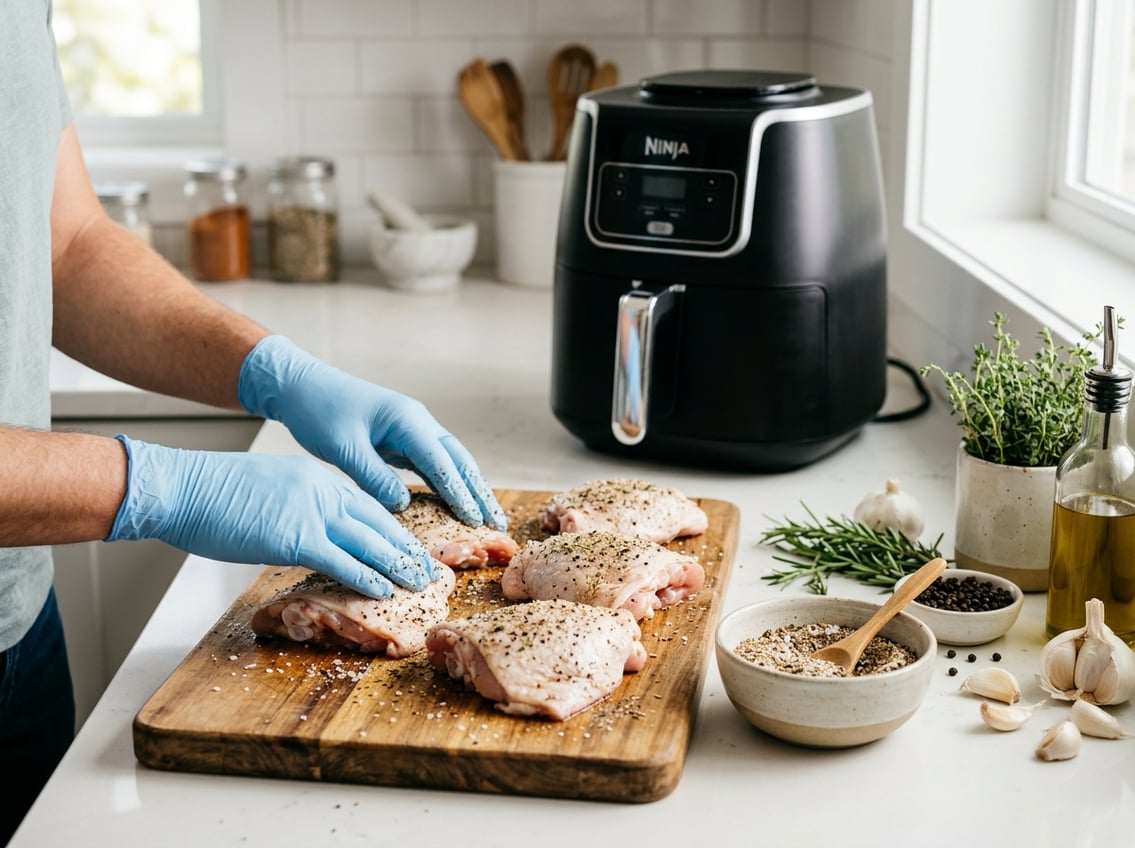
Trim excess fat, thaw completely if frozen, and pat the skin dry. Use a simple salt-forward seasoning with olive oil to promote crisping and even browning.
Trimming and Thawing
Remove large flaps of fat and any loose skin that will burn or curl in the air fryer. Trim close to the joint and discard only the excess; leaving a thin fat layer helps flavor and moisture.
Thaw thighs in the refrigerator for 12–24 hours if frozen. Pat each thigh dry with paper towels before seasoning.
Dry skin browns and crisps much better than damp skin. If you’re short on time, give them 15–20 minutes at room temperature after patting dry to even out the chill.
Seasoning Techniques
Salt both sides with kosher salt at least 15–30 minutes before cooking to help the meat retain moisture and improve flavor penetration. For a quicker option, salt immediately and let sit five minutes while you preheat the air fryer.
Use a mix of spices rather than piling on one flavor. A reliable blend: 1 tsp garlic powder, 1 tsp onion powder, 1 tsp smoked paprika, ¾–1 tsp salt, and ½ tsp black pepper per pound of thighs.
Rub the blend under and over the skin so the seasoning contacts the meat and the surface. For marinating, combine the dry spice blend with a tablespoon of olive oil and refrigerate for 1–4 hours.
Using Olive Oil and Spices
Lightly coat each thigh with ½–1 teaspoon of olive oil to help the spices adhere and to promote crisping. Use a brush or your hands to distribute oil evenly.
If you want extra flavor, add a small pinch of smoked paprika to the skin side for color and a subtle smoky note. Finish the rub with a touch more garlic powder and onion powder on the meat side.
Place thighs skin-side up in a single layer to preserve the seasoned surface and maximize airflow.
Step-by-Step Air Frying Methods
Set a specific temperature and time, place thighs in a single layer without crowding, and flip once or twice while monitoring internal temperature to 165°F. Adjust for bone-in vs. boneless thighs and desired crispiness.
Setting Temperature and Time
For boneless skinless chicken thighs, set the air fryer to 375°F (190°C). Cook for about 15–20 minutes total and start checking at 12–14 minutes if pieces are thin.
For bone-in skin-on thighs, use 375°F and plan 20–25 minutes, depending on size. Increase time by 2–4 minutes for very large pieces.
For extra-crispy skin, raise the temperature to 400°F (204°C) during the last 3–5 minutes. Use an instant-read thermometer and target 165°F (74°C) in the thickest part without touching bone.
Arranging in the Basket
Place thighs in a single layer with at least ½ inch (1–1.5 cm) of space between pieces for air circulation. Avoid overlapping; crowded chicken steams and won’t crisp.
If you have more thighs than fit, cook in batches. Lay skin-side up for skin-on thighs to promote crisping.
For boneless skinless thighs, lay them with the thickest part toward the center where heat concentrates. Lightly coat with oil or spray to improve browning.
Shake or rotate the basket after the first half of cooking if your model has uneven airflow.
Flipping and Checking Doneness
Flip thighs once about halfway through the total cook time for even color and texture. For example, flip boneless thighs at 8–10 minutes during an 18-minute bake.
Bone-in pieces may need a second brief flip if one side shows uneven browning. Check doneness with an instant-read thermometer inserted into the thickest part; 165°F (74°C) is safe.
If you don’t have a thermometer, cut into the thickest piece: juices should run clear and meat should be opaque. Rest cooked thighs 5 minutes before serving to let juices redistribute and retain moisture.
Best Spice Blends and Seasonings
Choose blends that build a crisp, flavorful crust while keeping thighs juicy. Focus on salt for seasoning balance, garlic and onion powders for savory backbone, and smoked paprika for color and mild smokiness.
Classic Blends
Use a simple dry rub for reliable results. Mix 1 tsp salt and 1/2 tsp black pepper per pound of thighs as your base.
Add 1 tsp garlic powder and 1 tsp onion powder for savory depth. Stir in 1–2 tsp smoked paprika for color and a light smoky note.
Massage the rub under and over the skin so the flavors penetrate and the skin crisps evenly. For a touch of sweetness, add 1 tsp brown sugar to encourage caramelization.
For a bolder finish, include 1/2 tsp chili powder or cayenne. Pat thighs dry before applying the rub.
Creative Flavor Options
Try layered seasonings or quick marinades to change the profile without extra cook time. For Mediterranean-style thighs, combine 1 tsp salt, 1 tsp garlic powder, 1 tsp onion powder, 1 tsp dried oregano, and 1/2 tsp smoked paprika.
Finish with lemon zest after cooking. For a smoky-Asian twist, make a paste with 1 tsp garlic powder, 1/2 tsp onion powder, 1 tsp smoked paprika, 1 tbsp soy sauce, and 1 tsp honey.
Coat the thighs and let rest 20–30 minutes. Use coarse salt and freshly ground black pepper to taste before cooking.
Tips:
- Pat dry and evenly distribute salt for crisp skin.
- Apply finer powders (garlic, onion) directly on the meat and reserve smoked paprika for the outer layer to maximize color.
Troubleshooting Air Fryer Chicken Thighs
Watch skin texture, internal temperature, and how crowded the basket is. Small tweaks to time, temperature, and placement usually fix common problems.
Achieving Crispy Skin
Crispy air fryer chicken depends on surface dryness and high, direct heat. Pat thighs completely dry with paper towels before seasoning.
Lightly brush or spray 1/2–1 tbsp oil per 4–6 thighs to encourage browning without excess fat. Set the air fryer to 400°F and place thighs skin-side up if you won’t flip them, or start skin-side-down for bone-in pieces and flip halfway.
Leave at least 1/2 inch between pieces for airflow. For extra crisp, finish with a 1–2 minute blast at 425°F while watching closely.
Avoid heavy wet marinades right before cooking. Use dry rubs or pat off excess marinade.
If skin still isn’t crisp, remove thighs, let them rest 3–5 minutes, then return to the air fryer briefly.
Avoiding Dryness
Overcooking causes dry meat more often than the air fryer itself. Use an instant-read thermometer and pull thighs at 160–162°F for boneless and 165°F for bone-in.
Carryover heat will raise them to safe final temps while preserving juiciness. Trim excess fat and avoid extremely thin cutlets without reducing time.
For boneless thighs, cut thicker pieces into uniform sizes so they finish together. Apply a thin coat of oil and a touch of salt to lock moisture and flavor.
If you plan to reheat, use 300°F for 5–7 minutes rather than the microwave. That preserves texture and avoids drying.
Cool to room temperature no more than 2 hours, then refrigerate in an airtight container for up to 3 days.
Batch Cooking Tips
When cooking many thighs, work in true single layers. Stacking kills crispness and causes uneven cooking.
If you have more than one rack’s worth, cook in batches and keep finished thighs on a low oven tray (200–225°F) loosely tented with foil to hold warmth.
Rotate basket positions if your air fryer has hot spots. Flip pieces midway and switch front-to-back when cooking large batches.
Use identical-size pieces per batch so timing stays consistent. Save time by par-cooking in a single high-temperature pass for about 75–80% doneness, then finish remaining batches fully as needed.
Serving and Storing Suggestions
Serve the thighs hot for the best texture and pair them with bright or creamy sides. Cool leftovers promptly before storing.
Favorite Sides for Chicken Thighs
Pair skin-on, air-fried thighs with starchy sides like mashed potatoes or buttered rice. Roasted or air-fried vegetables such as broccoli, Brussels sprouts, or carrots add texture contrast.
A simple green salad with lemon vinaigrette brightens a rich chicken thigh dish. For a cozy dinner, serve thighs with creamy coleslaw or mac and cheese.
Microwaveable steamed rice or pre-roasted sweet potatoes also work well. Garnish with chopped parsley or a squeeze of lemon to lift flavors.
Meal Prep and Leftovers
Let cooked thighs cool to room temperature for no longer than two hours before you refrigerate them.
Place the pieces in an airtight container. Layer parchment between them if you want to preserve the skin’s texture.
Use refrigerated leftovers within 3–4 days for best quality and food safety.
Slice cold thighs for sandwiches. Shred them for tacos or add to grain bowls with roasted vegetables for a fast weeknight lunch.
Label containers with the date to track freshness.
If you meal-prep portions for the week, pack sides separately when possible to keep the chicken crisp.
Freezing and Reheating
Freeze fully cooled thighs in a single layer on a tray for 1–2 hours. Then transfer them to a freezer bag to prevent sticking.
Store them properly to keep quality for up to 3–4 months. Use within that window for best texture.
Thaw the thighs in the refrigerator overnight before reheating. Reheat in the air fryer at 350°F (175°C) for 4–8 minutes until the internal temperature reaches 165°F (74°C).
This method restores crisp skin faster than using an oven. If you reheat from frozen, add a few extra minutes in the air fryer and check the temperature frequently.
For microwave reheating, cover to retain moisture. Finish in the air fryer or oven briefly to refresh the crust.


