
Why Do Chicken Thighs Take Long to Cook? Essential Facts and Techniques
Chicken thighs take longer than breasts because their muscle structure, higher fat, connective tissue, and the bone slow heat penetration. Collagen and fat require more time to break down, which makes thighs take longer to become tender and fully cooked.
Knowing this helps you choose techniques that speed up cooking without sacrificing juiciness.

This article explains how anatomy, bone-in versus boneless and skin differences, safe internal temperatures, and common cooking methods affect timing. Use practical tips and timing guides to cook chicken thighs faster and keep them moist and flavorful.
The Anatomy and Composition of Chicken Thighs
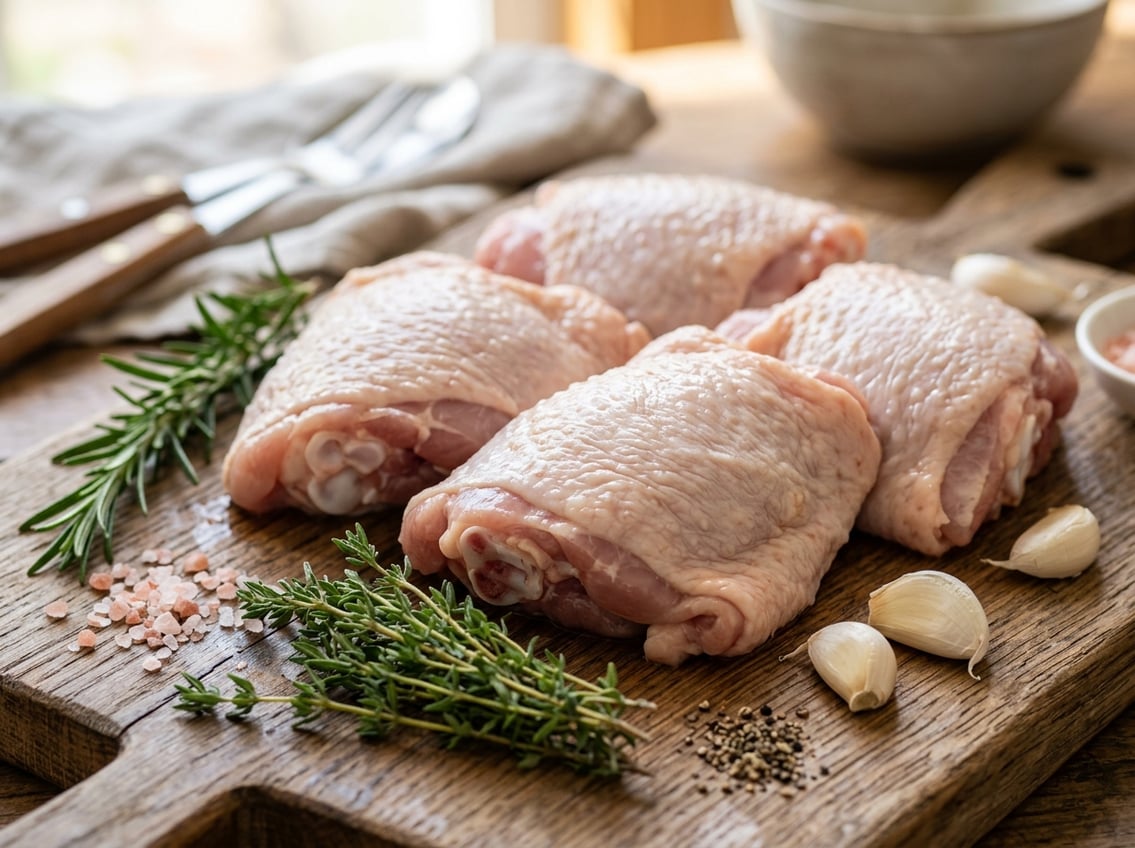
Chicken thighs contain muscle, connective tissue, fat, and sometimes bone and skin. These components determine how long thighs take to cook and how you should treat boneless, bone-in, skin-on, or skinless thighs for tender results.
Understanding Connective Tissue and Collagen
Thigh meat has more connective tissue and collagen than breast meat. Collagen sits between muscle fibers and around tendons; when you heat it slowly, it breaks down into gelatin, making the meat tender and juicy.
Rapid high heat leaves the collagen intact and the meat tough, especially with bone-in thighs where heat penetration around the femur takes longer.
To get tender chicken thighs, allow time and use the right temperature range. Braising, low roasting, or sous-vide convert collagen to gelatin without drying the meat.
If you use boneless chicken thighs or cut thighs into smaller pieces, cooking time shortens.
How Fat Content Influences Cooking Time
Thighs have more intramuscular fat than breasts, and skin-on thighs add an external fat layer. Fat insulates the muscle, slowing heat transfer to the center of bone-in thighs and increasing cook time.
Rendered fat also keeps the meat moist and flavorful after it melts.
Skinless or boneless chicken thighs cook faster because they lack the extra barrier and mass that fat and bone create. Their higher fat content means they tolerate higher temperatures without drying out.
Many cooks sear skin-on thighs first to render fat, then finish at a moderate temperature for tender results.
Bone-In vs. Boneless and Skin Variations
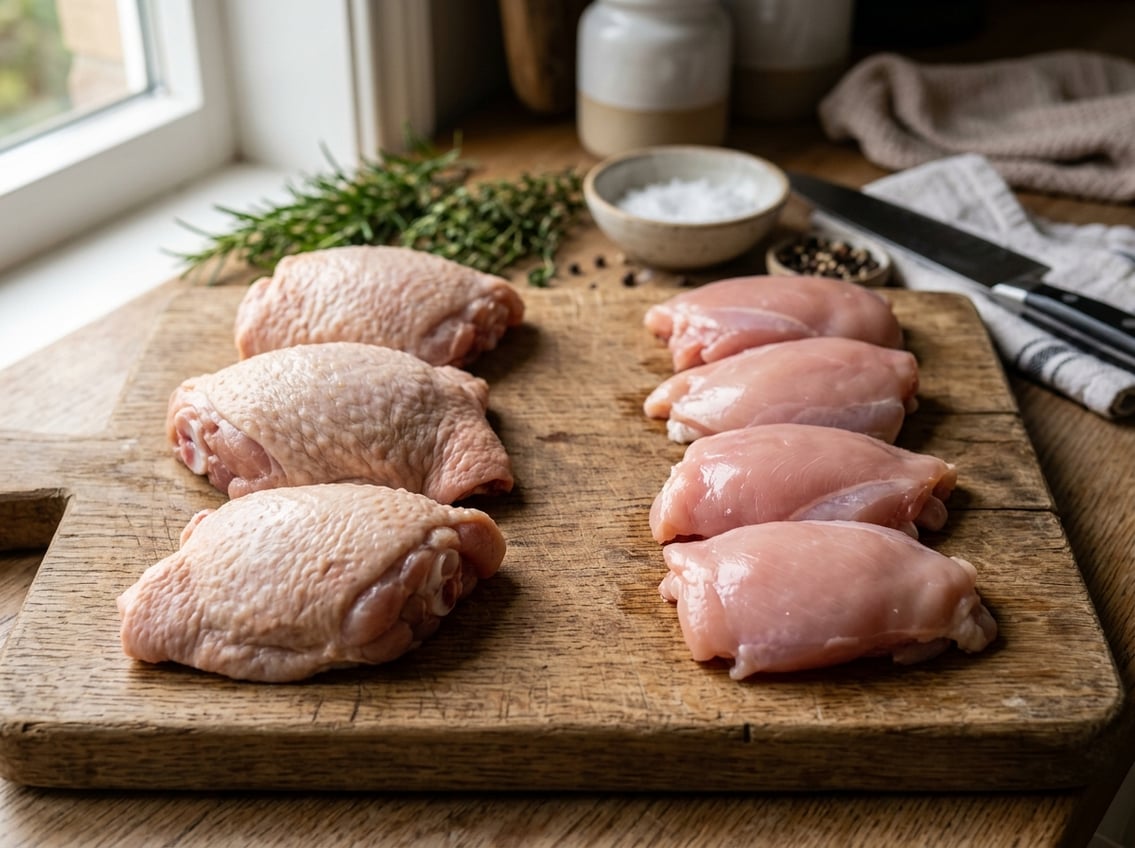
Bone-in pieces take longer to reach safe internal temperature because the bone slows heat penetration. Skin and thickness affect surface browning and moisture retention.
Choose cut and method based on time, texture, and whether you want crisp skin or quick cooking.
Differences in Cooking Boneless Chicken Thighs
Boneless chicken thighs are thinner and more uniform, so they heat through faster than bone-in pieces. Pan-fried or oven-roasted boneless thighs usually finish in 20–30 minutes at 400°F (200°C), depending on thickness.
Always check for an internal temperature of 165°F (74°C).
Because they lack a bone, boneless thighs cook more evenly and respond well to high-heat, quick methods such as stir-frying, grilling, or searing. They also absorb marinades faster.
Trim excess fat for faster, more even cooking.
Bone-In and Skin-On: Flavor and Timing Impact
Bone-in, skin-on thighs take longer to cook, typically 35–45 minutes at 400°F (200°C) for a medium-sized piece. The bone can create a small cold spot near it, so use an instant-read thermometer placed away from bone to confirm doneness.
Skin traps moisture and renders fat, which keeps meat juicy and produces a brown, crisp exterior when roasted or pan-roasted. Start skin-side down on high heat, then finish in the oven if needed.
Benefits of Cooking Skinless Chicken Thighs
Skinless chicken thighs cook faster than skin-on equivalents and reduce surface fat, so they suit quicker, leaner preparations. They typically reach 165°F (74°C) in 20–30 minutes in the oven at 400°F (200°C).
Without skin, you lose the natural barrier that preserves juiciness. Use marinades, brines, or shorter high-heat methods to avoid dryness.
Slice into even pieces or pound lightly to shorten cook time and ensure uniform doneness.
Key Factors Influencing Cooking Time
Chicken thighs take longer to cook due to muscle composition, piece size, cooking method, and surface moisture. Addressing each factor helps you choose the right time and technique to reach 165°F (74°C) safely while keeping the meat juicy.
Thickness, Size, and Starting Temperature
Thickness and mass control how long heat needs to reach the center. A 6-ounce bone-in thigh takes longer than a 4-ounce boneless thigh because heat must travel farther and bones slow heat flow.
If you start with cold thighs straight from the fridge, expect an extra 10–20 minutes in an oven or several minutes on a grill compared with room‑temperature pieces.
Flattening or butterflying reduces thickness and cuts cooking time by allowing more even, faster heat penetration.
Use a digital probe to check doneness at the thickest point without touching bone. Aim for 165°F (74°C) final temp; remove at about 160°F (71°C) and rest to avoid overcooking.
Cooking Method and Temperature Considerations
High, direct heat such as grilling, broiling, or searing shortens surface cook time and accelerates browning but can leave the center underdone if pieces are thick. Lower, moist methods like braising, slow roasting, or sous-vide convert collagen to gelatin over longer periods.
Oven roasting at 400°F (200°C) typically cooks bone-in thighs in 35–45 minutes; boneless thighs usually finish in 20–30 minutes. Pressure cookers cut time dramatically, about 10–15 minutes under high pressure.
Choose method based on whether you prioritize speed or tenderness.
Role of Marinades and Moisture
Marinades with acid or enzymes begin breaking down connective tissue and can slightly reduce cooking time while improving tenderness. Salt-based brines increase internal moisture.
Surface moisture affects browning and heat transfer. Pat thighs dry for crisp skin and a faster sear.
Cut thighs into uniform pieces for even heat, and avoid heavy sugary glazes early; sugars accelerate browning and can cause charring before the center is cooked.
Safe Cooking Temperatures and Doneness
Cook thighs to a temperature that ensures safety and allows connective tissue to break down for tenderness. Use an instant-read meat thermometer to confirm internal temperature.
Using a Meat Thermometer Correctly
Insert the probe into the thickest part of the thigh, avoiding contact with bone or fat. Hold the probe steady until the reading stabilizes.
Aim for at least 165°F (74°C) for safety. If you want more tender, gelatinized dark meat, cook longer to 190–195°F (88–91°C); that higher range melts connective tissue.
Thighs will rise 3–8°F while resting, so remove them a few degrees below your target.
Check multiple pieces when cooking more than one thigh, as size and oven placement cause variation. Calibrate your thermometer periodically and clean the probe between uses.
Visual and Textural Signs of Tender Chicken Thighs
Look for meat that pulls away from the bone slightly and has no translucent pink near the bone when sliced. Juices should run clear, not bloody.
Small pink spots near the bone can persist but are normal if the thermometer reads a safe temperature.
Press the thigh with tongs or a fork; properly cooked meat will yield easily and feel springy to tender. For thighs cooked to 190–195°F, the texture becomes shreddable and silky because collagen has converted to gelatin.
Use timing as a guide—at 425°F, many bone-in thighs take 25–40 minutes depending on size—but let thermometer and tactile checks decide doneness.
Popular Cooking Methods and Timing Guide
Oven baking, boiling, pan-frying, and grilling deliver predictable results when you control temperature, thickness, and whether thighs are bone-in or boneless. Target internal temperature, timing ranges, and a few technique tips for consistent, safe, juicy chicken.
Oven-Baked Chicken Thighs
Set oven to 400°F (205°C) for skin-on bone-in thighs to get crisp skin and even cooking. Arrange thighs on a rimmed sheet or roasting pan, skin side up, spaced for air circulation.
Bone-in thighs (about 6–8 oz each) take 35–45 minutes; boneless thighs of similar weight usually finish in 20–30 minutes.
Use a meat thermometer in the thickest part without touching bone; remove at 160°F (71°C) and rest 5–10 minutes so carryover reaches 165°F (74°C). For extra crispness, broil 1–2 minutes at the end but watch closely.
If thighs are thicker than 1.25 inches, add 5–10 minutes or reduce oven to 375°F and bake longer for gentler rendering of fat and connective tissue.
How Long to Boil Chicken Thighs
Place thighs in a single layer in a pot and cover with cold water or broth. Bring to a gentle simmer and cook bone-in thighs 20–30 minutes; boneless thighs usually take 12–18 minutes.
Check doneness with an instant-read thermometer: target 165°F (74°C).
If you need shredded meat, simmer toward the longer end so collagen breaks down and meat pulls apart easily. Add aromatics for flavor.
Keep a gentle simmer; rapid boiling can toughen the exterior and squeeze juices out.
Pan-Frying and Grilling Techniques
For pan-frying, start skin-side down in a hot skillet (medium-high) to render fat and crisp skin. Cook 6–8 minutes per side for bone-in thighs, 4–6 minutes per side for boneless.
Finish in a 375°F oven if thighs are thick to ensure internal safety without burning the crust.
On the grill, use two-zone heat: sear over direct high heat for 3–4 minutes per side, then move to indirect medium heat to finish. Bone-in grilled thighs typically need 20–30 minutes total; boneless 10–15 minutes.
Always rest 5 minutes after cooking. Use an instant-read thermometer rather than time alone.
Tips for Consistently Juicy Results
Control heat, timing, and surface contact to get tender, juicy thighs with the skin you want. Use an instant-read thermometer and manage where the meat sits relative to rendered fat to avoid overcooking or soggy skin.
Achieving Crispy Skin and Tender Meat
Start with skin-on chicken thighs that are well-patted dry. Salt the skin at least 20–30 minutes before cooking or just before searing to tighten skin and improve crisping.
Sear skin-side down in a hot skillet until deeply golden, 6–10 minutes depending on size and thickness. Transfer the skillet to a 400–425°F oven to finish.
For grilling, use two-zone heat: sear over direct heat, then move to indirect heat until done.
Avoid high, continuous direct heat that chars skin before the interior reaches 165°F. Use an instant-read thermometer to check internal temp at the thickest point, pulling thighs at 160–163°F and resting 5 minutes to reach 165°F while retaining juices.
Preventing Dryness and Overcooking
Trim excess fat, but leave the skin and a thin fat layer for moisture and flavor.
Thicker and larger thighs need more cooking time, so adjust time instead of relying on appearance.
If you use an air fryer or open rack, you will notice faster moisture loss. Reduce time or lower the temperature slightly, and check the internal temperature early.
Braising or baking in a shallow dish surrounds the meat with juices. This method boosts juiciness but softens the skin.
To combine both benefits, sear first, then braise briefly or add a small amount of liquid. Finish uncovered in the oven.
Set your oven or skillet temperature based on thigh thickness. For medium bone-in thighs, cook for 25–30 minutes at 425°F.
Always check with a thermometer. Let the meat rest so the juices redistribute for tender chicken thighs.


