
Is It Good to Fry Chicken Thighs? Expert Tactics and Flavors
You can fry chicken thighs and get juicy meat with a crisp, golden crust when you control brining, seasoning, and oil temperature.
Fried chicken thighs retain moisture because of their higher fat content, while the skin crisps for great flavor and texture.

This guide explains why thighs work well for frying, which ingredients and oils to use, and simple techniques for pan-fried, deep-fried, or oven-finished options.
You’ll find tips on seasoning, oil choice, frying times, and how to keep fried chicken thighs juicy through serving and reheating.
What Makes Chicken Thighs Ideal for Frying
Chicken thighs offer rich flavor, forgiving cooking, and reliable moisture.
Their higher fat content and connective tissue let you use bone-in or boneless preparations without sacrificing juiciness.
Flavor and Juiciness Compared to Other Cuts
Thighs hold more intramuscular fat than breasts, which boosts flavor during frying.
That fat renders as the meat heats, keeping the interior moist while the exterior crisps.
You get a deeper, more savory taste in thighs compared to boneless skinless chicken breasts.
Thighs carry bold seasonings and buttermilk marinades well because their fat keeps spices present through frying.
If you like milder flavors, thighs still work well because the extra fat helps mask slight overcooking.
Benefits of Bone-In vs. Boneless Thighs
Bone-in thighs concentrate flavor and provide insulation during frying.
The bone slows heat transfer, reducing the chance of an overcooked edge while the center cooks through.
Boneless chicken thighs brown faster and are easier to bread uniformly.
If you make a fried chicken sandwich, boneless skinless thighs create a thin, crisp crust and consistent chew.
Choose bone-in for maximum flavor and presentation.
Pick boneless or boneless skinless thighs for speed, uniformity, and ease of eating.
Texture and Moisture Retention
Thigh muscle fibers contain more connective tissue than breast meat.
That tissue breaks down into gelatin during cooking, keeping the meat pliable and moist.
Skin-on thighs crisp up well because the skin’s fat renders and fries into a crunchy barrier.
For boneless skinless thighs, use a wet marinade and a seasoned flour mix to build a protective crust.
Maintain oil temperature around 350–375°F and avoid overcrowding the pan to keep the crust intact.
These steps help keep the thigh’s interior tender and the exterior golden and crunchy.
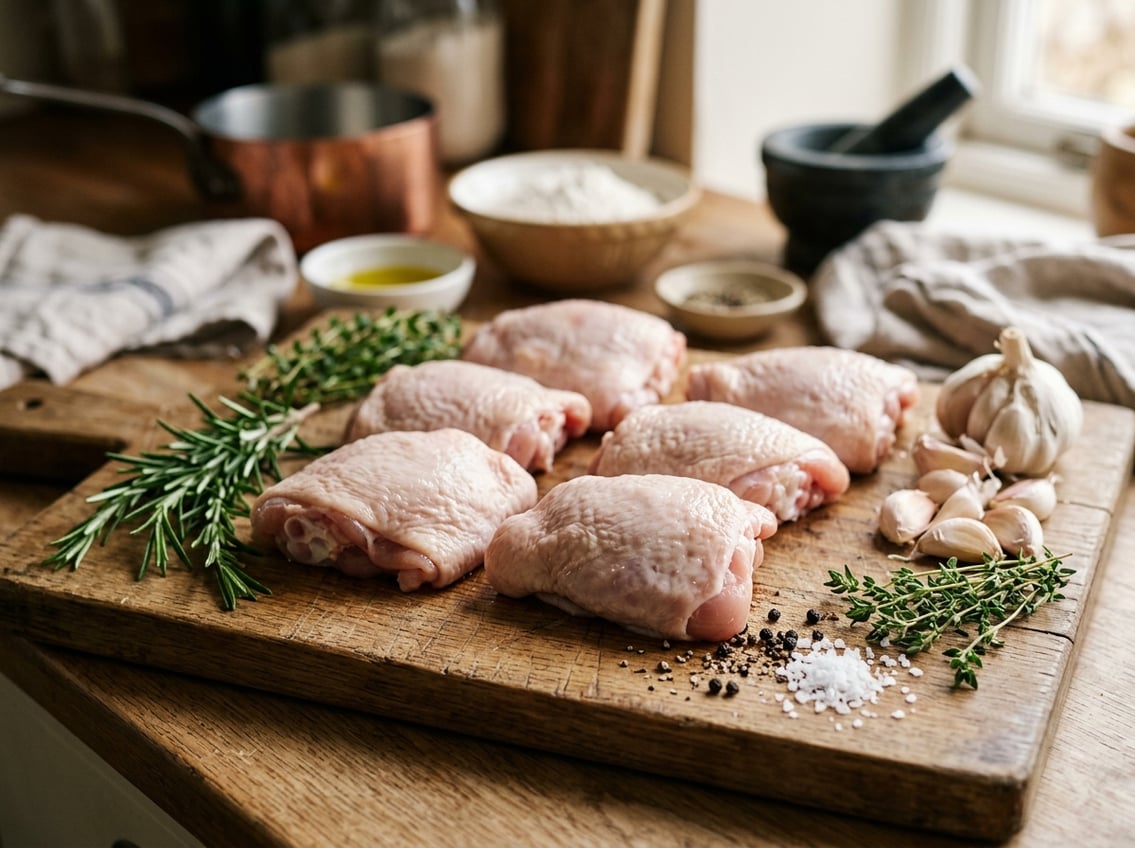
Key Ingredients and Seasoning for Best Results
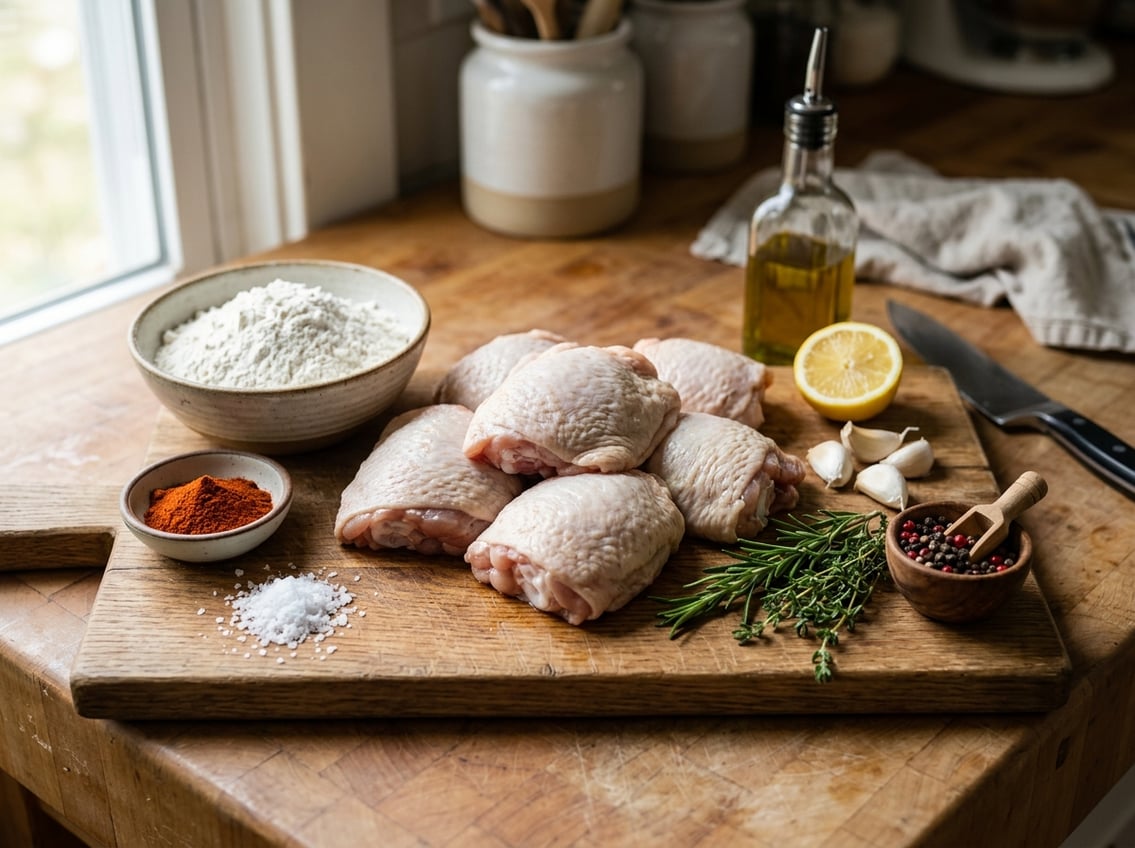
Use salt, pepper, and a few spices that enhance the thigh’s flavor.
Marinate with a wet mixture to tenderize and use seasoned flour for a crisp crust.
Essential Spices and Herbs
Use a blend of paprika, garlic powder, onion powder, salt, and black pepper.
Paprika adds color and mild sweetness.
Garlic and onion powders add savory depth.
Season with kosher salt and add cayenne pepper if you want heat.
Fresh or dried thyme complements dark meat.
Mix spices into both the marinade and the flour for layered flavor.
Buttermilk Marinade Advantages
A buttermilk marinade tenderizes and helps the crust stick.
The lactic acid in buttermilk breaks down muscle proteins, so even a 30-minute soak improves tenderness.
Use plain cultured buttermilk with salt and your spice blend to season the meat.
Buttermilk creates a tacky surface so the flour dredge adheres evenly.
Pat thighs lightly before dredging to keep enough moisture for the coating to stick.
Classic Flour Dredge and Breading Tips
Start with all-purpose flour and season it well.
For added texture, mix in cornstarch or fine cornmeal.
Dredge thighs fully and press the flour onto wet spots for an even layer.
Let coated thighs rest 20–30 minutes on a rack so the coating bonds.
For a thicker crust, dip again in buttermilk or egg and dredge a second time.
Choosing and Using the Right Frying Oil
Pick an oil that handles high heat, has a neutral flavor, and lets you keep a steady 350–375°F for crispy thighs.
The most common choices are peanut, canola, and neutral vegetable oil.
Smoke Point and Oil Flavor
Smoke point matters because you want oil that can get hot enough to brown the crust before breaking down.
Neutral oils like refined canola and vegetable oil let your seasonings shine.
Peanut oil adds a mild nutty note but still works with most recipes.
Avoid oils with strong flavors or low smoke points like unrefined olive oil.
Check for “refined” or “high-heat” on the label.
If oil starts to smoke, lower the heat and replace it if it smells acrid.
Canola, Vegetable, and Peanut Oil Compared
Canola oil smokes around 400°F and has a neutral flavor.
Vegetable oil blends often reach 400–450°F and work well for large batches.
Peanut oil smokes around 450°F and resists flavor transfer.
Avoid peanut oil if anyone has a peanut allergy.
Choose oil based on recipe, budget, and dietary needs.
For large batches, peanut or high-heat vegetable blends perform best.
For home cooking, canola is a reliable option.
Oil Quantity and Safe Frying Practices
Use a deep, heavy pot and enough oil so pieces float without touching the bottom.
Usually, 2–3 inches of oil is enough for bone-in thighs.
Fry in small batches to keep oil near 350–375°F.
Monitor temperature with a thermometer at the side of the oil.
Keep a splatter screen and long tongs or a spider strainer for safety.
Never leave hot oil unattended.
After frying, drain on a wire rack over a sheet pan so the crust stays crisp.
Let oil cool before filtering and storing.
Discard oil that smells rancid, is dark, or smokes at normal cooking temperatures.
Frying Techniques for Crispy, Even Chicken Thighs
Follow a few steps so thighs brown evenly, reach a safe temperature, and the crust stays crisp.
Preparing Thighs for Frying
Pat each thigh dry with paper towels to remove surface moisture.
If using bone-in, skin-on thighs, leave the skin on and score it lightly where thick.
Season both sides with salt at least 15 minutes before frying, or brine for 30 minutes to 4 hours.
Always pat dry after brining.
Pick a coating based on the texture you want: a light dusting of seasoned flour for a thin crust, or a dredge with egg wash and panko for a thicker shell.
For boneless skinless thighs, press the coating to adhere and rest on a rack in the fridge 20–30 minutes to set the crust.
Frying in Batches and Avoiding Overcrowding
Heat oil in a heavy pan or deep fryer to the target temperature before adding chicken.
Add only as many pieces as the oil can hold without crowding.
This usually means 3–4 medium thighs in a 12-inch skillet.
Overcrowding drops oil temperature and causes uneven cooking.
Fry in batches, return oil to temp between batches, and transfer thighs to a wire rack to drain.
Keep finished pieces in a 200°F oven on a rack if you must hold them briefly.
Monitoring Temperature With a Deep-Fry Thermometer
Use a deep-fry or instant-read thermometer to keep oil between 350°F and 375°F.
Aim for 350°F for thicker, bone-in pieces and up to 375°F for thinner boneless thighs.
Clip the thermometer to the side of the pot or check periodically.
Test internal doneness with a thermometer inserted into the thickest part: target 165°F to 170°F.
Rely on temperature for safe, evenly cooked thighs.
Achieving a Crispy Crust Every Time
Set up a workflow: dry, season, coat, rest, fry.
Resting coated thighs in the fridge for 20–30 minutes firms the crust.
Use neutral, high-smoke-point oil and keep oil temperature steady.
Try a double-fry technique: fry at 300–325°F to cook through, rest 5–10 minutes, then finish at 350–375°F to crisp.
Mix cornstarch into the flour for extra texture or finish with panko for a flaky crunch.
Drain on a wire rack and avoid stacking pieces so the crust stays crisp.
Pan Frying, Deep Frying, and Oven-Fried Options
You can cook chicken thighs in three main ways: shallow pan frying, deep frying, or oven/air-fryer methods.
Pan Fried Chicken Technique
Pan frying works for bone-in or boneless thighs when you want a golden crust without much oil.
Use a heavy skillet and heat 2–4 tablespoons of neutral oil until shimmering.
Pat thighs dry, season or dredge, and place skin-side down to render fat and get a crisp surface.
Cook over medium-high heat, then lower to medium to finish so the exterior doesn’t burn while the interior cooks through.
Flip only once or twice.
Rest on a wire rack for 5 minutes to keep the crust crisp.
Traditional Deep Frying Method
Deep frying creates the most even, shattering crust for classic fried chicken thighs. Use enough oil to fully submerge pieces and keep the temperature between 325–350°F (163–177°C).
Check the temperature with a thermometer. If the temperature drops below the range, the coating turns greasy; if it gets too hot, the crust burns before the meat cooks.
Batter or bread thighs with flour, buttermilk, or a double-dredge for a thick, crunchy coating. Fry in small batches to avoid crowding and temperature loss.
Bone-in thighs usually take 12–15 minutes. Check the internal temperature at the thickest point.
Drain the chicken on a wire rack to prevent steaming and sogginess.
Choose deep frying when you want restaurant-style crunch and are prepared for more oil and cleanup.
Oven and Air Fryer Alternatives
Oven-roasting and air frying reduce oil while still producing crisp skin and juicy meat. For oven-fried thighs, preheat to 425°F (218°C).
Coat thighs lightly with oil and breadcrumbs or a flour mix. Place them on a wire rack set over a baking sheet and roast for 25–35 minutes until the internal temperature reaches 165°F (74°C), flipping once for even color.
Air fryers mimic deep-fry textures with 1–2 teaspoons of oil per piece. Arrange thighs in a single layer and cook at 380–400°F (193–204°C) for 18–25 minutes, turning halfway.
Both methods work well when you want lower fat and easier cleanup. Adjust timing for bone-in versus boneless thighs.
Serving, Storing, and Reheating Fried Chicken Thighs
Fried chicken thighs pair well with creamy, acidic, or crisp sides. Store them promptly in airtight containers and reheat using dry heat to revive crunch without drying the meat.
Best Side Dishes for Fried Chicken
Choose sides that balance the thigh’s richness. Mashed potatoes with butter and a splash of milk or cream add comforting starch.
Coleslaw brings bright acidity and crunch. A vinegar-based slaw cuts grease more effectively than a heavy mayo version.
Greens like sautéed collards or steamed green beans add color and fiber. For sandwiches, dress a soft brioche bun with pickles, shredded lettuce, and spicy mayo for contrasting textures.
Cornbread or baked beans make a good choice if you want a Southern-style plate.
How to Store Fried Chicken for Maximum Freshness
Let thighs cool at room temperature for no more than one hour before storing. Place pieces in a single layer in airtight containers or wrap individually in foil to avoid crushing the crust.
Refrigerate at 40°F (4°C) or below and use within 3–4 days. For longer storage, freeze on a tray until firm, then transfer to freezer bags; frozen fried chicken keeps quality up to 4 months.
Label with the date and avoid stacking hot pieces together, since this traps steam and softens the coating.
The Right Way to Reheat Fried Chicken
Use dry, circulating heat to restore crispness while keeping the interior moist. To use an air fryer, place thighs in a single layer at 375°F for 5–8 minutes, flipping once. Check that the inside reaches 165°F.
For the oven, preheat to 400°F, set thighs on a wire rack over a rimmed sheet pan, and heat for 10–15 minutes.
Avoid the microwave for whole pieces because it produces steam that softens the coating. If you must microwave, use it only to warm small cut pieces briefly, then crisp in a skillet or under the broiler for 1–2 minutes.
Lightly spritz the crust with oil before reheating to help brown and crisp the exterior.
Leftover Fried Chicken Ideas
Turn leftover fried chicken into quick meals that keep the texture crisp.
Chop thighs and add them to a warm fried rice with scallions and soy sauce for a fast weeknight dinner.
Shred the meat for chicken tacos with slaw and pickled onions.
Reheat a thigh until crisp and place it on a toasted bun with pickles, shredded lettuce, and spicy mayo for a fried chicken sandwich.
Use smaller pieces in a salad with a vinegar-based dressing to balance the crust.
Dice the chicken and add it to a breakfast hash with potatoes and onions.


