
How Should Chicken Thighs Look When Cooked: Visual and Safety Guide
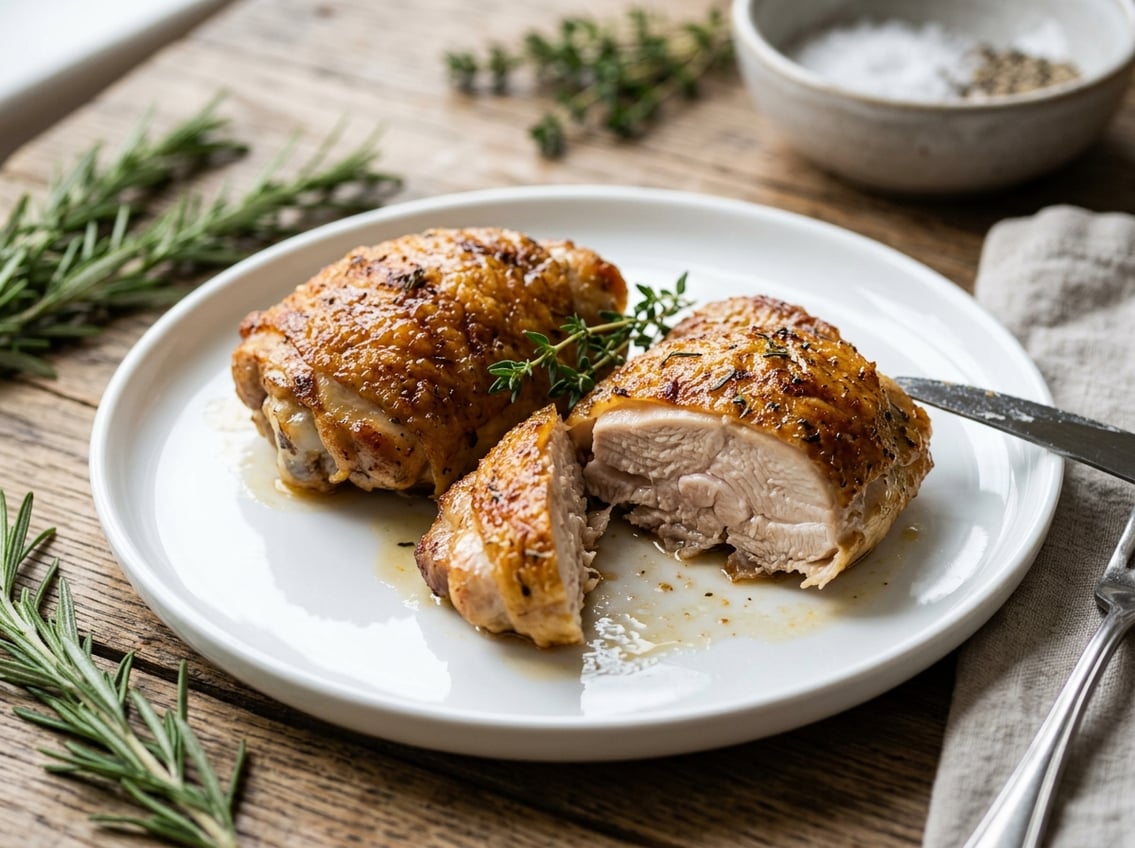
You want to know at a glance whether a chicken thigh is safe and perfectly cooked. Look for golden-brown, crisp skin (if skin-on), opaque meat that flakes easily, clear juices, and an internal temperature of 165°F (74°C) in the thickest part.
If you see golden skin, clear juices, fork-tender meat, and 165°F, you can plate with confidence.

This post explains the visual signs, texture checks, and safety steps that let you judge doneness reliably across baking, grilling, pan-searing, and braising.
You’ll learn how bone-in vs. boneless and skin-on vs. skinless thighs change appearance and cook times, so you can avoid common mistakes and get consistently juicy results.
Key Visual Indicators of Doneness
Look for clear, specific signs on the skin, the meat, and the juices to decide if thighs are cooked safely and still juicy.
Each area gives different information: skin shows surface heat and fat rendering, meat color shows internal protein changes, and juices indicate how thoroughly the muscle fibers have coagulated.
Skin Color and Texture
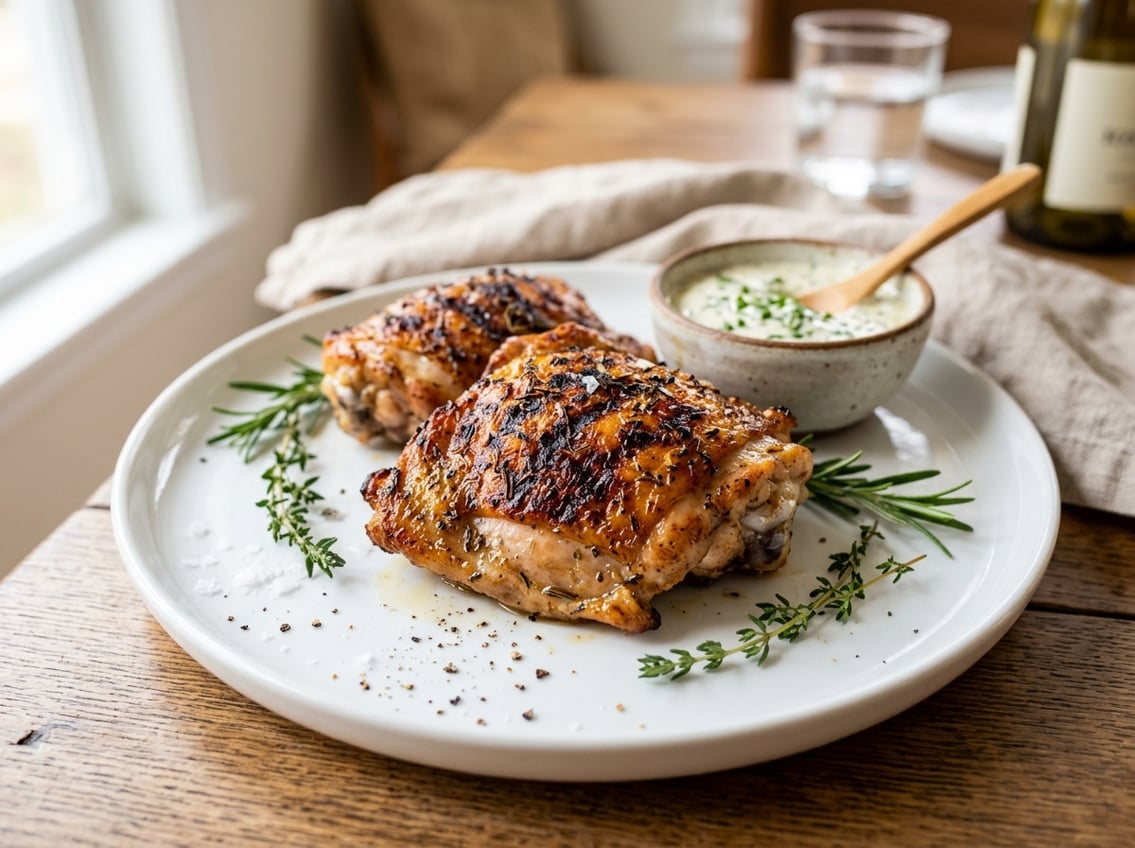
Well-cooked chicken thighs have skin that is evenly golden-brown to deep amber.
Crisp, slightly blistered skin means the fat beneath has rendered and the surface reached high heat; pale or rubbery skin indicates undercooking or insufficient heat.
If the skin is blackened or charred in spots while the interior remains cool, you’ve likely overcooked the surface.
That creates bitter flavors and can leave the meat underdone near the bone.
Press the skin lightly with tongs or a fork.
It should snap back and feel firm, not floppy.
For bone-in, skin-on thighs, even browning around the bone area shows that heat reached the thicker parts.
Meat Color and Opacity
Cooked chicken thighs look opaque throughout, with the muscle fibers turning from translucent to a light beige or pale brown away from the bone.
A faint pink tint near the bone can occur in fully cooked dark meat; this comes from myoglobin and is not always a sign of undercooking.
Avoid glossy, glassy sections or translucent flesh; those show undercooked chicken and a food-safety risk.
If the meat flakes easily and pulls away from the bone with light fork pressure, the connective tissue has broken down properly.
Overcooked chicken appears stringy, dry, and sometimes chalky in texture.
Juice Clarity
When you pierce the thickest part of the thigh, the liquid should run clear or slightly tinted by cooking juices—not bright pink or red.
Clear juices mean the proteins have coagulated and the interior reached safe temperature.
Pink-tinged or bloody juices indicate undercooked chicken; continue cooking until the juices clear and the internal temperature reads at least 165°F (74°C).
Use the juice check alongside a thermometer and texture tests.
Brined or very young birds may yield paler juices, so rely primarily on juice clarity plus opacity and firmness to confirm doneness.
Essential Safety Checks
Check temperature accurately, avoid touching bone, and watch texture as you test doneness.
Use a calibrated instant-read thermometer and expect dark meat to stay juicier at higher finish temperatures.
How to Use a Meat Thermometer
Insert an instant-read probe into the thickest part of the thigh, avoiding bone and visible fat.
Hold the probe steady for the time the thermometer manufacturer recommends (typically 5 to 15 seconds for digital units) before reading the display.
When you use a leave-in thermometer, position it so the tip sits in the center of the meat and not against bone; bone reads hotter and gives a false high.
Calibrate before use by checking the probe in ice water (should read 32°F / 0°C) or boiling water (212°F / 100°C at sea level) and adjust readings if needed.
Clean the probe with hot, soapy water between checks to prevent contamination.
For even cooking, check multiple thighs if sizes vary.
One reading doesn’t guarantee every piece reached the same temperature.
Safe Internal Temperature
Poultry is safe to eat when it reaches an internal temperature of 165°F (74°C).
Measure at the thickest point of the thigh meat, not the bone or near the skin.
For texture preference, many cooks allow dark meat to reach 175 to 180°F (79 to 82°C) so connective tissue breaks down and the meat becomes more tender.
That higher range is still safe, but track timing to avoid drying the exterior or burning sauces.
Record temperatures if you cook regularly to develop consistent timing for your oven, grill, or pan.
Carryover cooking can raise temperature 3 to 5°F after you remove the thighs, so you can pull them slightly below your target if you’ll rest them.
Risks of Undercooked or Overcooked Chicken
Undercooked chicken can contain Salmonella, Campylobacter, or other pathogens that cause foodborne illness.
Symptoms can include nausea, vomiting, diarrhea, and fever; those risks increase for young children, older adults, pregnant people, and immunocompromised individuals.
Overcooked chicken becomes dry, stringy, and less flavorful as proteins contract and moisture leaves.
Use a thermometer, remove thighs when they hit your target temperature, and let them rest 5 to 10 minutes to redistribute juices.
If a thigh looks pink but reads 165°F, the temperature is the reliable safety indicator.
Color alone can mislead because dark meat and bone marrow pigments sometimes remain pink after safe cooking.
Texture and Tenderness Signs
You can tell doneness by feel and by how the meat responds to cutting or pressing.
Pay attention to firmness, how juices behave, and differences that bone presence causes.
Firmness and Springiness
Press the thickest part of the cooked chicken thigh with a finger or tongs.
It should feel firm but yield slightly and spring back within a second or two.
If the meat feels very soft and gummy, it’s likely undercooked; if it is hard and very tight, it’s overcooked.
Use a fork to test: properly cooked chicken thighs will offer light resistance and pull apart into fibers rather than sliding off in a single rubbery sheet.
Aim for an internal temperature of 165°F (74°C) as your primary check, then confirm texture.
When you probe bone-in chicken thighs, avoid touching bone with the thermometer because that gives a falsely high reading.
Signs of Juiciness
When you cut or pierce cooked chicken thighs, clear juices or slightly tinted pale juices should run out.
Bright red or bloody juices indicate undercooking; thick, dry meat that sheds no liquid suggests overcooking.
Look for visible moisture within the fibers.
The meat should flake and glisten, not crumble.
Rest the thighs 5 to 10 minutes after cooking; this short rest helps juices redistribute so the meat appears and tastes juicier when sliced.
For packed batches, check multiple pieces since heat distribution varies across a pan or grill.
Difference Between Bone-In and Boneless
Bone-in chicken thighs tend to retain more moisture and feel slightly firmer near the bone because the bone conducts heat differently.
You may see a faint pink ring close to the bone in larger pieces; that can be normal if the internal temperature at the thickest meat is 165°F (74°C).
Boneless cooked chicken thighs cook faster and will feel uniformly firm through the cut.
They can dry out sooner, so watch texture closely and remove from heat as soon as the center springs back and juices run clear.
For both types, rely on temperature first, then confirm with tactile and visual cues.
How Cooking Method Impacts Appearance
Different methods change skin color, surface texture, and interior opacity.
Pay attention to browning, juice clarity, and any pink near the bone to judge doneness reliably.
Baking Chicken Thighs
Baking at 400 to 425°F (200 to 220°C) produces even browning and renders fat under the skin.
Expect golden to deep-amber skin with uniformly opaque meat when done.
The thickest part should read 165°F (74°C) on an instant-read thermometer.
Space thighs at least 1 inch apart on a rimmed sheet or in a skillet so hot air circulates.
If skin crisps unevenly, finish under the broiler for 1 to 3 minutes while watching closely to avoid charring.
Rest thighs 5 to 10 minutes to let juices redistribute; the meat will firm slightly and the juices should run clear.
Tips:
- Pat skin dry and season before baking for better color.
- Use a thermometer inserted away from bone for accurate readings.
Grilling Chicken Thighs
Grilling creates pronounced sear marks and a smoky crust from direct heat.
Start skin-side down to render fat and get good color, then move to indirect heat to finish through without burning the exterior.
On the grill you will see darker caramelization where meat contacts grates and a slightly chewier crust compared with oven-baked thighs.
Check internal temp near the thickest area; 165°F (74°C) signals safe doneness even if faint pink appears near the bone.
Avoid high flames that blacken the outside while leaving the center undercooked.
Practical steps:
- Oil grates and preheat to medium-high.
- Flip sparingly to let the surface develop color.
Cooking Chicken Thighs from Frozen
Cooking from frozen changes surface browning and requires longer, steadier heat to reach safe internal temperature.
You will see less initial color because moisture must evaporate before the skin browns.
Expect longer oven times and reduced crispness unless you finish with direct high heat.
Oven-bake frozen thighs at a moderate temperature (around 350 to 375°F / 175 to 190°C) until the thickest part reaches 165°F (74°C), then broil briefly to brown the exterior if desired.
When using a skillet or grill, thaw partially or finish in the oven to avoid overbrowned exterior and undercooked interior.
Key actions:
- Increase cooking time by 50 percent or follow package directions.
- Probe multiple places for accurate temperature checks; juices should be clear before serving.
Comparing Chicken Thigh Types
You will notice differences in texture, cooking time, and appearance depending on bone and skin presence.
These factors affect how the meat feels, how juices behave, and what the finished color and crispness look like.
Bone-In vs. Boneless Texture
Bone-in chicken thighs retain more moisture during cooking because the bone slows heat transfer and reduces direct drying of the muscle.
Expect slightly firmer meat near the bone and a bit more springiness overall.
The center will cook more slowly, so use a thermometer and probe the thickest part without touching bone.
Boneless thighs cook faster and more evenly through the piece, so they will feel uniformly firm when done.
They also brown differently: contact with the pan or grill produces more surface caramelization but less of the concentrated juiciness you get from bone-in.
If you prefer shreddable, falling-apart meat, cook bone-in longer (or to higher temperatures around 185°F/85°C for braised styles).
For quick sears and uniform slices, choose boneless.
Skin-On vs. Skinless Presentation
Skin-on chicken thighs show a clear visual cue when done: golden to deep amber skin that crisps during high, dry heat.
The skin collects rendered fat and browns through the Maillard reaction, producing a glossy, textured surface.
When sliced, expect clear juices and opaque meat beneath.
The contrast between crunchy skin and tender dark meat is a reliable sign of proper doneness.
Skinless thighs lack that visual crispness, so rely on color and texture instead.
They brown on the surface but will not develop the same sheen or crackle; watch for an even, opaque interior and firm but yielding texture.
Skinless pieces can dry faster, so brief resting and a sauce or glaze help keep the presentation appealing.
For plating, skin-on works when you want visual impact.
Skinless suits sauced preparations and tighter, leaner slices.
Common Mistakes to Avoid
Mistakes that change texture or safety usually come from relying on the wrong visual cues or from skipping critical resting steps.
Addressing these two issues fixes most problems with undercooked chicken, overcooked chicken, and inconsistent cooked chicken thighs.
Judging by Color Alone
Color is an imperfect indicator.
A golden-brown exterior or a faint pink tinge inside does not guarantee safety or doneness.
Use an instant-read thermometer as your primary guide.
Insert it into the thickest part of the thigh away from bone and look for 165°F (75°C).
If you rely only on juices, remember clear juices help but can be misleading with brined or smoked thighs.
Overcooked chicken often looks uniformly pale and dry; undercooked chicken can appear slightly translucent near the bone even if outer meat seems done.
If you prefer visual checks, combine them with texture.
Cooked chicken thighs should feel firm with a little spring.
Press the meat; if it’s squishy and rubbery, cook longer.
If it’s very tight and stringy, you’ve likely overcooked it.
Skipping Rest Time After Cooking
Cutting into thighs immediately steals juice and makes properly cooked chicken seem dry.
Resting allows internal juices to redistribute and helps residual heat finish smaller underdone pockets.
Let bone-in thighs rest 8–10 minutes and boneless thighs 5–7 minutes on a warm plate tented loosely with foil.
During this time the internal temperature can rise a few degrees, so factor that into your target when you pull them from heat.
If you slice too soon, clear or slightly pink juices escape and the meat appears drier than it truly is.
To recover slightly overcooked thighs, rest them and add a light sauce or gravy to bring moisture back.
If you find undercooked pieces after slicing, return them to heat briefly or finish in a pan to reach 165°F safely.


