
How Long Does It Take to Fry Chicken Thighs: Techniques and Timing Explained
You can fry small boneless chicken thigh pieces in as little as 12 minutes at 350°F when deep-frying. Pan-frying bone-in, skin-on thighs usually takes 30–45 minutes to render fat and crisp the skin.
Timing depends on method, thigh type, and heat control. Aim for a 165°F internal temperature—about 12–18 minutes in hot oil for deep-frying, or 20–30 minutes skin-side down plus 15–20 minutes after flipping when pan-frying bone-in thighs.

Pan-fried and deep-fried chicken thighs differ in timing and texture. Bone-in and boneless pieces also change cook time. Simple prep steps keep meat juicy and skin crisp.
Pan-Frying Methods for Chicken Thighs
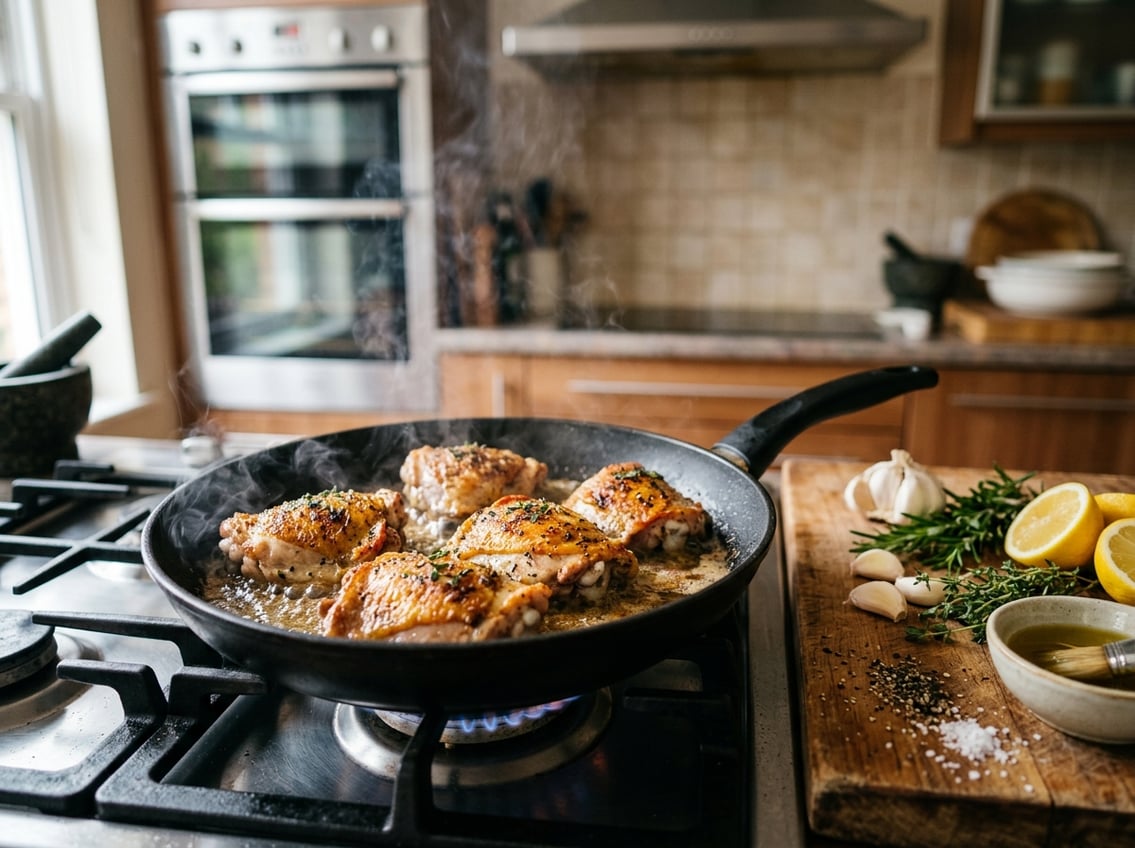
You can achieve crisp skin and fully cooked meat using a shallow pan fry. Pan and oil choices make a big difference for browning and reaching a safe internal temperature.
Overview of Pan-Fried Chicken Thighs
Pan-fried chicken thighs deliver crispy skin and juicy meat when you control heat and timing. Boneless, skinless thighs need about 5–8 minutes per side on medium-high heat.
Bone-in, skin-on thighs usually take 18–25 minutes per side depending on thickness. Start with dry skin and a hot pan so the surface sears quickly and doesn’t stick.
Use an instant-read thermometer and check the thickest part for 165°F (74°C). Use a splatter-screen and a rimmed skillet to contain oil and rendered fat.
Step-by-Step Shallow Pan Fry Method
-
Pat thighs dry, season, and let them sit 10–15 minutes at room temperature. This reduces moisture and improves browning.
-
Preheat a heavy skillet over medium-high for 2–3 minutes. Add 1–2 tablespoons of oil with a high smoke point.
-
Place skin-on thighs skin side down without crowding. Let them render fat and crisp for 12–20 minutes for bone-in, or 5–8 minutes for boneless.
-
Flip and cook the other side until the internal temp hits 165°F (74°C). For thicker bone-in pieces, reduce heat and cover partially to finish cooking without burning the skin.
-
Transfer to a wire rack for 5 minutes so juices redistribute and skin stays crisp. Use paper towels briefly if excess oil accumulates.
Importance of Pan Choice and Oil Selection
Choose a heavy-bottomed skillet, such as cast iron or stainless steel, for even heat and better sear. Thin nonstick pans work for boneless thighs but don’t give as much color or rendered fat for crispy skin.
A rimmed skillet contains splatter and lets you use a splatter-screen safely. Pick oils with smoke points above 375°F, like avocado, refined olive, or vegetable oil.
Avoid extra-virgin olive oil for high-heat searing because it smokes earlier and can taste bitter. For flavor, finish with a small knob of butter or a splash of finishing oil after you flip, but add it late to prevent burning.
Deep-Frying Techniques and Timing
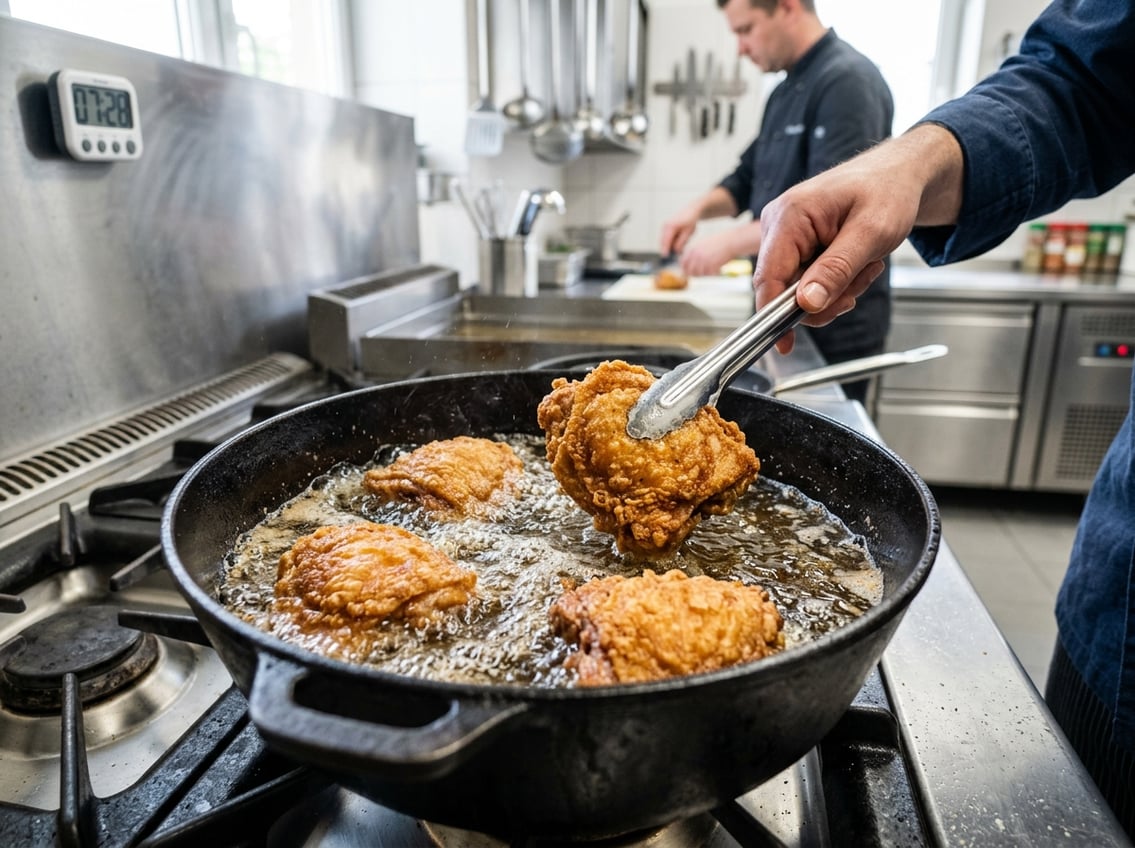
Keep the oil steady, monitor internal temperature, and avoid overcrowding to get crispy skin and juicy chicken thighs. Use a thermometer and plan 8–12 minutes depending on bone-in or boneless pieces.
Deep Frying Process for Chicken Thighs
Pat each thigh dry, season, or dredge in your preferred coating. If you use a batter, let coated thighs rest 10–15 minutes on a rack so the coating adheres.
Lower thighs gently into oil using tongs or a spider to prevent splashing and temperature drop. Fry in small batches so the oil recovers quickly.
Check doneness with an instant-read thermometer in the thickest part and aim for 165°F (74°C). For extra crispness, rest thighs 5–10 minutes, then briefly re-fry 2–4 minutes at a slightly higher temperature.
Oil Temperature and Equipment
Set oil temperature by type and size: use 325–350°F (163–177°C) for larger bone-in thighs and 350–375°F (177–191°C) for smaller boneless pieces. Keep a digital thermometer clipped to the pot.
Use a heavy-bottomed pot or a dedicated deep fryer with at least 3–4 inches of oil. Have a wire rack over a baking sheet ready to drain. Use long-handled tongs, a spider skimmer, and heatproof gloves for safety.
Replace oil when it smokes or smells rancid. Strain and store cooled oil if you plan to reuse it, but expect flavor transfer after a few uses.
Guidelines for Deep-Fried Crispy Skin
Pat skin thoroughly and, if possible, refrigerate uncovered for 30–60 minutes to further dehydrate before cooking. Salt the skin just before frying to draw out surface moisture and enhance crisping.
Maintain steady oil temperature and fry in single layers to ensure even browning. After frying, rest thighs on a wire rack to keep air circulating under the chicken.
Consider a two-stage fry for the crispiest results. First fry at the lower end of temperature to cook through, then raise oil 25–30°F and finish until golden.
Timing by Type: Bone-In vs. Boneless
Bone-in thighs take longer to reach safe doneness than boneless pieces because the bone and greater thickness slow heat penetration. Boneless thighs cook faster and more evenly, making them better for quick frying or stir-fry.
How Long to Fry Bone-In Chicken Thighs
Bone-in, skin-on thighs usually need 8–12 minutes per side when pan-frying over medium-high heat, depending on thickness. Start skin-side down to render fat and crisp the skin.
Use a probe thermometer to check for 165°F (74°C) at the thickest part next to the bone. Probe into the meat, not touching bone.
If you shallow-fry or deep-fry, expect total cook time around 12–18 minutes, turning as needed to avoid burning. Thicker pieces can take 20–25 minutes, so monitor color and temperature.
Cooking Times for Boneless Thighs
Boneless, skinless thighs usually take about 5–7 minutes per side when pan-frying over medium-high heat. Their uniform thickness lets you cook to 165°F (74°C) reliably.
For a typical 1/2–3/4-inch thick thigh, check after 5 minutes on the first side. If you cut thighs into strips for stir-fry, expect 2–4 minutes total at high heat.
For breaded or battered boneless thighs, frying times increase slightly—usually 6–9 minutes total—to ensure the interior reaches safe temperature while the coating crisps.
Adjusting for Size and Skin
Thickness and skin presence change frying time significantly. Thicker thighs (over 1 inch) will add several minutes per side compared with thin-cut pieces.
If a thigh weighs more or is bone-in, plan for roughly 8–10 minutes per side as a starting guideline, then confirm with a thermometer. Skin speeds up browning and protects meat from overcooking, but it can extend time slightly as fat renders.
If you remove skin, reduce cooking time by 2–4 minutes total for similar thickness. Use consistent piece size for even results and always verify doneness with an internal temperature.
Preparation for Even Cooking
Proper prep focuses on surface dryness, consistent thickness, and flavor penetration to ensure skin crisps and meat cooks evenly. Drying, trimming, and brining or marinating help cut down on cooking time variability.
Drying and Seasoning
Pat each thigh thoroughly with paper towels, especially the skin, to remove surface moisture. Moisture causes oil to sputter and prevents the skin from browning.
Season right after drying so salt adheres to the surface. For skin-on thighs, use kosher salt and freshly ground black pepper. Sprinkle evenly and press lightly so the salt sticks.
If you plan to air-dry in the fridge, place thighs on a wire rack uncovered for 2–8 hours. For breaded thighs, dry thoroughly, then dust with flour or a dredge to help the coating cling.
Trimming Excess Fat
Trim loose flaps of skin and large hunks of fat from bone-in chicken thighs to prevent uneven rendering and flare-ups. Use a sharp knife and work close to the skin.
Leave thin fat under the skin intact. It renders and bastes the meat from within, improving juiciness.
If pieces vary in thickness, butterfly or pound thicker areas to match the thinner ones. Consistent thickness reduces cooking time variance and helps bone-in thighs reach safe internal temperature without overcooking the edges.
Marinating and Brining Tips
Brining improves moisture retention for both bone-in and boneless thighs. Use a basic wet brine of 4 cups water, 1/4 cup kosher salt, and 2 tablespoons sugar for 1–4 hours in the fridge.
Rinse and pat dry after brining to avoid overly salty skin. For a quicker option, use a dry brine: rub 1 teaspoon kosher salt per pound of chicken, refrigerate uncovered for 4–24 hours.
If you choose an acid-based marinade, limit time to 1–2 hours to avoid mushy meat. Oil-based marinades with aromatics can sit longer (up to 8 hours), but always dry the skin before frying.
Achieving Restaurant-Quality Texture
Control surface dryness and seasoning, keep frying temperature precise, and rest chicken properly to lock in juices and preserve crisp skin.
Maximizing Crispy Skin and Juiciness
Dry thighs thoroughly with paper towels and refrigerate uncovered for at least 30 minutes to tighten the skin. Patting and brief air-dry removes surface moisture that prevents crisping.
Score thick skin lightly and season under the skin with salt and aromatics. A thin dusting of cornstarch or a 50:50 mix of flour and cornstarch helps create a brittle crust.
Heat oil to 325–350°F (163–175°C) and fry skin-side down first until deep golden, then turn. Maintain the temperature. Use a probe thermometer in the thickest part to confirm doneness.
Double Fry and Oven Finishing
Use a two-step cook for ultra-crisp skin and even doneness. First fry at 300–320°F (149–160°C) until the internal temp reaches about 150°F (66°C).
Remove and drain on a rack while you raise oil temp. Increase oil to 375°F (190°C) for a quick second fry of 1–2 minutes to shatter the crust and deepen color.
Alternatively, finish in a 400°F (205°C) oven for 6–10 minutes if you want less oil splatter and more even heat penetration. The oven method produces crispy chicken with crisp skin while preserving juiciness.
Choose double fry for maximum crunch, or oven finish for easier batch cooking.
Resting and Serving for Best Results
After frying or oven finishing, transfer thighs to a wire rack set over a sheet pan. Rest for 5–8 minutes so carryover heat equalizes and juices redistribute.
Keep the thighs uncovered. If you need to hold them longer, keep in a 200°F (95°C) oven on a rack for up to 20 minutes to preserve crispness.
Serve hot with a squeeze of acid, such as lemon or vinegar-based slaw, to balance fat and highlight the juicy chicken thighs.
Serving Suggestions and Safety Tips
Pair fried chicken thighs with starchy, acidic, and fresh elements to balance texture and flavor. Use a thermometer, rest meat properly, and control splatter during frying for safety and easier cleanup.
Recommended Side Dishes
Serve fried thighs with creamy pasta salad for a cool, rich contrast to the crisp exterior. Make the salad with short pasta, mayo or Greek yogurt, chopped celery, peas, and a splash of lemon juice.
Roast or cook sweet potatoes in an Instant Pot for a warm, mildly sweet side. Broil or pan-sear them after cooking to crisp the edges.
Add a simple green salad or quick slaw for acidity and crunch. These sides help cut through the richness of the chicken.
Offer dipping sauces such as honey mustard, ranch, or spicy aioli. Serve 1–2 thighs per person with two sides for a balanced meal.
Safe Internal Temperature and Handling
Check internal temperature with an instant-read thermometer in the thickest part, avoiding bone. Cook thighs to 165°F (74°C) and let them rest until they reach up to 170°F (77°C) for juiciness.
Use separate cutting boards and utensils for raw poultry and ready-to-eat foods to prevent cross-contamination. Chill leftovers within two hours and store in shallow containers.
Eat leftovers within 3–4 days and reheat to 165°F before serving. Discard used marinade or boil it before using it as a sauce.
Wash hands and sanitize surfaces after handling raw chicken to reduce the risk of foodborne illness.
Reducing Kitchen Mess and Odor
Place a splatter-screen over the pan to catch oil droplets and keep grease off cabinets and countertops.
This simple screen also lowers airborne oil that causes lingering odors.
Keep oil at a steady temperature (about 350–370°F) to limit violent splatter from overly hot oil.
Pat chicken very dry before adding it to the pan. Excess surface moisture increases splattering.
After frying, wipe splatters with a degreasing cleaner while the oil has cooled but before it hardens.
Boil a small pot of water with lemon slices or white vinegar for 10 minutes to neutralize frying odors quickly.


