
Can You Get Crispy Chicken Thighs in the Oven? Expert Guide & Tips
You can get crispy chicken thighs in the oven by picking the right cut and using a few simple techniques.
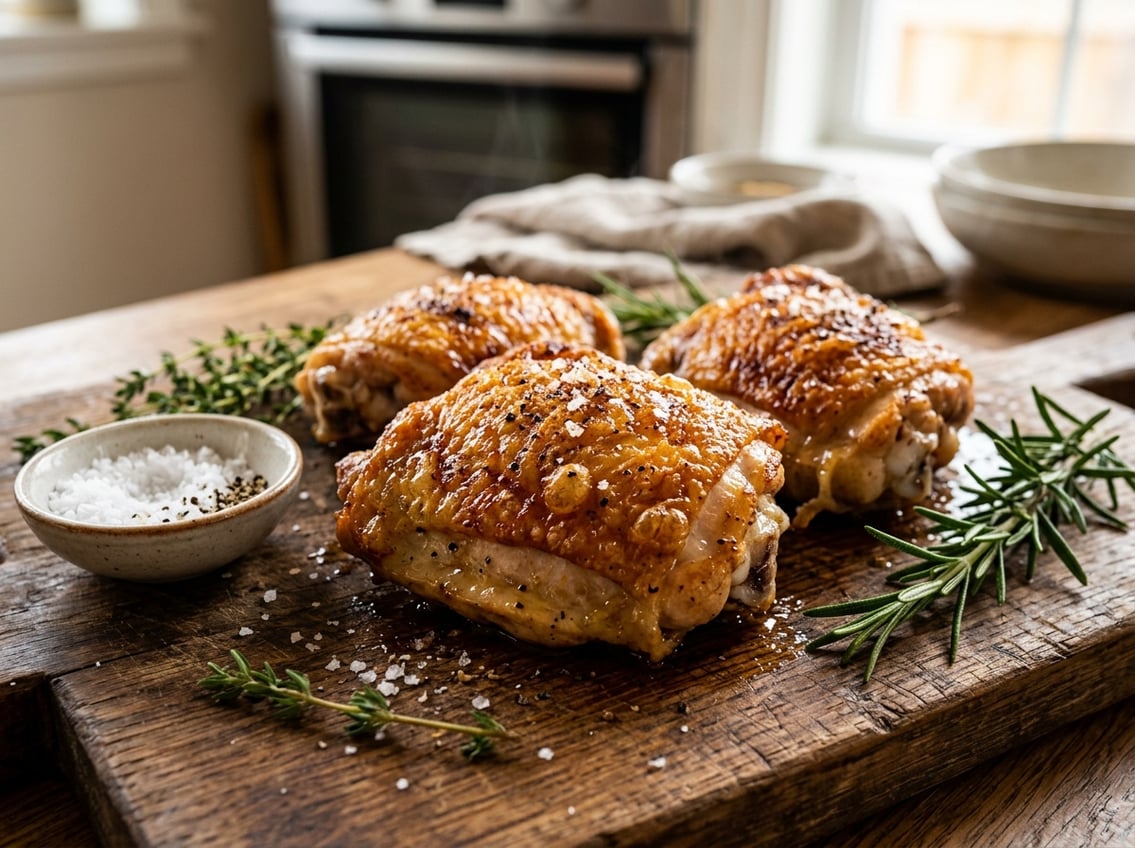
Bone-in, skin-on thighs roasted at the proper temperature with dry skin and a light coating of oil give you golden, crackling skin and juicy meat.

You will find tips for choosing flavorful thighs, prepping skin for crispiness, seasoning options, and oven strategies.
Get practical advice for weeknight timing, variations for boneless thighs, and serving ideas to make your chicken thighs stand out.
Choosing the Right Chicken Thighs
Pick thighs that balance crisp potential and meat quality.
Bone-in pieces hold juice and help even cooking, while skin-on gives a surface that crisps.
Fresh thighs need less hassle than frozen.
Trim excess loose skin and pat pieces dry before cooking.
Bone-In vs. Boneless
Bone-in chicken thighs retain moisture better because the bone slows heat transfer and protects the meat from drying during high-heat oven roasting.
Choose bone-in if you want juicy chicken thighs with a forgiving cook window; they tolerate higher oven temperatures (around 425°F) without turning dry.
Boneless thighs cook faster and more evenly when cut uniformly.
They lack the bone’s insulation, so watch internal temperature closely to avoid overcooking.
If you value speed and easy slicing, use boneless skin-on or boneless skinless thighs depending on whether you prioritize crisp skin.
Skin-On vs. Skinless
Skin-on chicken thighs deliver the crisp, golden exterior most people want from oven-roasted thighs.
The skin’s fat renders during roasting, basting the meat and creating a crunchy surface if you start dry and roast at a high temperature.
Leave skin intact and dry it well with paper towels.
A light sprinkle of salt helps draw out moisture for better crisping.
Skinless thighs won’t crisp, but they cook faster and absorb marinades more directly.
Use skinless if you prefer leaner meat or plan to finish with a glaze.
For crisp texture and juicy interior, opt for skin-on bone-in thighs.
For lower-fat, faster-cooking options, choose boneless skinless.
Fresh vs. Frozen
Fresh chicken thighs generally need only trimming and drying before roasting.
Fresh bone-in, skin-on thighs render fat more predictably, so you can get crisp skin without extra oil or complex steps.
Frozen thighs can still crisp, but you must fully thaw them first for even cooking and good skin texture.
Thaw in the refrigerator overnight and pat dry.
Any surface ice will steam and prevent browning.
Roasting from partially frozen requires longer cook times and produces less reliable crisping.
Fully thawed skin-on bone-in thighs give the most consistent crispy results.
Essential Steps to Achieve Crispiness
Follow a few precise steps to render fat, dry the skin, and expose the thighs to hot, circulating air so the skin crisps without drying the meat.
Drying the Chicken Properly
Pat each thigh completely dry with paper towels, pressing firmly into the skin to remove surface moisture.
Moisture prevents the skin from browning; the drier the skin, the faster it will crisp.
If time allows, place the thighs uncovered on a wire rack in the refrigerator for 1–12 hours.
This refrigerator-dry step tightens the skin and removes additional moisture, improving final crispiness.
Trim loose flaps of skin and excess fat that can trap steam.
Just before seasoning, blot again and then lightly salt the skin.
Salt seasons and helps draw out remaining moisture during the roast.
Using Baking Powder for Texture
Use a small amount of aluminum-free baking powder—about 1/2 teaspoon per pound of chicken—to promote browning and a drier skin surface.
Baking powder raises skin pH and speeds Maillard reactions, yielding crisper, golden skin without altering flavor when used sparingly.
Mix the baking powder with your dry seasonings (salt, pepper, optional garlic powder) and evenly coat the skin.
Avoid wet marinades after applying baking powder; added liquids dissolve the coating and reduce effectiveness.
If you prefer not to use baking powder, rely on the refrigerator-dry step and higher oven heat to achieve similar results.
Baking powder is a simple shortcut that often produces noticeably crispier skin on oven-baked chicken thighs.
Optimal Oven Temperature
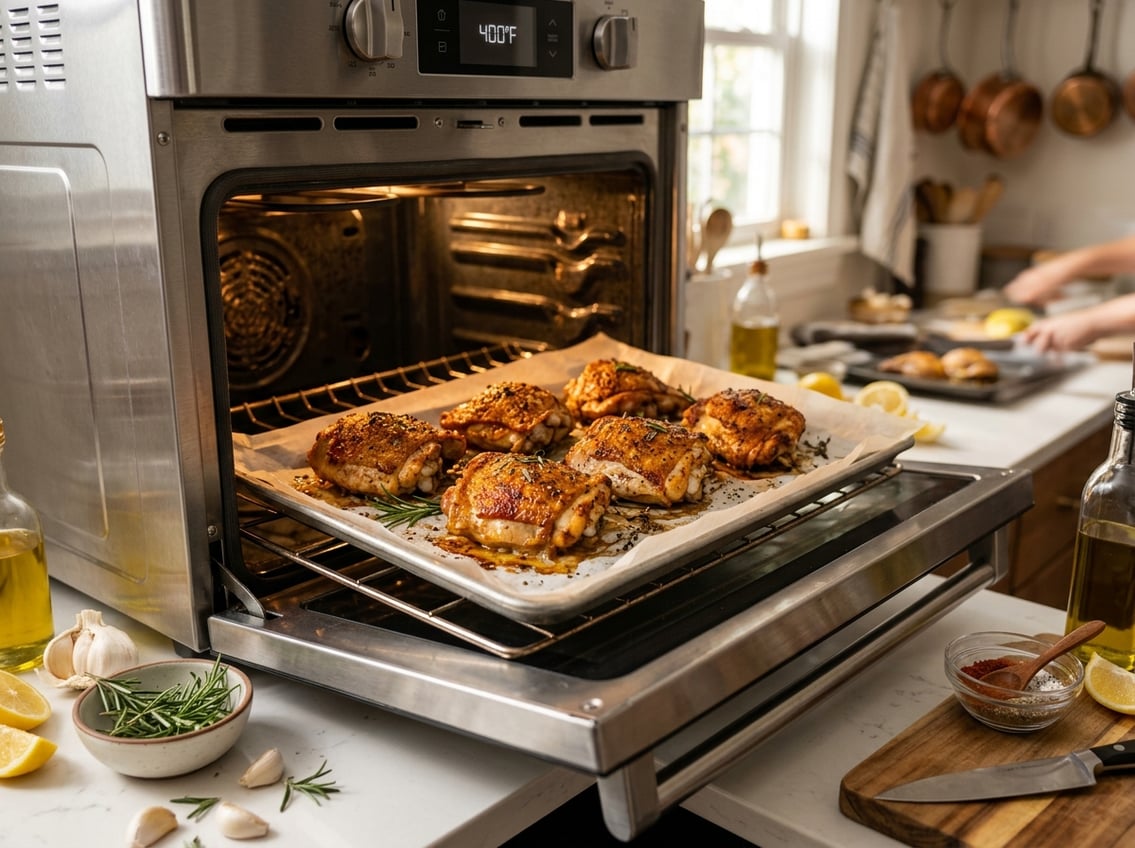
Preheat the oven to 425°F (220°C) for bone-in, skin-on thighs.
This temperature crisps the skin and finishes the meat without long cook times.
For smaller boneless thighs, 400–425°F works well.
Use a thermometer to confirm the meat reaches 165°F (74°C) at the thickest point near the bone.
Pull the chicken at 165–170°F and let it rest.
Carryover heat evens the temperature while preserving juiciness.
If you sear first, start thighs skin-side down in a cold skillet and bring to medium heat until fat renders and skin browns.
Transfer the skillet to the preheated oven at 425°F.
This combination yields extra-crispy skin with minimal splatter.
Spacing and Air Circulation
Arrange thighs skin-side up on an oven-safe rack set over a rimmed baking sheet to allow hot air to circulate under and around each piece.
Elevating the thighs prevents them from sitting in rendered fat, which softens skin.
Leave at least 1 inch (2–3 cm) between pieces.
Crowded thighs steam instead of roast.
For large batches, use multiple racks and rotate pans halfway through cooking for even browning.
If you don’t have a wire rack, use a bed of roughly chopped root vegetables or halved onions to lift the thighs slightly.
This creates airflow and collects drippings for an easy pan sauce.
Seasoning Techniques and Flavor Blends
Use a base of salt and pepper, add one dominant aromatic (garlic powder or smoked paprika), and pick an herb or acid to define the profile.
Apply oil or melted butter so spices adhere and the skin browns.
Let the seasoned thighs rest briefly for better flavor penetration.
Classic Herb and Spice Mixes
For a reliable all-purpose blend, use 1 tsp kosher salt and ½ tsp freshly ground black pepper per pound of chicken, plus 1 tsp garlic powder and 1 tsp paprika (smoked if you want a deeper flavor).
Add ½ tsp dried oregano and ½ tsp dried thyme for herbal depth.
Mix dry ingredients first, then rub them under and over the skin.
That distributes seasoning close to the meat and helps the skin crisp.
For a citrus-herb Greek profile, swap in 1 tsp lemon zest and 1 tsp dried oregano with a tablespoon of olive oil.
For BBQ-style thighs, increase paprika to 2 tsp, add 1 tsp brown sugar and ½ tsp cayenne for balance.
For balsamic chicken, brush a thin glaze of 1 tbsp balsamic vinegar mixed with 1 tsp honey near the end of baking to avoid burning.
Applying Seasonings Evenly
Pat thighs dry with paper towels until the skin shows no surface moisture.
Dry skin promotes Maillard browning and crispiness.
Coat the skin lightly with oil or melted butter first.
The fat helps spices stick and conducts heat for even browning.
Use your fingers to rub seasoning under the skin and over the top.
That places salt and aromatics next to both meat and skin.
Arrange thighs skin-side up on a wire rack over a baking sheet so air circulates and seasonings don’t steam.
If time allows, refrigerate uncovered for 30–60 minutes to further dry the skin before roasting.
Flavor Variations
For Greek lemon chicken, combine garlic powder, lemon zest, oregano, thyme, salt, and pepper.
Finish with a squeeze of lemon after baking.
For balsamic chicken, season with salt, pepper, garlic powder, and thyme, then glaze with a reduced balsamic-honey mix during the last 8–10 minutes of roasting.
To make BBQ chicken thighs, blend smoked paprika, garlic powder, onion powder, brown sugar, salt, and black pepper.
Baste with your favorite barbecue sauce in the final 5–10 minutes.
For a simple garlic-herb roast, use garlic powder, oregano, thyme, salt, and cracked black pepper.
Adjust salt to taste and use paprika for color and depth.
Baking Methods and Oven Strategies
Choose a method that keeps skin dry, allows fat to drain, and exposes skin to high, dry heat for crispness.
Position the thighs and set temperature deliberately so the skin renders without steaming and the meat reaches 165°F without drying.
Sheet Pan and Rack Methods
Use a rimmed sheet pan lined with foil or parchment for easy cleanup.
For crisp skin, place bone-in, skin-on thighs directly on an oven-safe rack set over the pan so rendered fat drips away.
This prevents soggy undersides and promotes even airflow around each piece.
Leave at least 1 inch between thighs.
Pat skin completely dry and season just before baking.
For a small extra crisp boost, brush a thin film of oil or melted butter on the skin.
Don’t overdo it or the skin will brown too fast.
For sheet pan chicken aimed at fast weeknight dinners, use preheated pans and a hot oven.
Bone-in thighs tolerate high heat and stay juicy.
Boneless thighs need slightly shorter bake times.
Finishing With the Broiler
Use the broiler for the last 2–4 minutes to deeply brown skin.
Move the sheet pan to the top rack about 6 inches below the broiler element to avoid burning.
Watch closely: broilers vary and skin can go from golden to charred quickly.
If using a rack over a pan, transfer briefly to a broiler-safe pan if your original pan isn’t rated for direct broiler exposure.
Tilt the pan or rotate positions halfway through broiling to ensure even color.
Remove when skin is blistered and crisp but before the internal temperature overshoots 165°F.
Broil only after the meat has cooked through.
Don’t broil from raw unless you’ll finish in the oven afterward.
Cooking Times and Temperatures
For bone-in, skin-on thighs, roast at 400–425°F.
Expect 30–40 minutes total at 425°F, flipping once if you start on the stovetop.
Check for 165°F at the thickest point near the bone.
At 400°F plan for roughly 35–45 minutes.
Boneless thighs cook faster: 20–30 minutes at 425°F.
Use an instant-read thermometer to avoid guesswork.
If you start in a cold pan on the stovetop, sear skin side first 6–10 minutes before transferring to a 425°F oven.
This can shorten oven time by about 5–10 minutes.
If you need gentler cooking, reduce oven to 350°F and add 10–15 minutes to times above.
Expect less crispy skin unless you finish with a high-heat burst or broiler.
Alternative Cooking Techniques for Crispy Results
These methods use efficient heat, moisture control, and small technique changes to produce crisp skin or a crunchy exterior without deep-frying.
They work well if you want faster results or are using boneless cuts while still aiming for juicy meat.
Air Fryer Instructions
Air fryers use rapid hot air and a raised basket to crisp skin quickly.
Pat bone-in or skin-on thighs very dry, season liberally with salt, and optionally brush a light coat of neutral oil.
Preheat the air fryer to 400°F (200°C) for 3–5 minutes to ensure immediate high heat contact.
Arrange thighs skin-side up in a single layer with space between pieces for airflow.
Cook bone-in thighs 18–22 minutes, flipping once at about the 10–12 minute mark.
Check for 165°F internal temperature.
For air fryer chicken thighs with extra-crispy skin, finish with a 2–3 minute blast at the same temperature without flipping.
For keto chicken thighs, skip sugary marinades and use dry rubs (salt, garlic powder, smoked paprika).
The air fryer reduces cooking time and uses less added fat while still rendering skin fat and creating a crunchy surface.
Boneless Skinless Chicken Options
Boneless skinless chicken does not crisp like skin-on cuts, but you can achieve a crunchy exterior by coating the meat and using high direct heat. Pat the pieces dry, then dredge them in seasoned almond flour or crushed pork rinds for a keto-friendly crust.
Press the coating onto the meat so it sticks well. Heat a cast-iron skillet with 1 or 2 tablespoons of oil, then sear the chicken for 3 to 4 minutes per side until the coating turns deeply browned.
You can also bake the chicken at 425°F (220°C) on a wire rack for 12 to 18 minutes. Flip the pieces halfway through to maintain airflow and crispness. Check that the chicken reaches 165°F.
For an oven-only method, par-bake uncoated boneless pieces for 6 to 8 minutes. Finish by broiling on high for 2 to 4 minutes to create a firm, crisp exterior.
Serving Suggestions and Pairings
Choose sides that balance texture and flavor. A creamy starch contrasts the crisp chicken, while a bright vegetable adds acidity.
Best Sides for Crispy Thighs
Serve crispy chicken thighs with mashed potatoes for a classic combination. The buttery mashed potatoes soak up pan juices and balance the crunchy chicken.
Roasted or steamed vegetables add color and acidity. Try roasted Brussels sprouts or green beans tossed with lemon and olive oil.
For a heartier meal, serve with rice pilaf or quinoa mixed with parsley and lemon zest. Warm crusty bread or homemade French bread helps you scoop up juices.
A crisp green salad with vinaigrette provides freshness and keeps the meal light.
Creative Ways to Serve or Use Leftovers
Shred leftover chicken thighs over a grain bowl with pickled vegetables and a drizzle of yogurt sauce.
The crispy skin becomes softer, but the meat stays flavorful.
Make sandwiches or wraps using slices of leftover chicken thigh, arugula, sliced tomato, and a smear of mustard or aioli.
Warm baked chicken legs and use them the same way if you have them.
Chop the meat and add it to a skillet with vegetables and soy sauce for quick fried rice.
Layer chopped chicken thighs into a gratin with potatoes and cheese for an easy baked dish.


